Introduction to Vector Art with Steps

In many ways, cartooning is my therapy. I've always said they're like my diaries. It's thoughts and feelings and things I've seen on any particular day.
by Bruce Eric Kaplan
What is Vexel/Vector Art?
Vector graphics or Vexel is the creation of digital images through a sequence of commands or mathematical statements that place lines and shapes in a given two-dimensional or three-dimensional space. In physics, a vector is a representation of both a quantity and a direction at the same time. This kind of art is a pixel based technique that is similar to the vector technique, but the vexel technique uses vector lines to plot out the picture. To create a vexel one can use vector lines and shapes to illustrate the picture that they are using as their base.
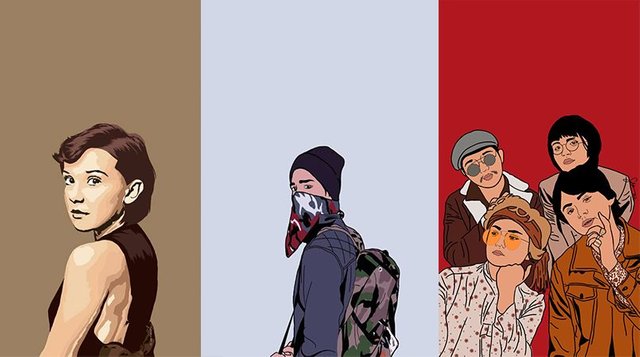
I just want to share my love for this kind of digital art. Vexel/Vector art is my first love since high school. And I know I'm not still skilled and I am still learning. That is why up to now I'm still doing this kind of artwork.
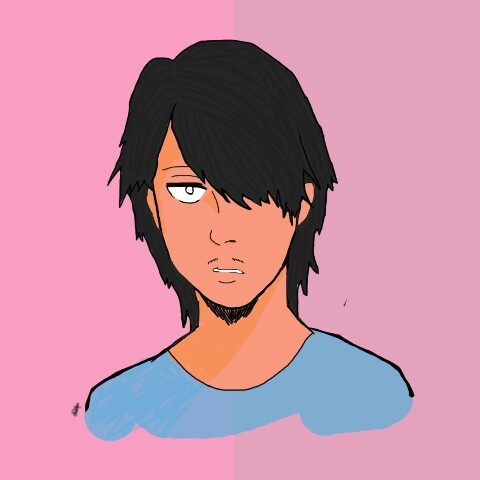
The Process (The Basics)

I'm currently using Adobe Photoshop for this. You can still follow my steps even you're using a different software. Or comment below for assistance and would be glad to help you!
First Part
Look for a reference and bring it to Adobe Photoshop or to any editing software for our tracing purposes


This is Felix a friend of mine. Our first victim evil laugh just kidding
Now, create a new layer!

Ok, here's the unique part. I'm using a Pen Tool to trace my subject. This way isn't a 100% accurate, but its the easiest way for me. You can use any tool as long you can trace the picture.
Be sure that the Layer 1 is highlighted! That means that you selected that layer and you can mess with it. And of course, the MAGIC of all MAGIC!

Tip: If you're using a Pen Tool, when you are clicking to your Anchor Point (Yes, the small square one) try holding it. It will gives you a curve line so that you can manipulate your tracing.
THE UNDO BUTTON! CTRL Z
Any undo button will do. I used CTRL Z for one mistake and CTRL + ALT Z for another mistake. But wait..
Part 2
Imagine your playing a dress up game. The game lets you to pick a dress for your character. Of course, your character is wearing an underwear. So, in the game you will put a pants on it. Completely covering your hips with a pants. You got me? It will only shows whats on top.
Since I'm starting on the shirt we can ignore the neck for a while.

With the Pen Tool, you need to connect your first anchor point to your last. So that it will make an abnormal Shape or something. After that, right click on it and click Fill Path


Find the Color button and select a color for the shirt
Now, lets go back to the Layers Panel to make a new layer. Remember? The dress up game? Yeah, that's right!

Tip: You rename your first layer by double clicking it. You needed to assign a name to avoid confusion.
And if you want to ignore the shirt first you can click the Eye button to hide that layer. Or either changing the Opacity level. That will do. Just ignore it for awhile.
Just like my life. Just kidding. 'Key I'll stop.
Still Part 2
Now, lets go on the head part. I'll just fasten things up for the tutorial. I'll make the face and the hair.
Being creative is the challenge here. Even were referring from a photo, we can still tweak it and make it more better. Or make it more YOU.

Note: This is the fun part! There are no perfect stroke for tracing. ITS VERY OKAY IF ITS NOT EXACT
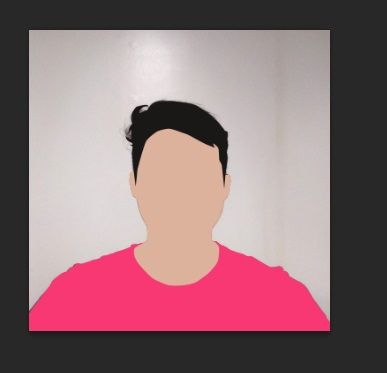
More fun part! The minor details!
Remember the opacity level, right? Great. So, now lets be creative. Remember, make a new layer every time you do something new.
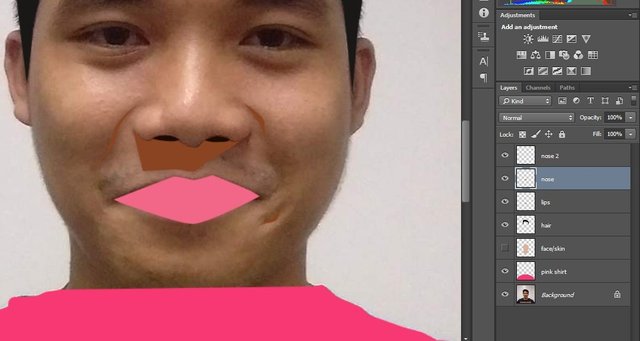
As you can see I made a two layers for the nose part. The brown one would be the shadow part and it will be useful by decreasing your opacity.

For now, just use the colors that you want. Don't forget to save your file!

Keep it up! We're almost done mate!

Of course, we need to make a chin to determine that our face is a face. So, you can make a simple v shape at the chin and assign the color same as your shadows.
Now, the final part
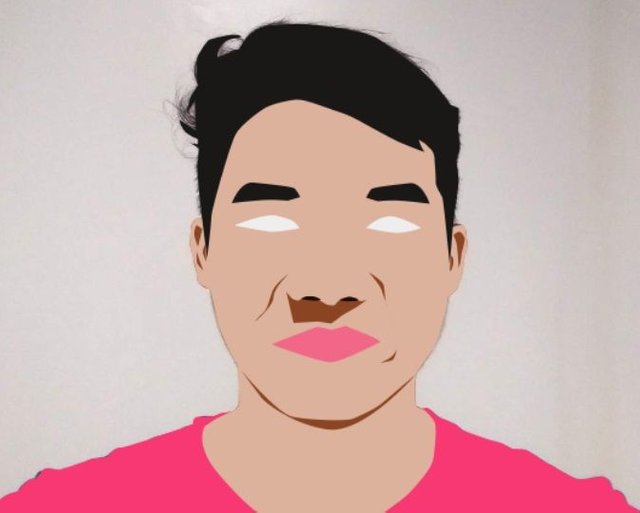
Now we can still apply the previous steps but now by adding more details. Include also the shadows on the shirt and hair. And also be sure to make a better eyelid not like this.

So, after adding details
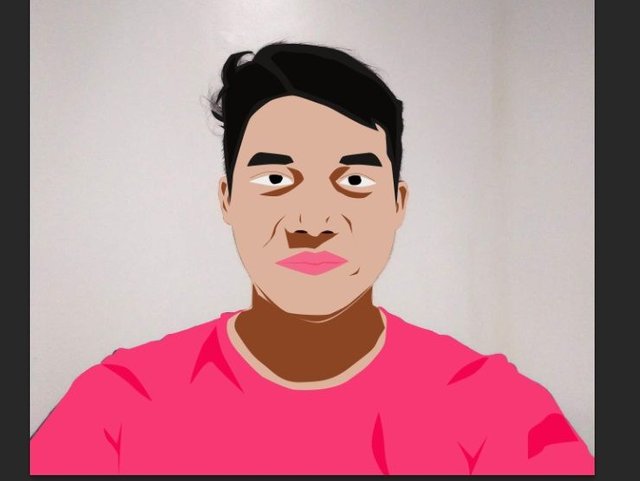
Now, go to your LAYER panel and delete your background by clicking the layer then DELETE. make the Opacity level of all shadows or details to 50% to 20%. SEE THE MAGIC!

CONGRATULATIONS! FOR MAKING YOUR FIRST VECTOR ART!
I know that this tutorial is kinda long and same with the process of making a vector art. Still, handmade crafts are still the better one. I'm happy to introduce to you, the Vector Art.
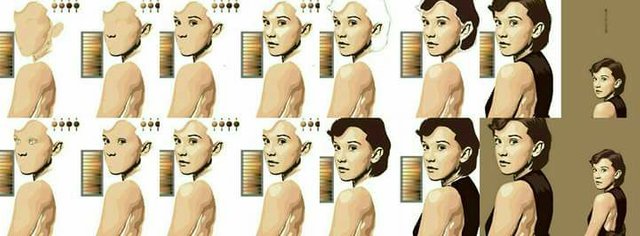
So, I hope you guys learned a few things in Vector/Vexel Art. I know it's very cliche to say this, but it really does help. Just my main tip would be more practice. Because practice does result in success.
Thanks for reading my blog. I also do appreciate the support. I do apologize if this is kinda long. Instead, please share your feedback on the comments below about my blog or the way I write. Have a nice day ahead. Spread the love! :)

congrats sano! curied at last!
Thanks @junebride! Just got lucky and will do post more :)
do it! go go go!! steem ahead!
Appreciate it @junebride. More power to Steemitachievers!
Nice tutorial man! Gotta try this
Good to hear that man. Thanks!
Your Post Has Been Featured on @Resteemable!
Feature any Steemit post using resteemit.com!
How It Works:
1. Take Any Steemit URL
2. Erase
https://3. Type
reGet Featured Instantly – Featured Posts are voted every 2.4hrs
Join the Curation Team Here
Wow! I really need this one! Thank you for sharing your knowledge and skills!!
Glad to hear that man! Thank you and I'm honored :)
Wow, I will save this for later, this is a really good tutorial where I can get into it.
Please do! Thanks for reading man
ang cool naman nto.. saklap d aq marunong mag adobe hehe pero It can b learn naman hehe wag lng tamad ..congrats!
Dont worry! You can use any editing softwares for this.
galing neto., more tutorials sir hehehe
Thanks @g10a! Yes po! :)
Great work!
Thanks man! Appreciate it.
Wonderful post! Really beginner friendly and easy to follow! I might wanna try this out someday. Thanks for the knowledge! 😀
Thank you so much @andywong! Appreciate it
Extremely fascinating and your step by step is very detailed. Not boring at all! I will refer back to this tutorial if I ever get the software. 👍
Please do and thanks for reading :)