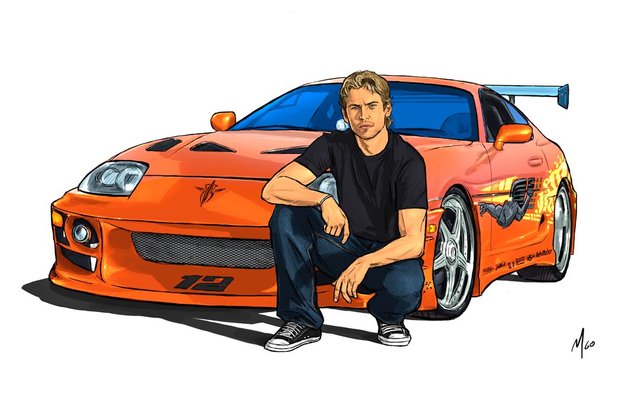
HOW-TO DRAW FAST & THE FURIOUS PAUL WALKER STEP-BY-STEP ART LESSON by Marten Go
Hello steemit friends, I'm back with another step by step art post. This time it's an artpiece of Paul Walker in Fast & the Furious. I did this for a client recently and what an opportunity and honor it was to draw the late actor. RIP.
If you're interested to learn how I drew Paul, follow along to the simple instructions below and fasten your seat belt because this art lesson is going to be fast and furious! hehe.


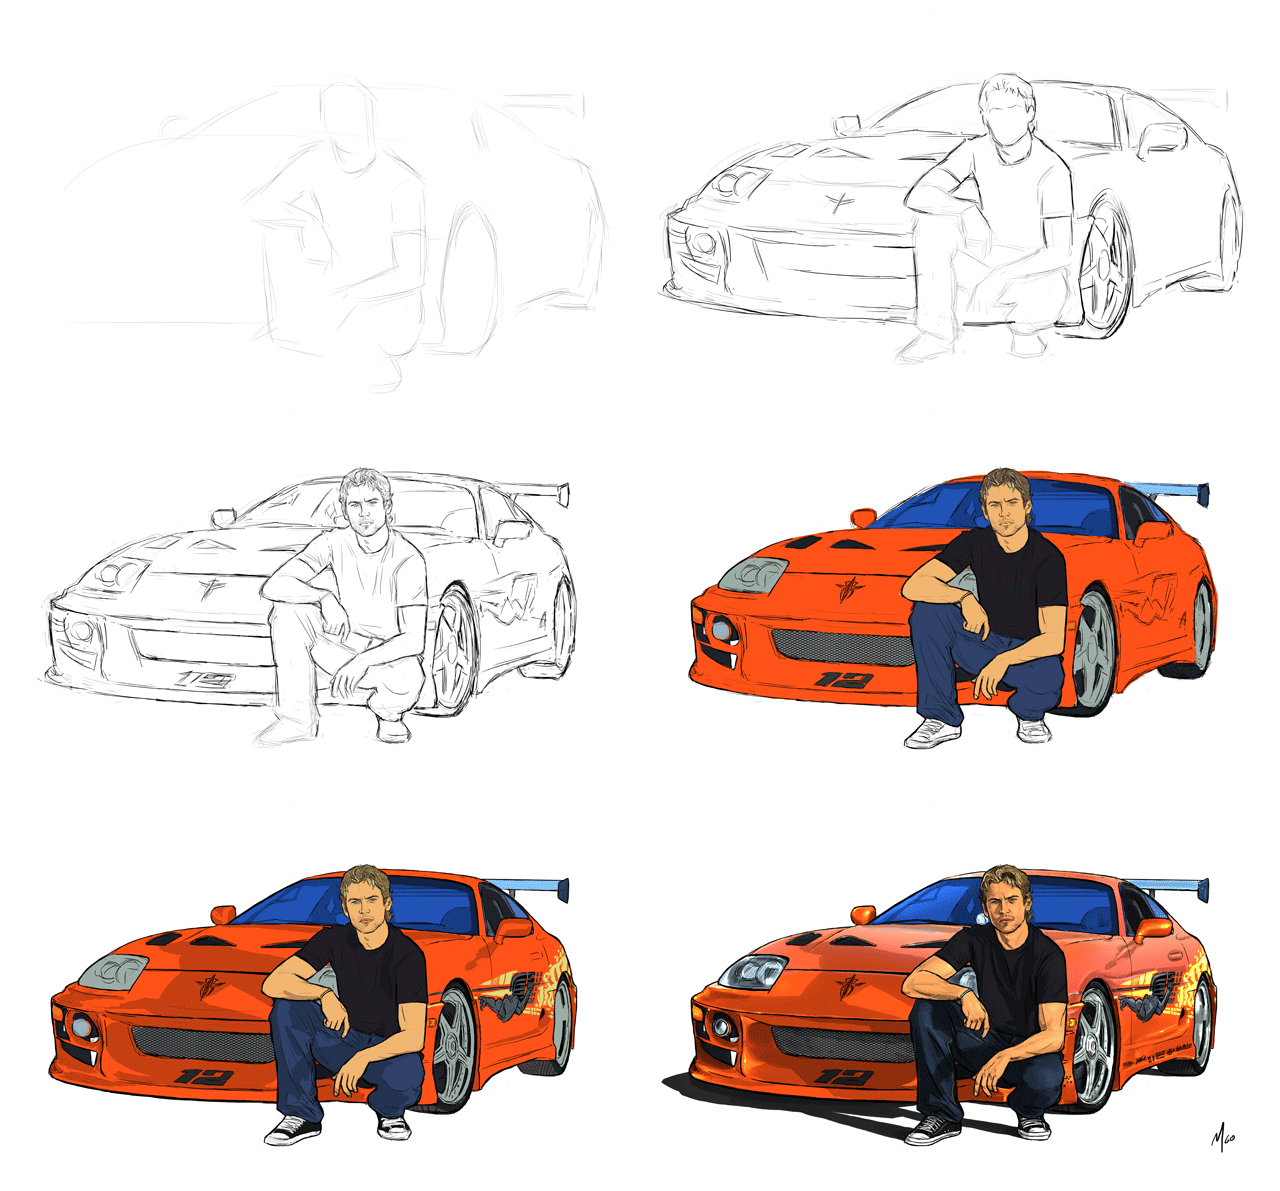
Start with a rough sketch.

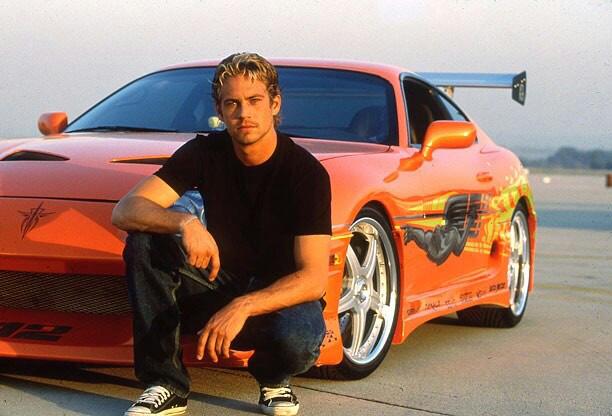
Flip the image and reference to check proportions. Repeat this step often.

Have additional references at hand for the missing headlight and bumper. Always be prepared.

Outline the whole car. Don't need to worry about details yet.

Tweak car proportions.

Fill in car details.

Now tweak overall proportions (Paul & car).

Pencil in remaining details.

Add base colors.

Tighten overall linework. Use mesh texture for grill. Fill in remaining base colors.

Don't forget the funky car decals.

Add base shading.

Add base highlights, color effects such as tinting and gradients and lastly, the main shadow.

Finish up with secondary highlights, shading and miscellaneous (sponsorship logos, and gleaming). Voila!


Thank you for reading and watching. I hope you enjoyed this simple how-to step by step drawing lesson. Please upvote & resteem. Always a pleasure. Marten Go
This info so useful for start up..upvoted... I am into photography and art.. do check my post out ..Thx ..
Thanks. Will do.
Very Nice Drawing, You are a pro in your work. visit my website too https://scrapcartorontoshop.ca/