Introducing “FRAMED! Pilot Photo Shoot Series” with @playitforward
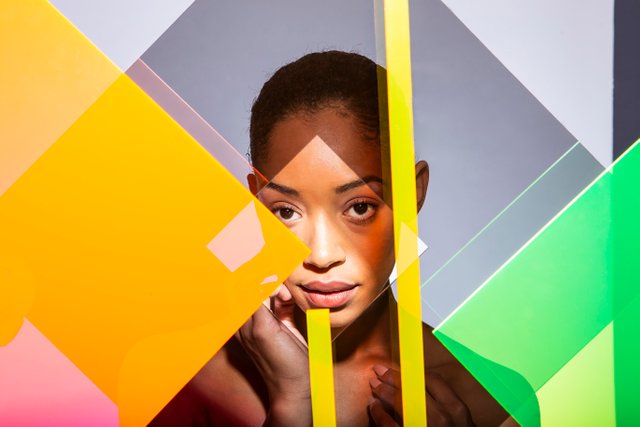
“FRAMED! Pilot Photo Shoot Series” with @playitforward
Hey Steemians!
I conceived and directed my first photoshoot of the FRAMED! Pilot Photo Shoot Series. This shoot is titled, “Transparency.” I have been so excited to share this with the Steemit community and hope there will be more to come!
Here are some of the picks from the 1200+ photos that were taken during the shoot last week, and then I’ll walk through the process from start to snap!
FRAMED! Transparency Gallery I
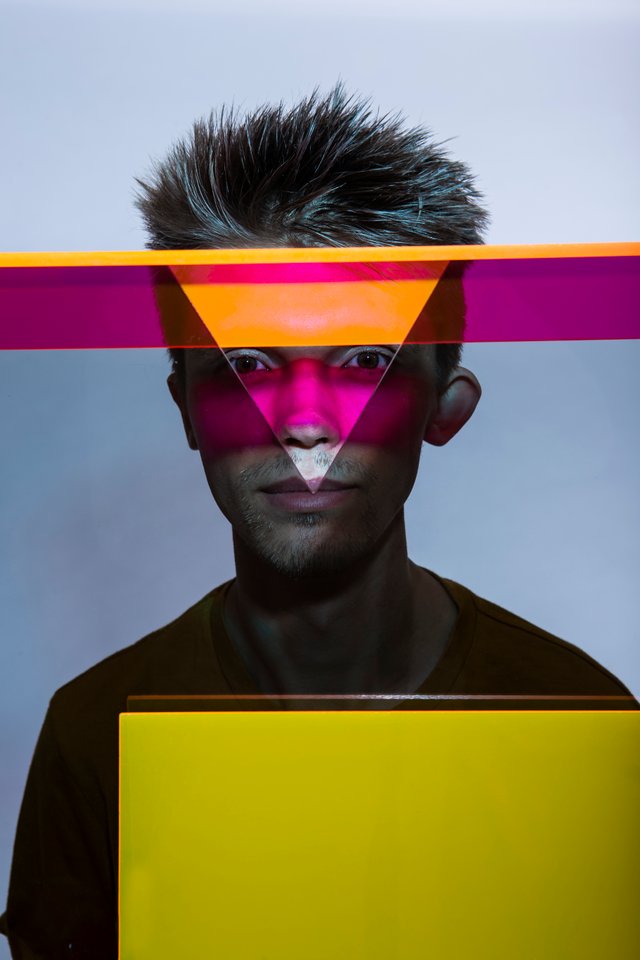
(Above image is @playitforward).
I’d like to give a behind the scenes look into the process from concept to reality.
Youtube
Dlive
For those who want to check out me talking about this on live stream Dlive, please follow this link!
Concept
I’ve always liked what people have been able to create with layering. It’s a concept that spreads across a variety of disciplines including music composition, fashion, etc. It’s amazing what you can build by layering different elements together. Additionally, I have always been interested in doing something with shapes and colors. I decided to use pieces of acrylic with unique cuts.
Preparing the Acrylic Designs
I started browsing through color swatches and was drawn to a variety of palettes – basic, neon, and even a simple gray. I was dreaming of some custom cuts, so I started experimenting with some basic shape ideas on my iPad.

Turning this into a reality was a bit trickier than I thought it would be. I called around to multiple acrylic shops to get quotes for the material itself and cutting fees. I also learned that I needed to prepare Illustrator files of the shapes for the cutting machine. I began taking my Illustrator knowledge and bit further, and after communicating back and forth a bit to nail the right line work and dimensions, the shapes were soon going to come to life! Here are silhouettes of the files I sent the acrylic shop:

Casting
I received several inquiries regarding this shoot on different platforms. I had a photographer friend named Jeremy David work on this shoot with me as well as another friend (whom I've done film shoots with as an audio mixer) help doing the makeup and hair. Veronica.
Models were extremely excited to be a part of this process as I posted my Pinterest board to demonstrate the concept.
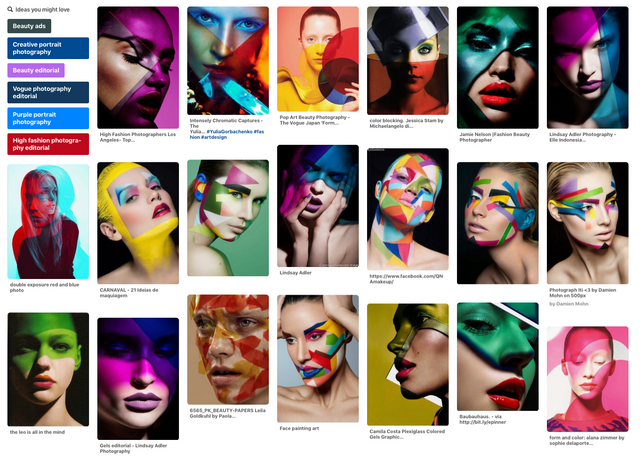
I decided to be ambitious and try to shoot six models. Coincidentally, since the shoot was a trade, a model backed out the night before. Come the next day, an hour before two models were supposed to arrive they backed out as well. No harm done, we had four models able to work and do amazing shots.
Since I received 60 replies to my casting call, the four were chosen based on their look and differences.
Shop Visit
I wanted to meet the shop owners and couldn’t wait to see more available colors in person. To my excitement, there were leftover scraps from the first shop’s other projects. Some were available for free, and there were larger scraps that were on sale. On my third visit to the shop, I picked out the scrap pieces.

They were even kind enough to let me look through the back bin for scraps! I liked the idea of turning their scraps into art.

A few days later, I was on my way to pick up some of the custom cut pieces that I had designed in Illustrator. I asked them to save not only the materials that the shapes were cut out of but also the ones that came out of the master pieces. It felt amazing to have what was just a sketch a week ago exist as a real piece that I could hold in my hands!
It was time to unwrap everything!


Testing with the C-stand
I started testing with a C-stand I had at home. Typically, I take it with me on audio gigs, but it has also been useful to hang cat toys from and take on photo shoots like these! I thought the C-stand would be a great tool to achieve consistent shots and make the modes more comfortable, versus having to worry about holding the acrylic at the right angle.


Day of the Shoot
Everything was packed and ready to go! Acrylic, cleaning materials, water and snacks for the participants, a C-stand to hold up the acrylic pieces, and a camera. I arrived a little early to get things set up at the photography studio.

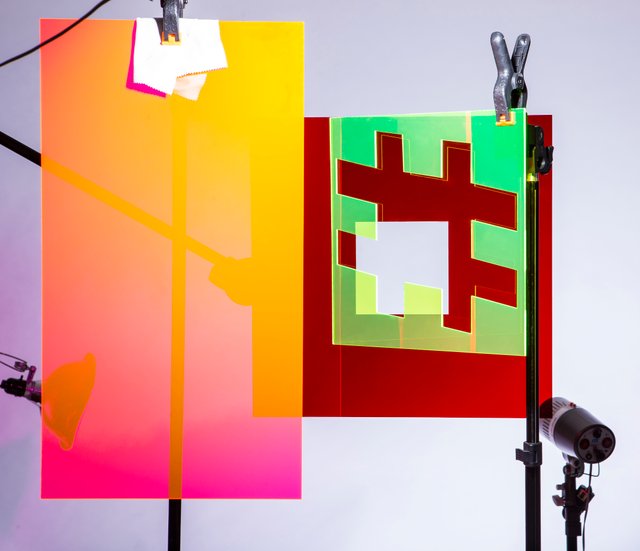
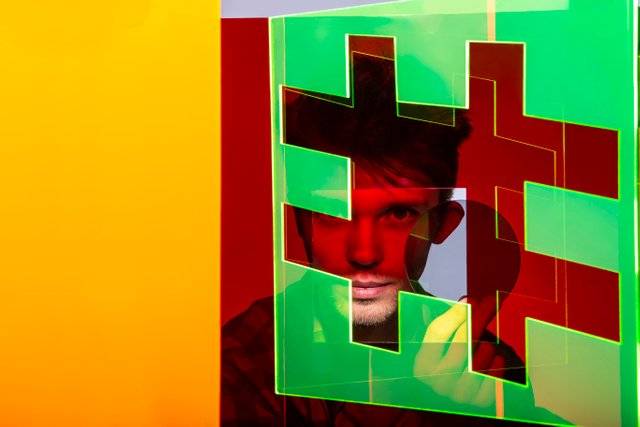
It was all about experimenting with layering colors and shapes. We found it important to handle the materials carefully and keep them clean so that there would be less editing in post. Here is one of the many set-ups we played with.
.jpg)
The hair and make-up team and models arrived. The energy in the room was great! There was fun music playing, and everyone was free to experiment creatively and express themselves.
Make-up and Hair
There was a team of two make-up and hair artists. The colors of acrylic we were layering inspired the make-up color palette, and each make-up artist designed their own looks! With each model, we did one round of shooting with beauty make-up and one with colored shape designs.
Time to start photographing!
It was time to get rolling! There was a flash reset beep every two seconds, and our photographer, Jeremy, was capturing everything phenomenally.

We reset to try different acrylic looks.

That’s a Wrap!
I was blown away at the artistry and teamwork in the process itself!
Some of the takeaways from this shoot…I’d like to do these all the time if possible and continue to document the process to share with the community! Showing each stage of it as we’re going can be valuable, because the final photograph is just the tip of the iceberg. The process demonstrates the preparation, problem solving, passion of all involved, and creativity in action.
There are a lot of aspects to consider when taking on a fun project like this. If I did a round two for “FRAMED!” I would see if it’d be possible to have more assistance coordinating all of the moving parts and finding the resources to get more creatives involved to do what they do so well.
Music for Video
I composed the music to the video that will be in the opening video of my shoot!
Check it out on DSound Here
Retouching
Retouching images is a process and is often confusing as to when to draw the line of what is final and what can keep being fixed. The acrylic attracted dust, hair, fingerprints, and other things. It has a high amount of static electricity build-up when it's picked up or moved which led to LOTS of cleaning in post.
Thanks to @scuzzy for the help retouching several of these images.
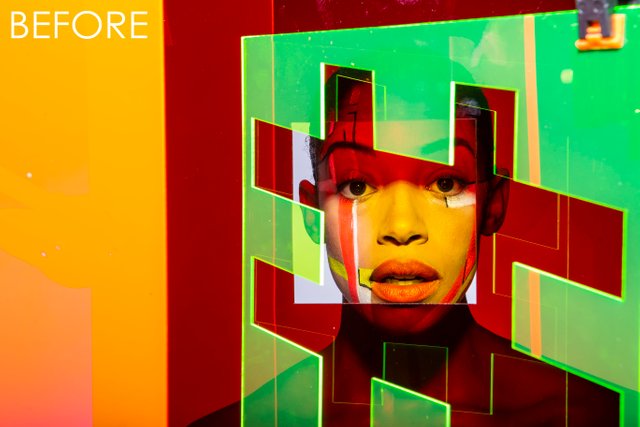
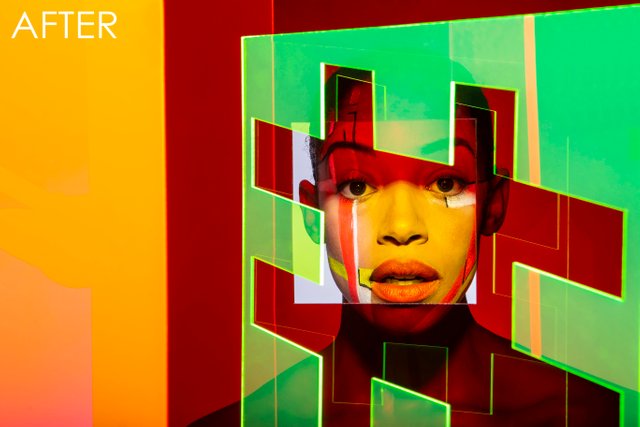
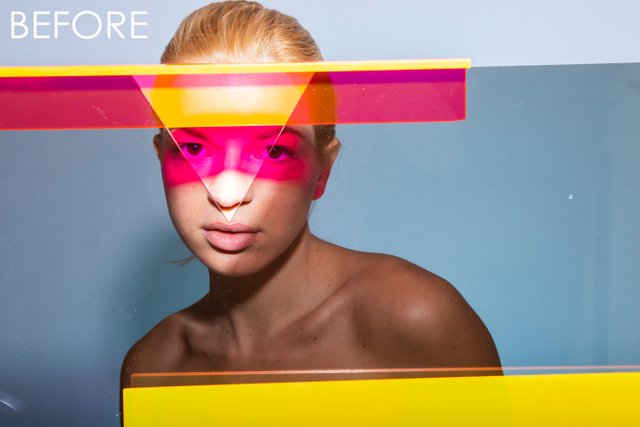
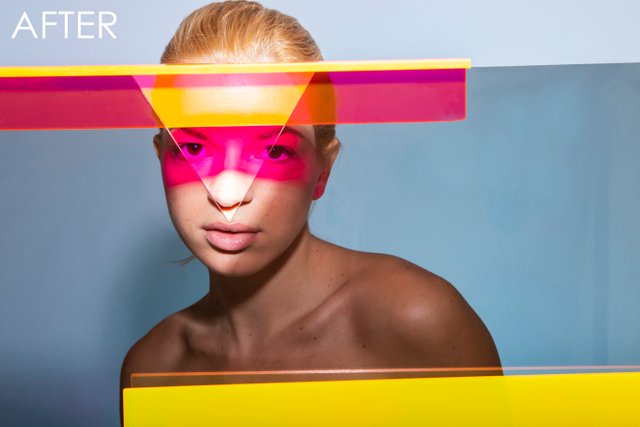
You can see that this is quite a process. Not each photo is perfect even after retouching. But that leaves time to look at it again and come back. Most images are almost all the way there.
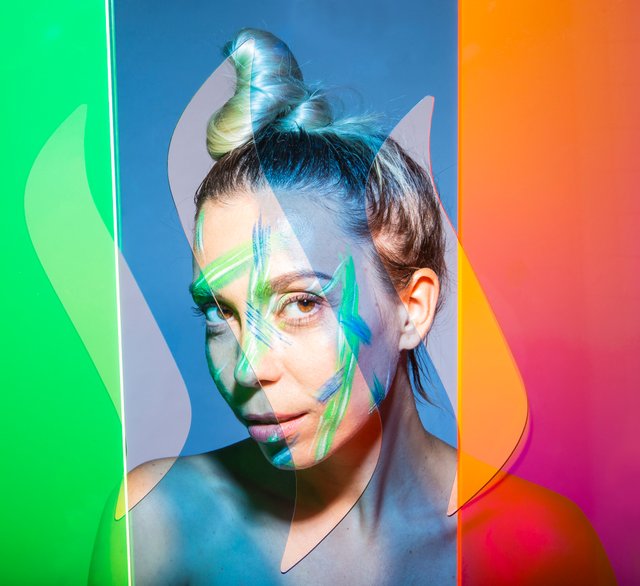
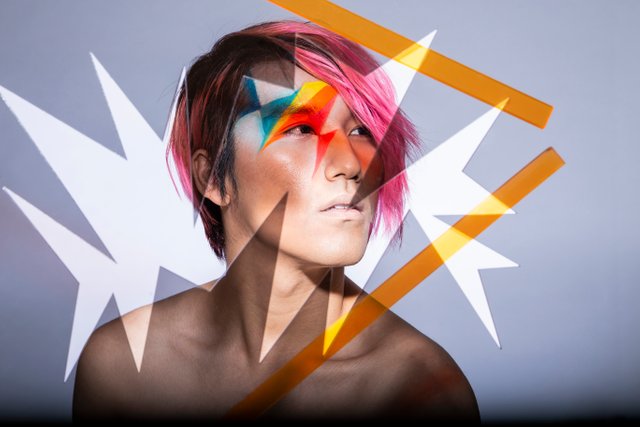
Final Results

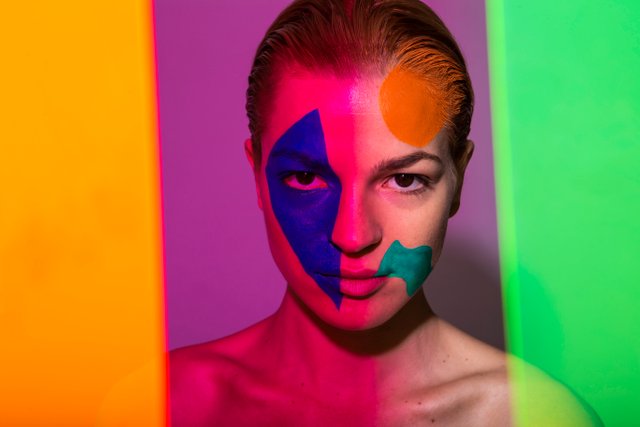
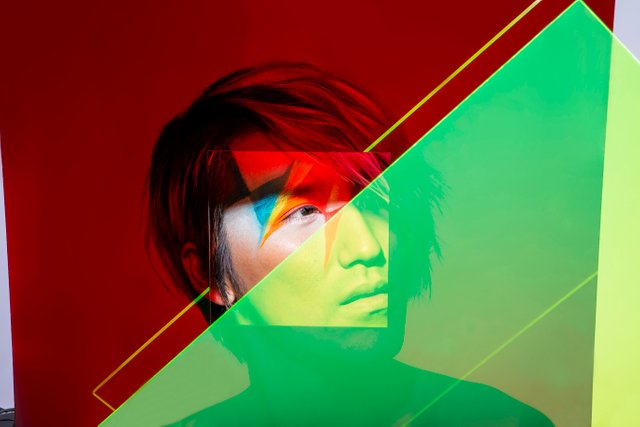
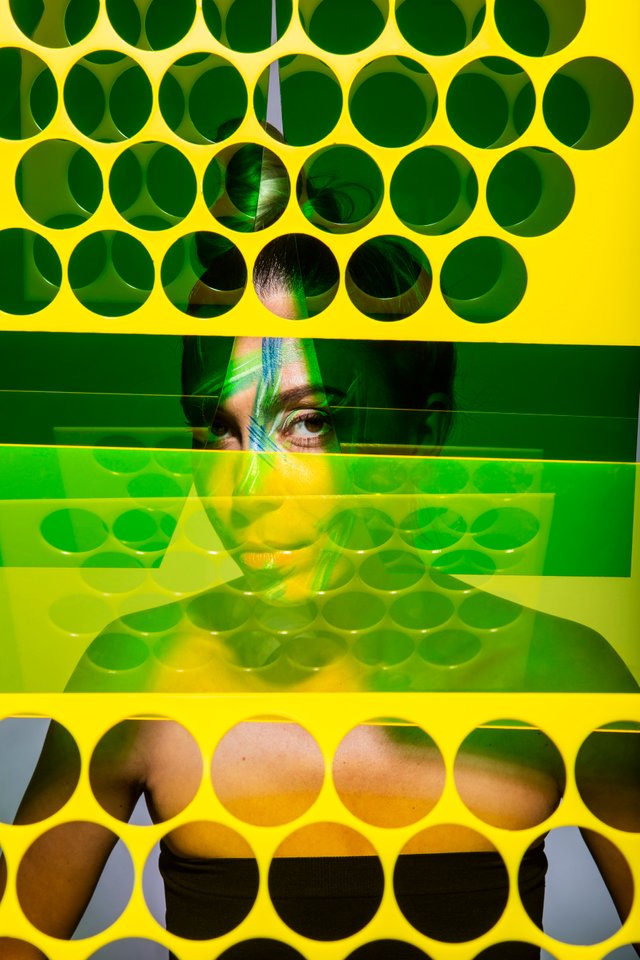
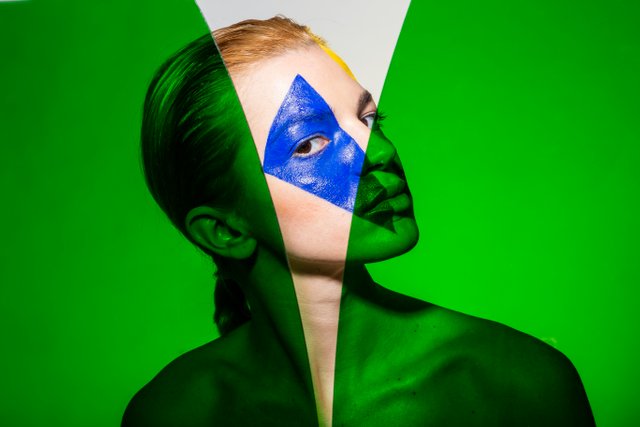
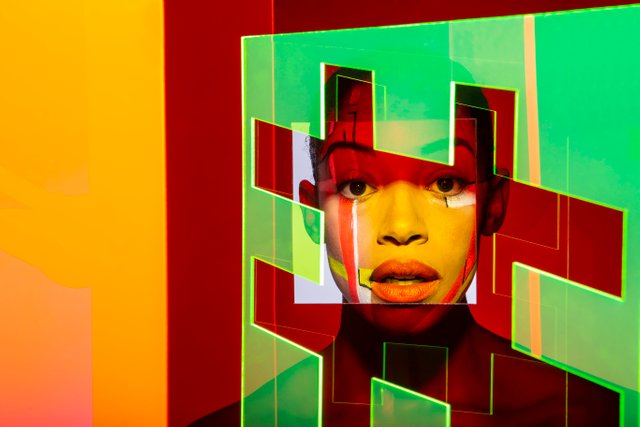
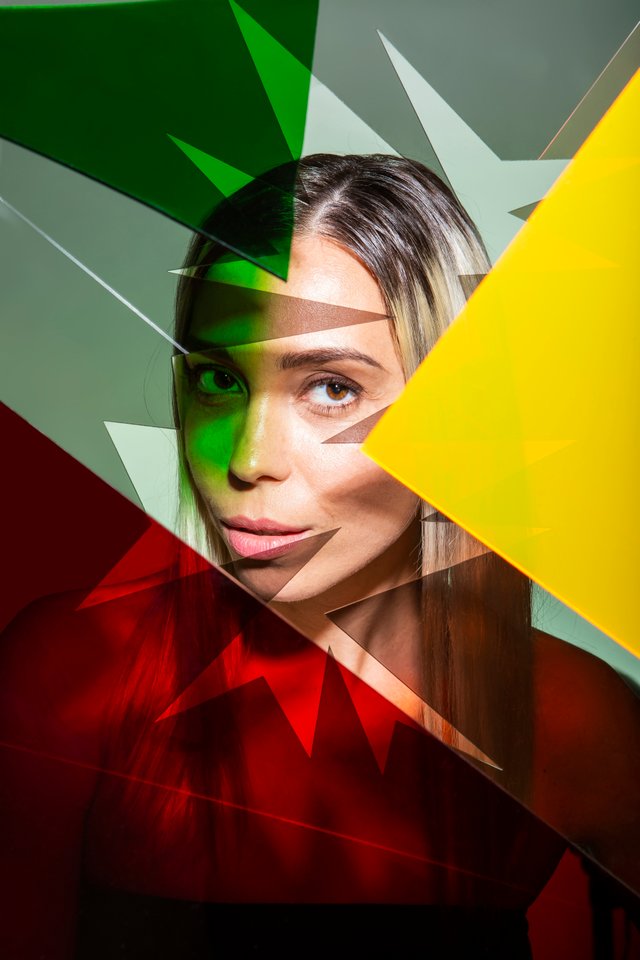%20copy.jpg)
.jpg)
This was an insane process, and I would love to be able to do more of these in the near future.
Thanks for reading, Steemians! I would love to hear your thoughts! Please upvote, comment, follow, and resteem. I've been working for weeks to get this project off the ground. The second shoot is underway as we speak. Until next time my fellow Steemians!

Gorgeous work! We would dream of having a photoshoot with you someday! :D
A PRO photo-shooting @playitforward.
Just love the images, and the way you showed all the concept and the idea in the post is brilliant! As I said... a PRO work!
Amazing works ! love the creativity and skills at work in here Keep on!
THIS IS AMAZING!!! Oh my my my, this has been in my head for a while and I recognize you fantasizing on all the shapes an colours, it's really tickling the mind! I want to keep it more simple even, just some green acryllic as a foreground and a natural green background (trees?) and such, but still. It's so cool to see what you've done with it and the video is super nice too. I really need a portrait from you with that STEEM cutout :')
This is just so beautiful. I love the acrylic, the colours, the composition and it gets all the creative juices flowing to reimagine portraits. The possibilities are endless! I've honestly never seen something like this and it's just incredible. Hats off to you.
damn this is dope! very creative bro!