Construction of mini sailboat [Model]
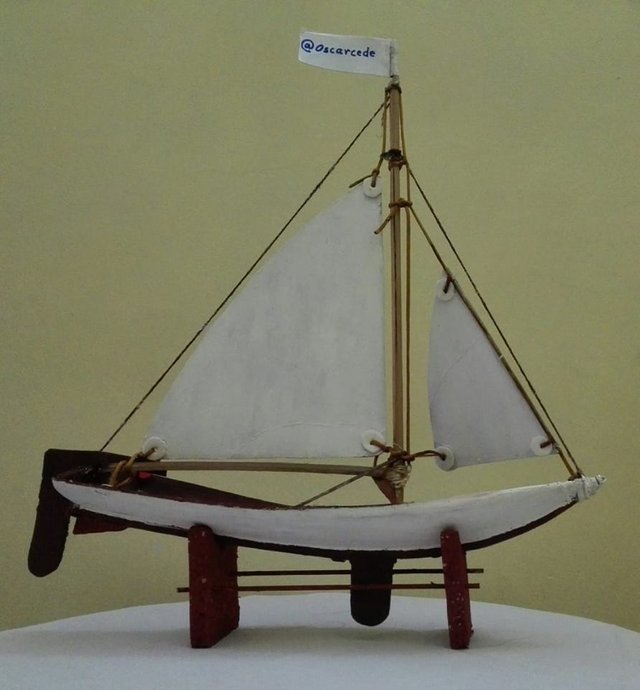
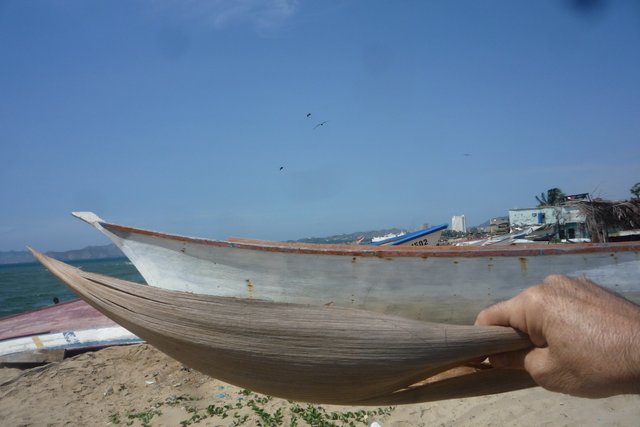
Greetings to the community of Steemit, this time I will show you how to build a miniature sailboat model, with the use of the bract or spa that covers the flowers of the coconut plant, which has a shape similar to the hull of a ship, as You can see in the following image.

As you can see, this part of the coconut tree is very similar to the hulls of the boats, which we could think, that from there arose the idea of the shapes of the boats, remember that the coconut plants abound in the coasts of the sea, which Maybe at some time in the past, this part of the coconut, could have fallen into the sea and someone saw it float and this served as a model for the construction of a ship, like the ones we see today in our seas. I always wanted to make a model boat with disposable materials and when I saw this coconut shell with that shape, I grabbed it to build a sailboat.
To start building the mini sailboat, I used as a guide a model of sailboats that I chose on the Internet, so I started to turn this piece of coconut into a miniature sailboat, which on this occasion I want to share with you.
Process for the construction of the mini sailing boat
Before starting, we look for a boat model to guide us, in this case I chose the following model:

Source
Steps 1: Prepare the ship's hull
- Locate a coconut plant and choose the part or piece of the bract trying not to be damaged, also having the characteristics of a ship's hull.
- For this piece we cut the lower part and the rest that we are going to use, we place it in hot water for half an hour, this is done to soften the wood and to correct the details, such as: folds or sags.
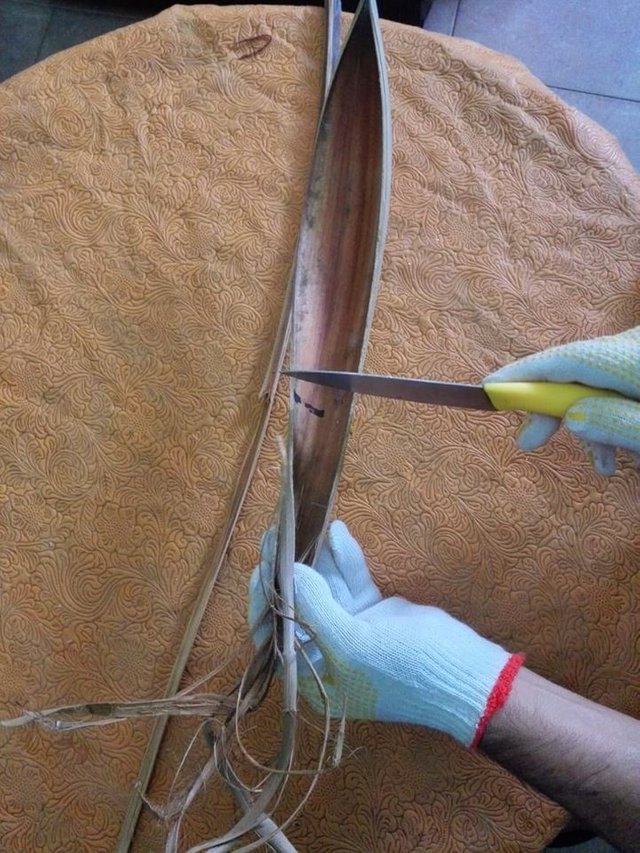
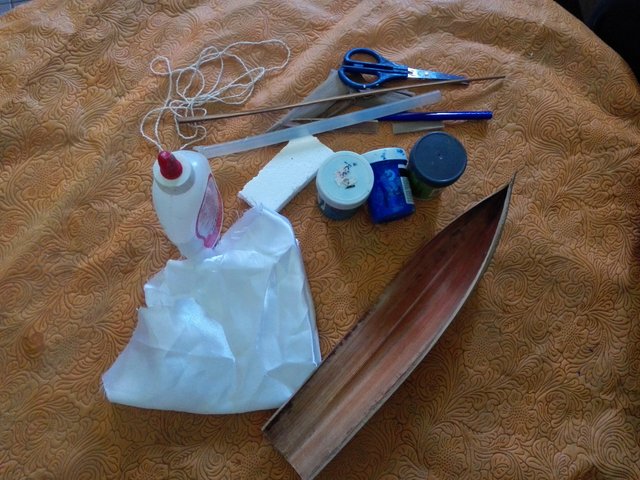
Then we proceed to seal the fissures and cracks of the piece, we can use plaster to fill in the cracks and then sand.
We put a wooden lid on the back of the helmet.
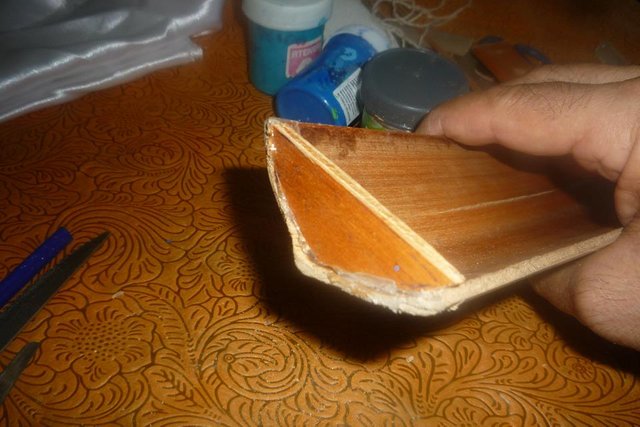
Build and place the keel, which goes under the helmet, for this we use a piece of fine stick and wet it in water then heat it with a lit candle or a hair dryer, and make pressure to achieve the shape of the helmet, this piece can be fixed with the use of glue and screws.
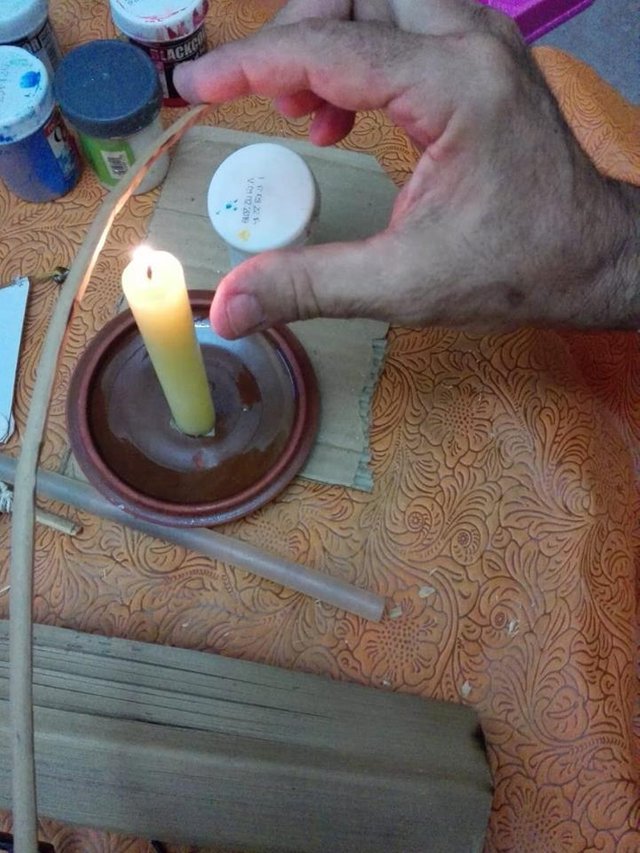
Place the fin or shovel for the rudder.
Place a small board 2 millimeters thick, inside the hull, and we make a hole or hole in the center to introduce the ship's mast.
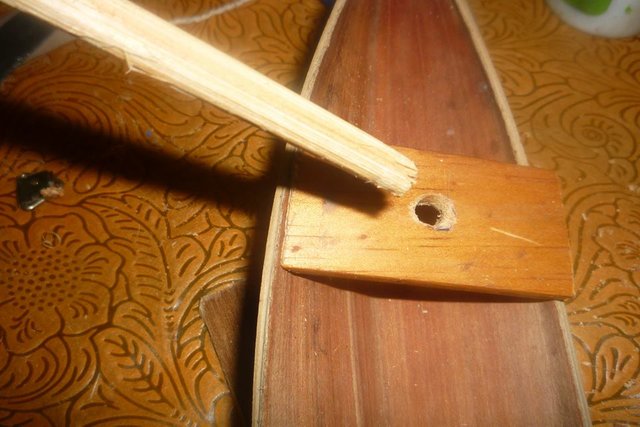
Once we have the helmet ready, we proceed to paint with rubber based paint and then place the mast, the sails, the rudder and the moorings.
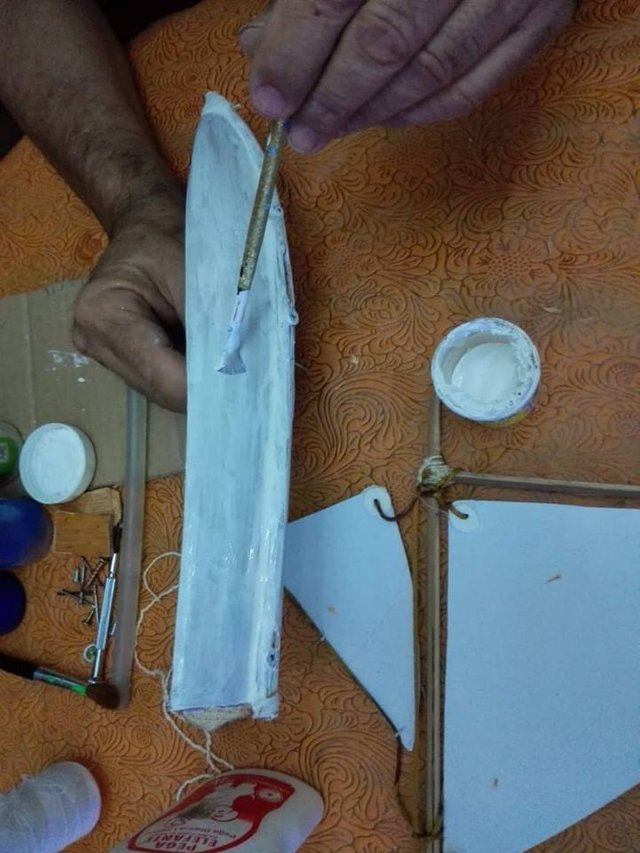
Step 2: Construction of the mast and boom
The mast is going to be prepared with a straight slim stick, 4 to 5 mm thick and joined with another stick of the same thickness to form a 90 degree angle, it can be joined with the use of thread. This structure will support the candles,
as seen in the image.
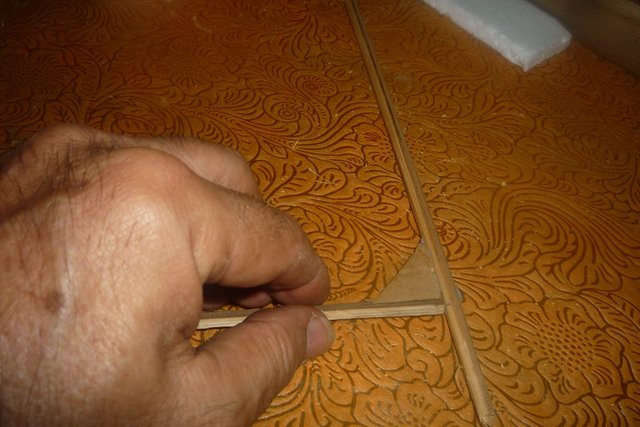
The candles, can be made with cardboard or making a structure with wire and place a white cloth, everything depends on the material available; in this case I used cardboard, as seen in the image.
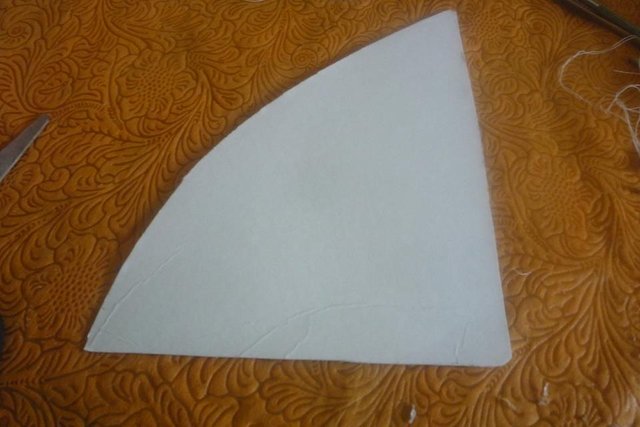
So far we have made the hull, the structure of the mast and the sails, we only need to join all these pieces to finish this mini sailboat.
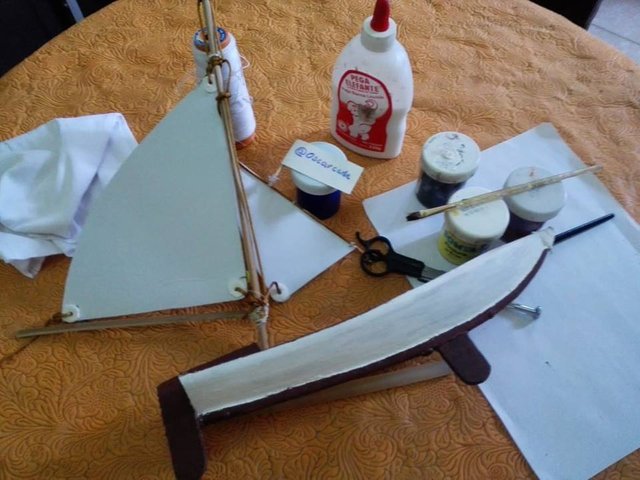
The next thing will be to fix the mast and the sails in the boat; As indicated above, inside we put a small board with a hole, to place the mast with the sails, so we proceed with the ties using cables and cords, we start from the tip of the bow to the tip of the stern of the boat, that is, tie both ends so that the mast is level in the hull.
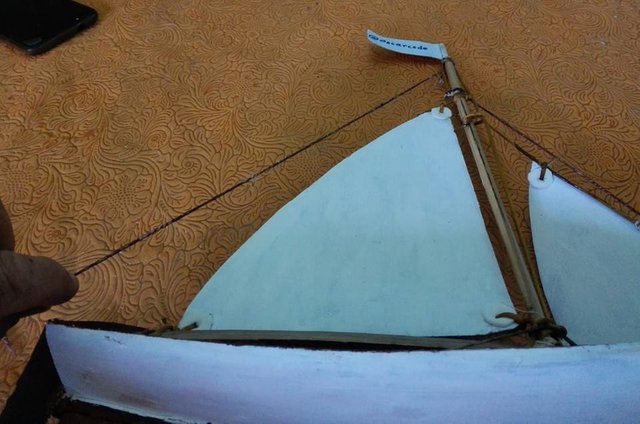
On the back, you can see the fin or the rudder blade and the spoiler on the bottom, these are made with cardboard, it can also be made with wood or plastic, this depends on the available material or that is within reach.
And for the presentation of the boat, I made a simple base formed with anime.
Now that we have finished the process, I have to show you my mini sailboat and its parts.
The parts of my sailboat
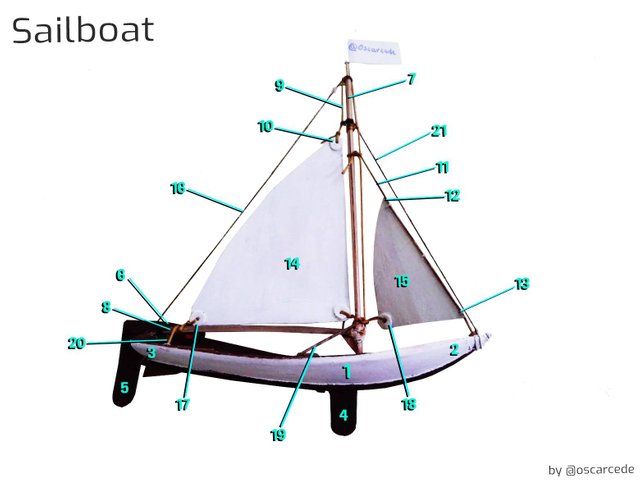
Materials for the construction of the mini sailing boat
- A part of the bract or spathe of the coconut tree plant.
- A small amount of plaster to prepare a mixture to seal the pores or cracks in the piece.
- Sanding wood
- A wooden board thickness: 3 mm by 3 cm wide and 20 cm long.
- Threads and laces for the moorings.
- Double-sided cardboard.
- Rods or wooden sticks thickness: from 4 to 5 millimeters. (These were taken from the palm of the coconut tree)
- Painting with water solvent.
It is important to keep in mind that to do a little work, it is only necessary to have the will to want to do it, nothing is difficult, you just have to try it and, as we advance in that work, our imagination and creativity is activated until we achieve the goal; I also want to tell you that when we make a work of art, it is important to involve our young children in the process, this will awaken their imagination and creativity, because children are very restless and curious, will ask many questions and try to use the tools to participate, but the important thing is that children stimulate their senses.
I hope that the idea of this mini sailboat has pleased you and I invite you to try to do it at home.
looks very easy but difficult.
I want to try.. thanks sir @oscarcede
Hello @kutrulaju, is not difficult, it only takes a little patience, and of course the desire to do so, greetings.
Hi oscarcede,
LEARN MORE: Join Curie on Discord chat and check the pinned notes (pushpin icon, upper right) for Curie Whitepaper, FAQ and most recent guidelines.
Thank you @curie for valuing and supporting my art, this motivates me to continue creating good quality content that is useful in the Steemit community.
Megusta the way in how with simple materials create something really beautiful, I congratulate you continue creating art as well.