Bodyscapes: Spectacular Black Light Body Art Photography by John Poppleton

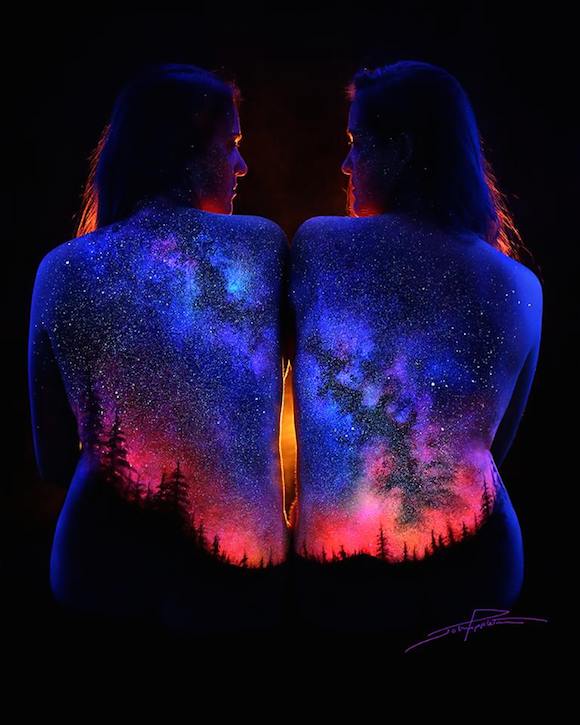
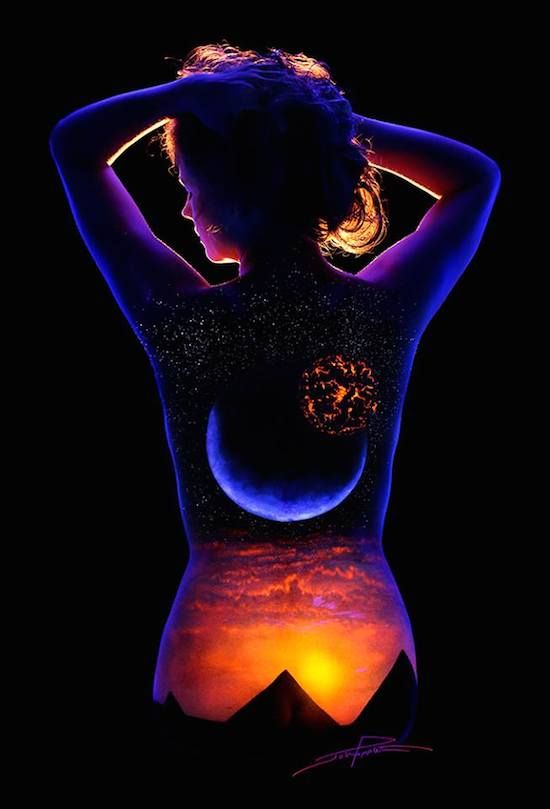
John Poppleton‘s personal motto as a photographer and artist has been to ‘cherish something different.’ The first roll of black and white film he ever got, he climbed to the top of a palm tree to shoot it; and during his 20-year career as a top-notch wedding photographer he would photograph brides in everything from abandoned buildings to the top of picturesque rooftops.
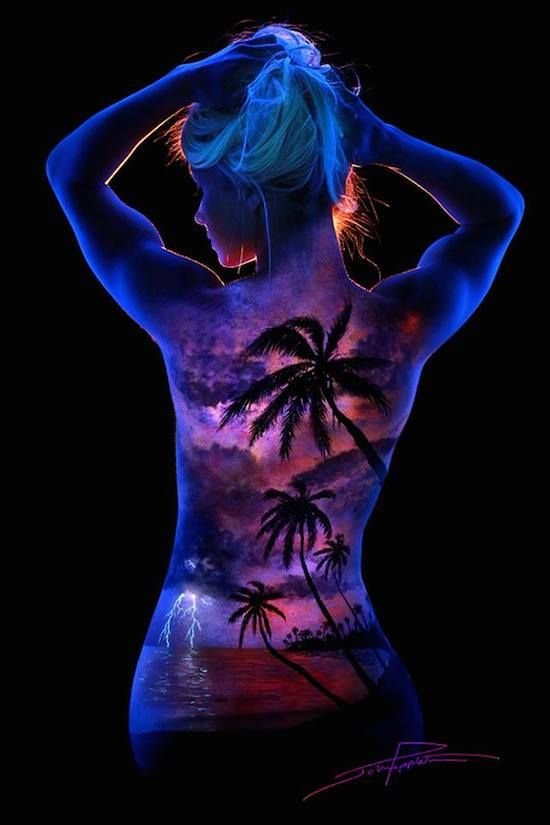
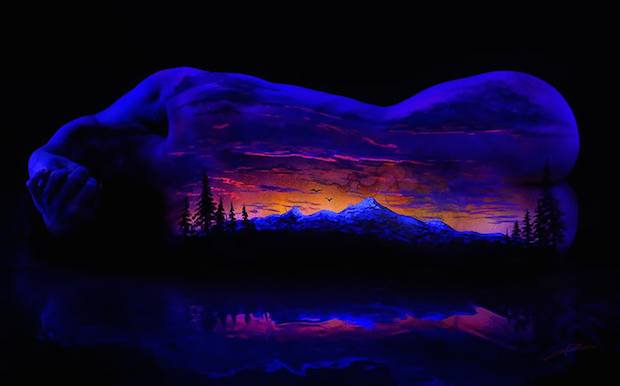
It was this need to be different, to be on the cutting edge of creativity, that inspired Poppleton to get into black light body art photography. And it’s these mesmerizing Bodyscapes that captivated us when we stumbled across them a couple of weeks ago.
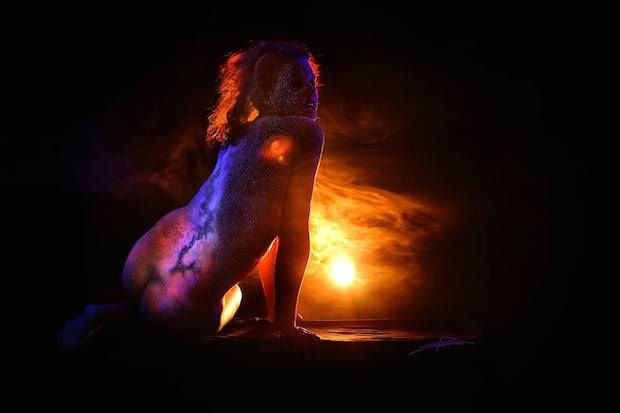
Poppleton’s work with black lights began years before he got into serious body painting. He’s a well-rounded artist, but a photographer first, and so when he first started working with black light photography he wasn’t combining body painting and photography the way he is now.
Those photographs are still both impressive and inspired — they earned him a feature in Rangefinder magazine — and there’s definitely artistic skill involved, but the Bodyscapes feel like a beautiful evolution of that work.
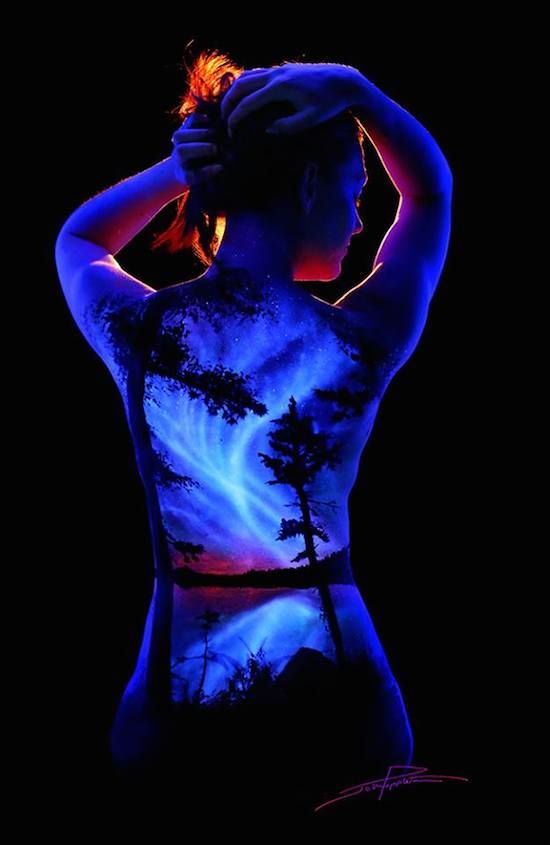
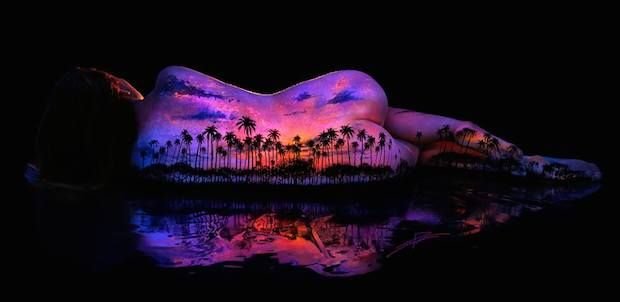
When we caught up with Poppleton over email, we were curious about the how behind these photographs. What gear did he use, what settings did he use, what was his inspiration and so forth. He was kind enough to answer a few of those questions for us:
PetaPixel: What kind of gear do you use to capture these images?
John Poppleton: The gear I use most is a Canon EOS 6D with 24-105 f/4L IS lens on a Manfrotto tripod. The black lights I use most are the basic 48″ 40 watt tubes from Wal-Mart in two 2-tube fixtures. I rim light the subject with my own invention I call UV light Panels.
My equipment plans for the near future will be the new Sony A7s. It will mainly be used for video but it could turn out to be the perfect camera for shooting BL. My first pro DSLR camera was the Canon EOS 1Ds at 11MP and it did a beautiful job, so Sony’s 12MP with more light sensitivity may turn out to be more important than resolution for the black light, but remains to be seen.
PP: What about your technique (i.e. camera settings, etc.)? How do you capture these images?
JP: I’ve been using black lights for about four years now, and so I’m to the point where the settings are just second nature. I don’t realize how hard it can be until I work with someone who has never done it before.
The thing that makes black light photography more practical now in my opinion is the better high ISO quality and cameras with live view modes. High ISO because you’re working in low light, and live view so that you can visually dial in the settings based on what you see on the LCD screen. Except for video and infrared, black light photography is the only time I use live view.
After composing, I can set the shutter speed and aperture according to my needs based on what I see and how still the subject can be. I’ve also manually set the LCD brightness to match my calibrated monitor. In camera I also set my white balance and picture style to get the colors I want.
Most of my work is shot at around 1/15 sec. @ f/5.6 and 1600 ISO. Unless I’m doing something special, my white balance is around 5600K and picture style on standard. Before shooting the picture, I manually focus using focus assist to achieve critical focus.


PP Do you shoot RAW or JPEG? What kind of post-processing goes into the final shots?
JP: I shoot both RAW & JPEG, but usually only use the JPEG. In black light photography it’s very hard to get the RAW image to match the JPEG that I manually set up in camera unless you use the manufacturer’s software, and who wants to do that?
I mainly use RAW if I plan to do something that looks completely different from the way I shot it or to fix a major problem. In the end it’s going to be a JPEG before I can use it for anything, and if you shoot it right from the beginning it’s fine. It’s worth mentioning that I’m not using JPEG because I don’t know how to use RAW. I do use RAW for normal photography.
As far as post-processing, I use Lightroom for my RAW editing and Photoshop for everything else. After the image is captured, I use Photoshop to tweak contrast and brightness levels, make adjustments to color, and clean up dead pixels. I will also selectively use a “highpass” filter to sharpen details and the Liquify tool on the clients that don’t like their weight.
PP: About how long does it take to create each one of these pieces from start to finish?
JP: So far it ranges from 15 minutes to 3.5 hours. Most take me about 2 hours.
PP: What is your inspiration? In one of your BTS videos you mention that the piece you created had significance to that particular model, is that always the case?
JP: If someone comes to me with a commissioned piece I do what they want as long as it fits my style. For my own projects I look through images on Google and 500px until something jumps out at me. The things I look for are colors that I can achieve with the UV paints and something that I know I’m capable of painting.
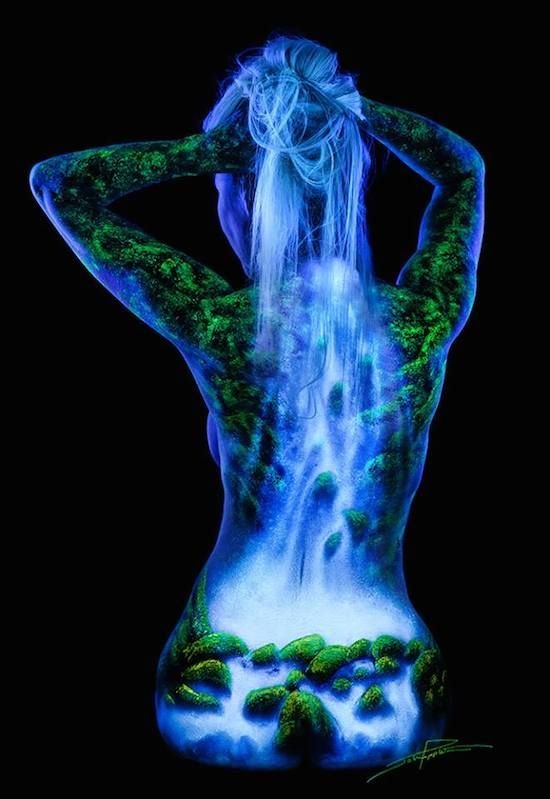
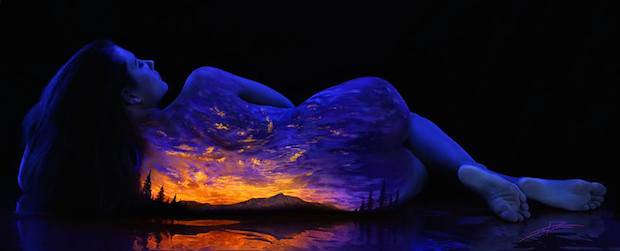
In a short bio video shot in 2013, Poppleton talks about black light photography as this amazing ‘fourth dimension.’ Using an invisible light source to turn your subject into the light source and then photograph that light source is challenging, and fits right in with Poppleton’s aforementioned motto to ‘cherish something different.’
And if there’s one thing you can’t deny about his results, it’s that they are different in the most magnificent way possible. Here’s a look at a few more of our favorites from his Bodyscapes portfolio:
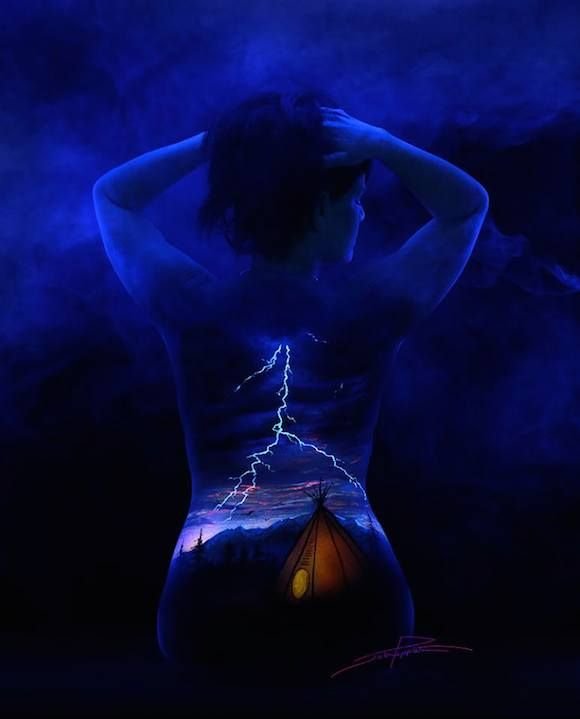
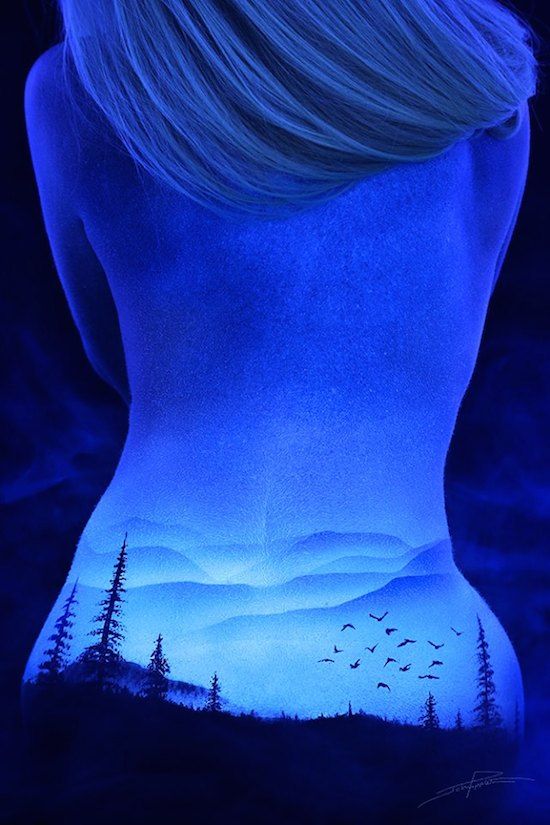
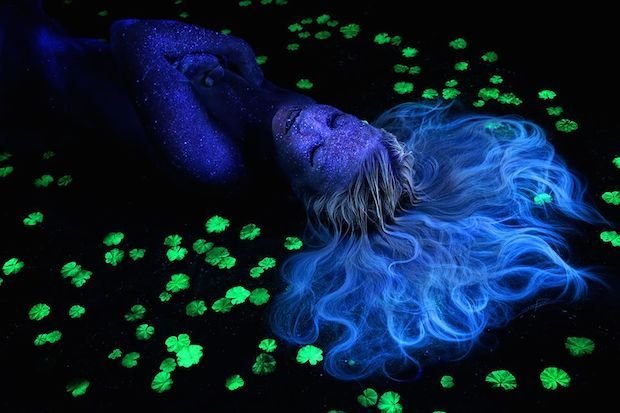
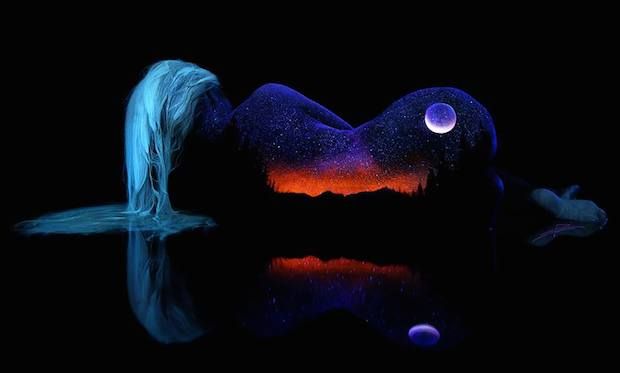
And some behind the scenes pictures of his set-up for both the sitting and laying down photographs
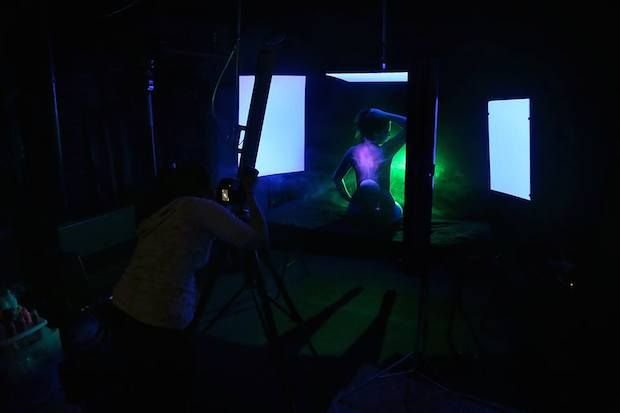
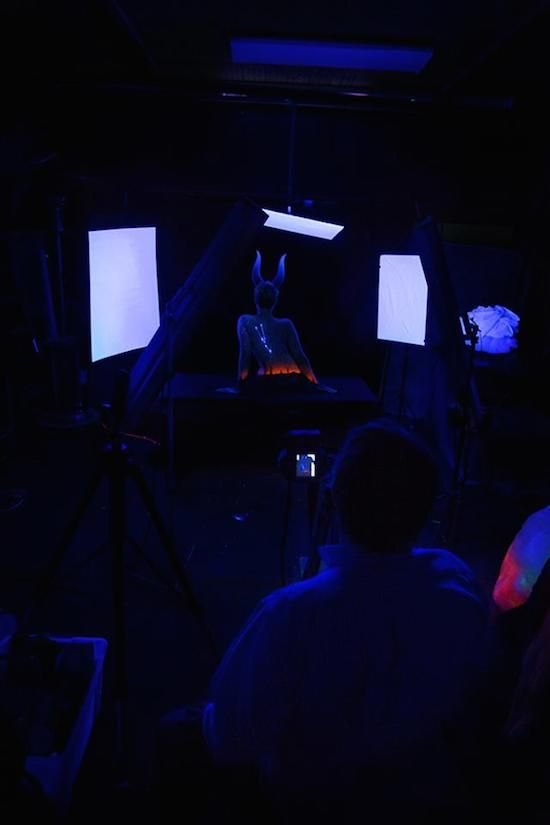
To see more of his work or browse through the plethora of behind the scenes videos that he has uploaded as he created and photographed these works of art, head over to his Facebook page and YouTube channel. You can also browse through his entire portfolio — black light and otherwise — on his main website here.
(via Laughing Squid)
Amazing work :O
YUPS