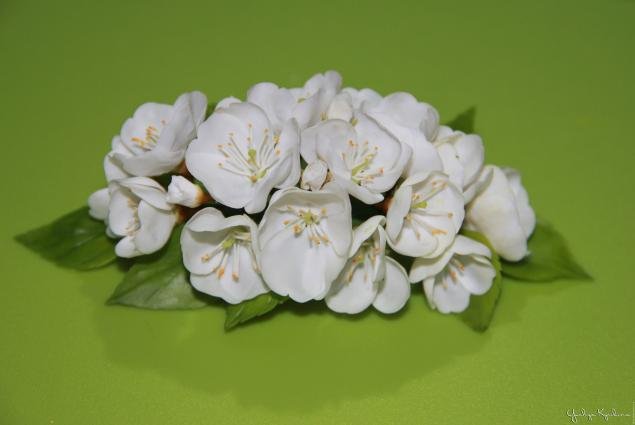
Master Class "A branch of blossoming cherry"
MK "A branch of blossoming cherry"
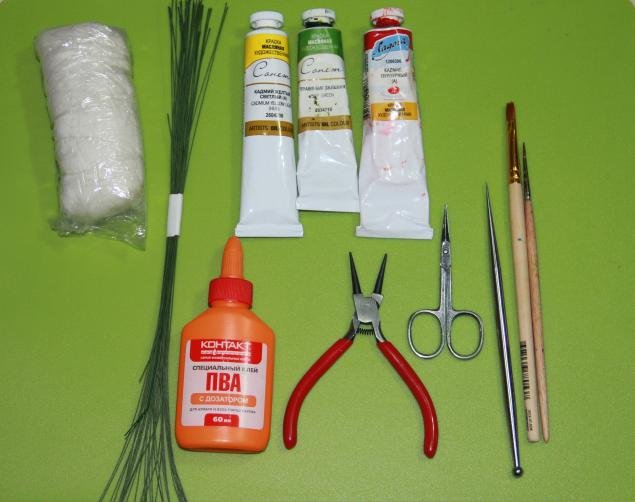
For work we need:
Self-hardening clay (cold porcelain);
Wire number 28 (or other thin);
Stack;
Scissors;
Latex adhesive or PVA glue;
Round-teeth;
Tape tape;
Oil paints (cadmium yellow, herbaceous green, cadmium purple, white titanium);
- Brushes (thin and wide)
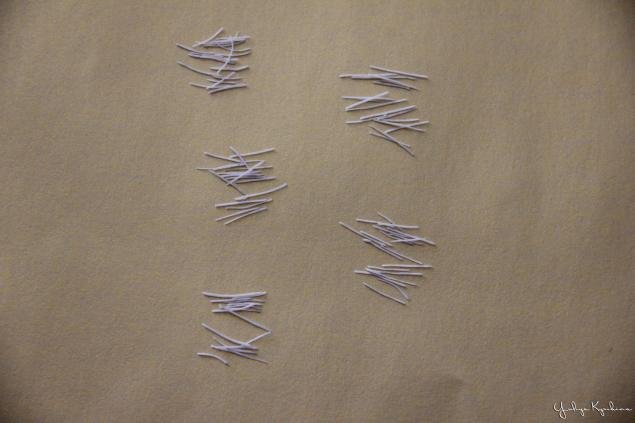
First we'll make stamens. To do this, take a small piece of clay, paint it with white paint(Can be acrylic) and mix thoroughly. We pluck a small piece and roll it on the palmIn a thin sausage (less than a millimeter). After cutting it into equal parts of 1.5 cm. For eachThe flower will need 12-15 such stamens.
While the stamens dry, we will step over to the pestle. We take a piece of clay and paint it with herbal green paint.We should get a light green color.
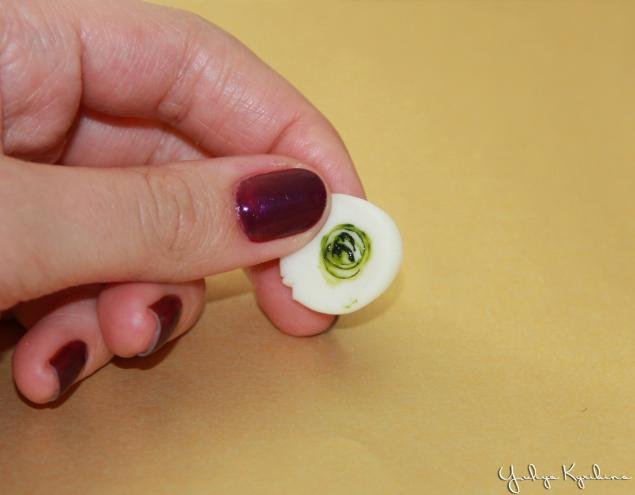
Pinch off a piece of clay with a diameter of 2 mm and roll it on the palm so that with oneSide tip remained wide. Then the wide part should be slightly flattened from above. ThusWe form a pestle. Try to make it longer than the stamens.
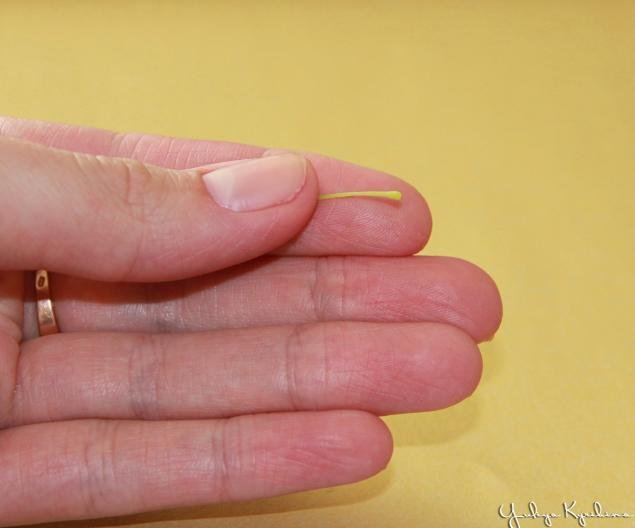
Next, take the wire and cut it into 4 parts. At the end of each wire we make a loopRound-teeth. We glue the pestle to the wire.
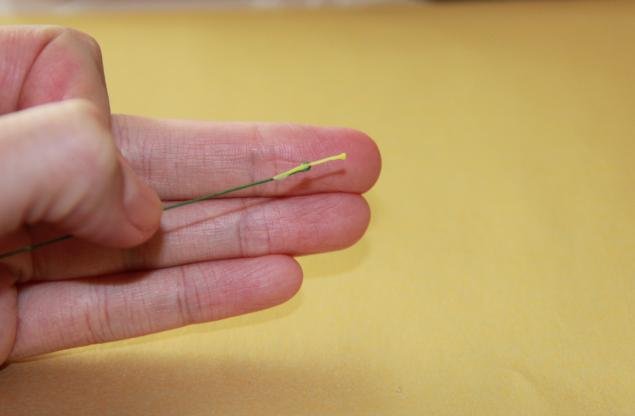
We pluck a small piece of clay - 4 mm. Form a little bit of it. And from the wide side of the stackForm a funnel. And paste on the wire with a pestle. This we will have the ovary)
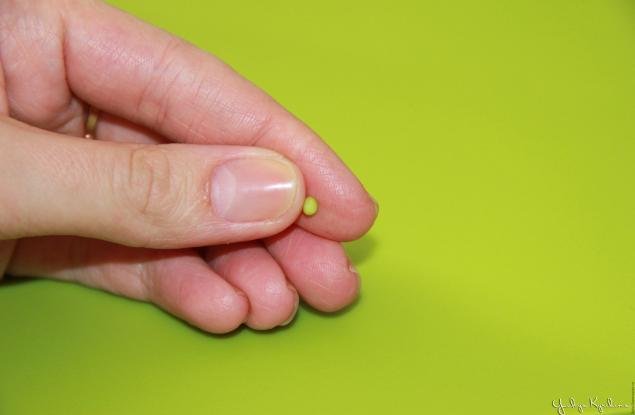
Between the pestle the ovary should remain space, because then we will go into this spaceStick stamens.
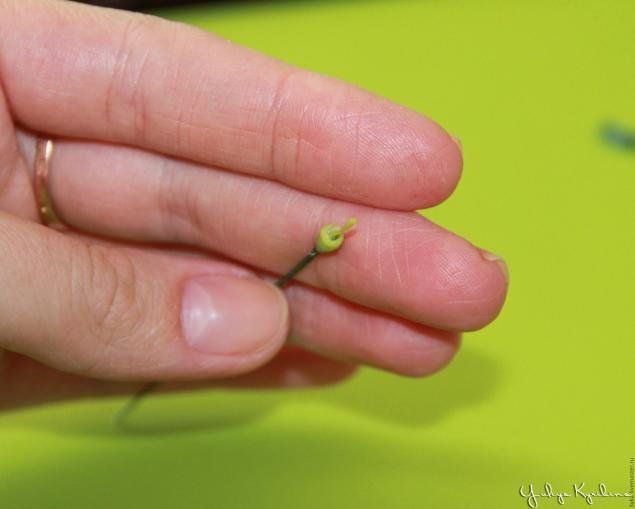
Stamens try to glue to the walls of the ovary.
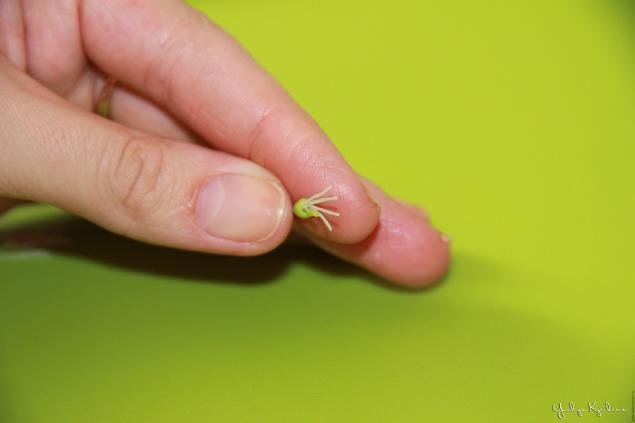
After they stuck the stamens, they need to be pruned and painted with oil paint, imitating the pollen.
For this, I mixed the cadmium yellow and slightly (at the tip of the brush) cadmium purple.
Now put the workpiece together and proceed to the petals
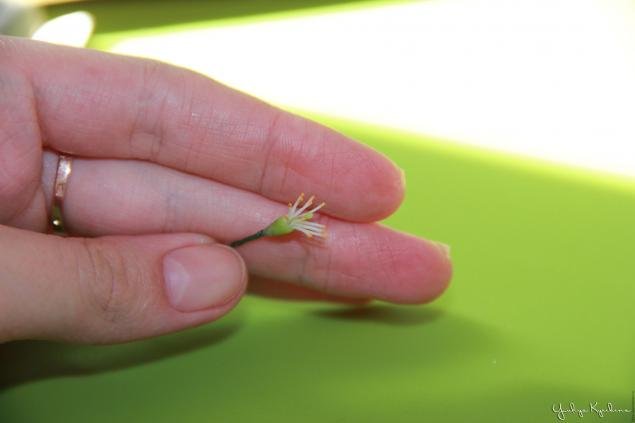
Take a piece of clay and paint it with oil paint (white titanium), by the way, can be paintedClay and acrylic paint.
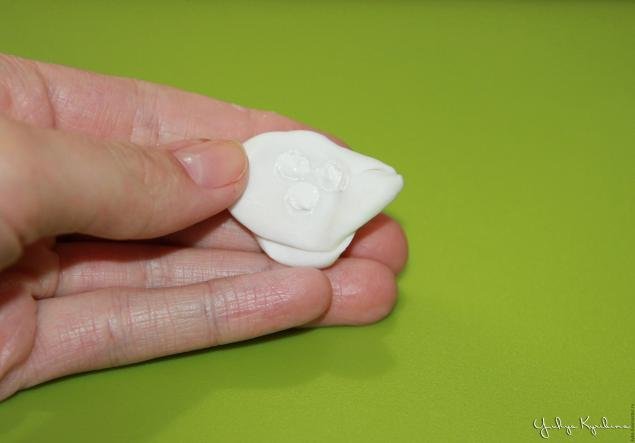
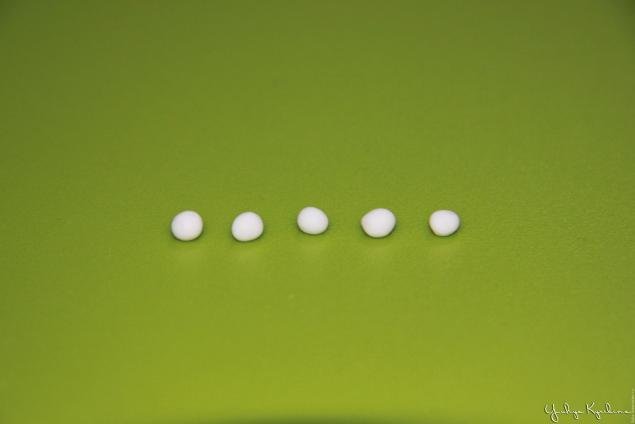
In order for the petals to be the same in size, tear off five identical balls of 4-5 mm.
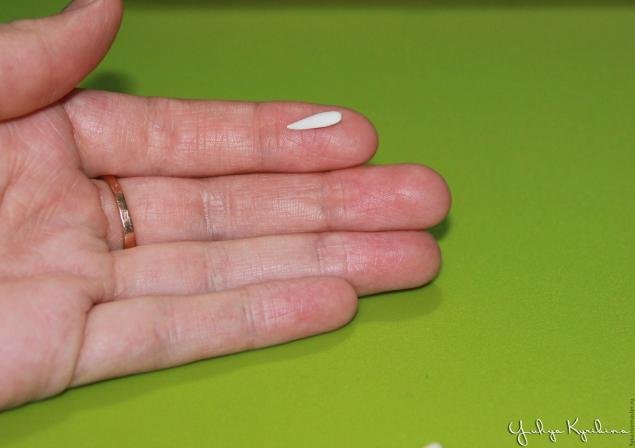
We roll the ball into an elongated drop and slightly flatten it. Now we roll out the stack from the middle
Left and right, while trying to make the tip more subtle. In the center, we make a small depression in the stack,
So that the petal looked like a heart. A narrow side of the petal pinch your fingers, forming
The petal leg, which we will then glue to the ovary. Now it is necessary to slightly press a stack-gantelkoj
In the center of the petal, thereby giving it a concavity. I hope, clearly explained
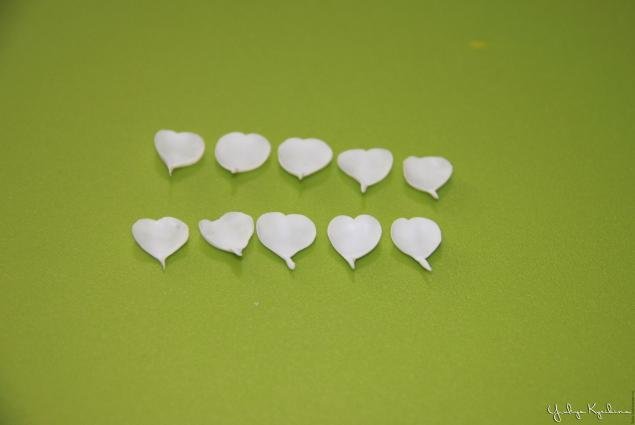
If your petals are not exactly the same, do not be discouraged. In nature, too, not all under
Carbon paper. The main thing is that in one flower the petals coincide in size. If the petals are smaller,
Than the others, it is possible to make of them a half-opened flower.
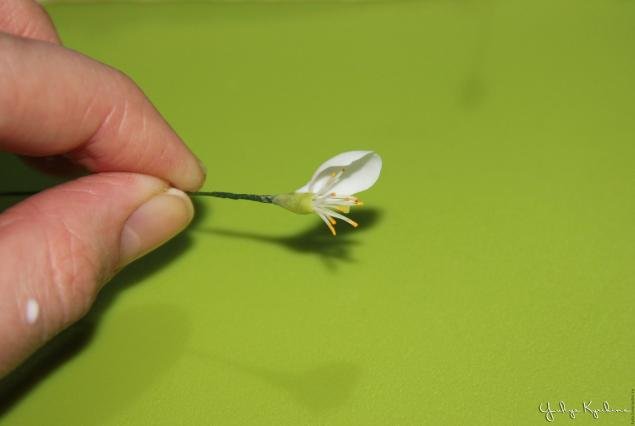
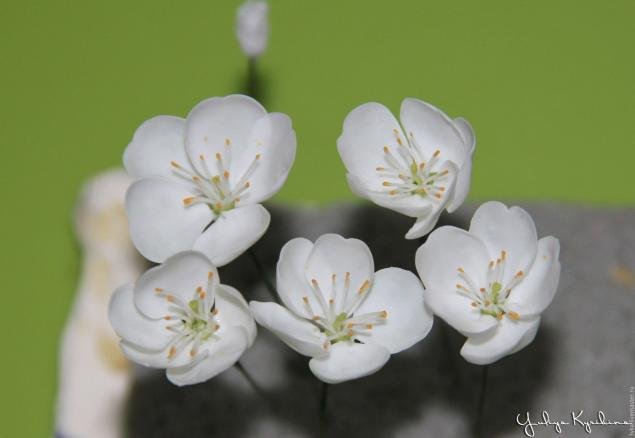
After the petals dry, we begin to glue them. I do this in turn, i.e. First glue
One petal, then the second and so on. To ensure that they have time to stick and take the right
a place. Petals should be glued exactly, not one after another, so that the fan does not turn out. Petals should
To be like the rays of an asterisk. If the petal does not fit, bend it forward or backward.
In order for the twig to get more natural, we will make a few buds. For this, we rollPiece of glinka, 3 mm in diameter, in a drop. And glue the sharp tip up.
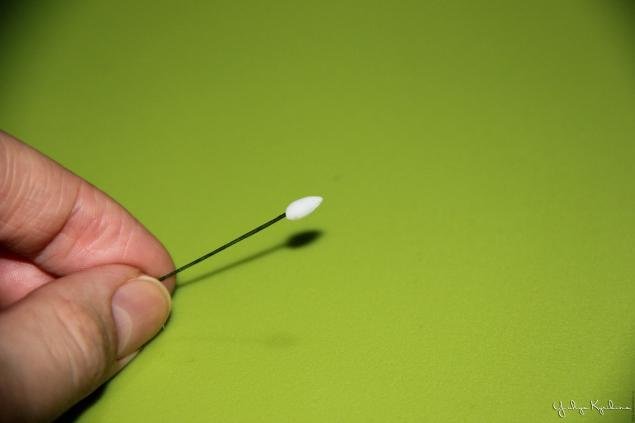
We roll five petals. For a bud, it is not necessary to work out the entire petal so clearly,So that the edges of the petals are thin. And you do not need to make the same size.
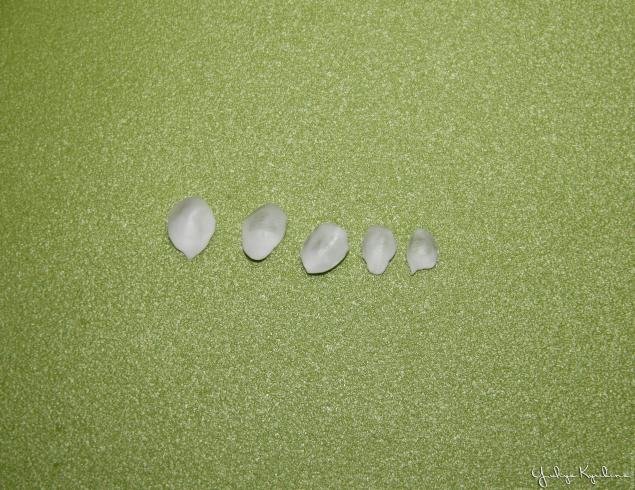
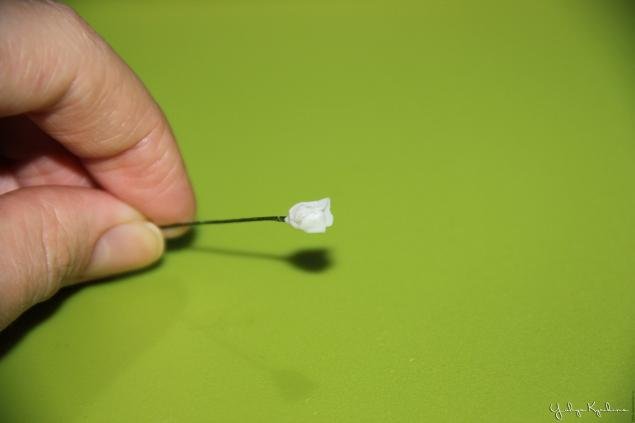
We paste the petals in a fan-like order, i.e. Each next petal is pasted to the previous one.
Now we will take over the sepals. Take a piece of clay 4 mm. And make a little bit of it. AcuteCut the tip into five equal parts
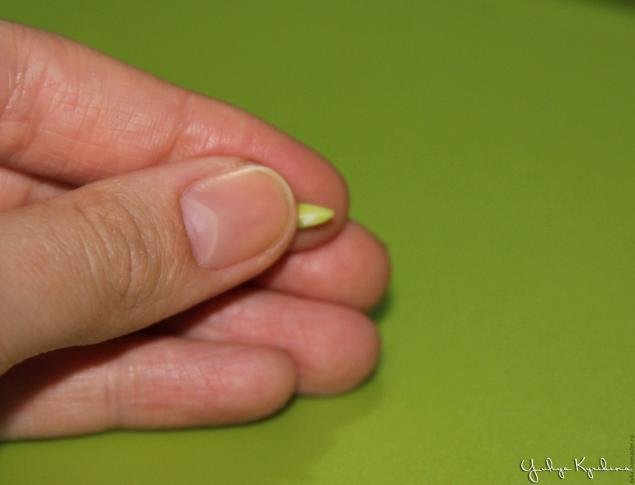
e roll each notch in a stack, forming scales.
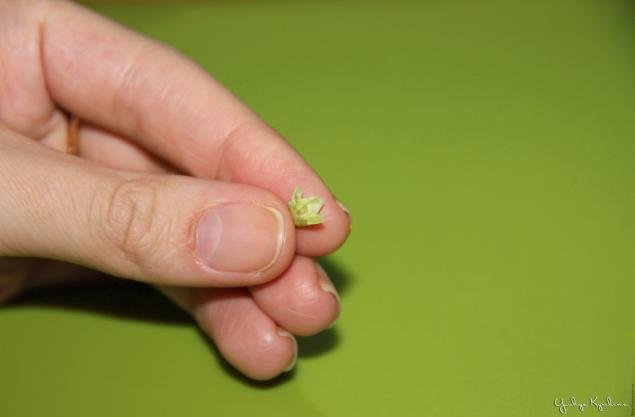
We paste and top the clay with the upper part of the wire. Do the same for the rest
Flowers and buds.
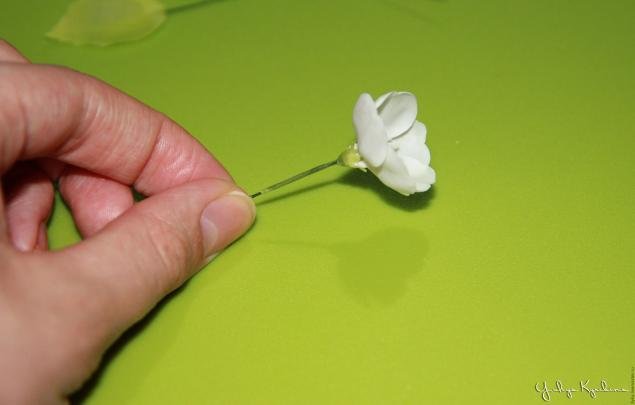
Next, we will make leaves for our twigs. To do this, take a piece of clay and roll it into. An elongated droplet.
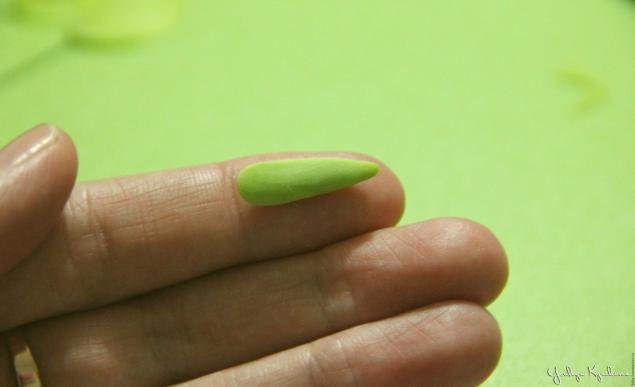
Stack rolling out the clay, forming a leaf. Try to roll evenly over the thickness, only the tipDo thinner. Then you can edit the shape with scissors) and make the notches. After that, againYou should walk the stack along the edge of the leaf.Since I did not have a suitable mold near my hand, I drew the streaks with a stack, laying a leaf on itPalm. It seems nothing happened .While the leaf is not withered, it must be glued to the wire and also clove it with clay.
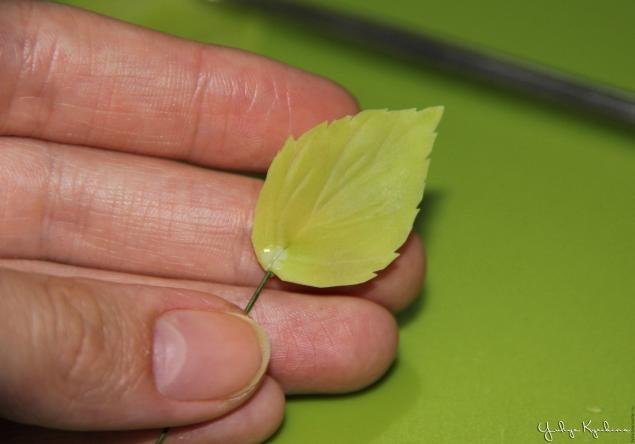
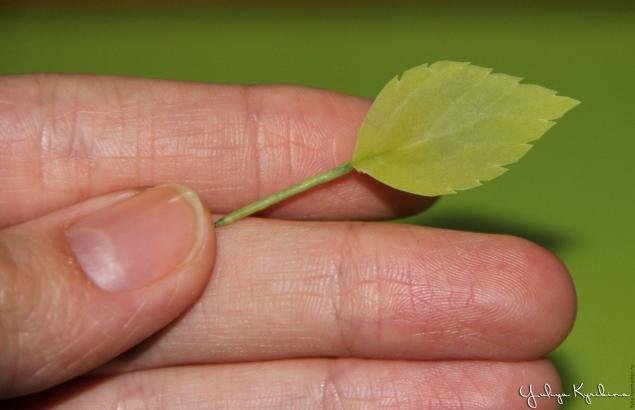
Now let's start the most interesting - for painting.
For the leaves, I mixed the oil paints with herbaceous green and cadmium yellow. You can slightly add
Diluent.
Apply a thin brush on the outer surface of the sheet and on the foot. The back of the leaf we
We will not paint.
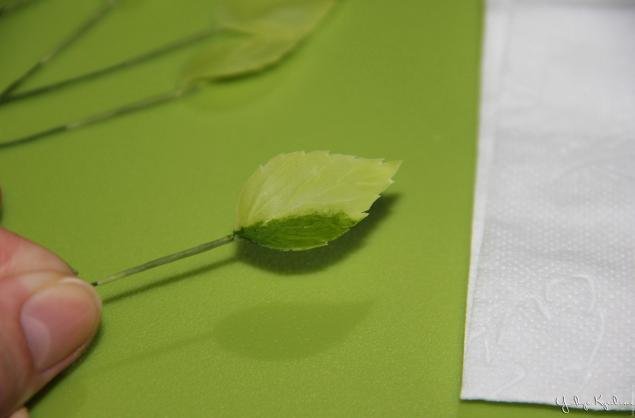
In order to level the color, dry with a broad synthetic brush, remove excess paint on a napkin
And shading on the surface of the sheet.
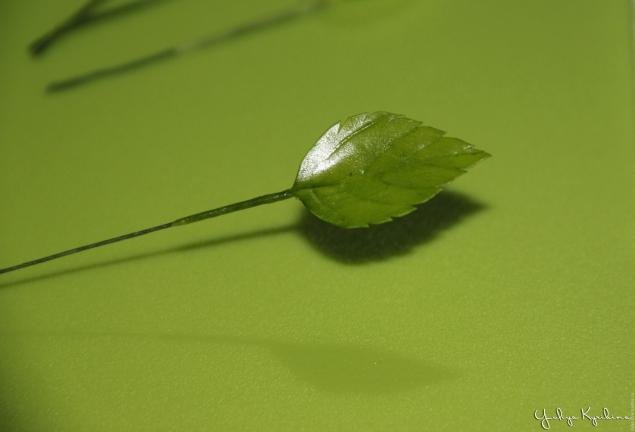
For the coloring of flowers we mix cadmium red and cadmium yellow. Should be red-brown
Colour. Apply a thin brush on the stalk and sepals. You can not paint completely, then everything
We shade with a wide brush.
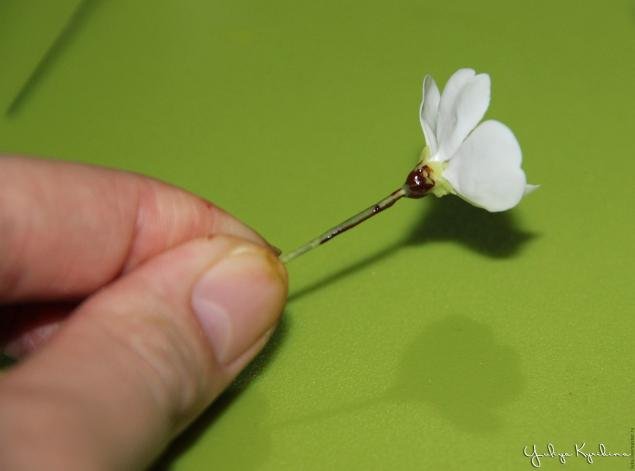
Try to shade neatly, so as not to touch the petals. And if this happens, wipe off the paint
Wet cloth.
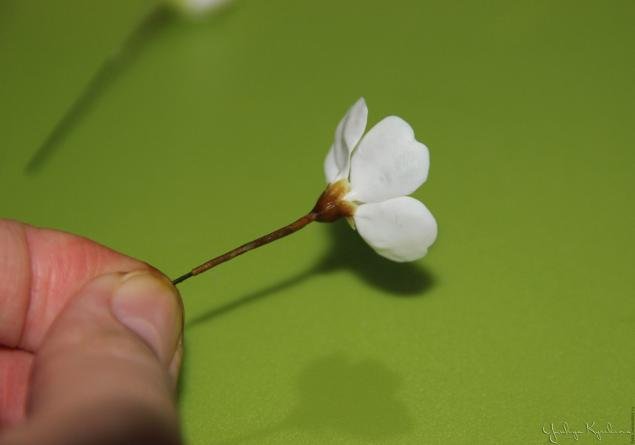
After the oil paint has dried, you can start assembling. Do not try to do this before,
Otherwise all you slap and all the work is a nuts!
I'll show you how I collected flowers for decoration in my hair. I did not do it the way flowers are located
In the nature, and as it is necessary for me. Therefore, you can do as you like, the basic principle is the same.
So, I took a piece of teip-tape and cut it in half. Then take a leaf and a bud and wrap it around
Tap-tape.
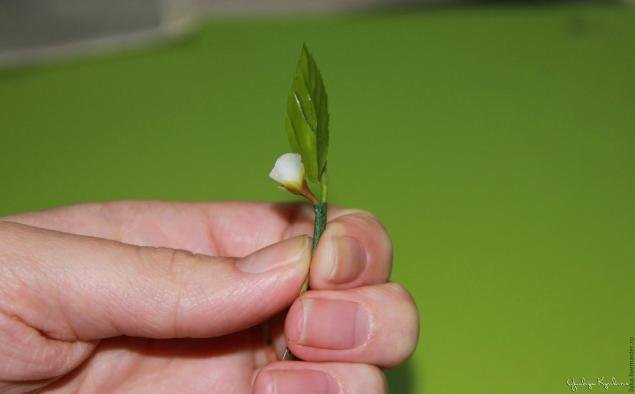
In the same way we attach flowers. Each flower is necessarily one by one tied to a branch.
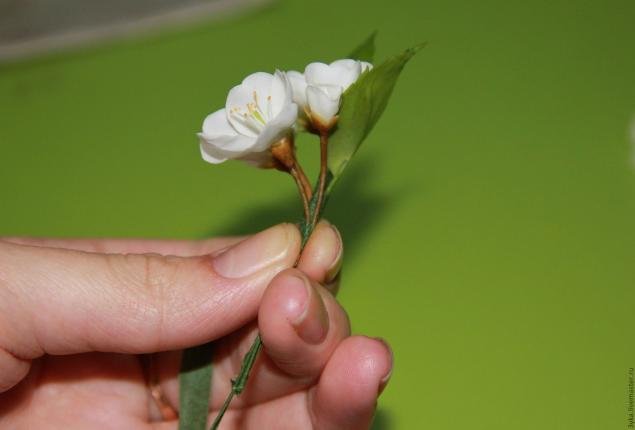
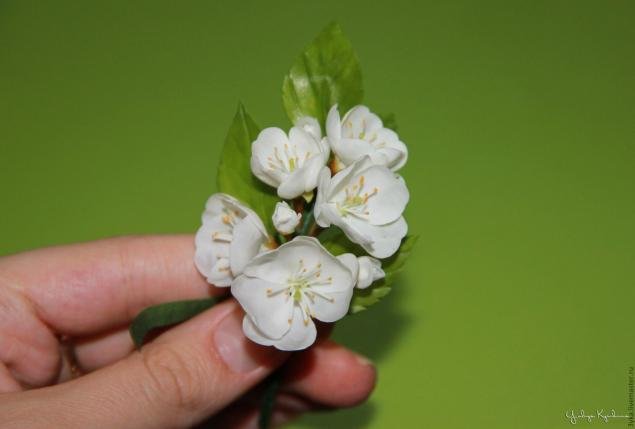
Now turn the twig and cover the teplon with clay.
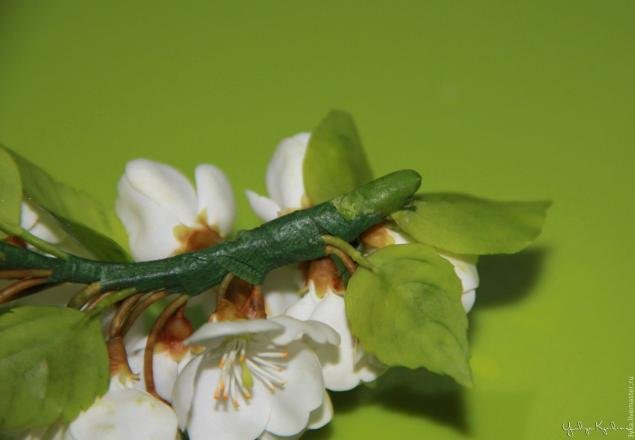
Use the stack to gently level the clay
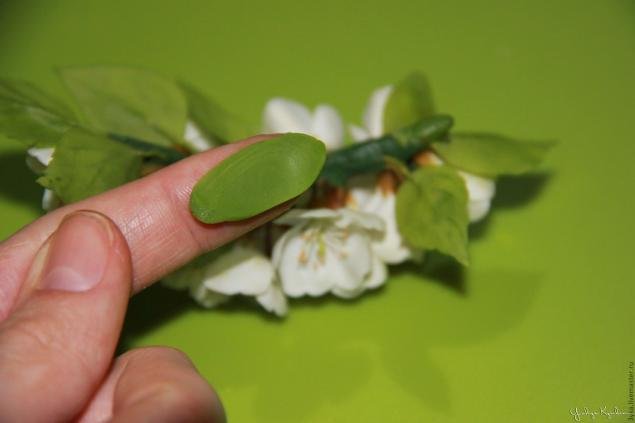
Align the clay with water.
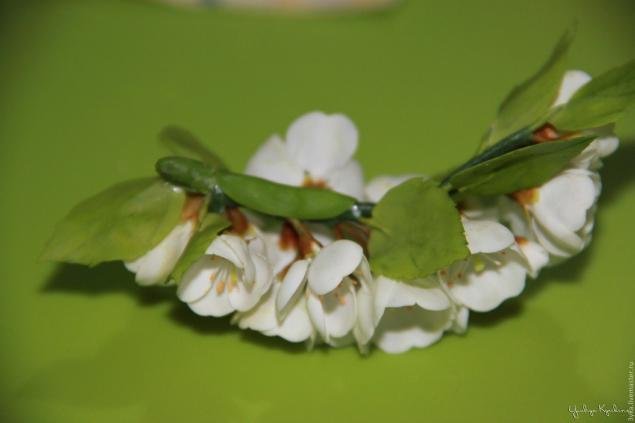
I got this twig. You can paste it on a hair clip or a comb.

Nice pics I liked them !! @juliyahandwork
Thanks.
Wooow!!How beautiful!! @juliyahandwork
Thanks.
Very good! Beautiful art! @juliyahandwork
Thanks.
Nice click.
Thanks.
Super! What a laborious job! You are well done!
Thanks @katrinart.