Step by step in graphite pencil
Your eye to graphite
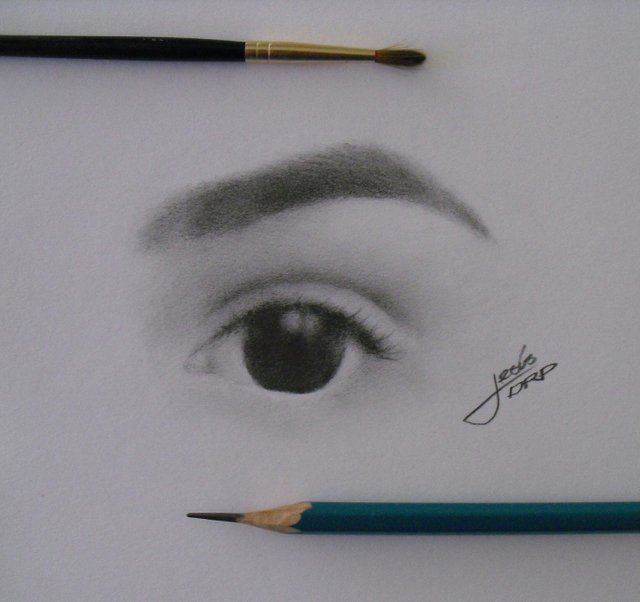
On this occasion I decided to make a drawing in the "flash" mode with the intention of relating my way of approaching the portraits or at least part of them from a reference image of medium resolution, in this case I selected the photograph of A beautiful young woman whose look called me a lot of attention, since it transmits more than what she herself must understand.

In every portrait, the eyes are the main ones in charge of noticing or not the similarity between the obtained result and the reference photo. In my particular case the gaze is one of the areas where I pay more attention to the details, because the fact of capturing the direction of the model's look has a lot to do with the success that can be obtained when carrying out a portrait.
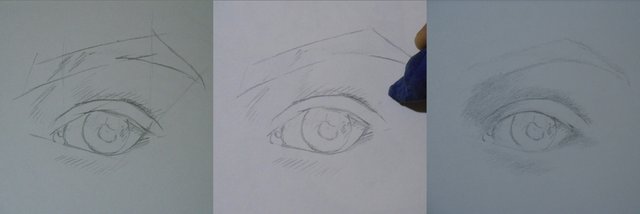
Here I describe a little what was step by step, accompanied by a miniature of it:
1.- Lines

• In this stage, to define the proportion of the eye is the main objective, I used all the reference lines that I thought were convenient to mark the shape and size of the eye, the limit of the elements that make it up as well as what I call the shadow map .
• I used a 2B graphite pencil and made strokes with very little pressure on the paper.
• In this part of the process I eliminated the surplus lines with a moldable eraser and I gave body to my map of shadows marking them with a more intense stroke.
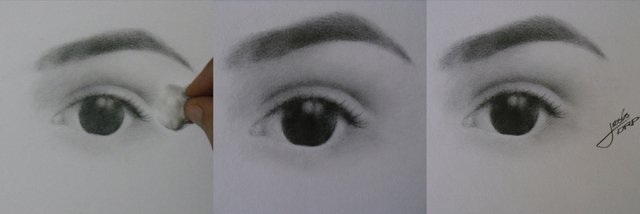
2.- Base tone

• In this part of the process I focused on marking the highest tone of the drawing, since from this it was possible to calibrate the rest of the tones.
• Making a base layer with a 3B pencil respecting the light zones allows me to cover what can be defined as the pore of the paper.
• I used a fine brush of soft fibers to integrate the graphite and completely seal the pore.
• After integrating the base layer I raised the tones of the eye.
• The use of the moldable eraser is essential to keep the illuminated areas that are covered with graphite residues.
3.- Integration

• Make the strokes disappear to give a sense of naturalness with the drawing is to unify the lines and turn them into tones.
• The use of a paper diffuser or a slightly harder brush can be of great help in this stage, whose purpose is to eliminate the traces that still remain in the drawing.
4.- Blur

• Completing the lower tones of the drawing is made easier by keeping the higher ones in mind, achieving transitions between them that give the impression of softness.
• The use of cotton is a very good option to develop subtle gradients.
• Rescue the areas of light will always be possible if we respect them from the beginning.
I hope you like it and give me your opinion. Greetings and until next time!!