GRAPHITE SKETCH [8]
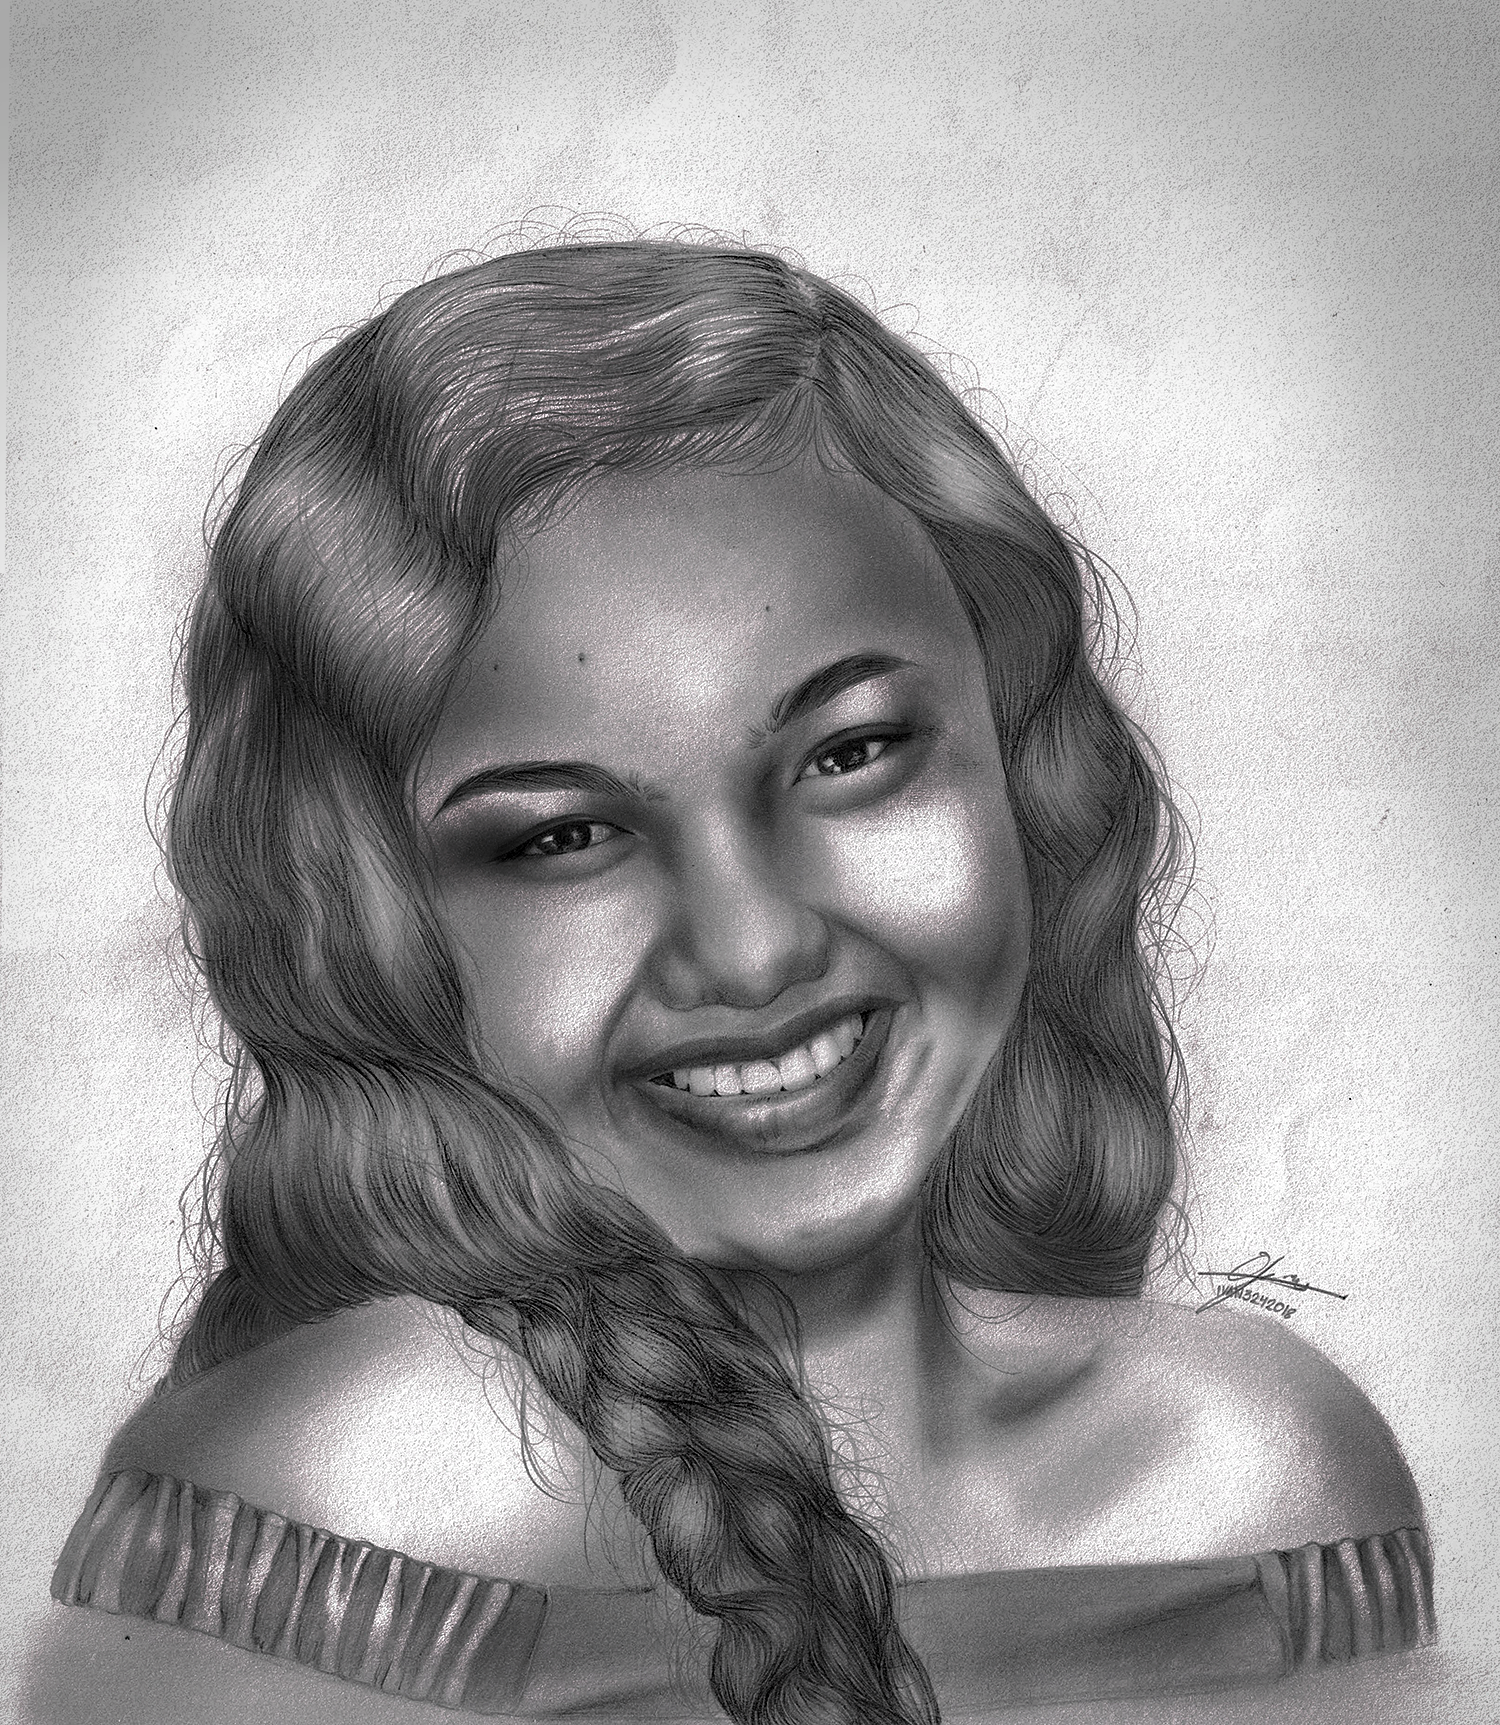
Hi everyone!
I am a sketch artist
I did a recent sketch which was for a job order from a friend. I also happened to enter it in a contest here on steemit but I might as well post a formal post on it because I thought it would be nice.
I would like to share my recent sketch with you and how I did it.
First, I do a lot of sketches either for my family, friends, professors or even for people who have been referred to me for sketch works. I started doing sketches since when I was in fourth grade having an artist for a mother and a engineer for a father (i don;t know his field actually. but he draws every time in blueprints. I remembered drawing doodles beside him when I was a kid). I then started joining contests for my school in regional and national competitions.
Then I continued doing art up to college and that was the time when I realized I can sketch for money. It's a very great experience having to see a happy and contented customer after I gave them my sketches. So now, I want to inspire you to do sketches as well. I hope you appreciate my art and even learn something from the post. Enjoy!
you can also contact me here:
Twitter
Facebook
PENCIL
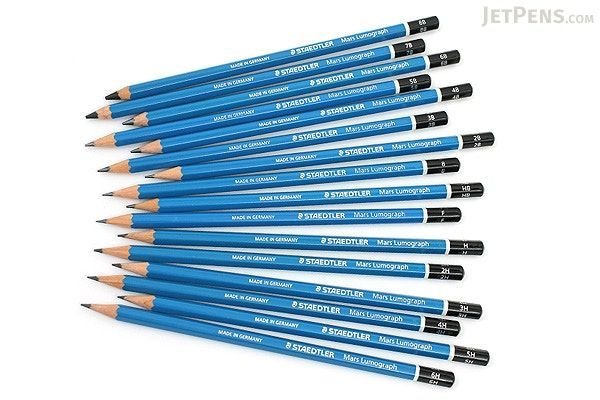
So the first thing that I ensure to have when preparing for a sketch is my pencils.
Tip: DO NOT USE ONLY ONE PENCIL WHEN DOING SKETCHES.
for beginners, I suggest you use 2 pencils (one very dark and one of a lighter shade). Seasoned sketch artist know it very well that good sketches require a lot of pencils of different shades to achieve.
As for this sketch, I used Staedler Drawing Pencil 4H, H, HB and 4B. The lightest shade in the list is 4H, I use it for details in the hair, eyelashes, eyebrows and wrinkles. I also use that as preliminary markers in my sketch so that I will not draw beyond the borders while leaving no line marks behind after the sketch. H and HB are regular shades, I use them for the lighter shadows and contours of the face. I also use them for the main lines and shades especially for the eyes, hair, eyebrows lips, and almost everything. The 4B is the darkest shade that I use whenever I sketch. I use it for the darkest shadows, contours, and lines especially in the dark part of the hair, eyebrows, the end part of they eyes and all the parts of the face where it needs the most emphasis. I play with this pencil most in the eyes especially when I want the eyes to be more realistic. I put a darker shade in the middle and outline part.
ERASER
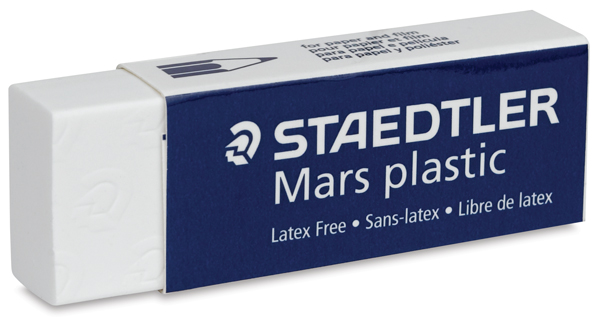
The second item that is very important in sketches are erasers
I think there will always be a difference, so I suggest you use a good quality eraser. As for this sketch, I used a Staedler eraser. There is also a black version of this but I opted to use this.
Erasers in sketches are used to create the illusion of the sketch being 3D. The erasers will enhance the quality of the highlights of the face. It will also enhance the highlighted part of the hair.
Remember: the greater the difference between the contrast and highlight of the sketch will make a better 3D effect on it. Dark pencils for more contrast and erasers for the highlights.
SKETCHPAD
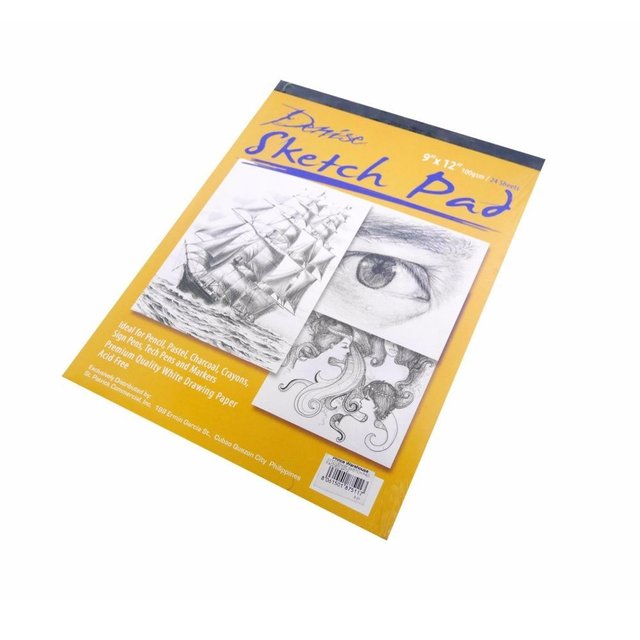
The 3rd item that I think would need a personal choice is the sketchpad you use.
I have tried a lot of sketch pads either personally bought or I received as gifts. HAHAHA Corona sketch pads are recommendable. Meanwhile, in this sketch I used Denise Sketch Pad. For beginners, I recommend buying smaller sketch pads (size: 9"x12") while for those who are willing to go a level higher, larger sketch pads are very handy (sizes 12"x18")
I use these sketch pads (Denise and Corona) because the grain and texture of the sheets make it easier to apply shading on the sketch. Some sketch pads are too smooth that when you shade, it will only slide on the surface and your desired effect will not come out. Also, glossy sheets will create marks and dents when you apply pressure on it. the end result will be undesirable. On the other hand, rough 8sheets will make it very difficult to control. A simple mistake on your shadings and strokes will end up in a big change in the sketch which will prove to be difficult to correct it afterwards.
NOW ON THE SKETCH
well, I guess this is the difficult BUT MOST FUN part. I remember my sister telling me that it's irrelevant what process you do, as long as you get an almost precise and accurate copy of the sketch at the end. Well, you know what they say, there are a lot of ways to kill a chicken. lol
Anyway, the first thing you have to do about sketching is to make markers and borders so that you will have a guide upon doing the sketch. (using the 4B pencil) The most common ways of having accurate guidelines are by drawing gridlines, or by freehand (woah! people who do freehand are those who's talent is god level. or the ones who do caricatures. and of course, those who settle for distorted faces. kidding) But me? I just put the paper on the screen of my laptop and turn off the lights. Then, i start to copy the edges and important spots in the face like the eyes, eyebrows, lips, outlines of the face and hair. Probably everything in the face. I do it because it's easier.
Then I start to do the main items of face. This is the sequence of my sketch. *(first to last) left eye, left eyebrow, right eye, right eyebrow, nose, lips, face(shadows) chin and down, hair and up. I do left to right sequence becuase i am a right handed person. When you do it from right to left (being right handed) there is a big chance that your hand will come in contact with the sketched part an smudge the shadows. That could be very disappointing and will make you want to crumple your half-baked sketch.
SHADING
When I do shading, I really look at the original picture first. I pin point the most highlighted and darkest parts of the face.
- REMINDER: ALWAYS APPLY SHADING FROM LIGHTEST SHADING TO DARKEST* with I mean you do the lightest shadings of the face first, then gradually darken the shading. This is important because it is very difficult to correct it if you apply dark shading immediately and you realize that you did it wrongly. It is easier to darken the shade than to lighten a dark shade (erase slowly, blend slowly. it is difficult because when you erase, it will really show where the erased part is. It will leave a mark.)
Also, one technique I can give upon shading is to NEVER shade directly with you pencil on the paper. Have a separate paper and shade a patch on it (just to put the graphite on the paper) When you have the heavily shaded part on the paper, get a cotton ball and rub it on the shaded patch. That is when you apply the shade on to the face. IMAGINE APPLYING MAKE UP ON YOUR FACE, BUT INSTEAD YOU APPLY GRAPHITE SHADE ON THE FACE ON THE PAPER. WITH THE MAKE UP POWDER AS THE GRAPHITE SHADE, AND THE MAKE UP BRUSH/SPONGE AS THE COTTON BALL.
I guess that has summed up the most important things when I do sketches.
Some of the WIP photos of the sketch:
DONE

Original vs Sketch
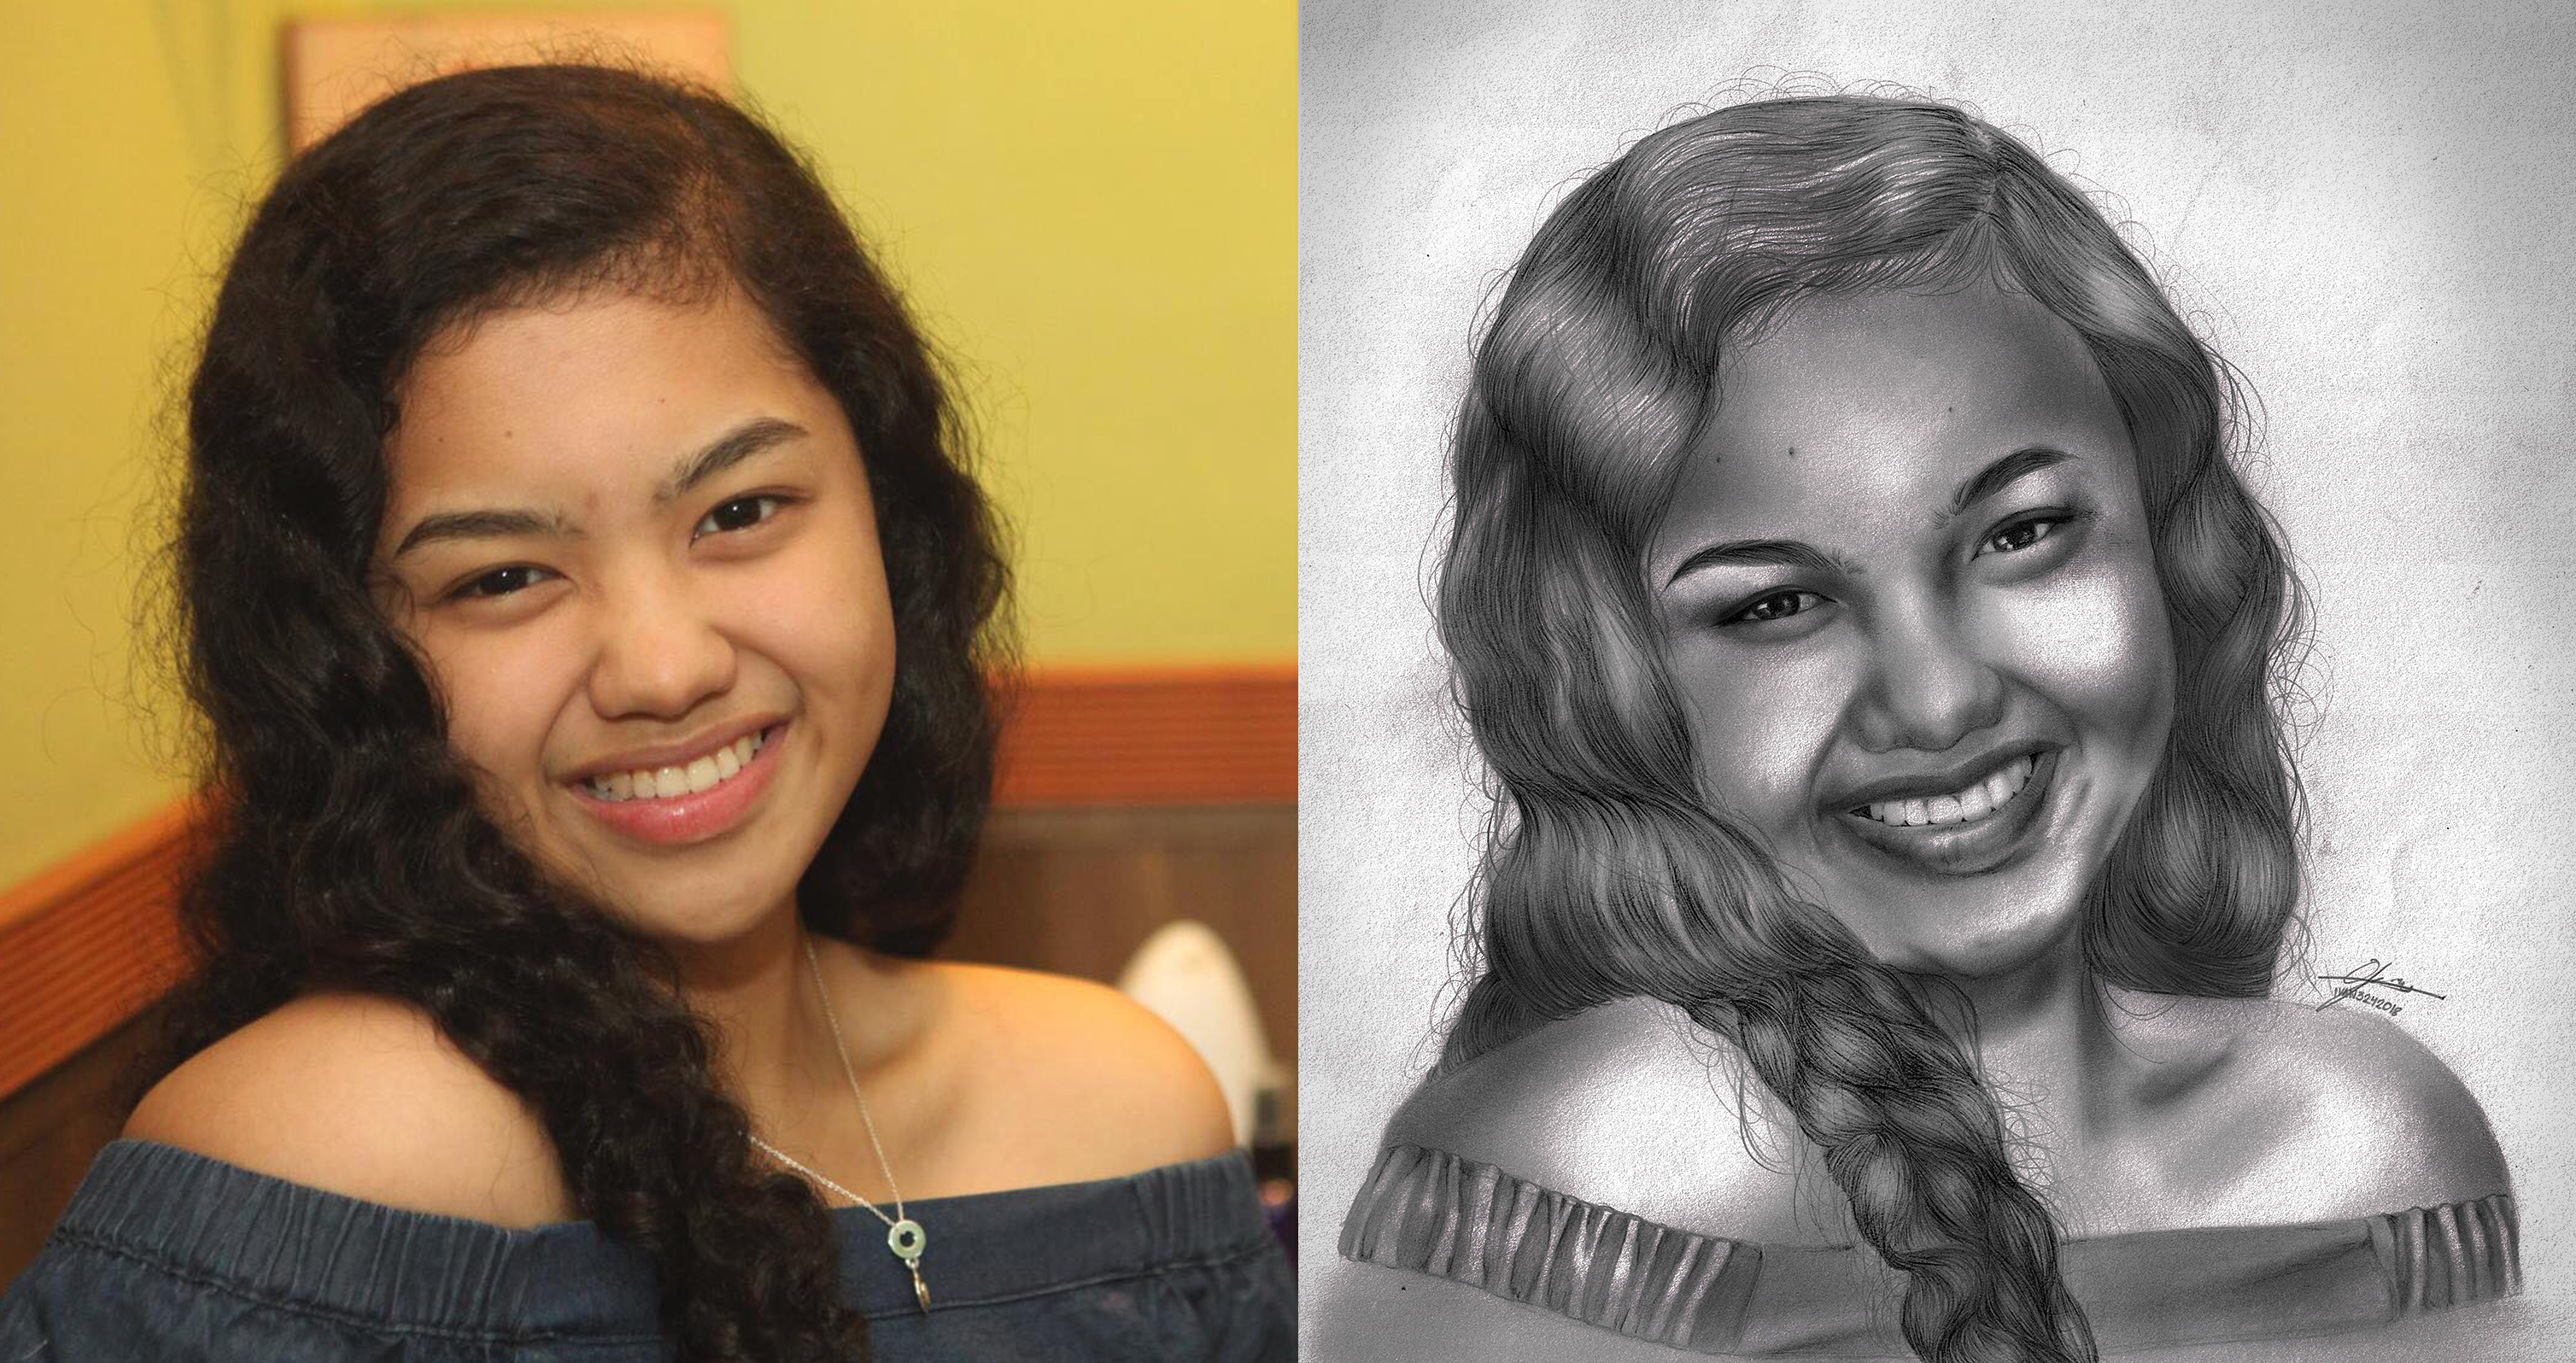
Then this is the final output of the sketch.
I got it scanned so I can get the complete details of my sketch.
This is an 11"x14" sketch.
Working time: 4-5 hours.
I hope you guys had fun looking at my post :)
Please support @surpassinggoogle as a witness by voting him at https://steemit.com/~witnesses and type in "steemgigs" at the first search box.
If you want to give him witness voting decisions on your behalf, visit https://steemit.com/~witnesses again and type in "surpassinggoogle" in the second box as a proxy.
Please like @teardrops on Facebook and Twitter:
• https://www.facebook.com/teardropstokens/ •
• https://twitter.com/teardropstokens •
