Tips to make a dreamcatcher

Hello everybody ! Let's start the week with some creative vibes! I make dream catchers, try to sell them, and today I want to share some tips about how to create one.
There are hundreds of way to make dream catchers: you can create different patterns, use different materials, choose different colours, size....etc. I will just show you how I process, what technique and tools I use.
By advance I apologize I the tuto is not clear enough: it's a fact it is not very easy at the start to understand how to do and it is not easy to explain neither. I did my best. Ok, enjoy and try !
The good tools

To make the ring I use some wire. Here it is a quite thin and small wire but you can use bigger. Use something flexible that you can model easily. For the net I use some fine string. You can use different colour (I like black or beige, but brown is not bad neither). and different size as well. My black string is elastic but not the white one and strangely I found easier to stretch the rope to tight my net with the white non elastic rope.
We need some tape and scissors.
To wrap around the wire I use ribbon. You can use leather it looks very good and give a "authentic" aspect but personally I haven't found it (you can probably order on-line). I usually buy 3 meters for a medium size dream catcher or a small dream catcher with 2 main rings. It depend also how large is the ribbon.
You need some beads, I like to use good quality beads ( a shop in my town sell hand-made beads and for big beads it is very cool but a bit expensive), for the small beads I buy cheaper ones. Be careful when you buy then that the hole will be big enough for your rope.
Eventually, you need feathers. For me the ideal is natural ones, but I don't find a lot in nature... I also buy some false feathers. I you like colours they will fit perfectly, but for an authentic aspect natural feathers are better.
Later I will also use a needle and some very thin thread.
STEP 1: Model your ring

With your wire create a ring. Choose the size that you like but for a first dream-catcher I recommend not to do something too big. If your wire is thin like mine, do many rounds to make the ring thicker and use the tape to stick the wire together.
STEP 2: Wrap your ring

Take the ribbon and start with a normal knot. Double it to make it stronger. Wrap the wire with the ribbon. At the end make a loop and cut the rest of ribbon.
STEP 3: The string

To know more or less how much string you need, use the size of your ring and do it 3 times. If you doubt take a bit more. Start with a double knot on the left of the loop.
STEP 4: Create the net

Roll the string around the ring as you can see on the pictures. Do that for the "1st round". It have to look like the last picture. It is important to make it regular: the space between each loop should be the same.

To start the 2nd round you have to put the string under the first loop of string. It will create a triangular space. Repeat this action all around and when you come back to the same point repeat again (the string will go in this triangular space I talked earlier). Tight the string often because otherwise the net will be loose.
STEP 4: Beads in the centre

When you get to the point showed on the 1st picture, you can start to add beads. I usually use small ones. Add bead between each "triangles". You can stop when it makes a circle, and tight a knot at the end.
In the empty space in the middle you can add a bigger bead if you like.
STEP 5: Decorations

As I said, I put some bigger beads on the middle to decorate. Then take your thread, assemble beads and feathers as you like, and tight the thread on the string. Do many knots.
To tight the feathers I block them into a bead with small hole and I also pass the thread through and tight a knot. You can also add a bit of glue on the bead and the knot to make it safe.
FINAL RESULT

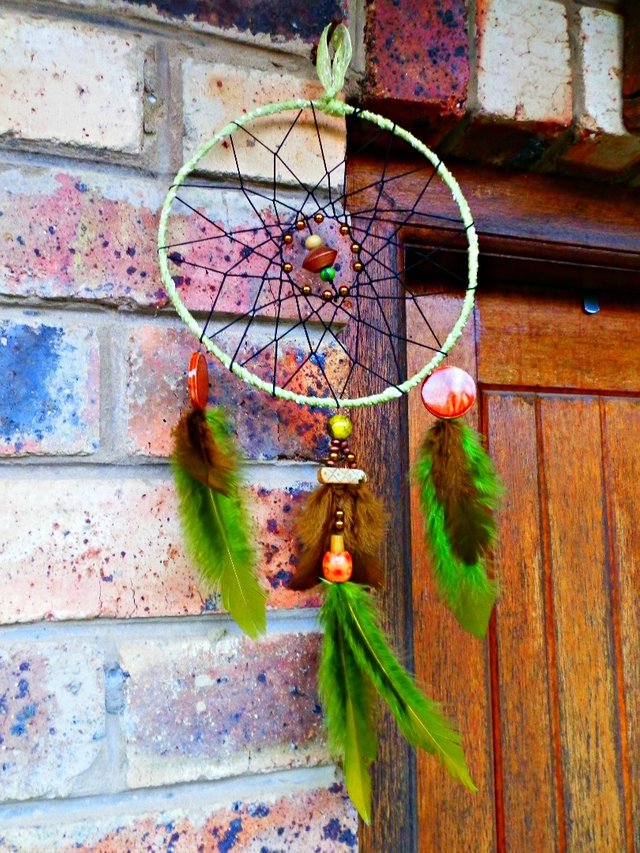
That's how my dream-catcher looks like. I did a fairly complicated assemblage of beads and feathers but you can start with something very simple like a feather in a bead and tight the whole thing to the string on the ring.
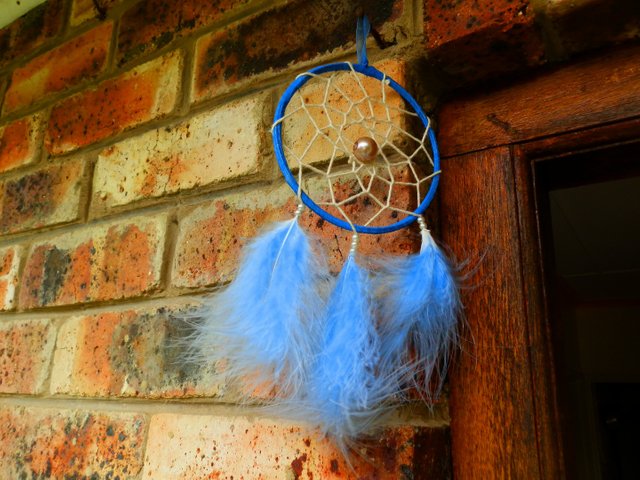
Like this one:

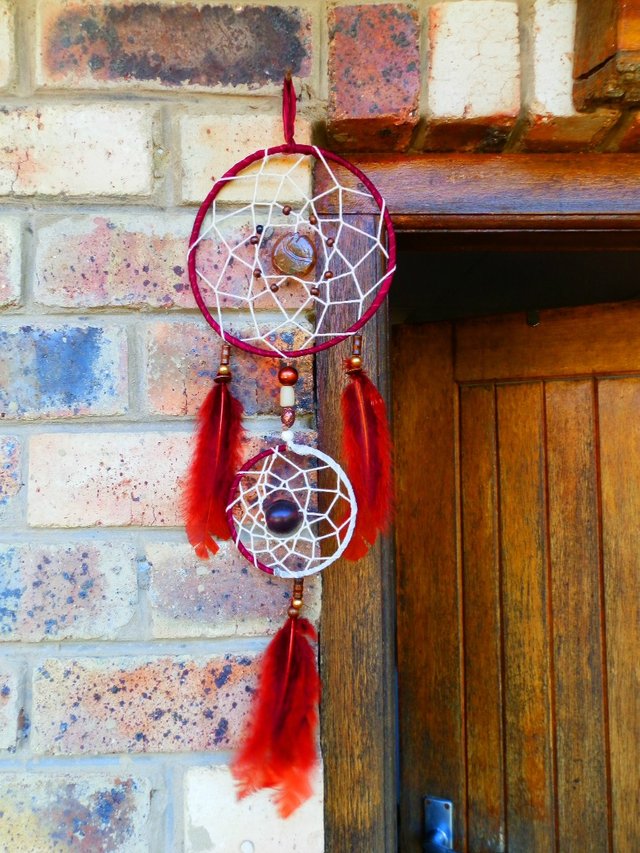
An other type of dream-catcher with a second smaller ring.

To create a nice dream-catcher you have to train a bit, do many and then it will be easy. The difficult part for me is to attach the beads and feathers together, and attach it to the main ring. Test and try!
I hope you enjoyed it :) If some things are not clear go have a look on internet and youtube !
See you,
@isa-za