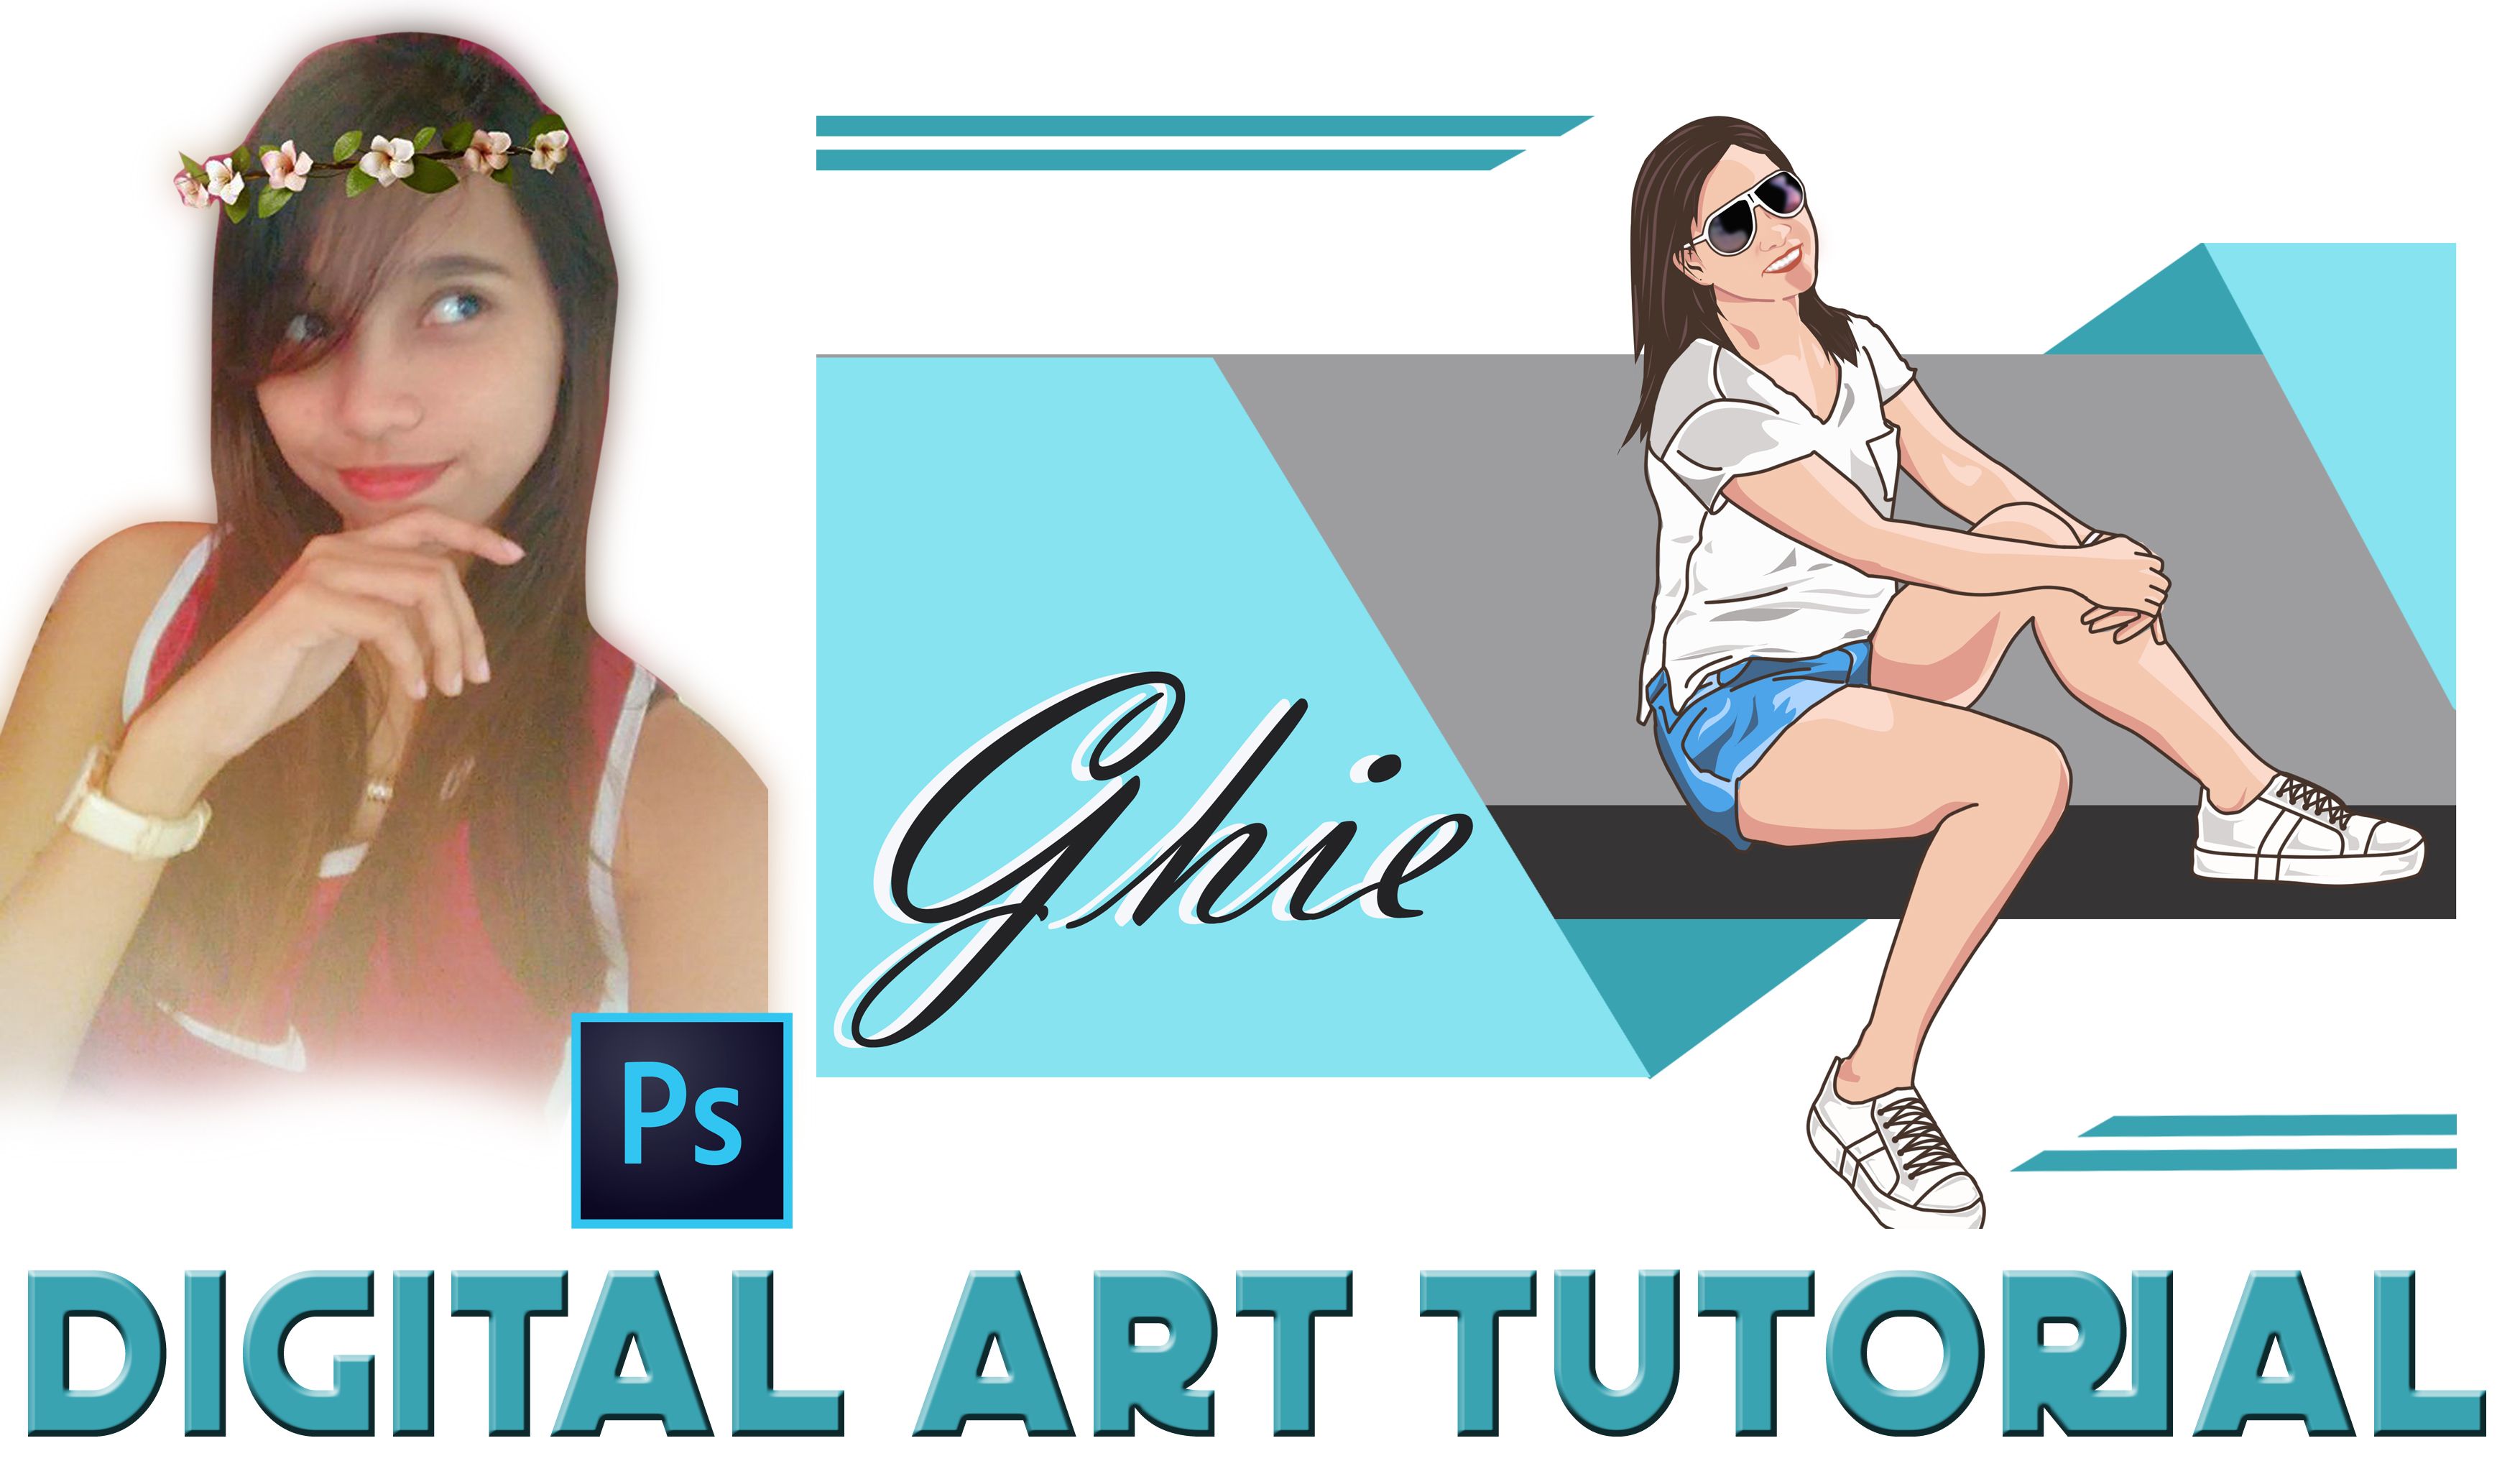
Digital Art Tutorial by @iamkrystela
Hello Everyone !
First, is open your Adobe Photoshop and click File at the menu bar then New or use the shortcut key (Ctrl+N).

After clicking New, a mini form will appear.
As you can see I putted a file name Tutorial #1 and an A4 size because I'm going to print the output to an A4 size paper.
The resolution must be high so the output is not pixelated.

Next is getting the picture that you want to edit.
Click the file again at the menu bar then Open.(Ctrl+O)

Then choose the photo that you want edit.

After you open the picture, it will appear in the different tab at Photoshop.
Then click minimize, the one with the arrow at the picture below.

Then it will look like this.👇

Then you need to drag the background layer which is the picture that you want to edit to the tab that you created.

Resize the picture using the Move tool at the tools panel.

Now were going to create a layer. (Ctrl+Shift+N)
I putted a name Outline because this will be our layer for the outline.

You can see at the right side, the layer that we created.
Then click the Brush tool at the Tool panel and resize it. Its depend on you how thick you want. I used size 13 at this tutorial.
And click the Color at the Tool panel also to choose your prefer color for the outline. I choose dark brown as you can see at the picture below.👇

Then click the Pen tool at the Tool panel, this is the tool that were going to used to trace the outline.

(Shift+) to zoom the picture.
Start tracing the picture then right click your mouse and choose the Stroke path.
It should be at the outline layer .. This is the mostly mistake i experiences while creating this.

It will be look like this.👇

Just keep tracing the picture until its done :D

After tracing our Outline, lets proceed to the hair.
We need to create another layer again for the hair.
(Ctrl+Shift+N) to create a layer, and I named it hair.

Use Pen tool again to trace the hair but this time you need to connect the both end.

Then right click your mouse and choose Fill Path.

Make sure again that you are at layer hair before you click OK.
You can also change the color of the hair at the tool panel if you wanted.
I used the same color at the outline
 .
.
After that, create a layer again for the blouse just same step like the hair.
(Ctrl+Shift+N) to create a layer.

It will be look like this 👇
You can notice that it cover our outline.

So we need to arrange the layers.
The layers on the top is the layer that will be in front in the picture.
I putted the Outline layer at the top so it wont be cover by the Blouse layer.

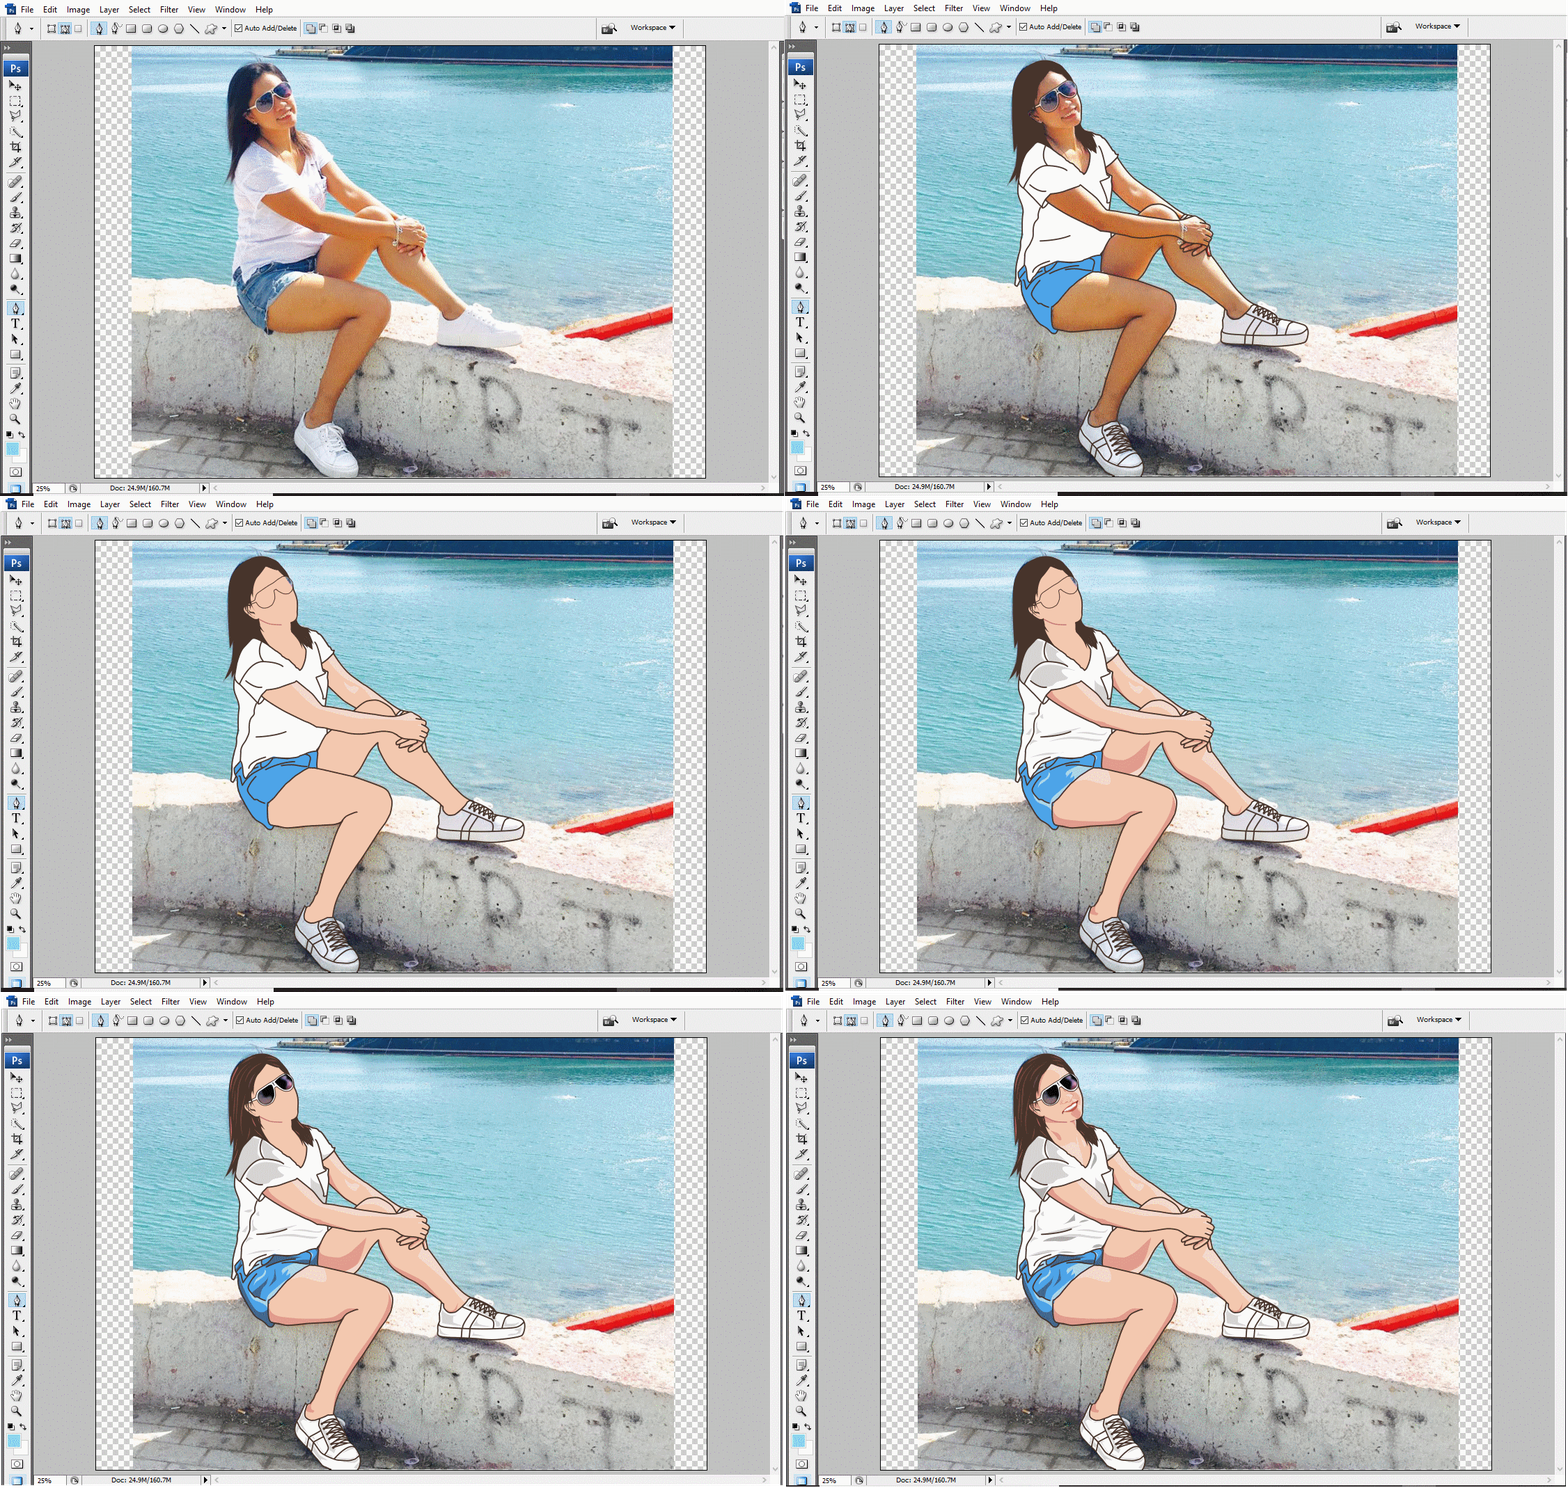
Repeat the step to all parts.👇

After coloring all parts, we will proceed in putting light and dark color to make it more attractive :D
Create layer again, that will be your second color.
(Ctrl+Shift+N) to create a layer.

Click the eye at your arm layer. That eye indicate the visibility of the layer.
So we can trace the light part of the arm.👇

Choose lighter color.

Trace the light part on the picture.
Then right click your mouse and click Fill path.


After the second color which is the light part, we will proceed to the third color which is the dark part.
Create a layer again.
(Ctrl+Shift+N)

Trace the dark part and color it darker than the skin color that u used.

It will look like this.👇

Because were done at the arm part, we can folder the arms layer so that its not messy.
Just drag the layers to the folder.

Just repeat the step to all parts.👇


Trace the lips.

Put white color inside it. Like this👇

You can notice that the dark part that I putted is bit blur.👇

If you want to blur some of layer.
Click filter at the menu bar then choose Blur then > Gaussian Blur.

Then you can choose how blur you wanted it to be.

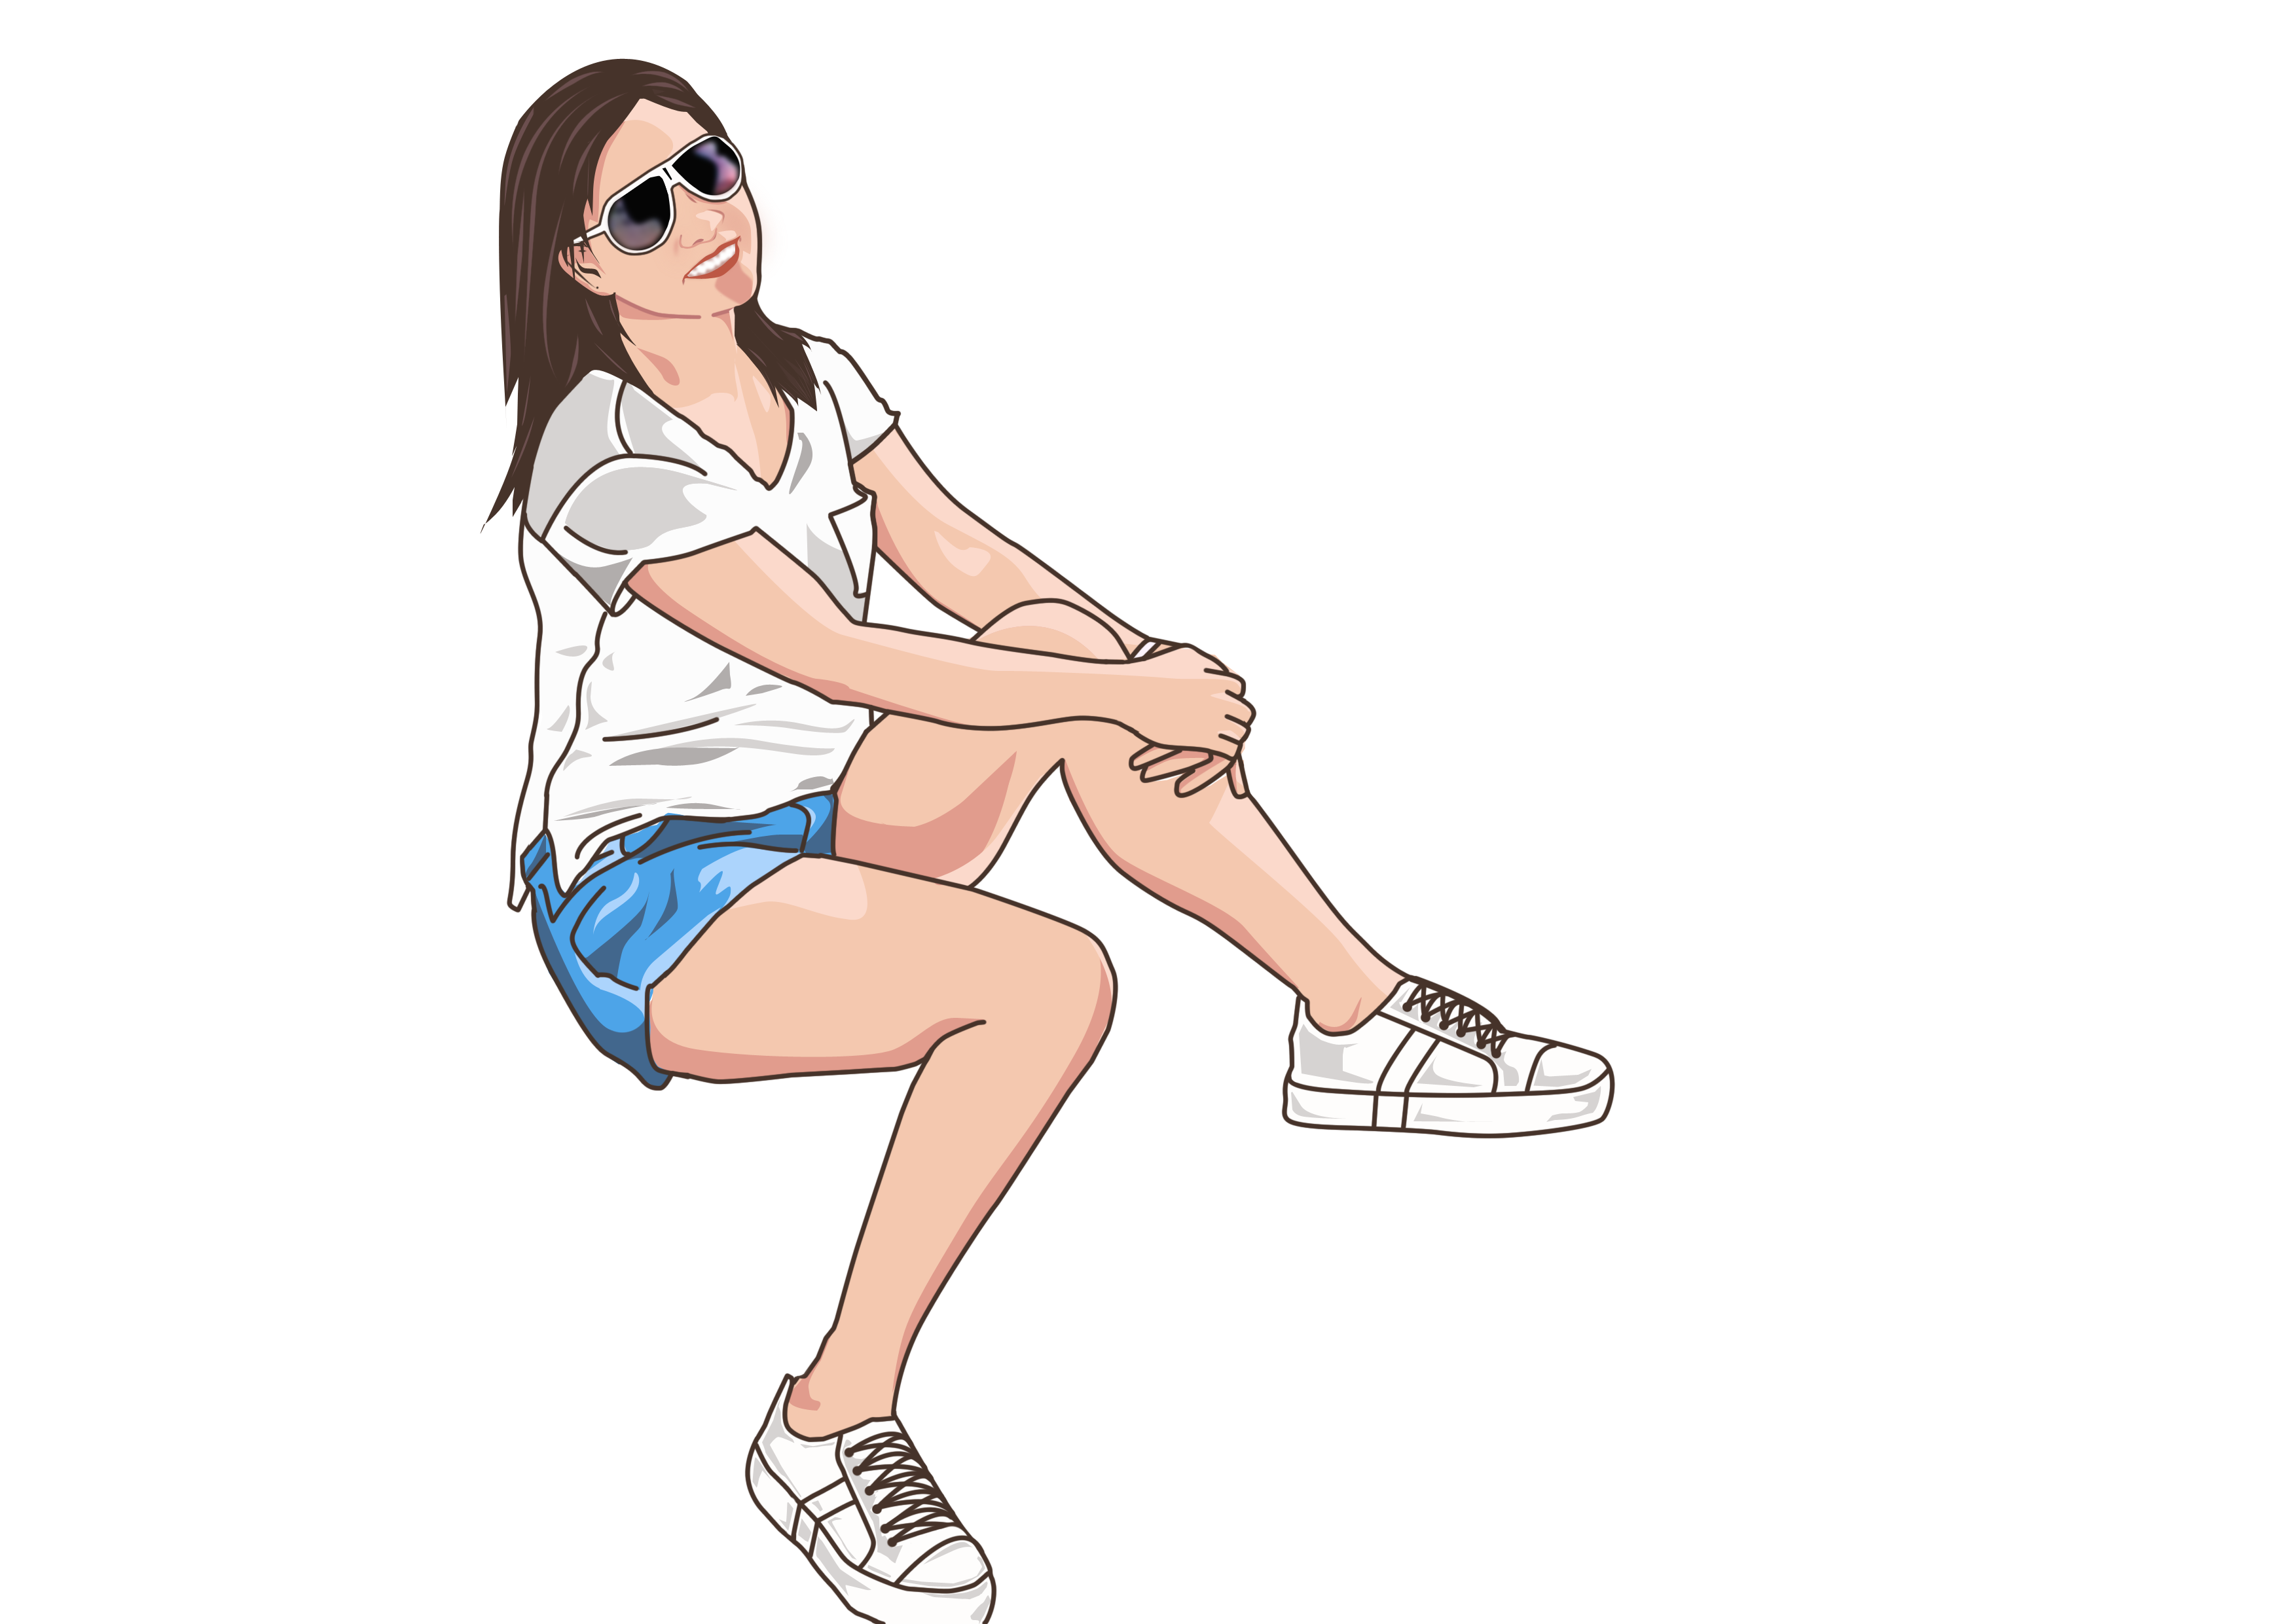
Then put a nice background that will match to your art :D
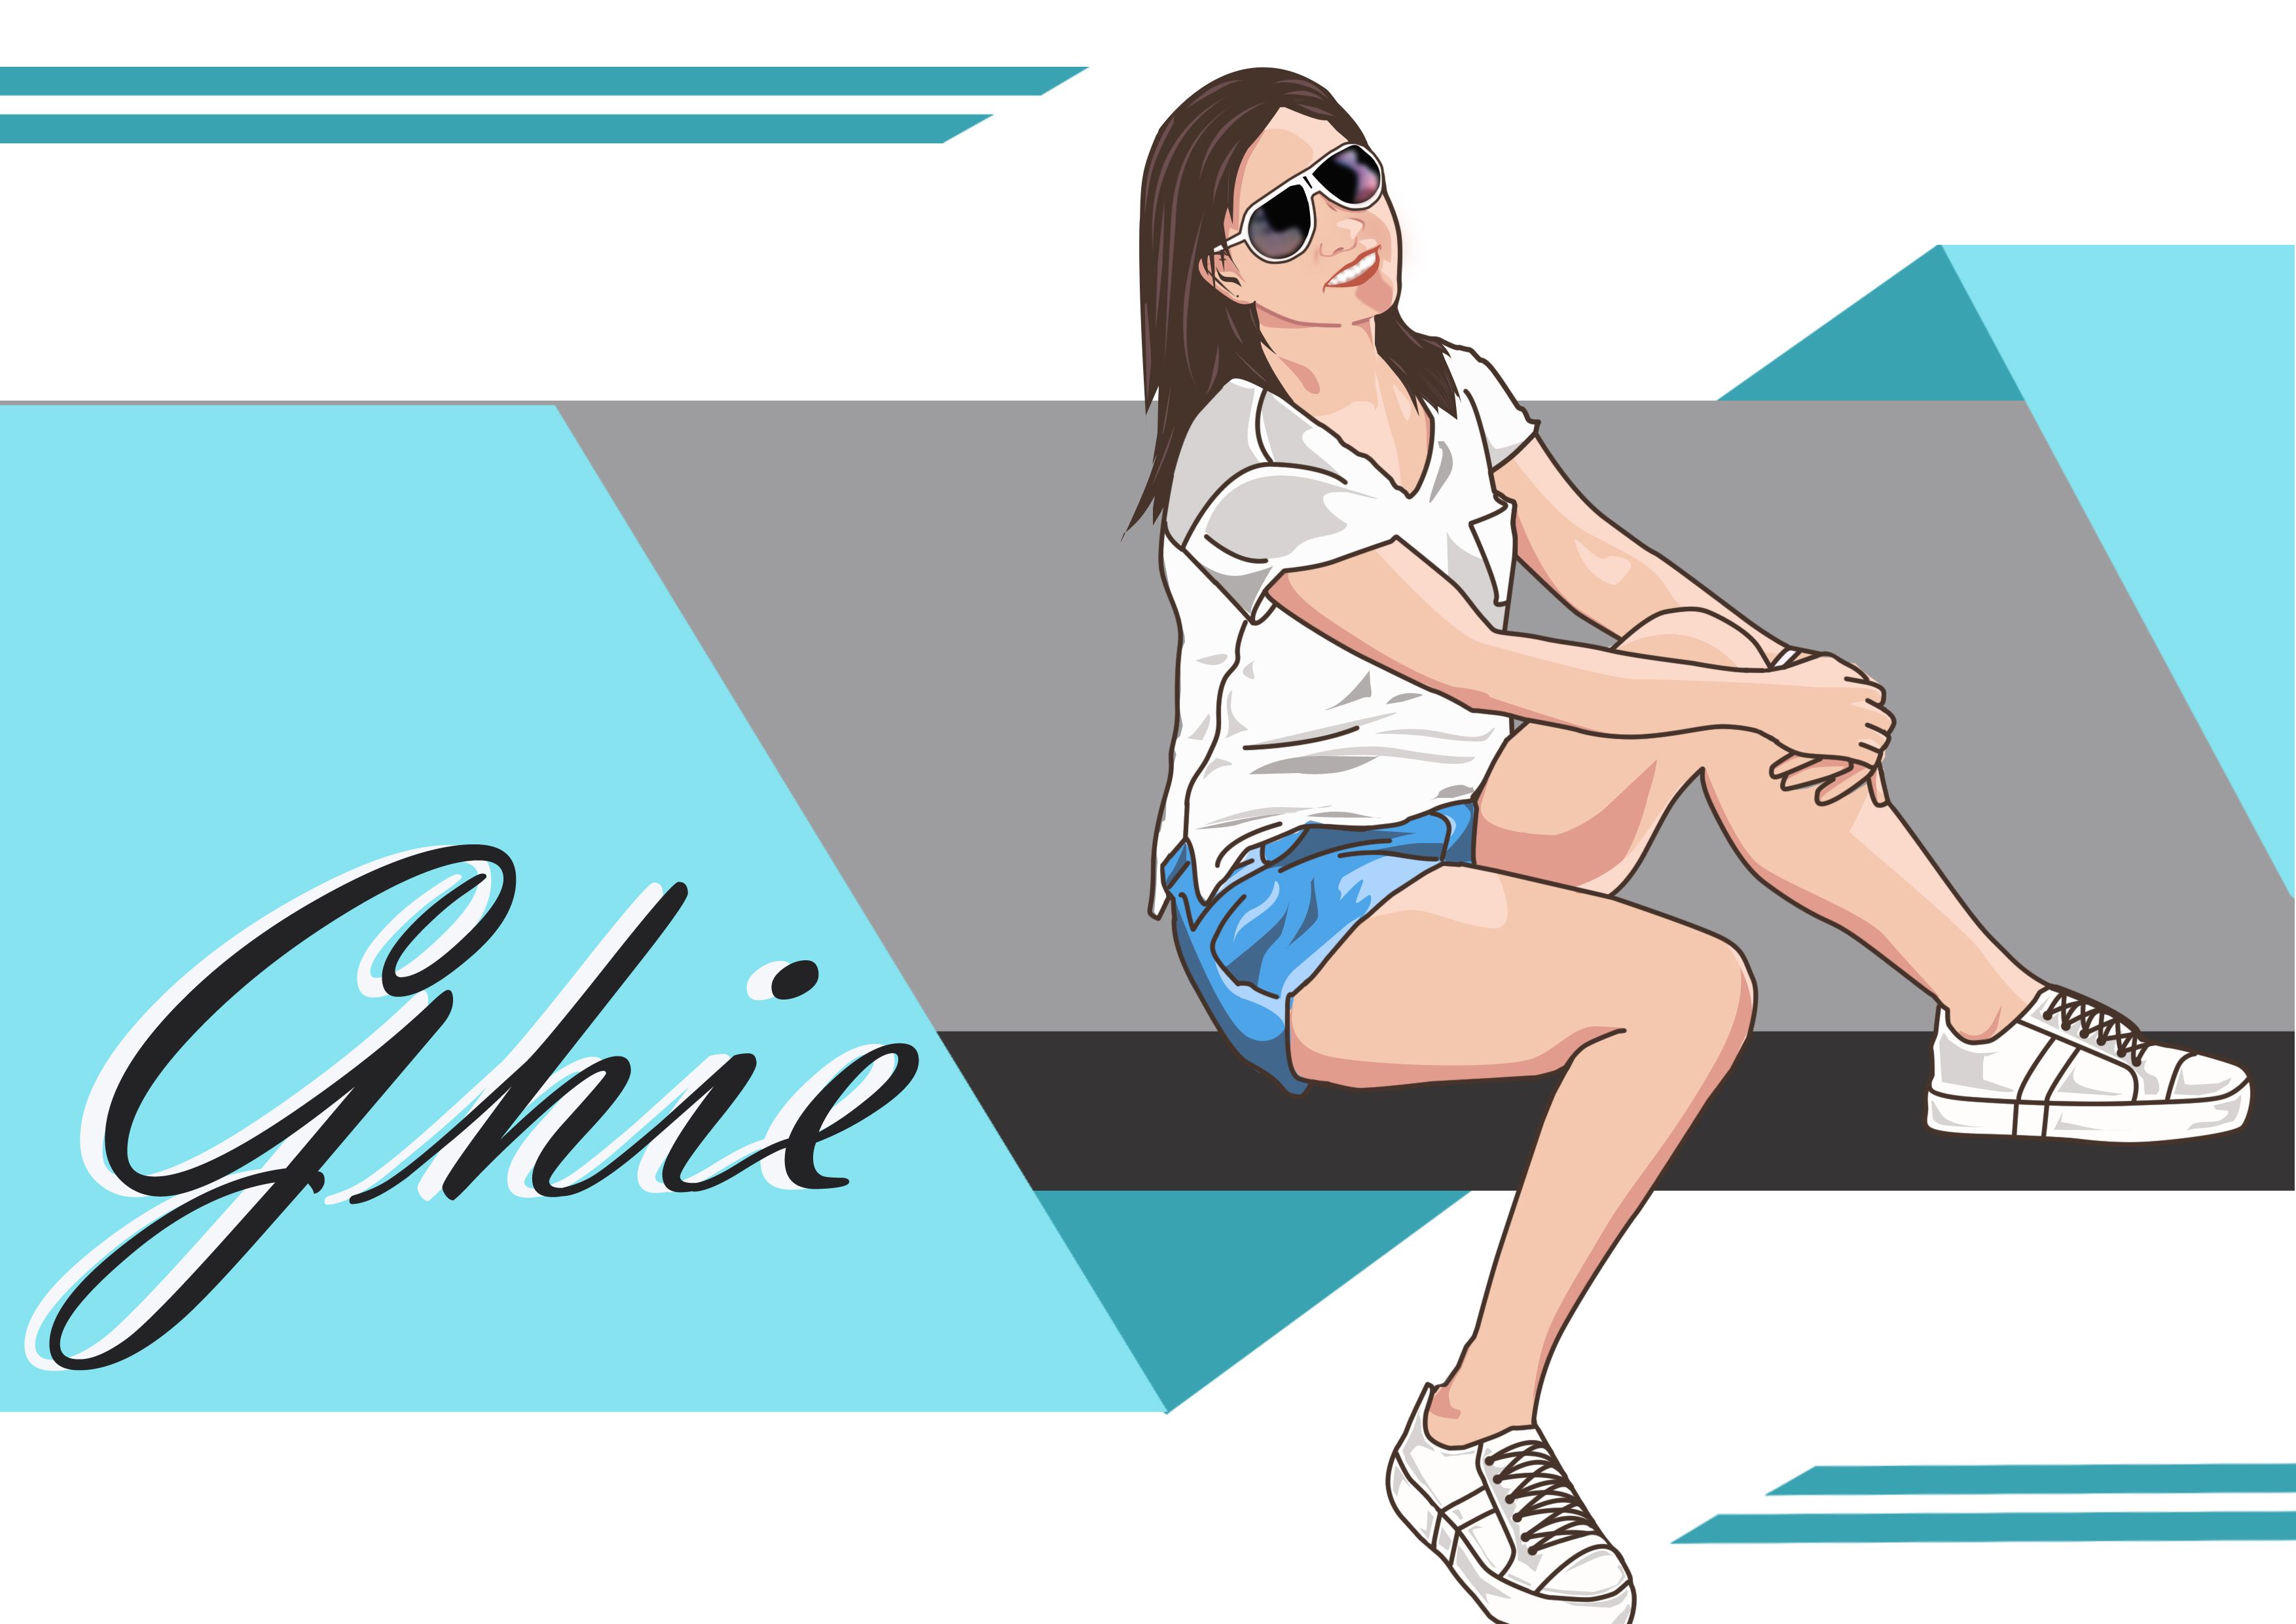

I hope this Tutorial might help you.
Thank You!




Thank You!


Very great tutorial.. I like this because almost all the small details is involved. Resteemed. :)
will definitely try this
This is very helpful. I already removed my Photoshop app before because I really dont know how to use it. Guess now I will download it again and I can put it to use. Thank you so much for sharing this!
I will surely follow this tutorial someday! Thank you for this.. :)
Wow very good tutorial. You make videos more clear
Boost Your Post. Send 0.100 STEEM or SBD and your post url on memo and we will resteem your post on 5000+ followers. check our account to see the follower count.
This post has received a 33.33 % upvote from @voterunner thanks to: @iamkrystela. BIG NEWS: Build your passive income with daily payouts from @voterunner! Read more about earning SBD with me. Daily. The easy way!
This post has received gratitude of 2.11% from @appreciator courtesy of @iamkrystela!
You got a 1.46% upvote from @buildawhale courtesy of @iamkrystela!
If you believe this post is spam or abuse, please report it to our Discord #abuse channel.
If you want to support our Curation Digest or our Spam & Abuse prevention efforts, please vote @themarkymark as witness.
You got a 10.00% upvote from @redlambo courtesy of @iamkrystela! Make sure to use tag #redlambo to be considered for the curation post!