Merry Christmas | Creation of a 3D Animation (gift boxes, snow and more)
Hello Steemit friends!, I've been somewhat busy with my studies but i'm back and i bring you a special post with excellent content and a message applied to the holidays. Wishing all of you who are part of this wonderful community a merry Christmas, I will show you how to create an incredible animation with interesting effects such as snow and the use of lights. In order to obtain a result like the following.
Note: This animation was created with the 3DS MAX program.
Design
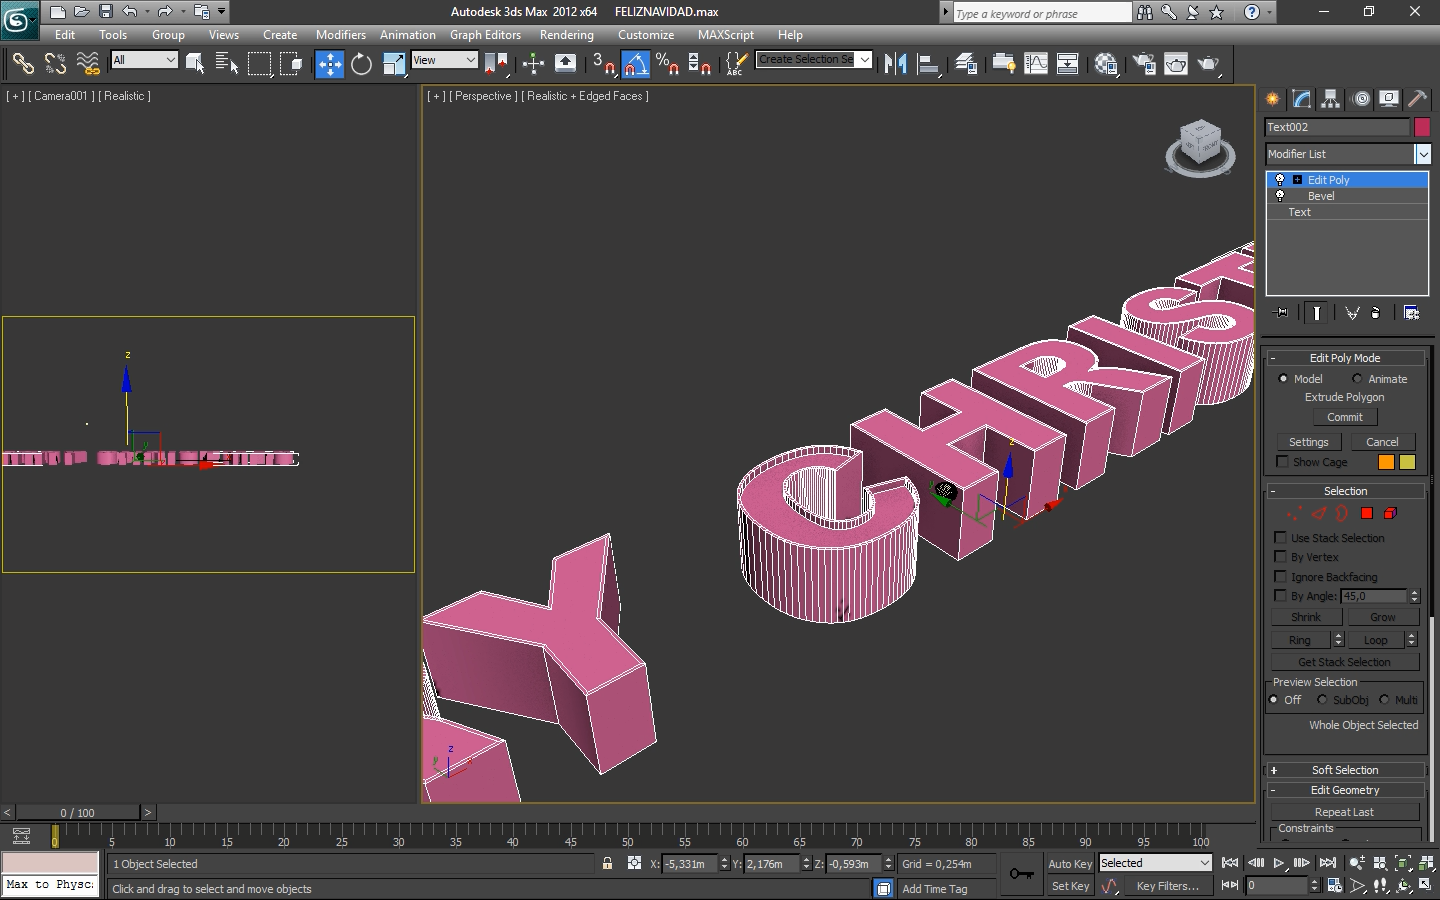
First we must create the design that will be the main message of our animation, this will be a set of letters with lights inside. In this case we will use the word "MERRY CHRISTMAS", for this we create a text in 2D and then we give it thickness with the modifier "bevel", then we use the modifier "Edit poly" to create a small border in the letters.
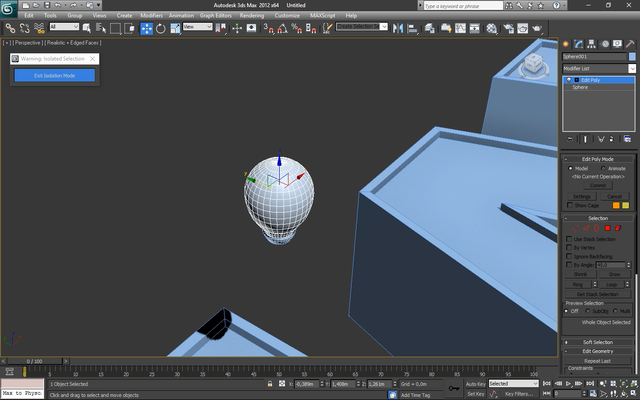
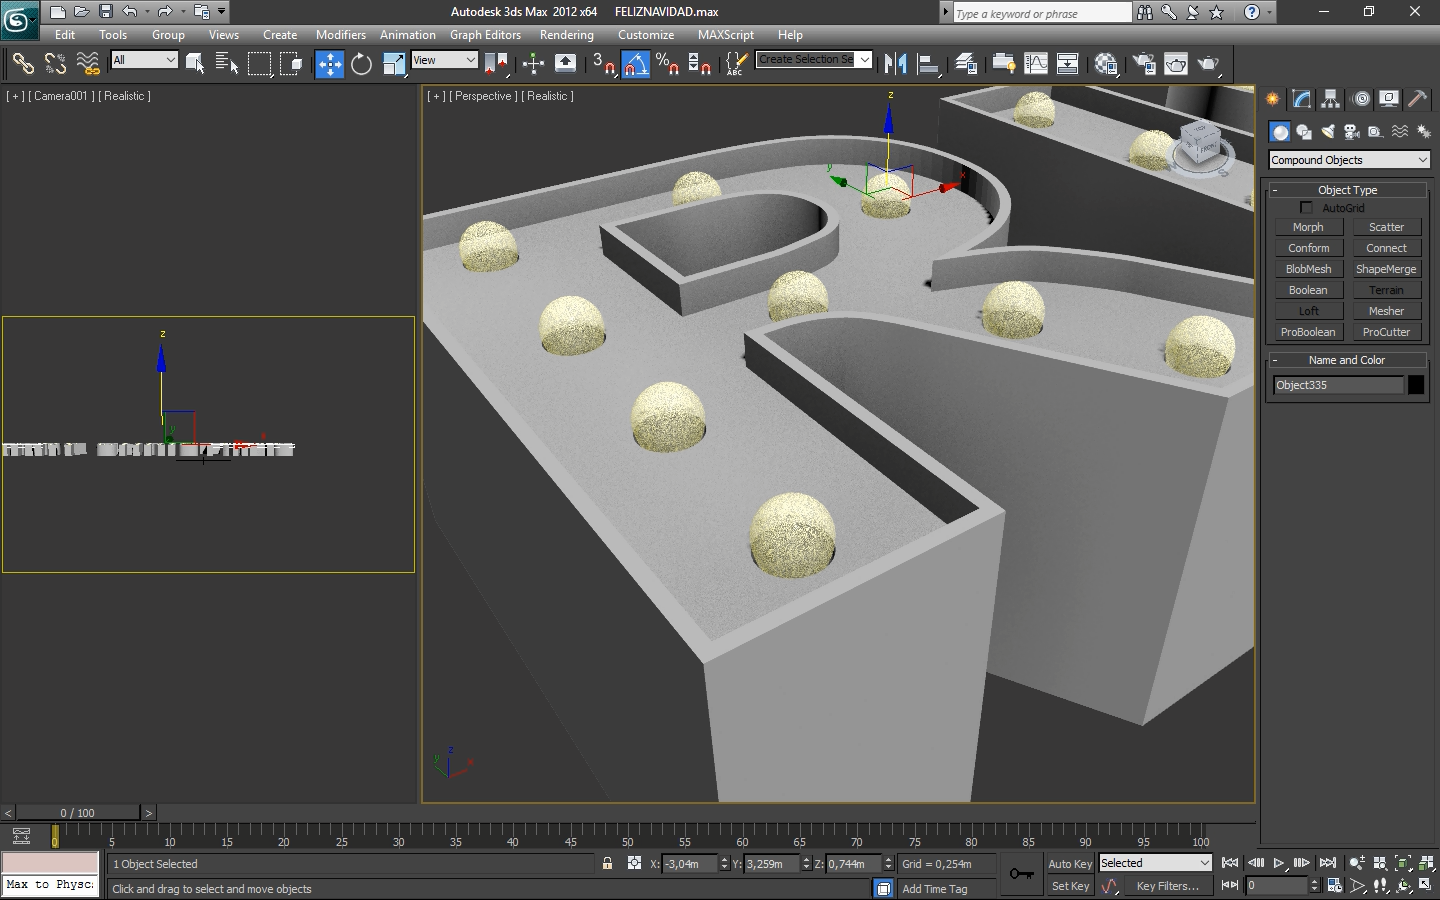
Now we are going to create a light bulb, which we will use to create holes in our letters and followed by this we will place that same bulb in the hole that we have created to give the visual effect that our bulb is inserted in our letters. It should be noted that it is not necessary to design a light bulb, with the use of a sphere is sufficient because of the distance this would not be noticed.
Once the bulb is created we will copy it covering the surface of our letters, followed by this we will make a copy of the whole line of bulbs that we have created and we will place them above the original ones, the reason for this will be explained later. Before going on, it is necessary to know how the tool we use works, it is called "Proboolean" and in simple words it allows to eliminate part of an object using the form of another. For that reason we will place our original bulbs in the place we want to create the hole and this will have the same shape of the bulb. The reason why a copy of our bulbs was created is because when using the "Proboolean" the original bulbs are eliminated. Followed by this we will place the bulbs in the holes to have our letters ready.
Stage
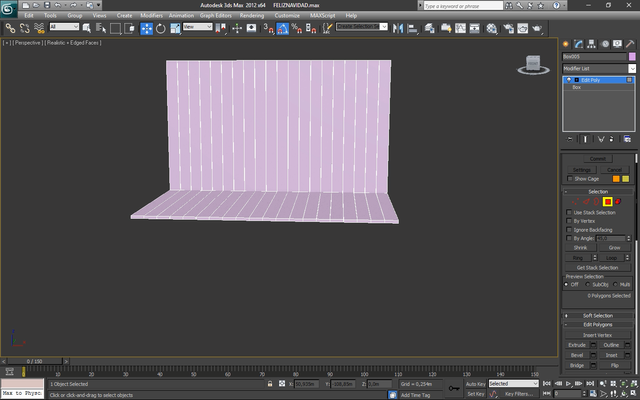
To make our animation possible we need a base where we can place all our designs, as well as having a surface where the lights and shadows are reflected. For this we will create two frames one for the floor and the other for the back wall. then we will make a small opening to give it the appearance of wooden boards.
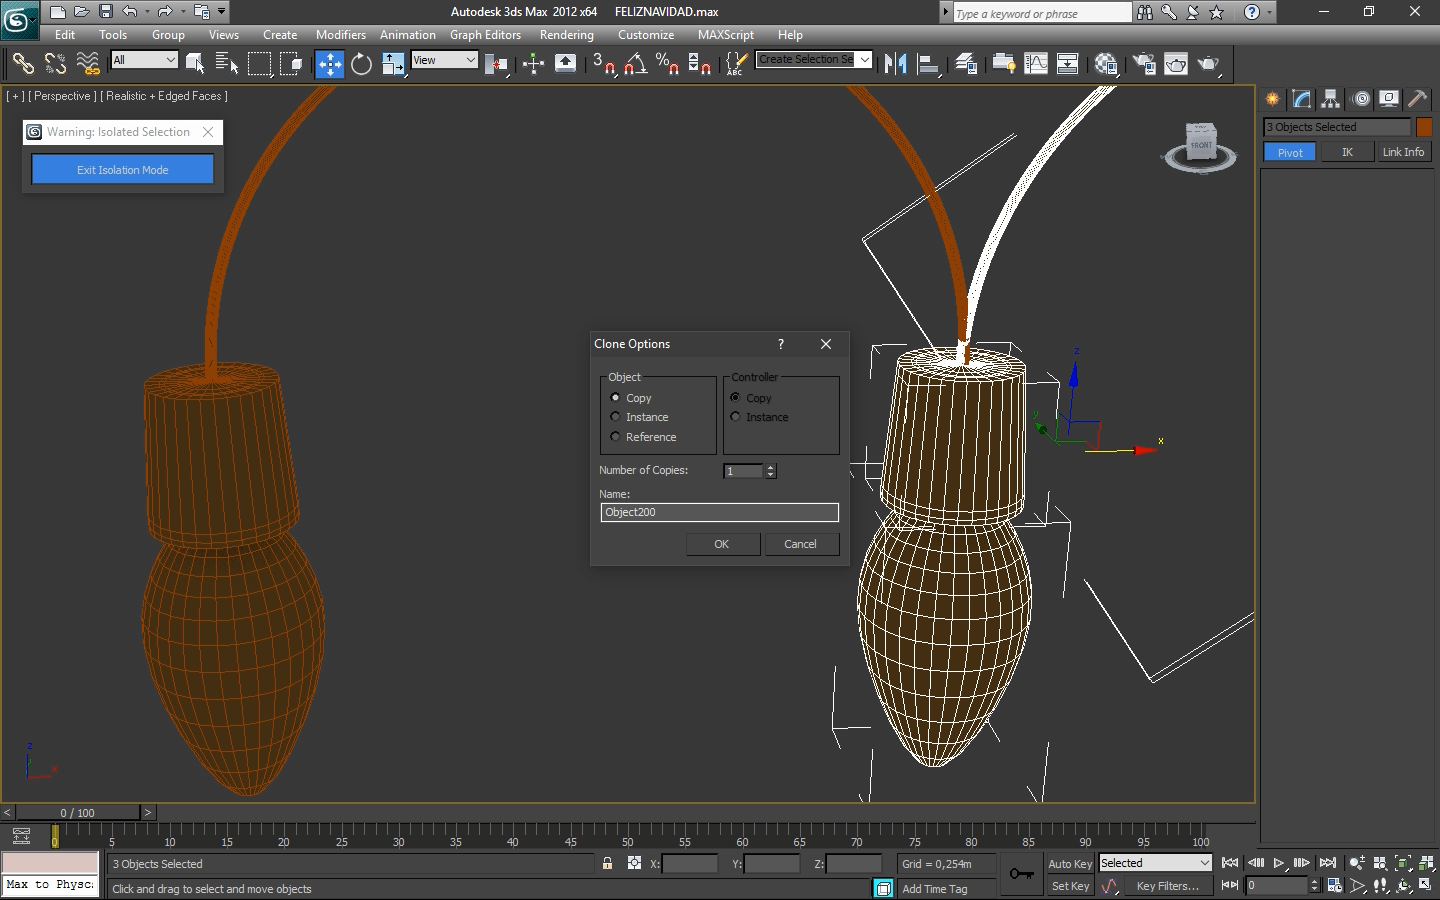
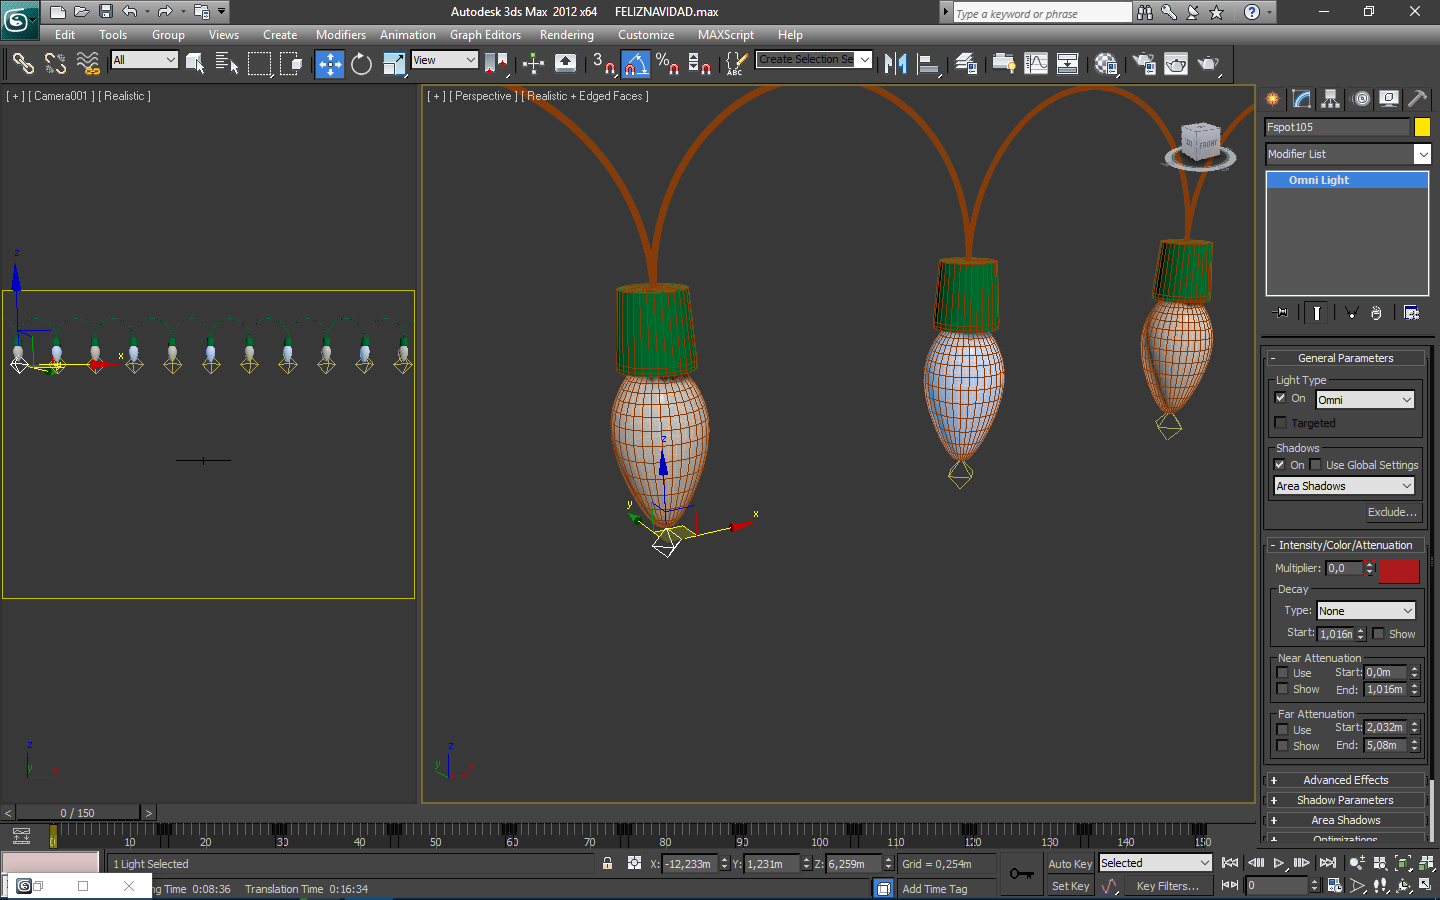
Christmas lights
We will use three accessories or effects that will give a Christmas touch to our animation, the first is the Christmas lights, for this we will create a bulb with a special shape using a sphere and applying the "4x4x4" modifier which allows us to stretch an object as we want, then we design a base for our bulb and finally using a cylinder or simply stretching a small part of the base we will apply the "bend" modifier to bend that cylinder and give it the appearance of a cable. Finally we make several copies to create the appearance that they are connected.
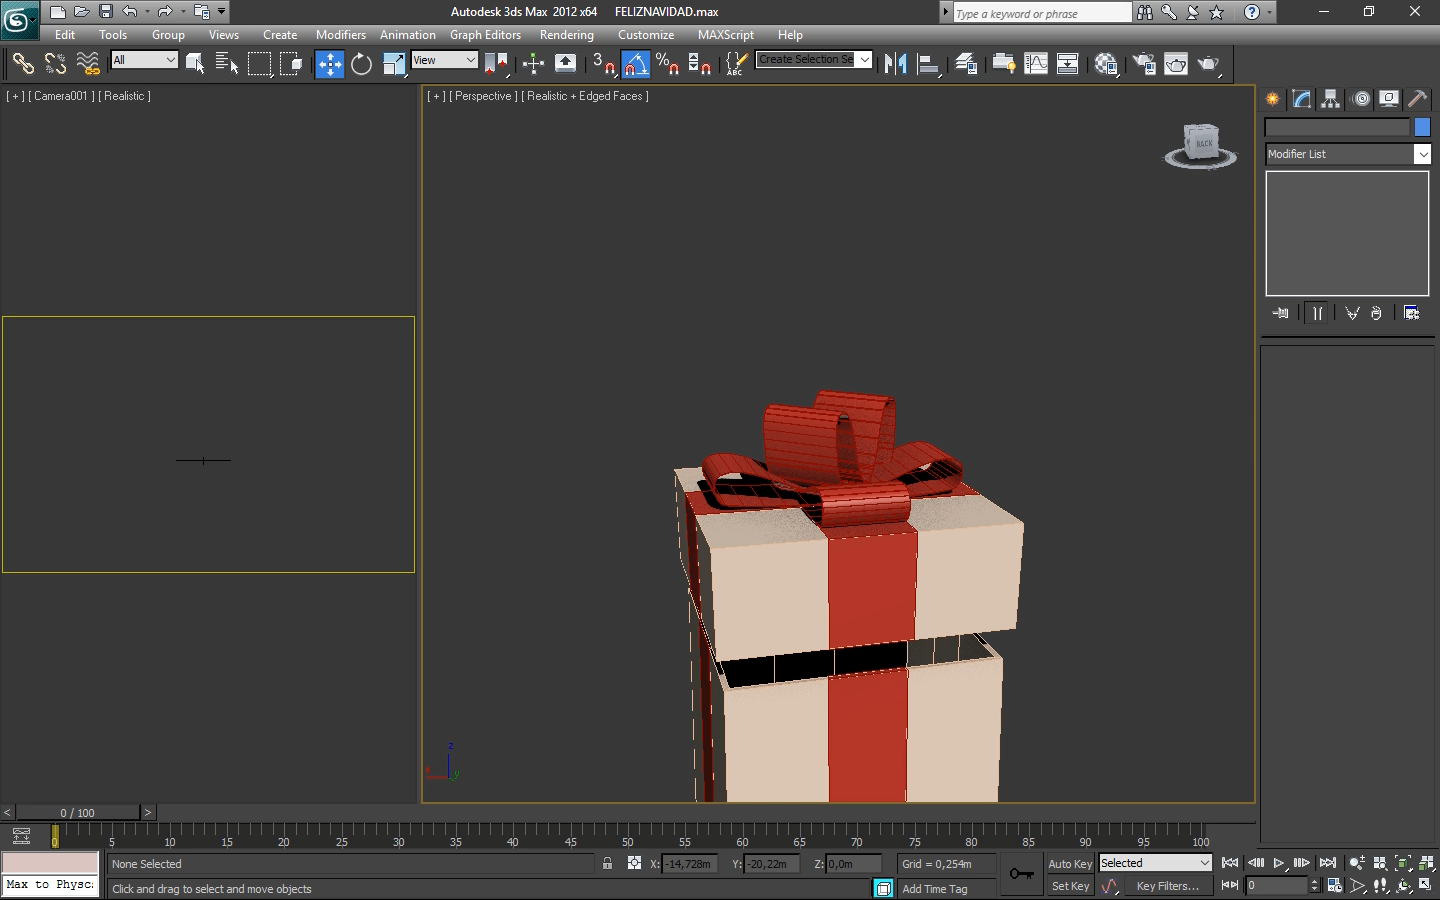
Gift box
The second accessory that we are going to create is a gift box and from it we can resize it to create others of different model. For this we will make full use of the "Edit poly" modifier, create a box and make it hollow with the tool "Extrude" in negative and then create divisions with "connect", corresponding to the place where the decorative ribbon should go. We make a copy and adjust the dimensions to create the lid of the box.
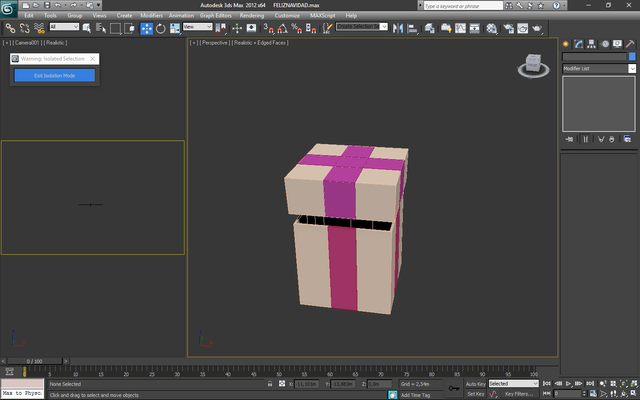
At this point we just need to create the bow that go over the top, for this we create some lines with the shape we want, then we give it thickness with "bevel". However for better results we can apply other modifiers.
Snow effect
Our third and last accessory or effect is snow, an element that will be like the cherry on the cake of our animation. To apply it we go to the section "Particle System" and select Snow, we place it in our scene and we give it the values that we want, this can also be used as confetti.
Some of the most important values are:
- Viewport count: number of snow particles displayed in the scene (In edition).
- Render count: number of snow particles shown in the render (Final).
- Flake size: Size of snow particles.
- Start: moment of the animation starts the falling of the particles.
- Life: Moment of the animation in which the particle fall ends.
- Width: width of the emitter of snow particles.
- Length: length of the particle emitter.

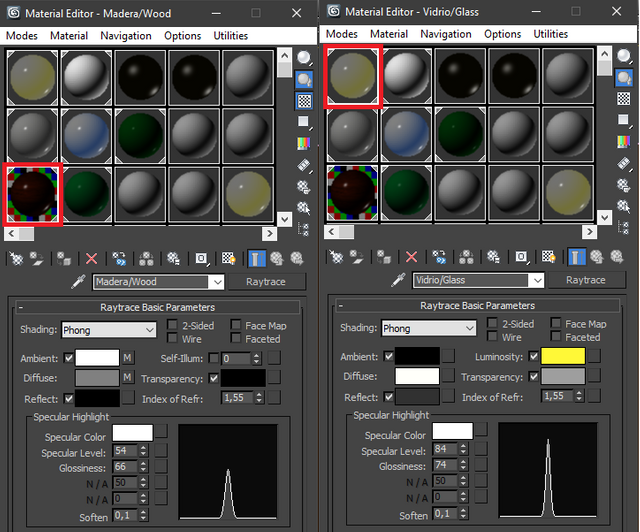
Textures and Lights
Once all the objects that we will use in the animation have been created, we will configure the different textures and lights that will make our scene look professional. For this we will create an omni light for each bulb in the scene and we will place it just in front of these individually, to avoid that our scene is congested we will not create them as copies, instead of these it will be instances of an original light. In this way when we change the parameters of one, the rest will be changed. Among the most important parameters are the shadows, the intensity of the light and the color that it will have.
Now we are going to configure the textures starting with the floor and walls, for this we will use a pre-designed image looking for it on the internet of the wooden style of our preference, we will place the downloaded image to the texture through the "bitmap", then we will give it the desired effect with certain parameters that we will study later. Followed by this we will create the texture used in the light bulbs, which must be transparent and have certain reflectivity values. In this case, for a better visualization of the lights we will use a self-illuminating texture, for all this we will use the following parameters:
- Diffuse: Main color of our texture.
- Specular: Allows texture to work like a mirror (only reflects light).
- Glossiness: Apply gloss to our texture, ideal for glass and metals.
- Reflect: Allows our texture to reflect everything that is around it.
- Transparency: Level of transparency, ideal for glasses.
- Luminosity: Allows the texture to self-illuminate with an indicated color.
Videotutorial
Well friends I hope you liked it, this project took about 4 hours of design and 24 hours of rendering. As always trying to bring you the best content and with the greatest effort, any doubt
or questions can be left in the comments and I will gladly answer them. Until next time, hugs and have a wonderful Christmas with your loved ones.
Awesome! Good to see some 3D artists here. If you're interested, check out my 3D Steemit art at:
https://steemit.com/art/@crypto3d/steemit-3d-art-creative-steemians-assemble
Same thing, it's nice to see other artists from this wonderful area. I will gladly take a look at your post.
Congratulations @hadro! You have completed some achievement on Steemit and have been rewarded with new badge(s) :
Click on any badge to view your own Board of Honor on SteemitBoard.
For more information about SteemitBoard, click here
If you no longer want to receive notifications, reply to this comment with the word
STOPKolay gelsin tşk
Cool... Check out this wonderful work of art too
https://steemit.com/beautiful/@egetex/art-a-truthful-lie
Really beautiful, thanks for sharing. regards
your post is very good, very useful, your post is so inspiration for me and all users of steemit, I am proud of you ... I am amazed to you, you are very fantastic in making a post, hopefully triumph in the work .. Thank you 💏😘
Thanks to you, for stopping by and leave your comment. I will always give my best to bring you excellent content.
Thanks for sharing this awesome piece
For me it is a pleasure to share my projects with you.
Congratulations @hadro! You have completed some achievement on Steemit and have been rewarded with new badge(s) :
Click on any badge to view your own Board of Honor on SteemitBoard.
For more information about SteemitBoard, click here
If you no longer want to receive notifications, reply to this comment with the word
STOPCongratulations @hadro! You have completed some achievement on Steemit and have been rewarded with new badge(s) :
Click on any badge to view your own Board of Honor on SteemitBoard.
For more information about SteemitBoard, click here
If you no longer want to receive notifications, reply to this comment with the word
STOP