HOW TO CREATE YOUR 3D CHARACTER ON BLENDER!!!
HII HOW ARE YOU MY FRIEND!!!!!
This time I'm going to teach you (I'm relatively new to this) how to create a character in BLENDER 3D, step by step, from creation to the rendering phase.

FIRST
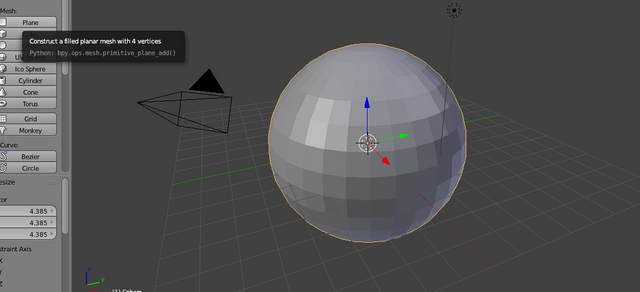
You must create your blender file, you must create a sphere, it is the form that I normally use every time I am going to create a character because it is more malleable, but you can start from another geometric shape if it suits you or if you want to experiment. REMEMBER THAT YOU CAN ALWAYS REMOVE DO NOT BE AFRAID TO DO IT WRONG YOU WILL LEARN MORE.

SECOND

** THIRD**
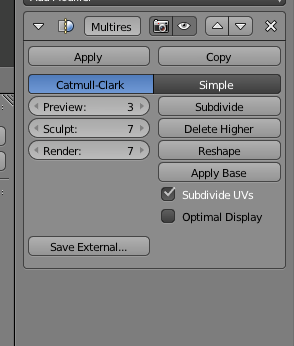
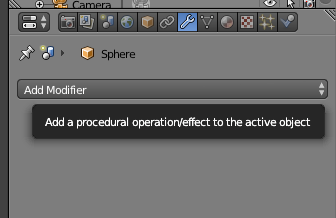
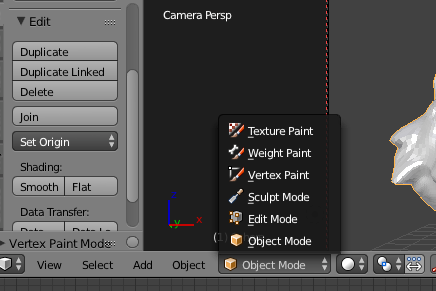
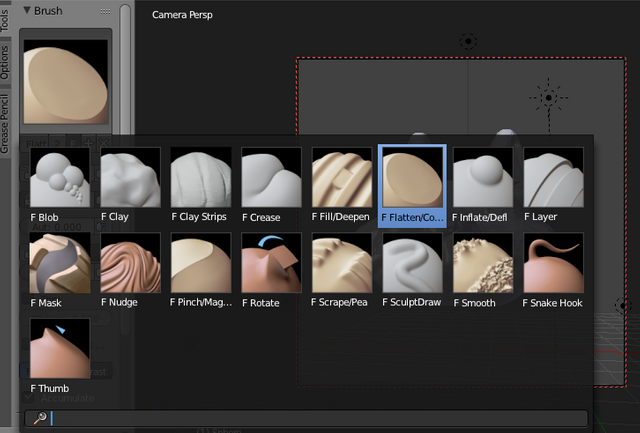
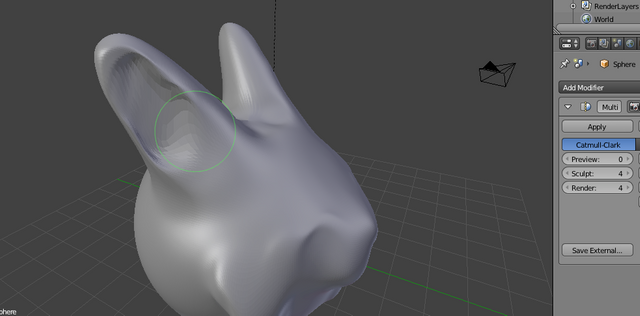
You must select the sculpt or sculpt mode, and start sculpting and molding with the brush options that they give you, I recommend that you experiment with the brushes or chisels to know what each one does.

FOURTH
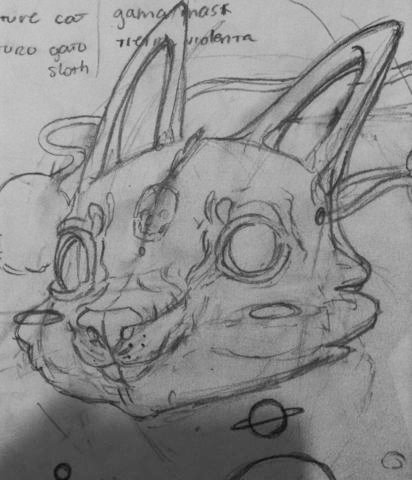
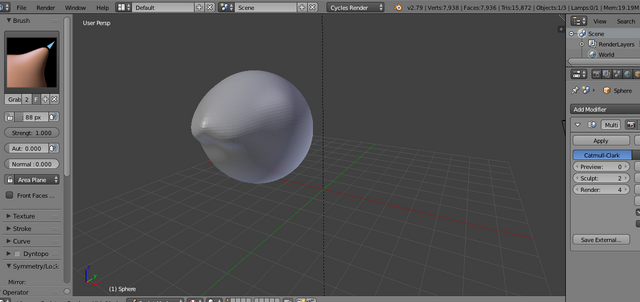
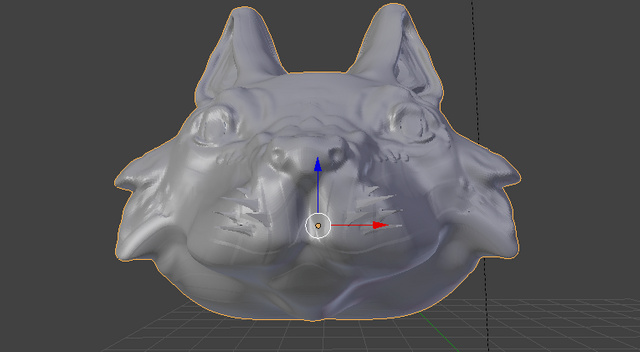
Start molding, I usually first draw what I want and then I start. It will not always be the same, but that's how you learn.

FIFTH
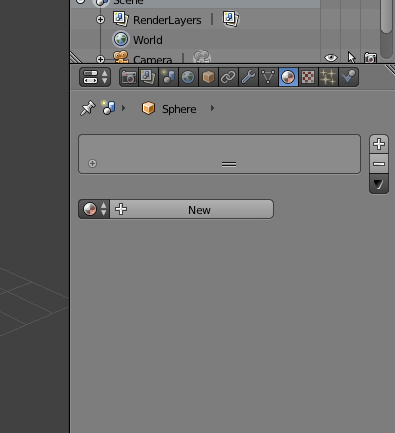
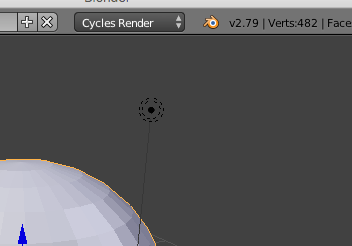
When you have your final result the only thing that remains is to apply the materials, that you get in the tool panel a little red circle, there you can apply what you want to have as a texture, you can edit it better in the node editor, here I am going to leave the features that I use, I recommend that if you want a specific texture look for it on the internet there is usually enough information. IT IS IMPORTANT THAT YOU HAVE IT IN ** CYCLES RENDER ** is much better than the blender engine.

NODE EDITOR

REMEMBER THAT YOU CAN ALWAYS SEE HOW YOU ARE DOING IN THE RENDERIZED VISOR
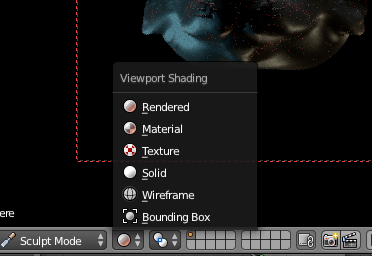
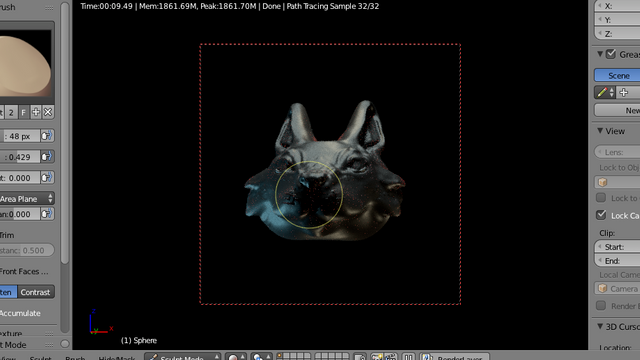

FIINALLY YOU CAN RENDER IT
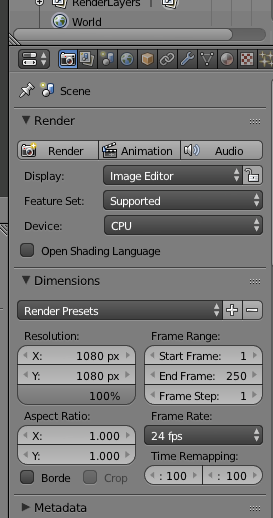
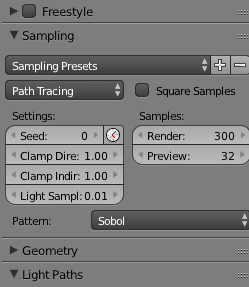
You must push the camera that is in the tool panel, here I will leave the specifications that I use

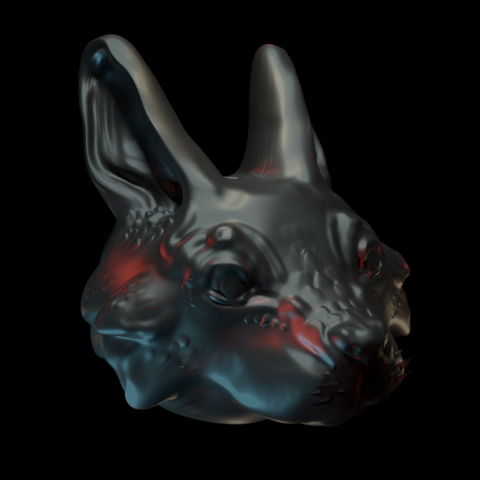
FINAL RESULT
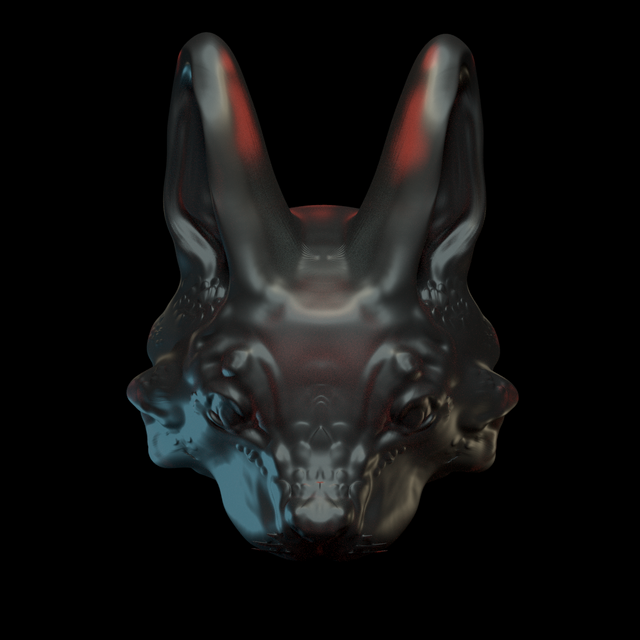
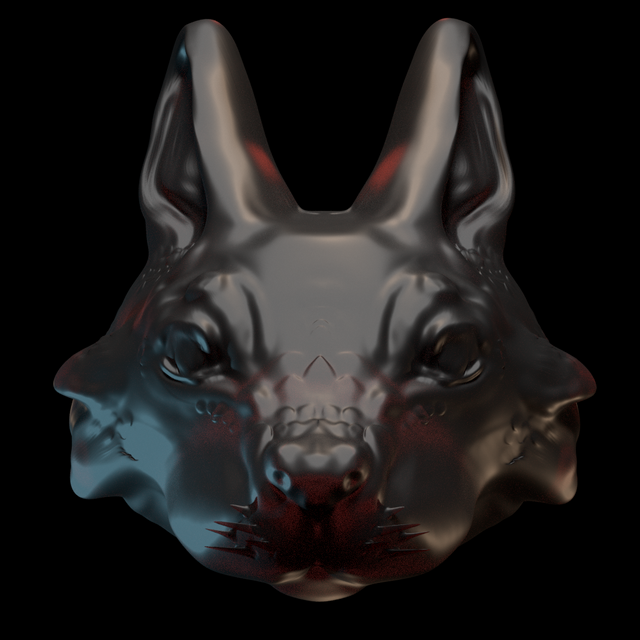
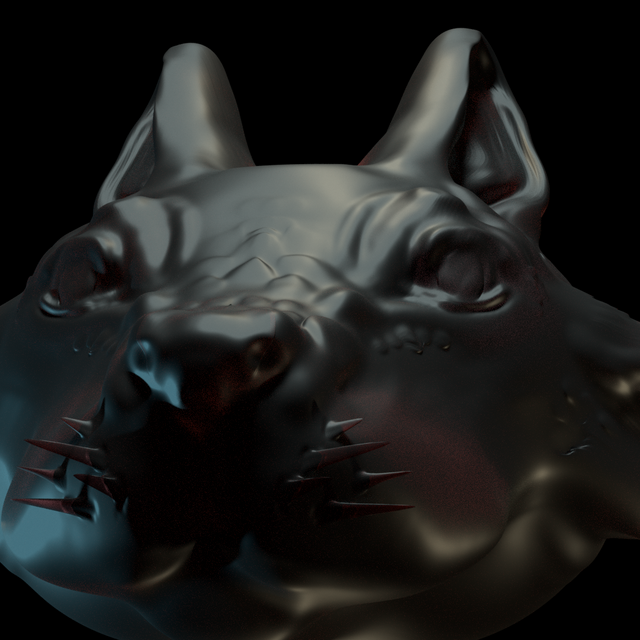


I hope you liked it, if you have any questions or would like me to talk about something else in specific about BLENDER, please comment and I will. THANKS SO MUCH FOR READING.