How Do You Screen Print A T-Shirt: Part 1, Pre-Prouction
It is funny how many people walk into my shop and assume that printing a shirt is as simple as loading your HP Printer with a sheet of paper and popping out a print.
While there ARE shirt customization methods that are somewhat similar to printing like your standard HP printer (yet still not as simple), we deal with a much more complex and longer lasting apparel customization process called Screen Printing.
Over the next couple of days I will review the zen process of screen printing a shirt from start to finish in 2-steps: Pre-Production and Production.
I present to you: How Do You Screen Print a T-Shirt: Part 1, Pre-Production

What exactly is a screen? Why does adding colors to my shirt cause it to cost more? Can you just print me 1-shirt and then I promise I will order 500 more in a week?
The pre-production phase is equally as important to the production phase (set-up and printing), and it is the main reason why this formula is true:
More Shirts + Less Colors = Low $$$ Shirt
Setting up a print job is the hard part. Once you set-up a print run, the repetitive nature of the actually act of printing allows you to print 12 shirts almost as fast as it takes to print one shirt(depending on your machinery). It is the pre-production phase which is truly time, and resource consuming.
Screen printing is a process a design deconstructed into layers of a single color and then reconstructed by printing each layer, one by one.
In the pre-production process we will talk a lot about how we deconstruct the design and separate each color onto a layer which can be printed.
Let us start with a design

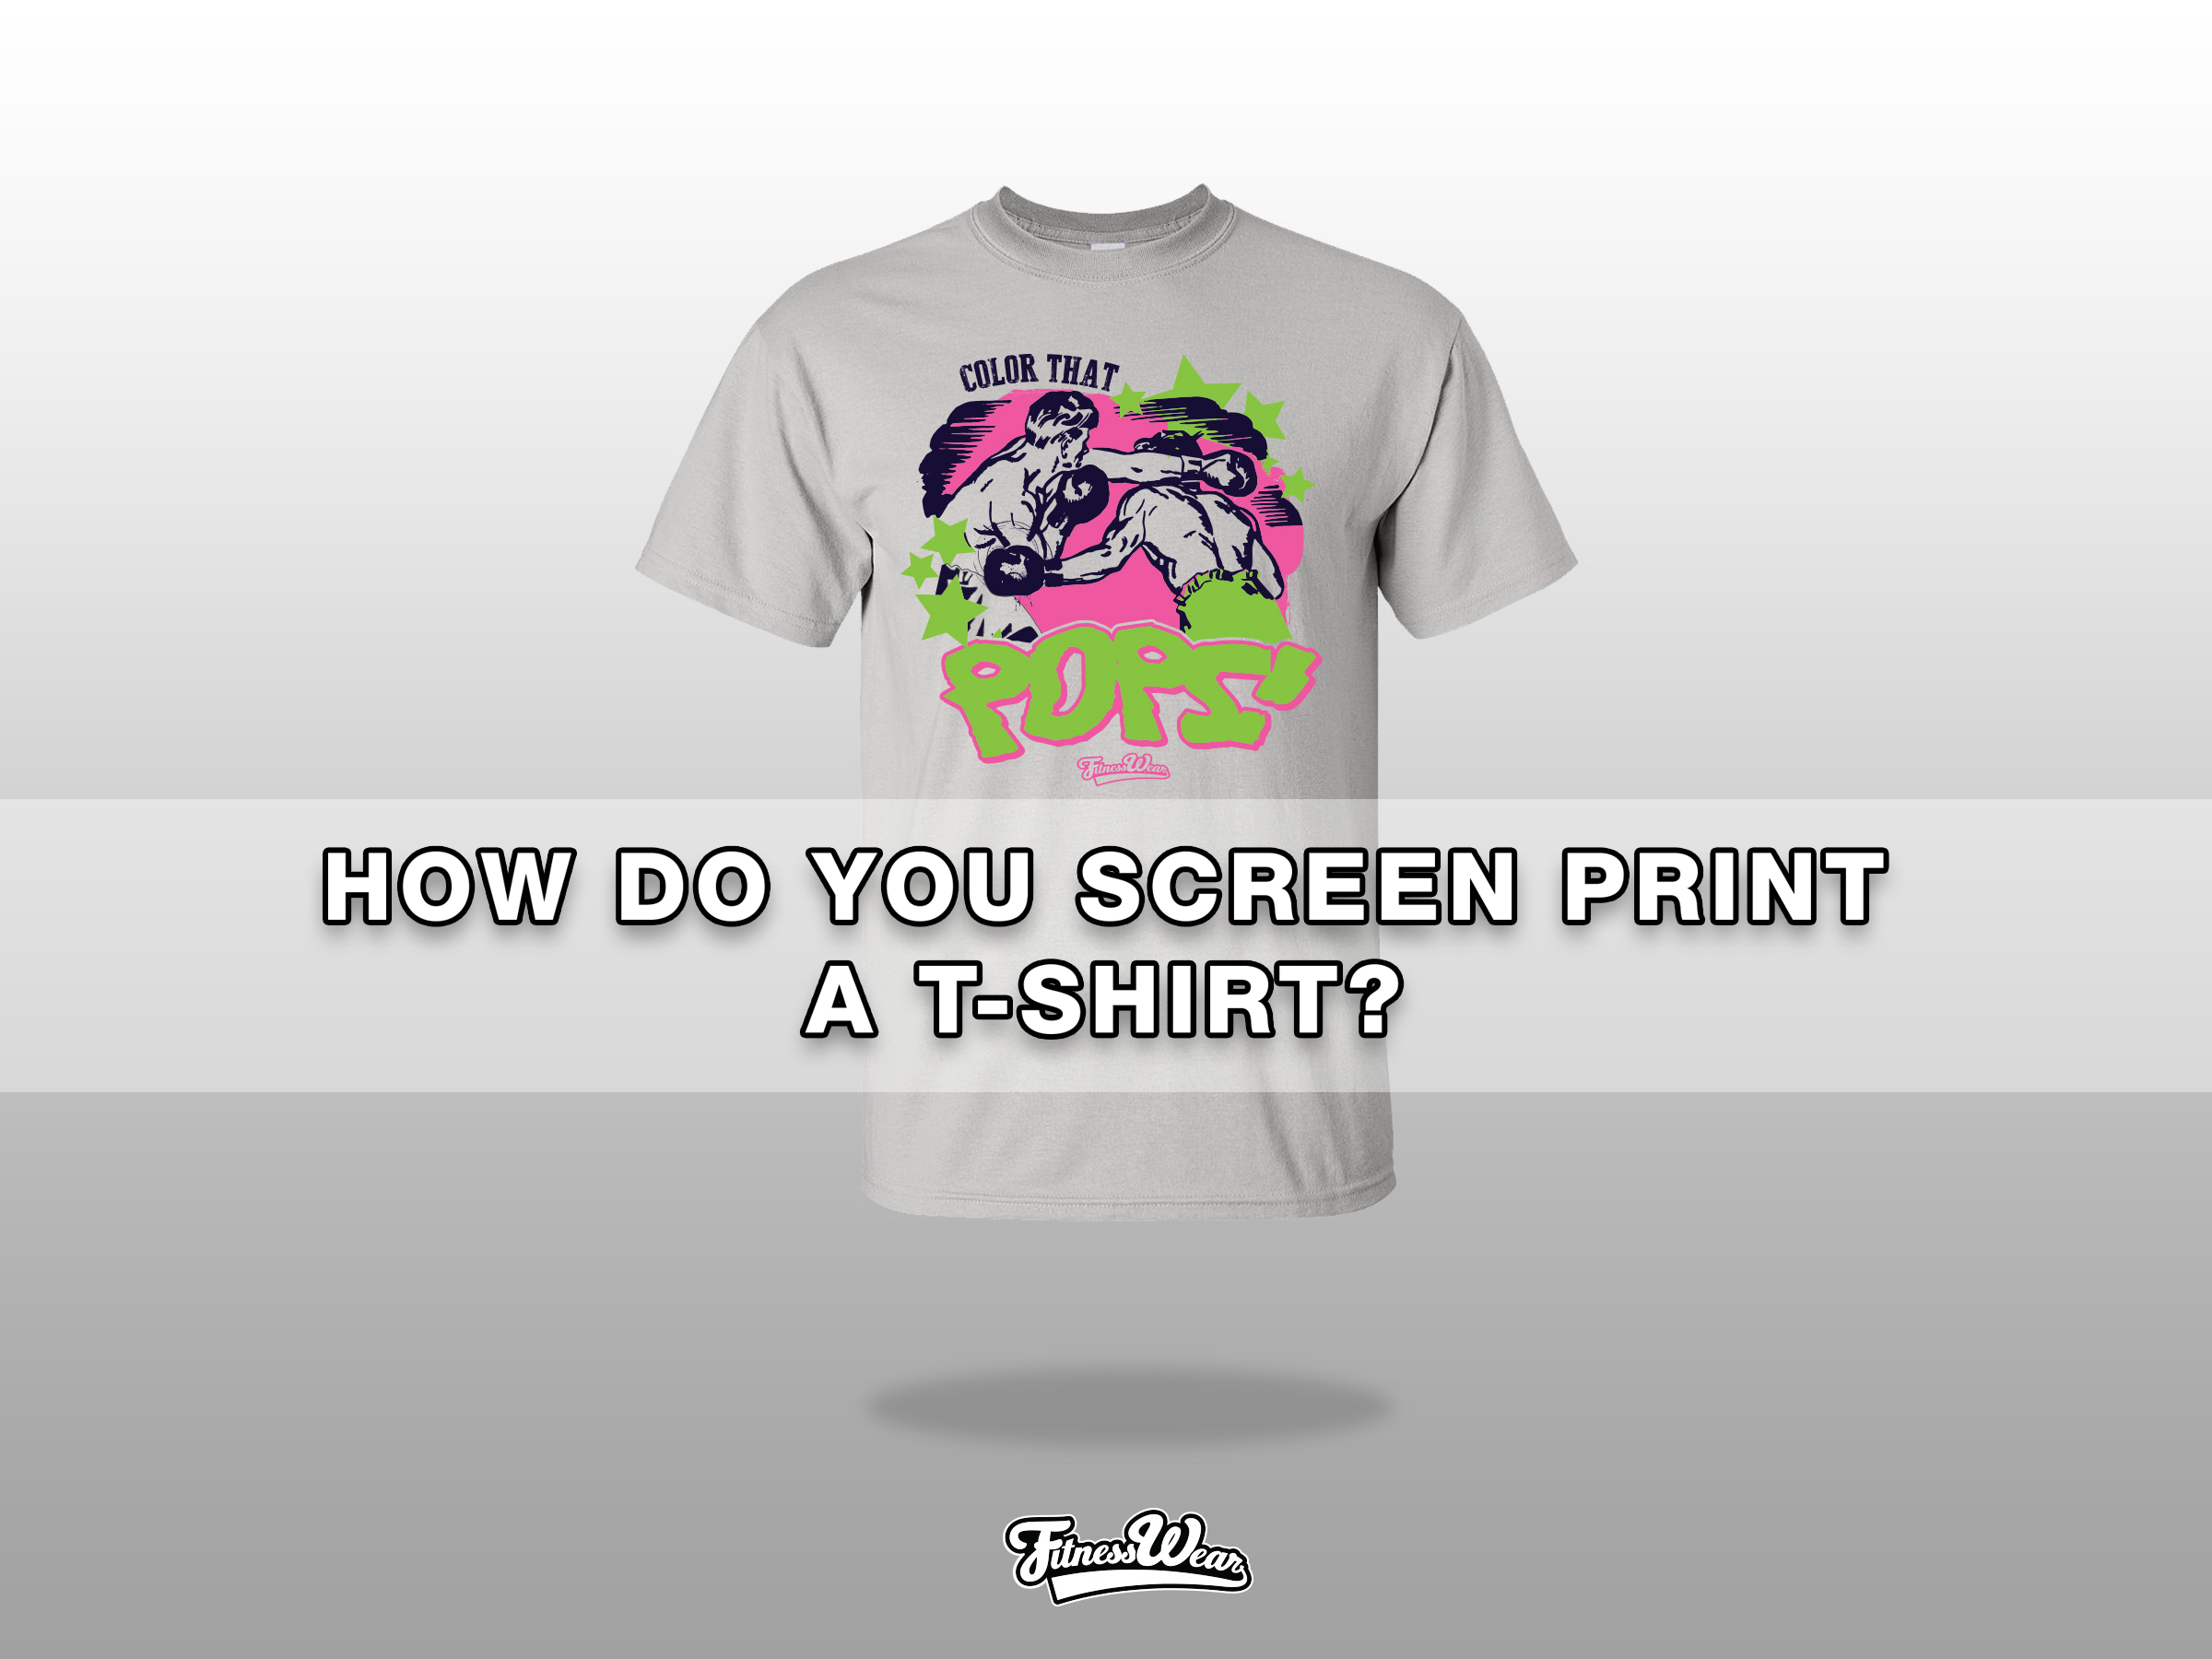
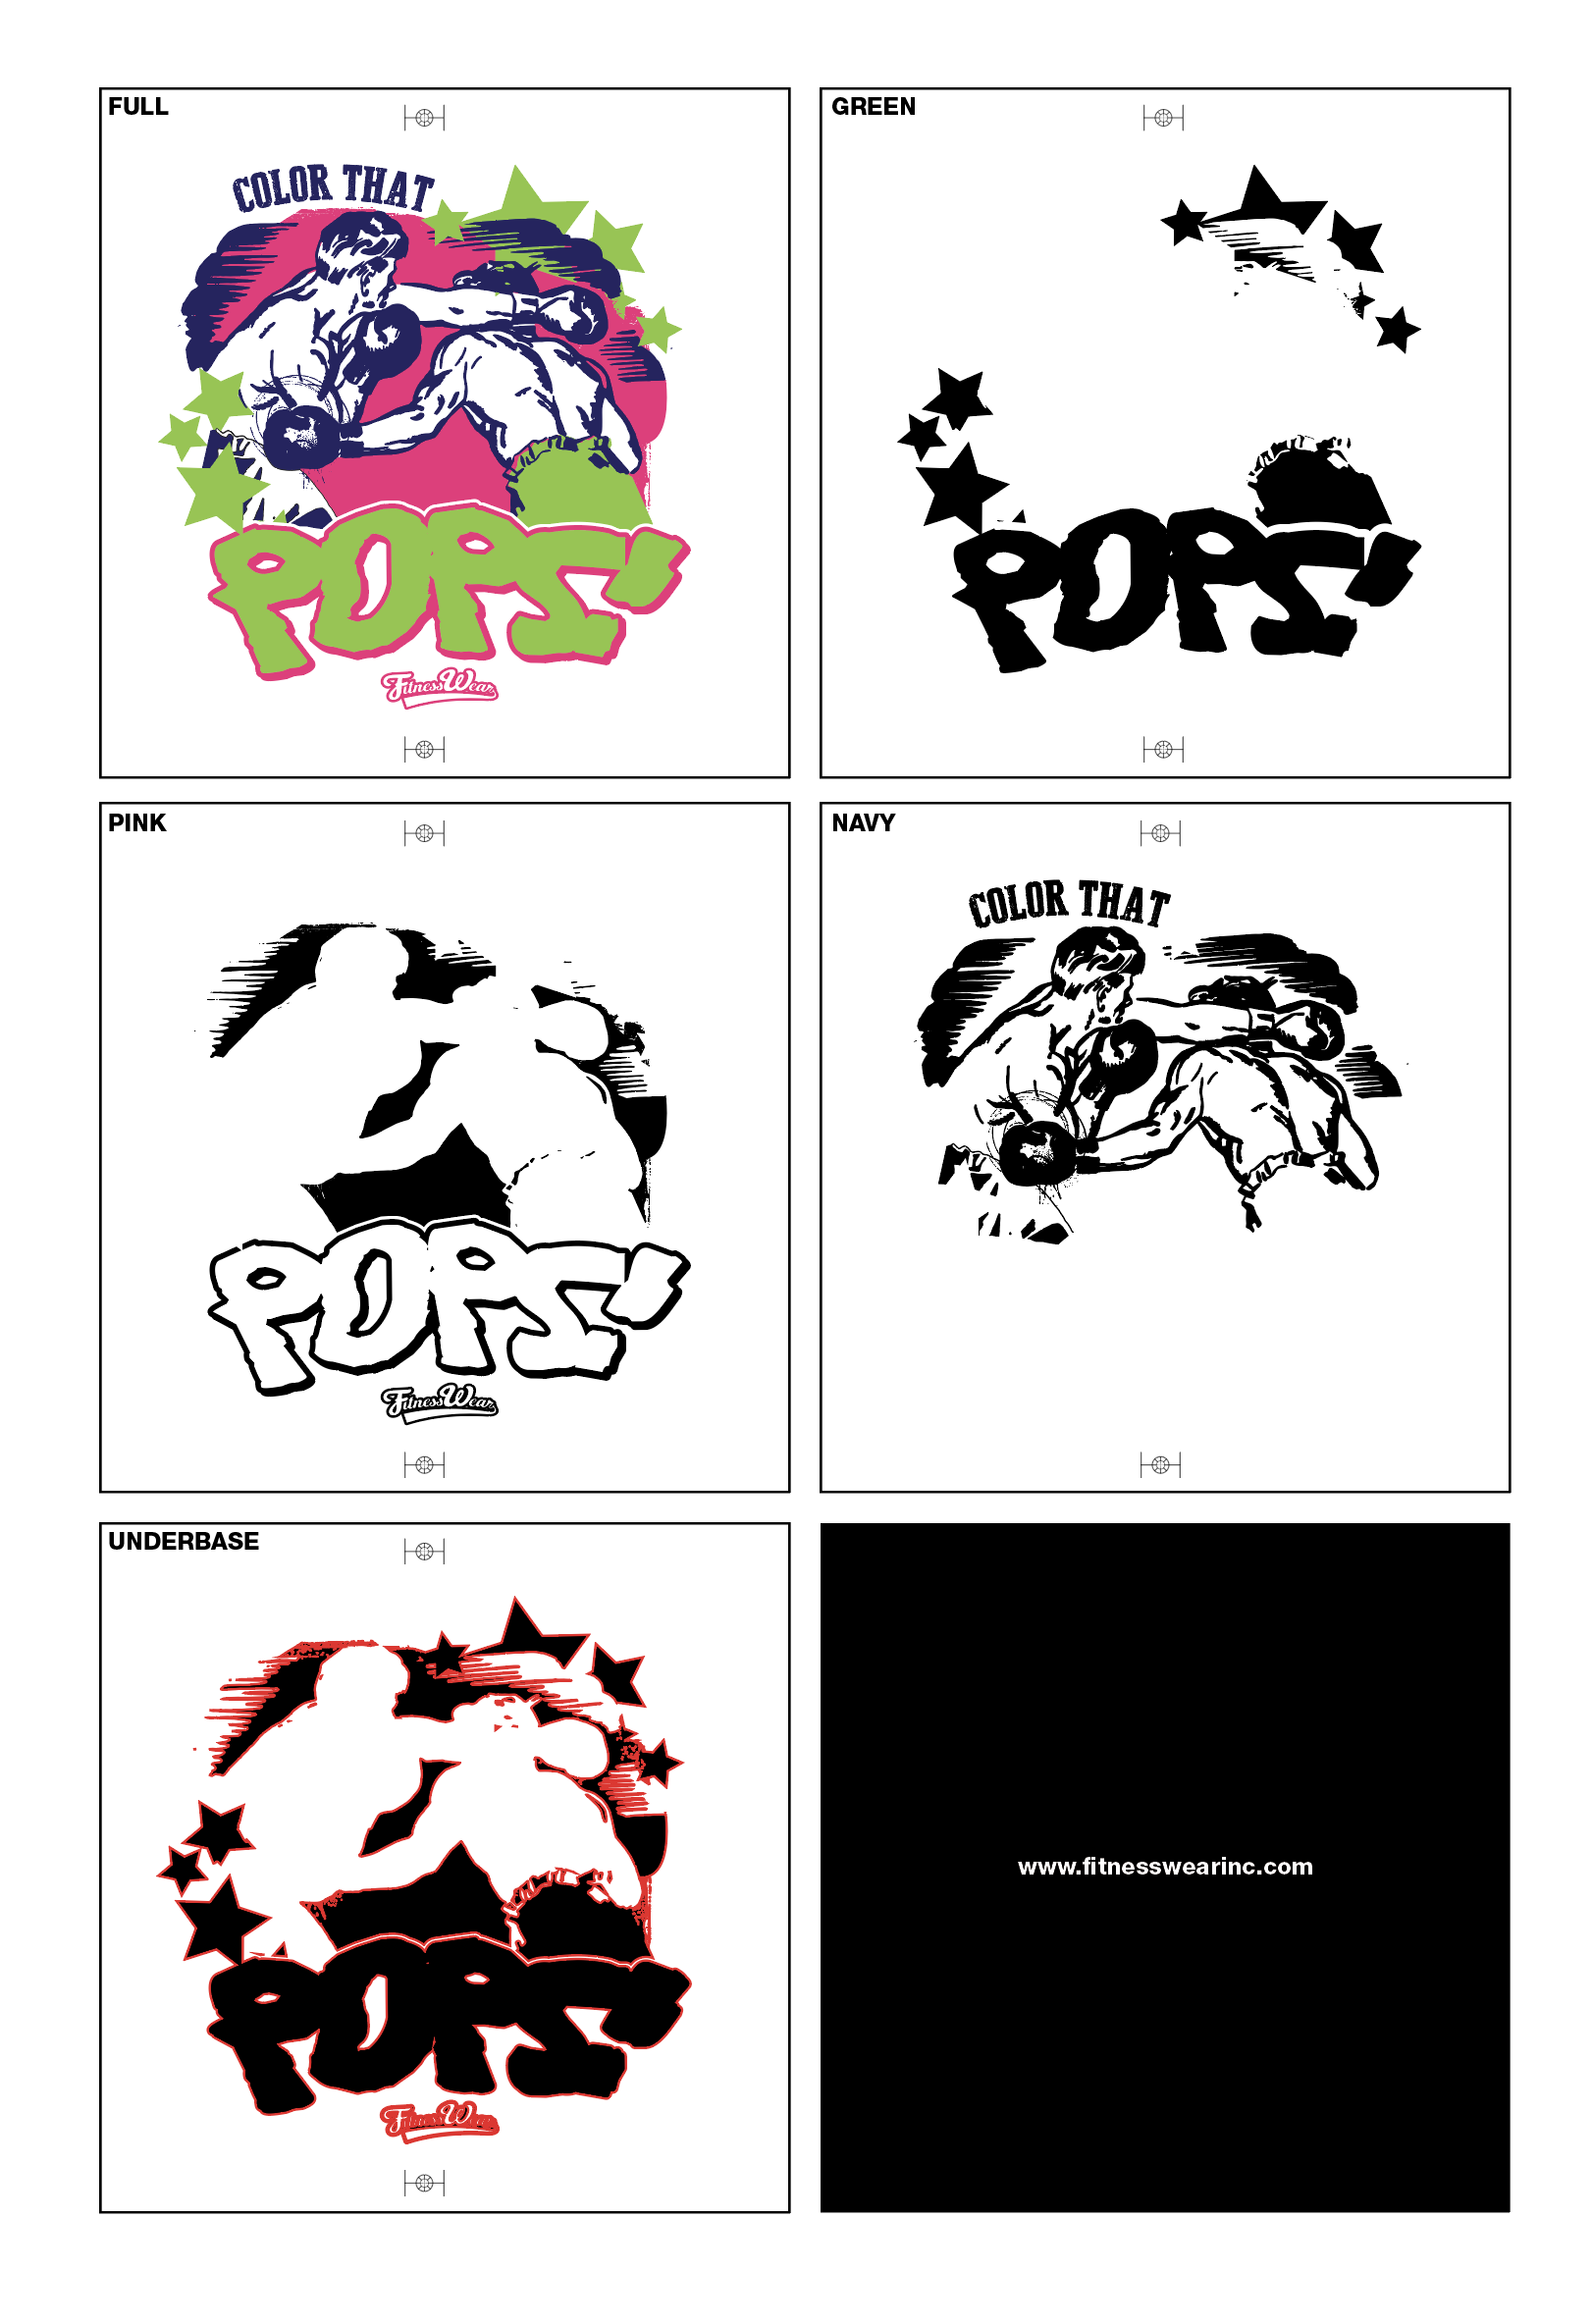
Here is a design I created in Adobe Illustrator. The first thing we have to do when looking at a new design is determine how many colors it contains and then we need to separate each color onto its own layer. Looking at there are 3 easily visible colors:
1. Green
2. Pink
3. Navy
I am also going to print an additional layer called an underbase. You can learn more about what an underbase is here, but to sum it up, an underbase is a layer of white that is printed underneath the design in order to make brighter colors pop more. Because printing inks have a level of opacity to them, lighter colors will show some of the garment underneath it when it is printed, causing the ink to be dulled down. By printing a white layer underneath a bright ink, you mitigate the problem of a dark garment showing through the ink.
So, with the underbase, I separate my artwork into 4 layers:
1. Green
2. Pink
3. Navy
4. White (Underbase)
I want to print each of these layers on a transparent film which I will later use to expose onto a screen. The way I do this is by taking each color and separating them into their own layers in Adobe Illustrator. Below is an image of how each color is separated into its own layer:

I then print each layer in black (important for upcoming steps) on a piece of transparent film.
The end result will give me a film for each color:
So What 's a “Screen”?
Pictured above is a standard aluminum frame screen. A screen is a fine mesh stretched over an aluminum or wood frame. The screen is coated with a light-sensitive substance called emulsion and set to dry. We typically coat our blank screens with emulsion and put them in a dark room overnight to dry. Once the emulsion is coated, the screen cannot be exposed to any light, which is why they are stored away in a dark room. Remember, Emulsion is light-sensitive, which means that it will harden when exposed to any light source. It is important that the emulsion doesn't completely harden for our next step of production which is exposure. This is what our screens look like in the dark room after being coated with emulsion:
Exposing Screens
Once the emulsion is dry, we will take a layer of film and bring it to our exposure unit. The exposure unit is a giant light table with a vacuum suction top. Now, let me explain why we print our films in black.
Remember how I said emulsion was light-sensitive? This means that when the film is placed on top of the screen and exposed to a large amount of light, Everything except the black blocked by the film will harden. This means we can create a stencil by hardening the areas exposed to light and washing out areas created by the black portions of the film.
This is what it looks like when we put our screen with a film in the exposure unit:

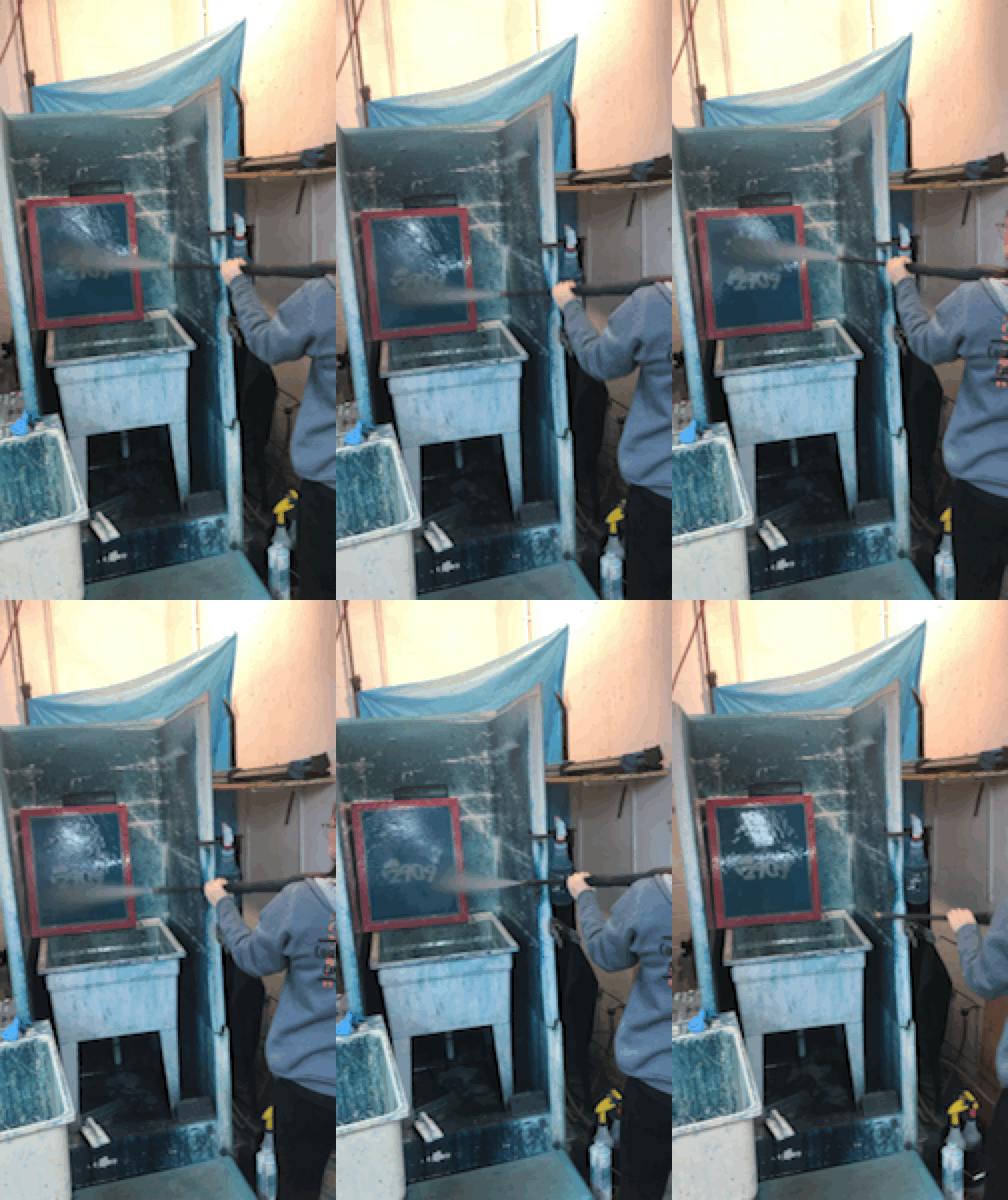
The exposure unit will take a few minutes to vacuum the screen to the light table and then blast it with a ton of light. Once the process of exposing is done, we the screen over to a "wash-out" booth where we blast the newly exposed screen with water:

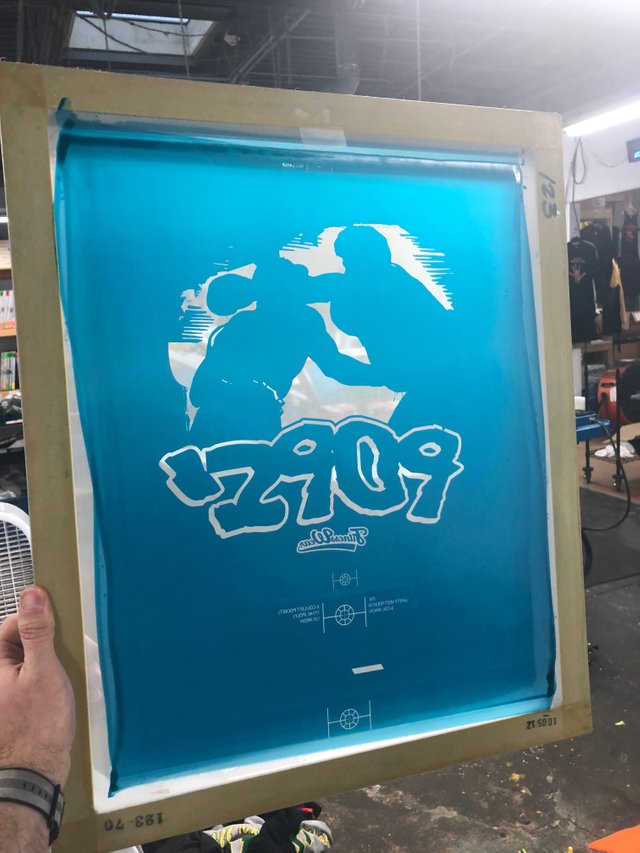
As we blast the exposed screen with water, the areas of the screen that were block by black will wash out. This will net us with one of our color stencils:

We rinse and repeat this step for each layer until we have a stencil for each of the layers we previously separated:
These stencils are set-out to dry and then fine details are touched up. Once all the stencils are ready, the next step of the screen printing process will begin:
PRODUCTION
I am excited to further explain the second part of the screen printing process tomorrow. I hope you enjoyed seeing what goes into pre-production for a screen printing run. I hope that over time I can go into more detail on each step and possibly provide some different techniques, tips, and tricks we utilize in our shop. Until then...thank you for reading and I will see you guys tomorrow!
You can find out more about my shop at FitnessWearInc.com
Follow us on Instagram: fitnesswearinc
Like us on Facebook: fitnesswearinc
just amazing
Thank you so much @rifkan
upvote me.. i upvoted u
https://steemit.com/entertainment/@zentalmyan/maanbipul-chettri-cover
This gem of a post was discovered by the OCD Team!
Reply to this comment if you accept, and are willing to let us promote your gem of a post! By accepting this, you have a chance to receive extra rewards and one of your photos in this article will be used on our compilation post!
You can follow @ocd – learn more about the project and see other Gems! We strive for transparency.
If you would like your posts to be resteemed by @ocd to reach a bigger audience, use the tag #ocd-resteem. You can read about it here.
Thank you @jznsamuel! I would love to have my post promoted! I appreciate the offer!
Great work thumbs up :)
Thank you @handialhendi!