Magic light! 2 part. How to paint (to do) Freezelight.
Hi everyone!
I hope you have seen my first post about freezelight. You can see it here if you have not https://steemit.com/art/@evgeniy1993/magic-light-it-must-be-seen. I hope you enjoy it.

Today I want to tell you more about how to paint (to do) Freezelight.
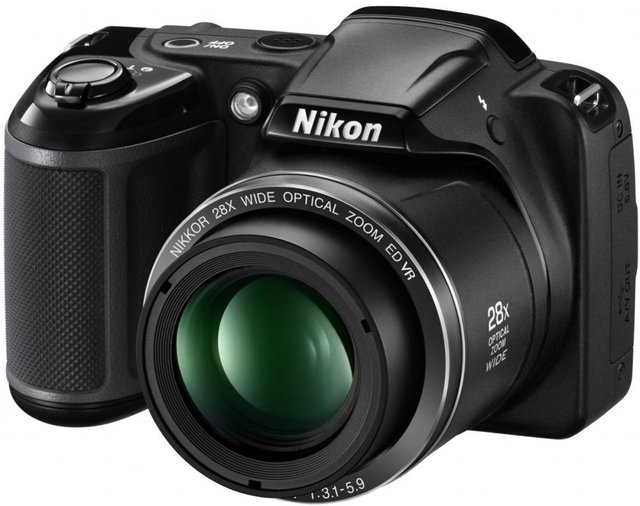
We start with the fact that you need the camera. Professional is advisable. But if you do not have a professional camera do not worry. I'll show you how to do Freezelight using regular camera.
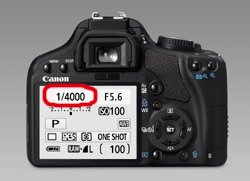
The most important are the camera settings. Do not be frightened. You will need to learned how to run just three settings. The shutter speed, aperture and ISO.
Now more in detail.
Shutter speed - is the time during which the picture is taken. Shutter speed can be as 5 seconds, as well as free. Sometimes a picture is required for more than 30 seconds. It is better to use a free Shutter speed.
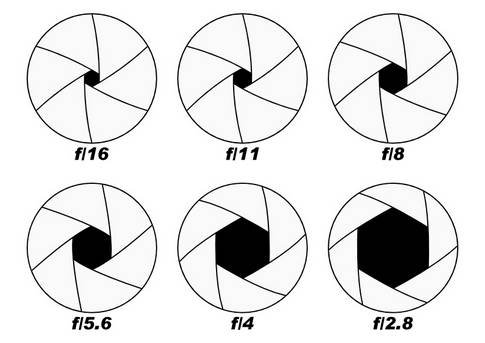
Aperture - a special mechanism that regulates the size of the hole in the lens. Aperture works like the pupil of the human eye. When we go out to the light - the pupil considerably narrows, letting less light. When we are in the dark - the pupil expands to eye saw light as much as possible.
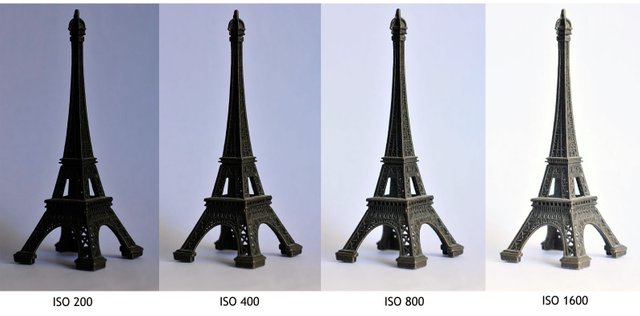
ISO - matrix (or film) sensitivity to light. Remember it would be better to use 200 ISO sensitivity in freezelight.
Let us turn to drawing.
There are 7 drawing rules.
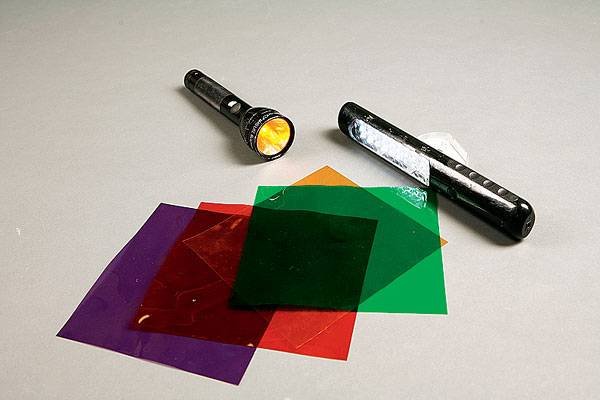
1. For Freezelight you can use any source of light (the candle or another open fire is not very good), the best work you can take by using different flashlights, would be better if they are more unusual. You can even use your mobile phone. You can use different flashlights. From the simplest to the improvised. When you make the flashlights by your own hands, you can make a special flashlight that needed only for your photos. Lasers are not recommended - they could damage the camera. In addition, do not forget that you need your flashlights lamp on the camera. In the worst case, the camera does not see the light.
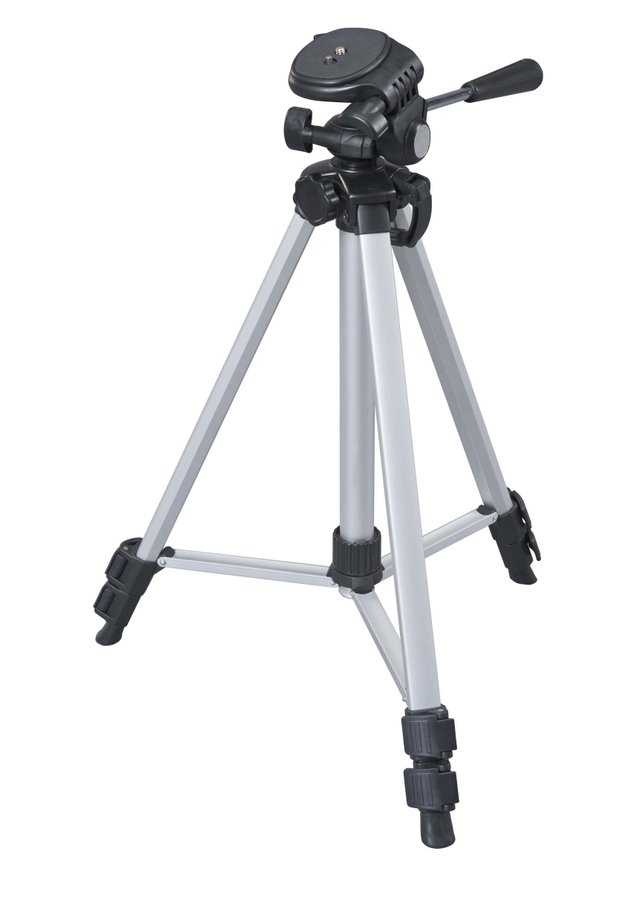
2. Use a tripod or at least a chair, desk or any other item that can ensure the camera steady during the whole shooting. If the camera will move you get a blurry image.
3. It is necessary to take pictures in darkness. On the street is better to move away from the lights, and at home - in a closed room with curtained windows, or without windows at all. Similarly, the clothes should be dark because of the bright clothes and even more clothes with reflective elements you may be seen in the frame.
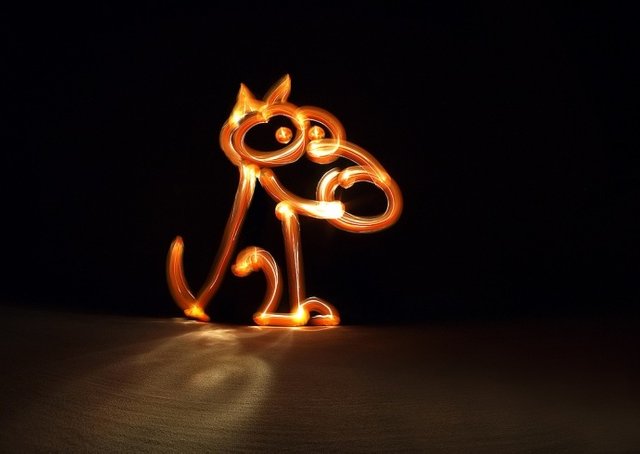
4. Train more. Practice is very important in freezelight, because for the first time you are unlikely to get the usual smiley, not speaking about complex pattern. Many freezelight beginners does not have the necessary level of spatial imagination first time. Imagine that in front of you a large sheet of paper and start drawing on it. A flashlight use like a brush.
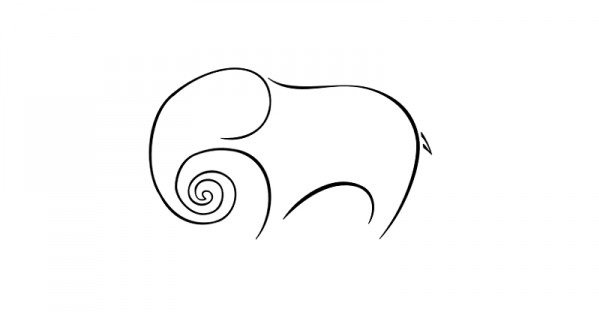
5. Plan your picture in advance. Draw chosen pattern with pencil on a sheet of paper, or with chalk on the road. First, try to draw with flashlight but without a camera. Repeatedly. This will help you reduce the number of duplicate pictures. And the desired result will come faster.
6. Do not forget about the frame border. It is better to predefine what your camera sees and what is not. This procedure will help you not to go beyond the borders of the frame.
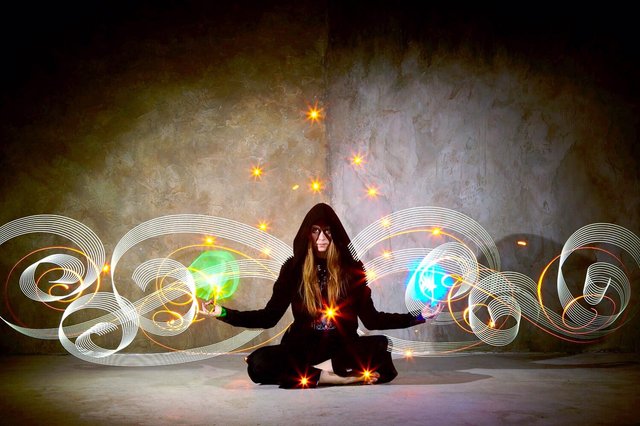
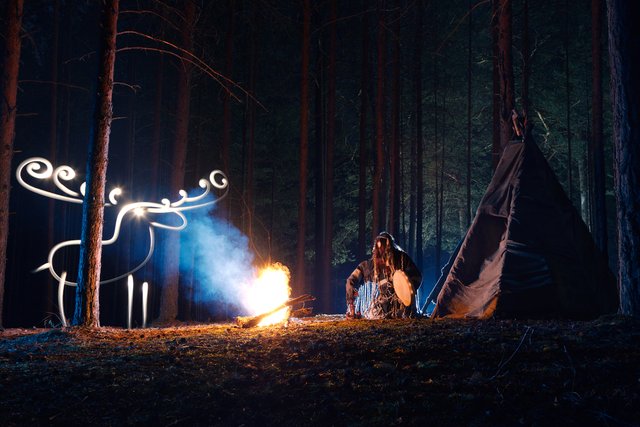
7. If you want to paint a model in the picture, you need to use the flash. But do not forget that you (who draws) should not be in the frame at the moment. It is better to use the flash at the end of the frame, when you have just drawn picture and left the frame.
There is one more moment.
How to draw on regular camera?
The answer is simple. Set the camera settings at "night mode". Then adjust the focus. Close the lens with your hand. Press the camera button and then remove the hand. You will have a few seconds to make a drawing.
At first sight, it may seem difficult. But I advise you to practice more. Call friends. Tell them what you doing. And try together. I'm sure you will get that.
Here is a video report.
At all, if you want to do freezelight you must do a few things. Set up the tripod, configure the the camera settings (for advanced f9,5; iso 200-400; shutter speed), check the flashlight works, check frame border, push the camera button and make a picture. when you are done go out the frame and wait until your photo is done. And you can be pleased with result.
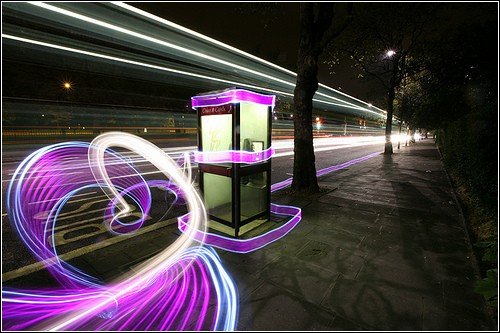
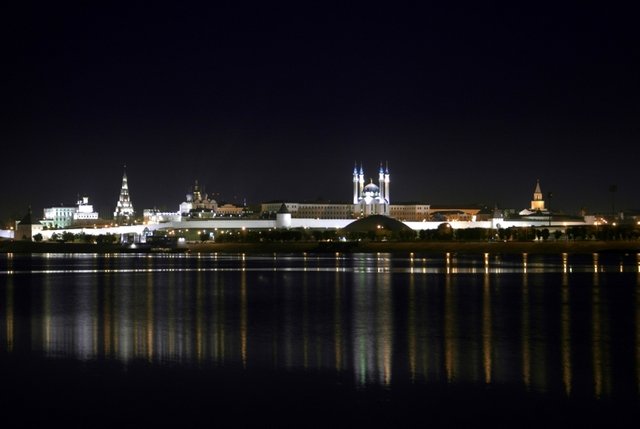
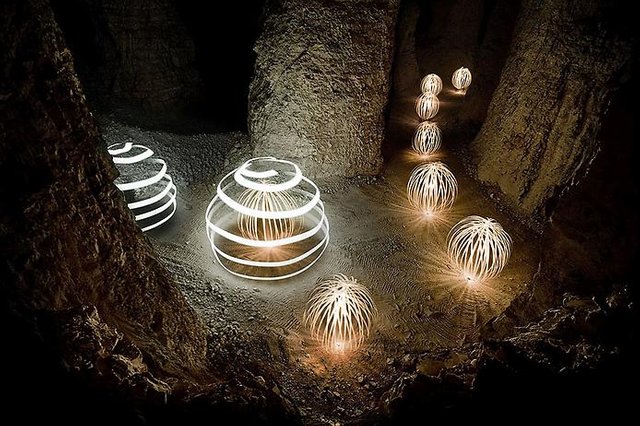
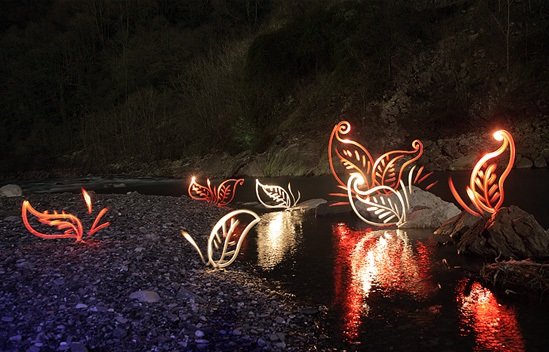
You can use the nature above you to make someinteresting photos like this.
It would be nice to see your photos.
Ask questions if they came. I will answer all with great pleasure.
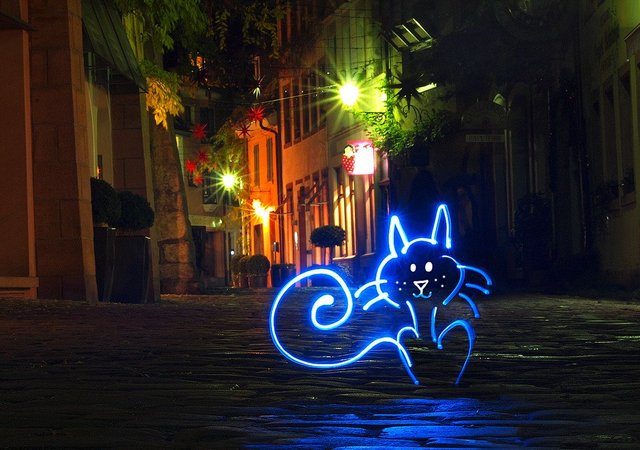
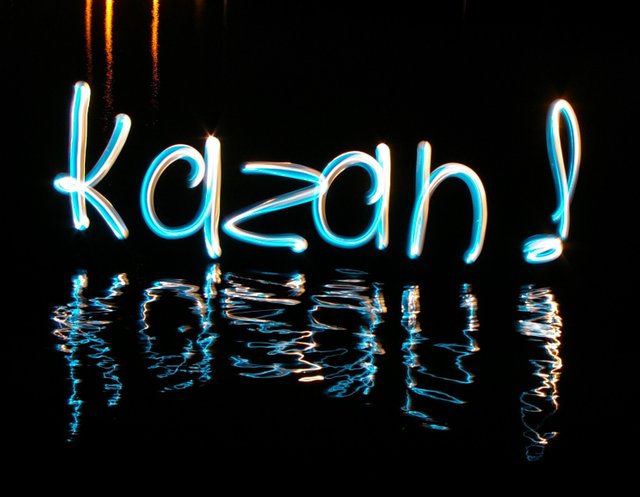
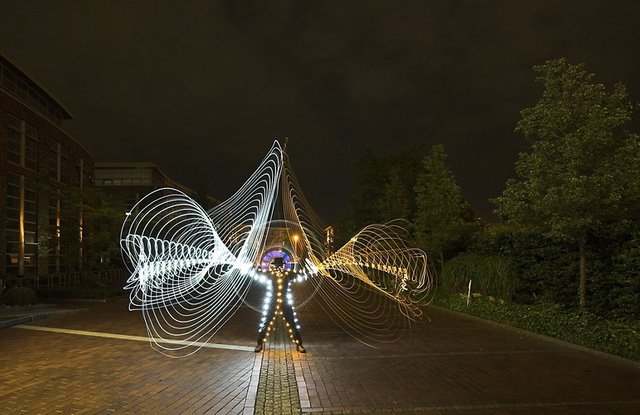
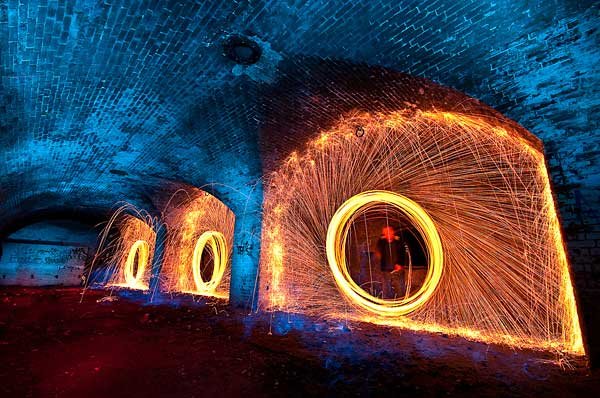
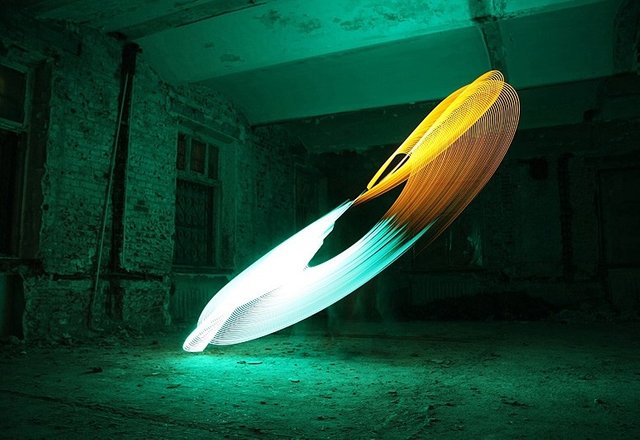
There is some freezelight from another autors.
I hope you enjoy this post.
P.S. In the next post, I want to tell you how to make a cartoon or animation using Freezelight drawings.
Nice
Very Nice
So mistery
Very good my friend! You make a great stuff. Like it!
Thank you, my friend =)
Ну отличная статья. Уникальная техника исполнения. "Живые" фотографии.