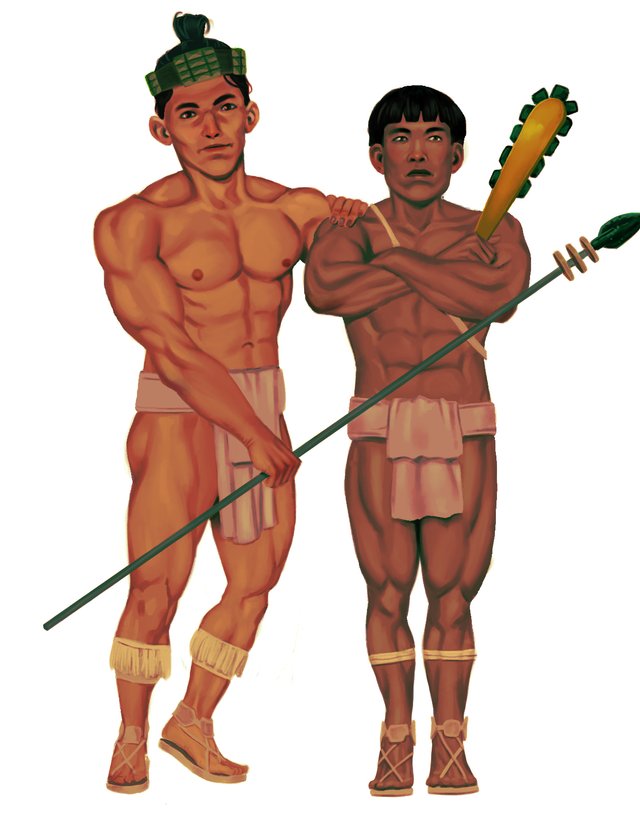
Mayan brothers
Hey y'all! Welcome to another step by step showcase!
jazz hands
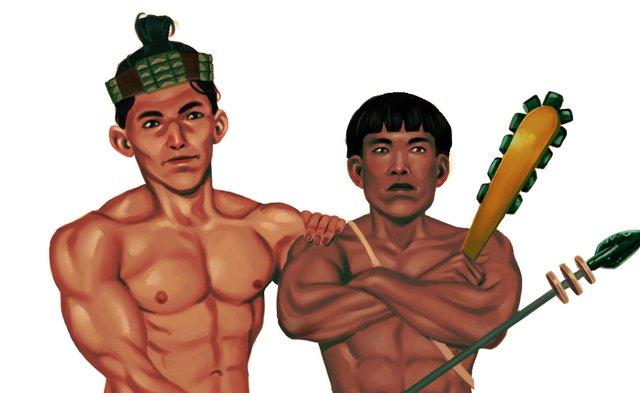
Today, I'm gonna walk y'all through this painting of two precontact Mayan lads as I envision them. I did some online research and pulled some reference first. This allowed me to get a good idea for the kind of weapons, clothes, and hair styles that could have been typical. I tried not to go overboard with body markings or piercings. I kind of wanted them to look like a couple of local lads rather than guys straight out of Apocalyptico. And while I rendered them a lot, I definitely tried to give them some cartoonish proportions to make them a little intimidating, as these two guys were designed for a comic I was working on and they play the part of minor antagonists.
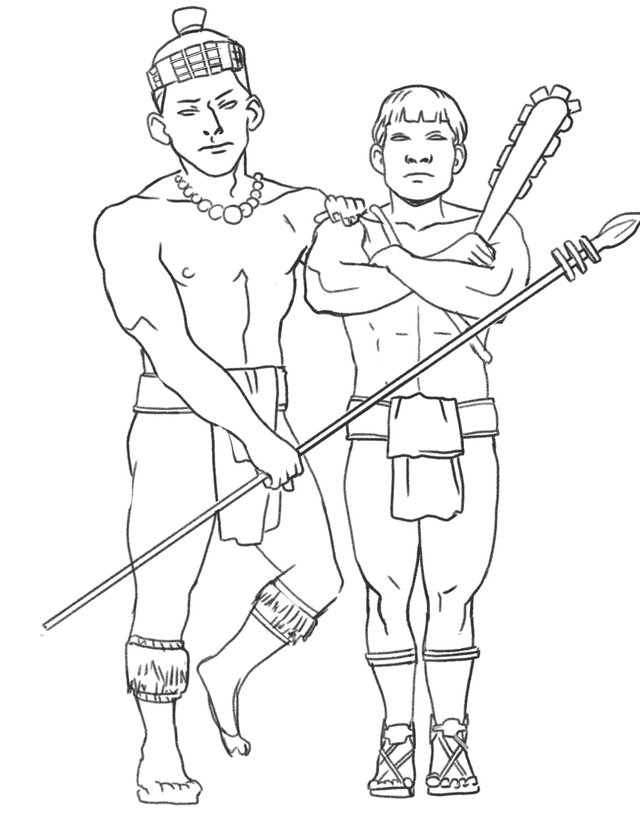
Here is the initial line drawing. A line drawing helps me get the kind of body language and composition I want first without muddying myself up by getting involved with color at this stage.

Now, I know this part may be a little frustrating since I skip a lot of time here, but I promise I kept all this rendering to one layer and thats why I have as it is here. I really just tried to keep everything nice and tight.

As you may know by now if you've seen my other walk thoughs, I like to use gradient maps. Gradient maps basically let you assign a color to a value. Basically, you can make your darkest shadows bright green and your brightest highlights a blue grey if you wanted.
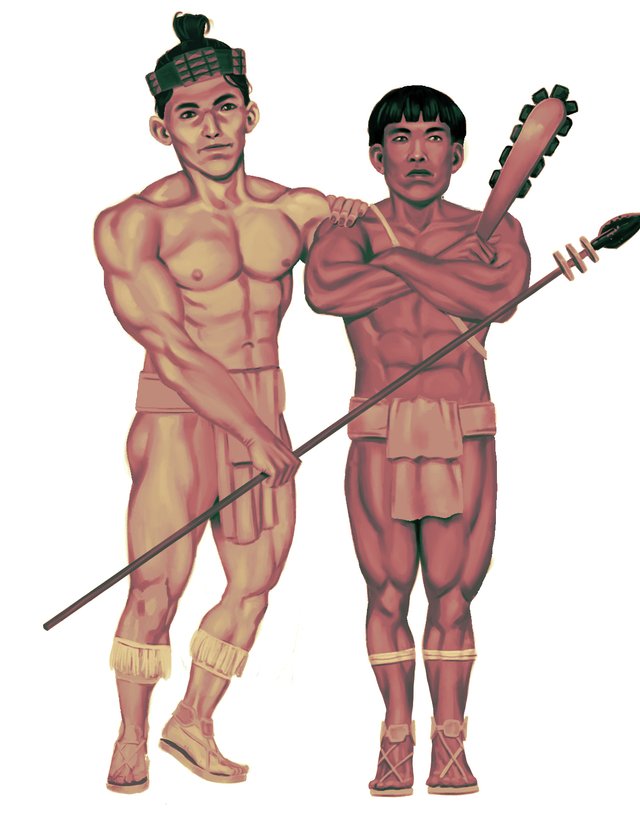
Once I've got the color to values I want, I change the blending mode of the layer to Color and set it to a low opacity (54% in this case). This tones down the crazy colors I could have chosen but still keeps it pretty interesting.
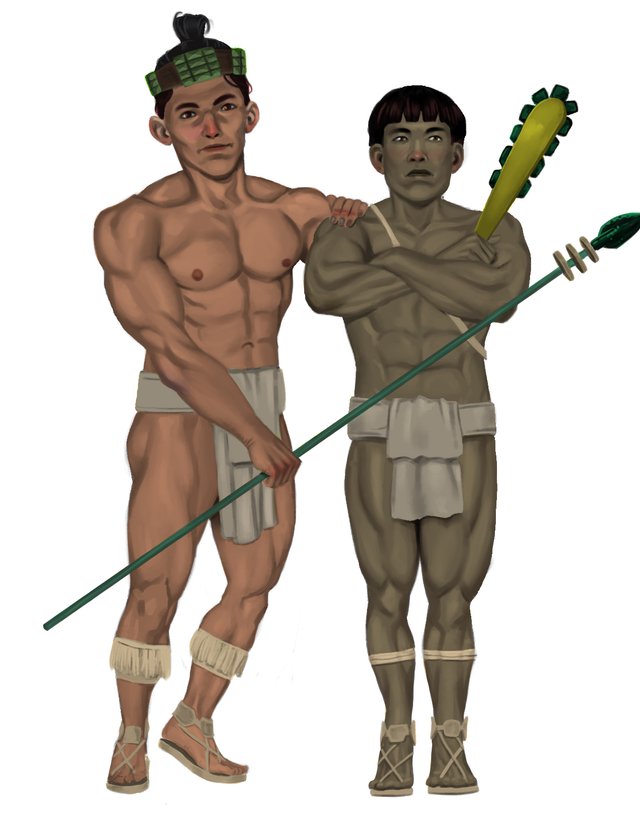
I then go ahead and turn off that gradient map layer for a moment so I only see the grey scale painting I did. I make a new layer and set it to multiply. I then start putting some colors down. While I'm working, I toggle the visibility on the gradient map layer to understand how my colors are multiplying down. As you can see here, I'm trying to get some of the color variations in the skin by adding some redness in areas like the nose and knuckles and some desaturation around the elbows. Its a bit messy but it helps here and there.
Once I turn on the gradient map layer again, you can see most of the work is already done! I fidget around a little bit and I kind of notice, at this stage, some of my darker values are kind of washed out. I duplicate my grey scale painting and set it to the top. I set it to multiply and at 22% opacity. There's no particular way I arrive at this step. Its literally just using my eye and intuition (based on my experience) to change things a little bit here and there. In reality, the change in values to the casual viewer may not register at all so Im just gonna skip showing it lol
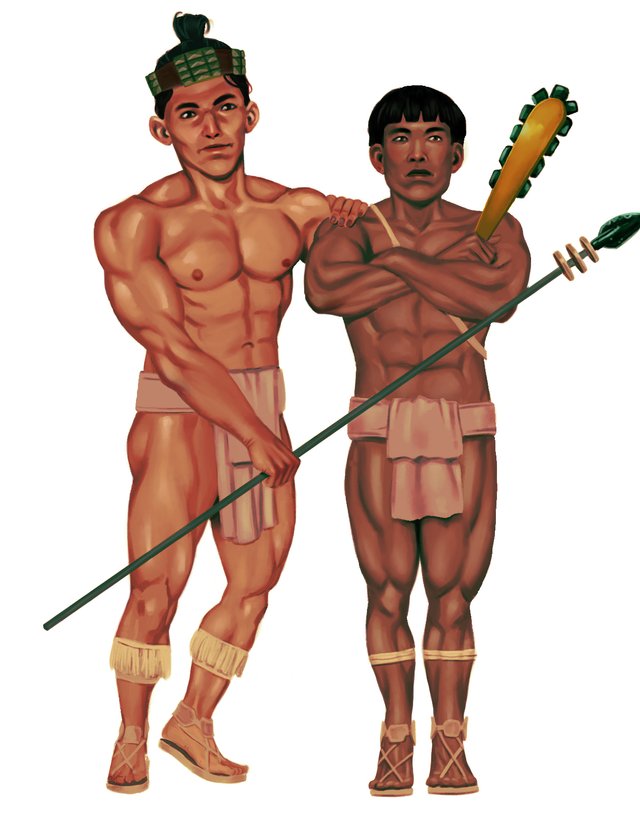
All thats left to do is add some soft and hard highlights! Thats it! I just do them on separate layers because by now I just want the thing done! Typically, the smart thing is to have as few layers as possible. That way you stay organized and disciplined but sometimes you can just throw that out the window and finish up the piece on a single layer, if you want!
Hi edgaruvm,
Visit curiesteem.com or join the Curie Discord community to learn more.
Thanks, curie!
This post was shared in the Curation Collective Discord community for curators, and upvoted and resteemed by the @c-squared community account after manual review.
@c-squared runs a community witness. Please consider using one of your witness votes on us here
Thanks, c-squared!
Cool bros :D Apocalypto was just playing here ... like on the weekend and that is one of my favourite movies. It's just so visceral and well produced * ___ *
I can never work with too many layers. They confuse me :3 So usually I keep merging them down before I continue onwards~
Congratulations for curie, as well :)
Apocalypto is always a great watch :)
Thanks!
I think that the left one needs a little more sunbathing :) Just kidding! Great drawing! The left brother looks a bit nicer. The right one is a bit stubborn. You gave them very masculine bodies! They must be working out a lot :)
Thank you for sharing and have a good day!
LOL!
Yes, seems like one of them has seen more sun than the other. Thanks!
Congratulations @edgaruvm! You have completed the following achievement on the Steem blockchain and have been rewarded with new badge(s) :
You can view your badges on your Steem Board and compare to others on the Steem Ranking
If you no longer want to receive notifications, reply to this comment with the word
STOPVote for @Steemitboard as a witness to get one more award and increased upvotes!
Oh, great step by step.
Very clean.
I like the use you give to degradation tools.
Stay great!
I follow the Curie healing trail
Thanks!