Creating a fantastic glowing deer in Adobe Photoshop CC 2019 Part 2
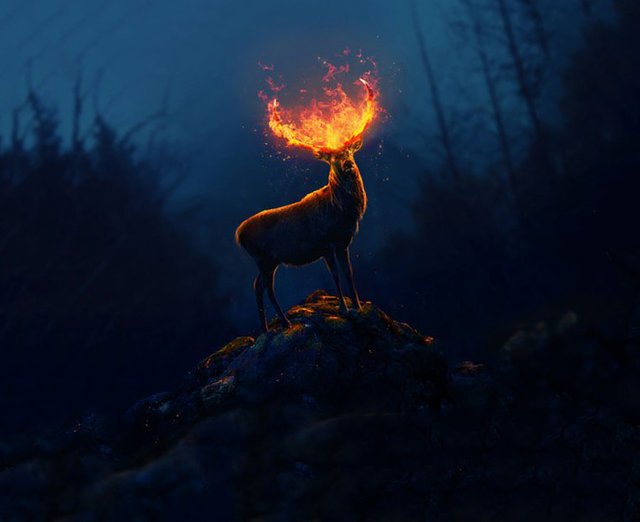
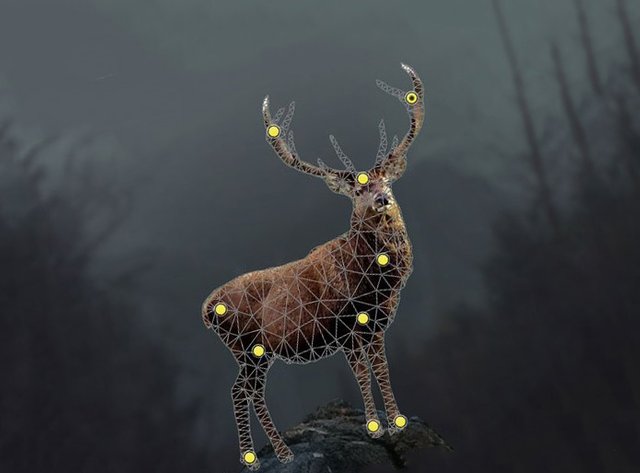
Final Result
Stage 2. Add a stone
Step 1:
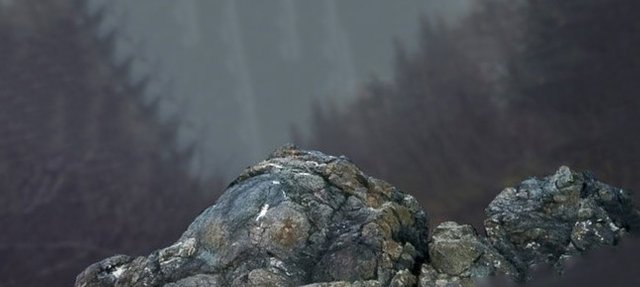
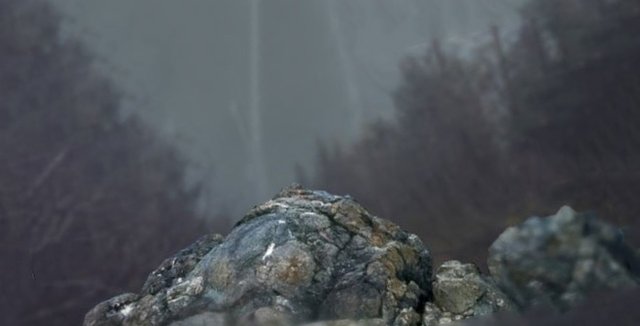
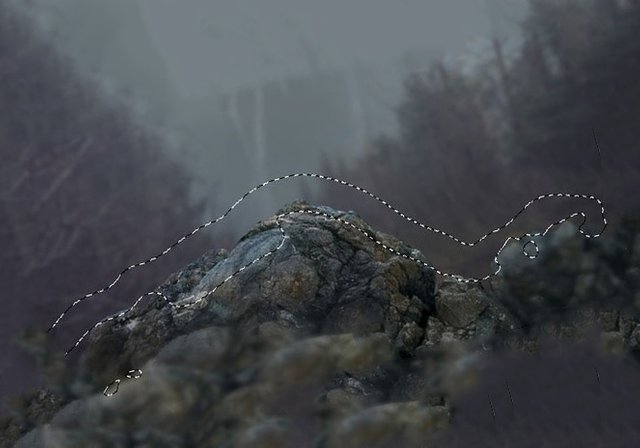
Open an image with a stone and select it only with any selection tool - the author used the Polygonal Lasso Tool / Polygonal Lasso Tool [L].
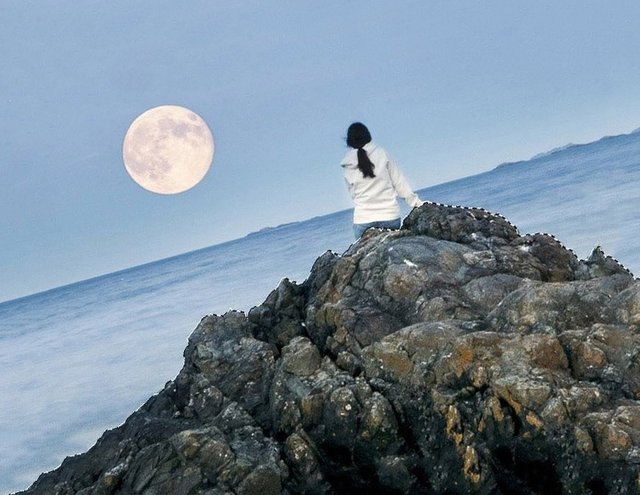
Move selected stone to our main document and flip horizontally using the command Edit / Edit> Transform / Flip Horizontal / Flip Horizontally. Then translate the layer in the Smart Object / Smart Object.
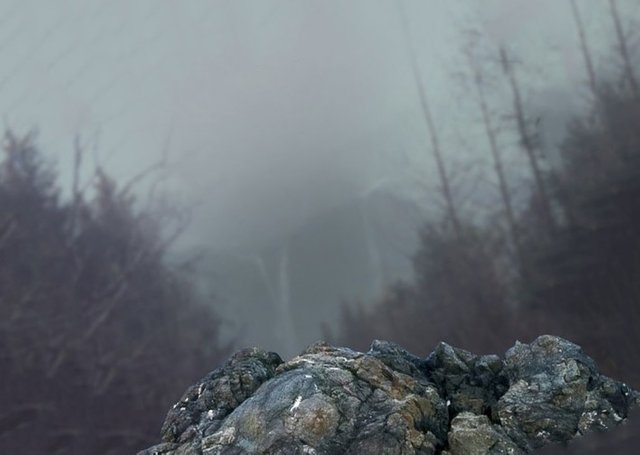
Step 2:
In order to make the rock look better, you need to remove some of the upper parts. To do this, add a mask to the layer and use a black hard brush. Remember to preserve the structure of the stone.
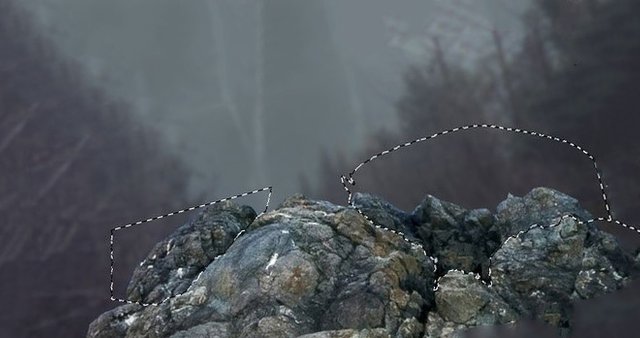
Step 3:
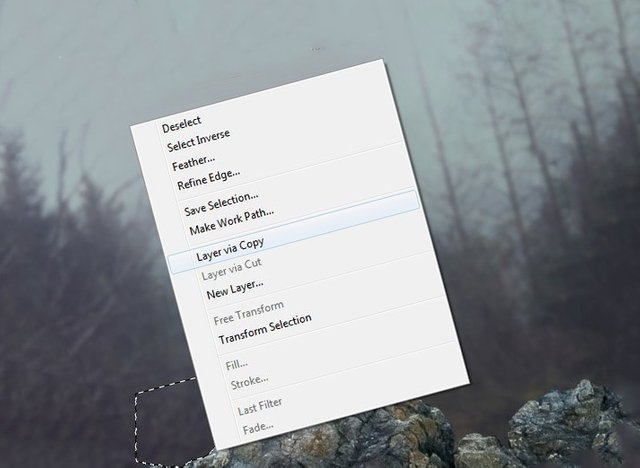
On the layer with the stone, select the top part of the stone, right-click on the layer and select Layer via Copy from the menu that appears.
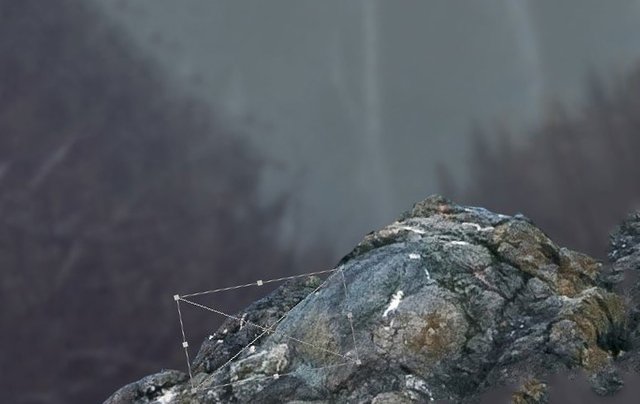
Now we take a layer with the selected, upper part of the stone and move it below the layer with a large stone and use the free transformation Ctrl + T and make it a little smaller.
Step 4:
Select a layer with a big stone and apply Filter> Blur> Blur> Gaussian Blur with the following settings.
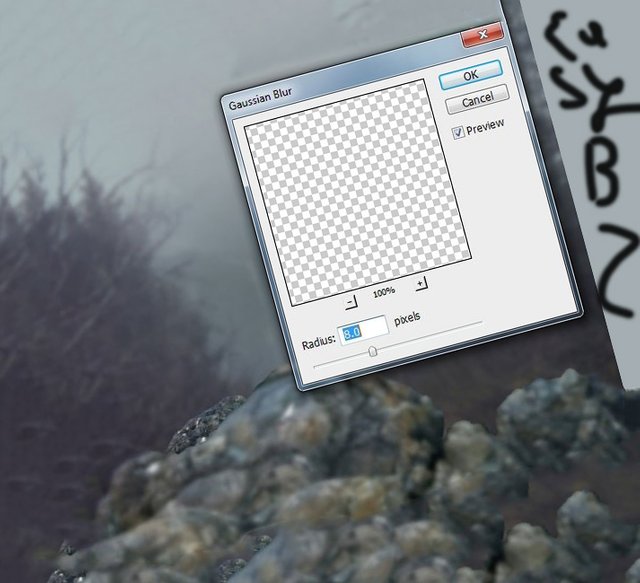
Then select a layer mask and use a soft, black brush to wipe the middle part of the stone so that it looks separate, thereby creating a depth of field. The result on the mask and the picture you can see on the screenshots below.
Step 5:
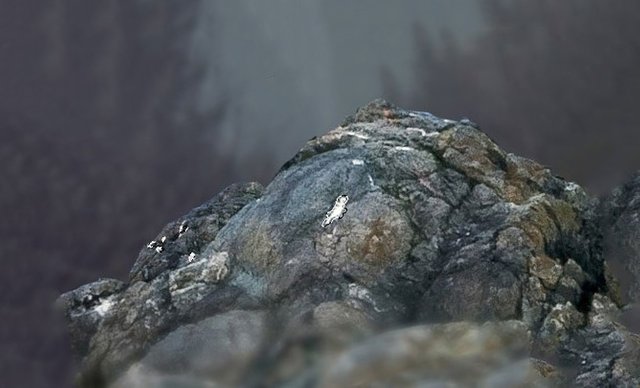
Create a new layer and select the Clone Tool / Stamp Tool [S]. Use the tool to remove unwanted white spots on the stone.
Step 6:
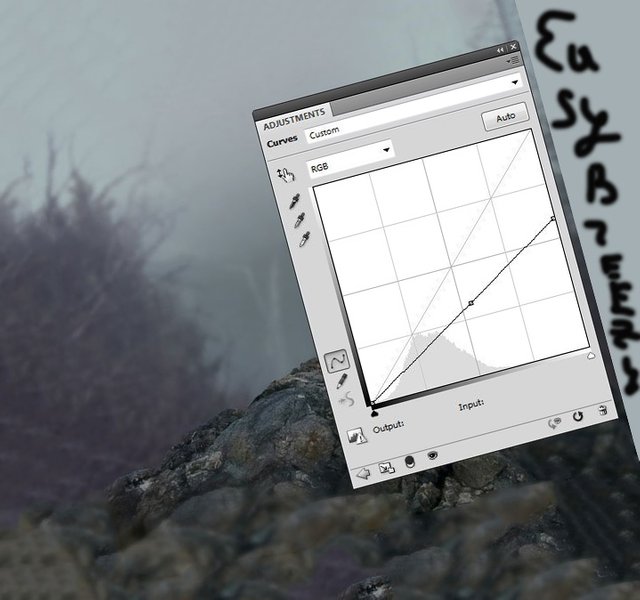
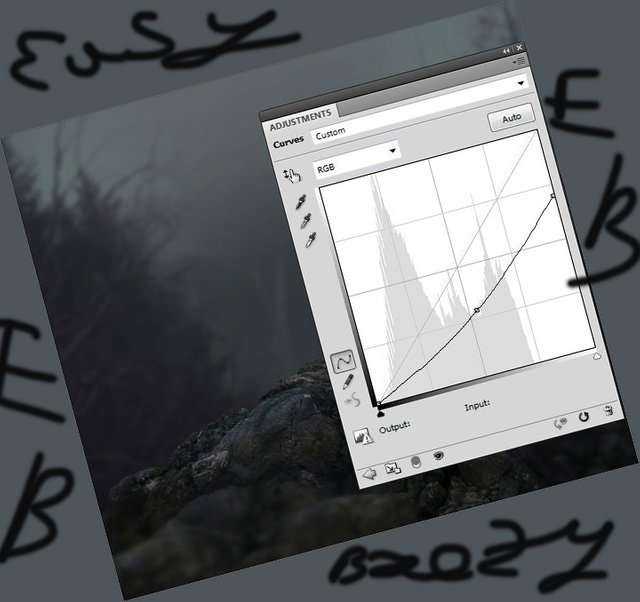
Select all the layers with stones and the clone layer with unwanted stains removed and merge them into the Ctrl + G group. Change the mix mode for the band from Pass Through / Standard (Skip) to Normal 100%. Create a Curves Correction Layer / Curves inside the group and darken the stone, as shown in the screenshot below.
Choose a mask of the correction layer and using a black, soft brush, erase the upper part of the stone and some other details - we will add light to these parts.
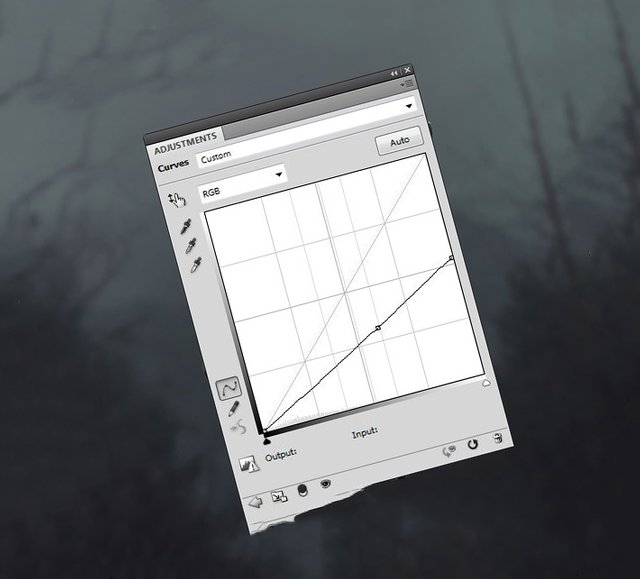
Stage 3. Dimming the scene
Create a new Curves adjustment layer / Curves above all layers and adjust the curve as shown in the screenshot below.
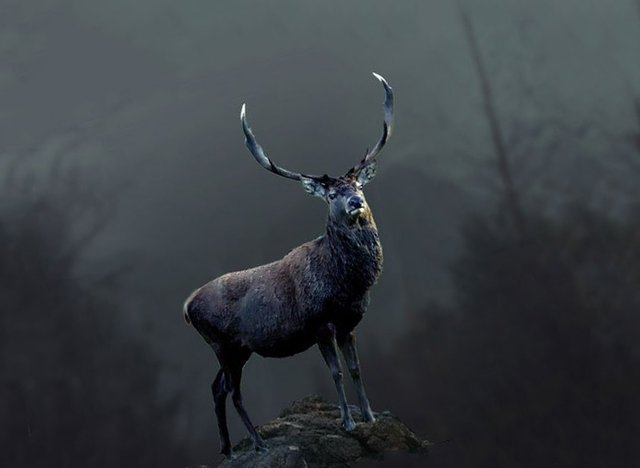
Step 4. Adding a deer
Step 1:
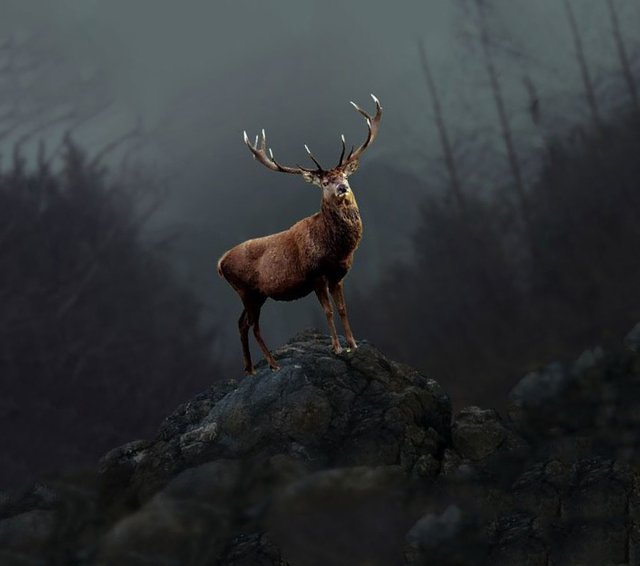
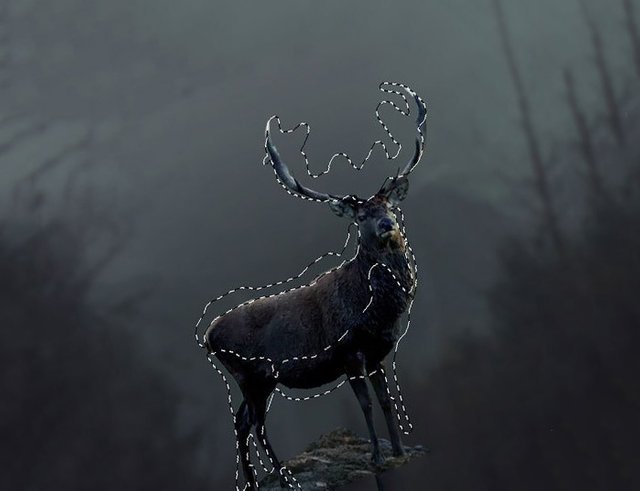
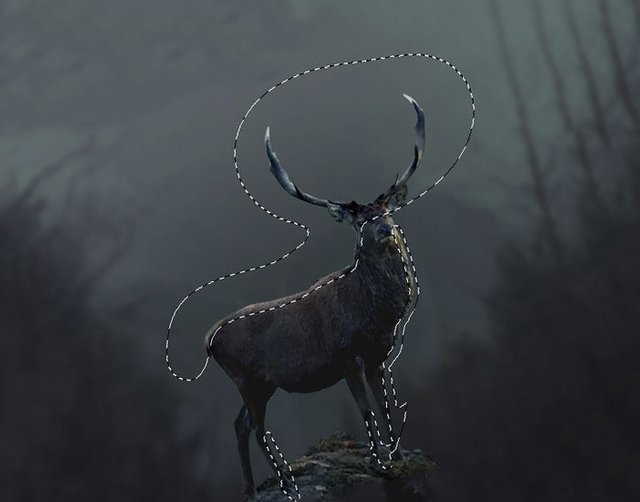
Open the image with the deer, separate it from the background and place it on the stone in our document.
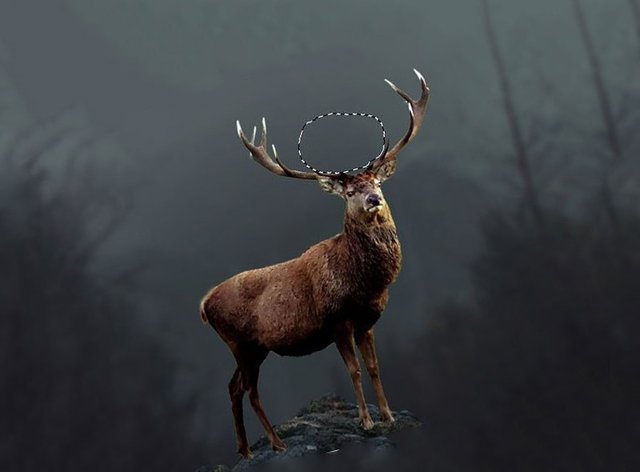
Add a mask to the layer and remove 2 small horns in the middle part - above the head of the deer.
Step 2:
Let's do some transformation horns. Go to Edit menu> Puppet Warp / Puppet Warp. Add points to the body and head of the deer, and then move the points on the horns to make them closer to each other.
Step 3:
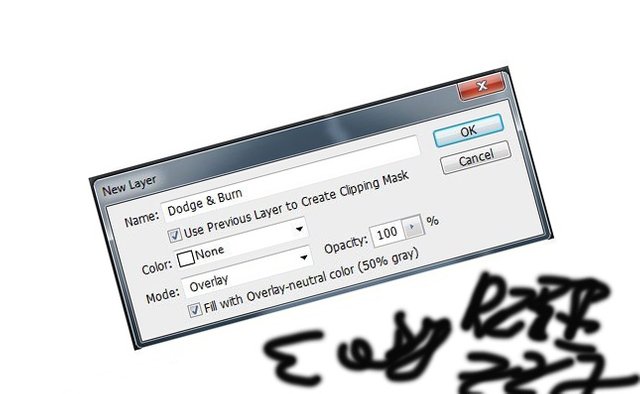
Create a new layer (in clipping mask mode) by changing the blending mode to Overlay 100 / Overlapping 100% and filling to 50% gray.
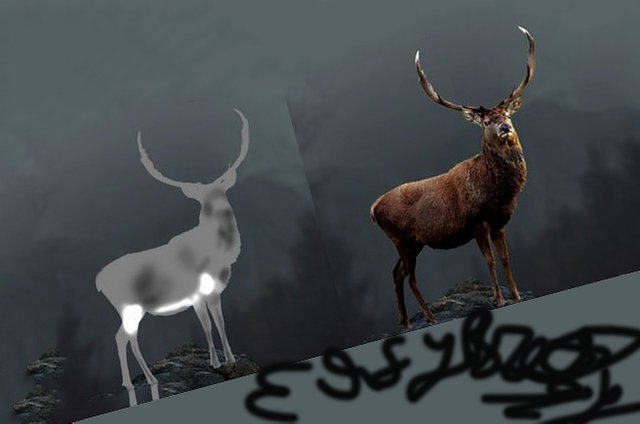
Use the Dodge and Burn Tool [O] in Midtones / Mid Tones mode, with an Exposure value / Exposure with a value of 10–50% for correcting light and dark areas to deer. You can see how I did it on the screen. The first screen, as it looks in the blend mode Normal / Normal, the second screen mode Overlay / Overlap.
Step 4:
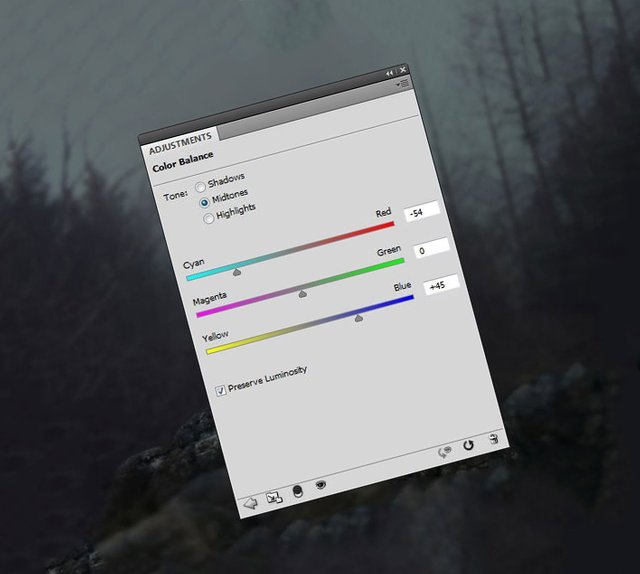
Create a new Color Balance adjustment layer in Clipping Mask mode with the following settings.
Step 5:
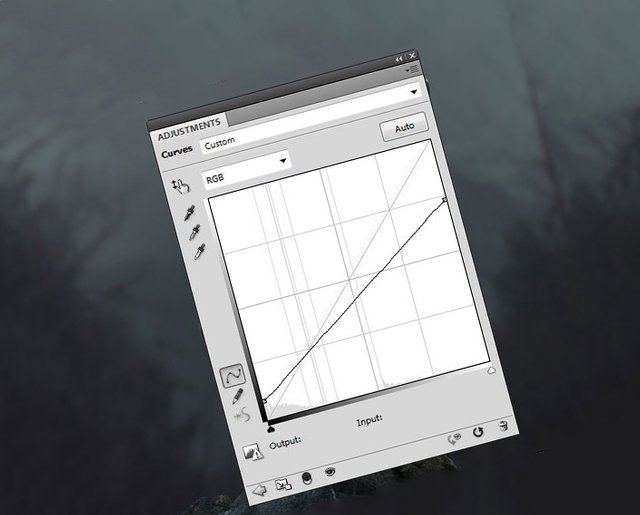
Add a Curves / Curves Correction Layer to make the deer darker.
Select a mask for the adjustment layer and use a black, soft brush to erase the dark areas, as they will be lit from the fire.
Step 6:
Create another Curves / Curves adjustment layer to reduce the contrast of the deer, especially in the lower part of its body.
Select a mask for the adjustment layer and use a black, soft brush to erase the rest of the deer, especially the horns - see the screen below.
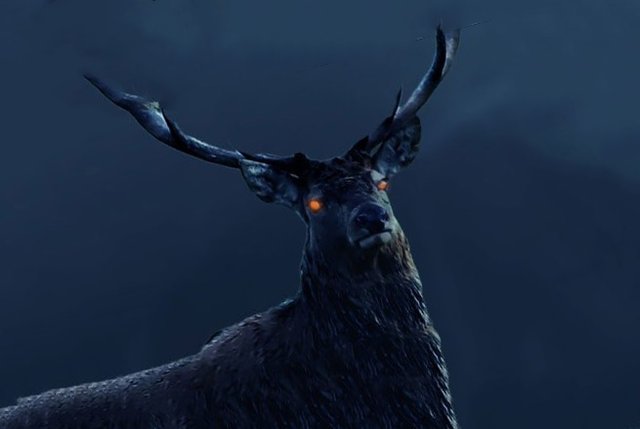
Stage 5. Change the color and appearance of the eyes
Step 1:
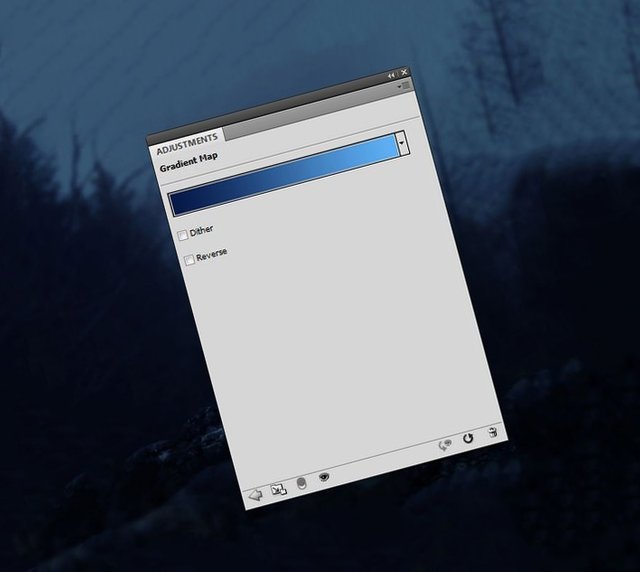
Create a new Gradient Map / Gradient Correction Layer. Change the colors of the fill markers to # 061947 and # 5fb1f7 and change the layer blending mode to Soft Light 100 / Soft Light 100%.
Step 2:
Create a new layer. Change Foreground foreground color to # fd802d. Using a small, soft brush of this color paint the eyes of a deer to give his eyes a fiery look.
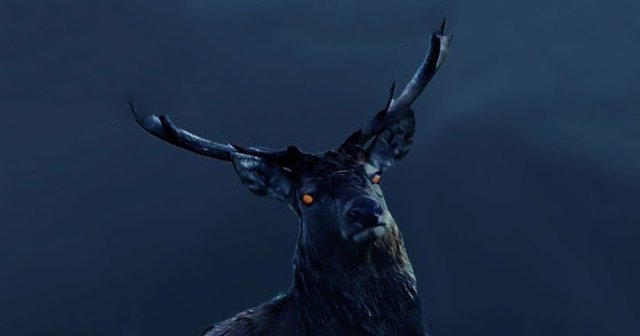
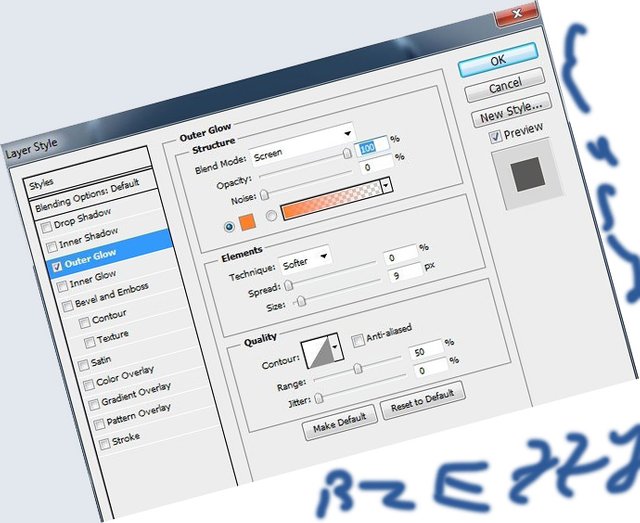
Double click on the layer and apply the Outer Glow / Outer Glow layer style by setting the color to # fd802d.
Plagiarism @steemflagreward source:
https://design.tutsplus.com/tutorials/how-to-create-a-fantasy-flaming-deer-with-adobe-photoshop--cms-24227?utm_source=Tuts+&utm_medium=website&utm_campaign=relatedtutorials&utm_content=sidebar&WT.mc_id=Tuts+_website_relatedtutorials_sidebar