The Complete beginners guide to Adobe Photoshop Lesson #33 - How to make Colorfull marks for layers in Adobe Photoshop with
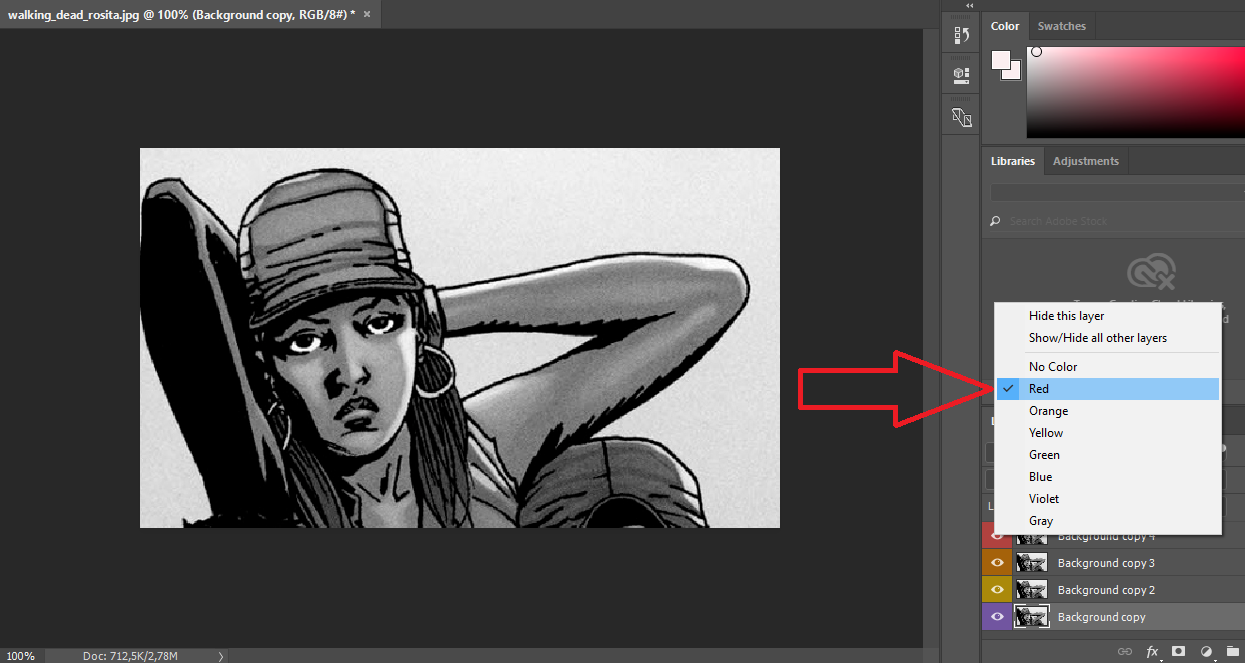
I use this picture for my lesson. It is comic art picture of Rosita from Walking Dead Searies what used to draw in comicks.

Working with a complex project in Photoshop, often do not have to do a dozen layers. And then problems begin in searching for the desired layer on the palette. It is possible to group the layers into separate folders / directories, as well as rename the layers. But this is not enough, because we always want to accelerate the work process and find the desired element as quickly as possible.
For similar purposes, Photoshop offers color labels for layers and folders. These labels represent a painted area around the layer's visibility / concealment icon.
Thanks to them, you can glide at a glance, quickly orient yourself on the palette of layers and find the right element.
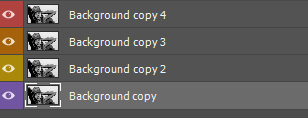
Unfortunately, the choice of color for the label is not great - there are only 7 variants. There is also no chance to come up with your own color, so you have to use what you give, namely: red, orange, yellow, green, blue, purple and gray.
How to set a colored label
It's very easy to put a label on the layer in the photoshop. To do this, right-click on the area where the eye icon is displayed. A popup menu appears in which you select 1 of 7 colors.
The return process looks the same way. Instead of color, select No color.
Let me remind you that in photoshop this is not the only opportunity to assign a color to any elements of the program. You can also highlight the items in the command menu of the program and the items drop-down menus in the palettes.
This post has received gratitude of 1.00 % from @jout
You got a 0.27% upvote from @postpromoter courtesy of @jout!