Step by Step Tutorial In Adobe Photoshop - Drawing Annabelle Doll - Part 2

Part 1 is here: https://steemit.com/art/@easy-art/step-by-step-tutorial-in-adobe-photoshop-drawing-annabelle-doll-part-1
- Create an atmosphere with the help of corrective layers
Step 13
At the moment, the colors look too dim, because we mixed them with a gray base. To make them brighter, we use the blending modes and the correction layers.
Create a new layer in the Color Dodge blending mode. Choose a dark orange color # 6a3926 and a soft round brush paint the picture.
Step 14
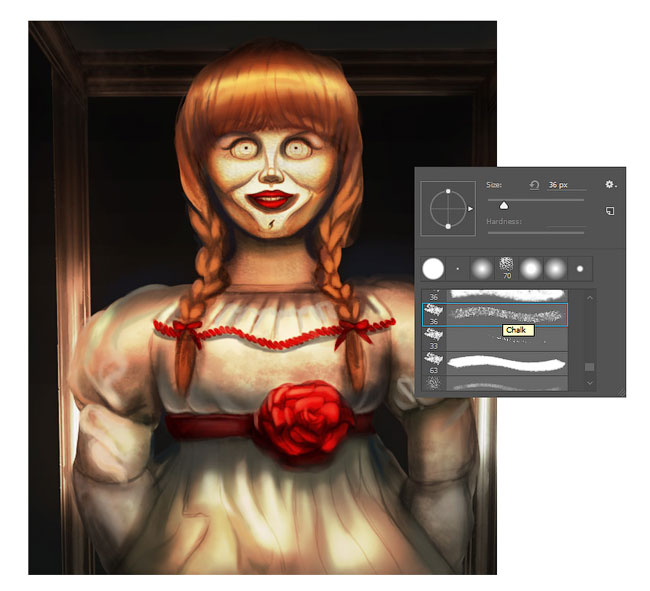
Note that the drawing process must be combined with the addition of corrective layers. To make the face and dress of the dolls more textured, use the Chulk brush from the standard set of Photoshop.
Step 15
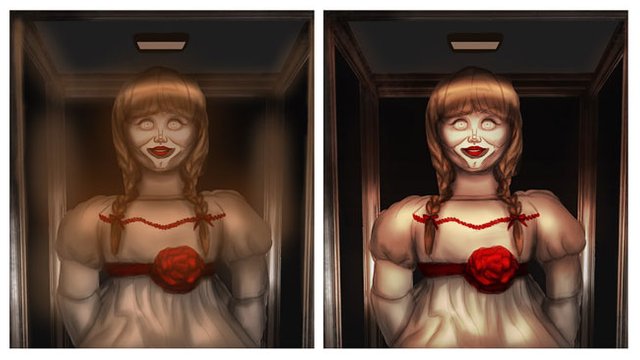
Before continuing, let's play with the colors a little. For this we use the correcting layers. First, apply the Gradient Map and Color Lookup, which can be found in the Layer - New Adjustment Layer menu to mute warm colors.
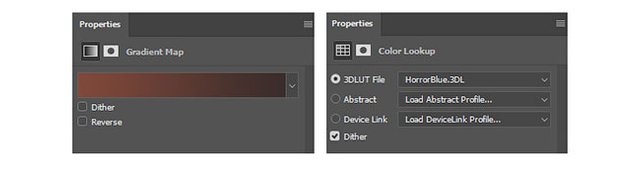
The blending mode of the Gradient Map layer is set to Lighten and reduces the opacity to 17%. Then reduce the opacity of the Color Lookup layer to 25%.
- Finish drawing
Step 16
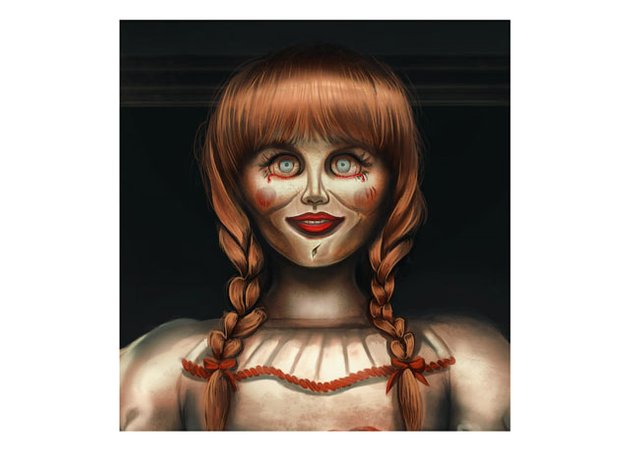
At first, work with fine-tuning the color may seem difficult, because the possibilities of Photoshop are unlimited, and the number of tools and settings are sometimes stupefied. But you must try to finish what you started and get a satisfactory result. Now that the colors match my expectations, I can switch to adding small details on my face, hair and clothes.
Round the rigid brush (B) we finish the face and hair. We paint the hair with delicate strokes, and on the face add a little greased makeup. Strengthen the effect of several spots of blood on clothing.
Step 17
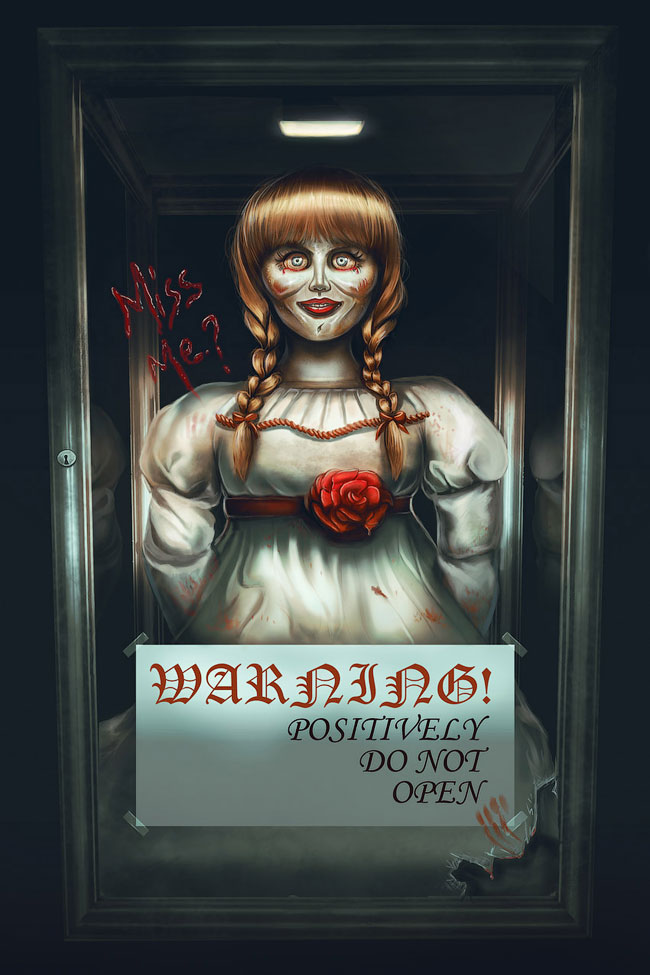
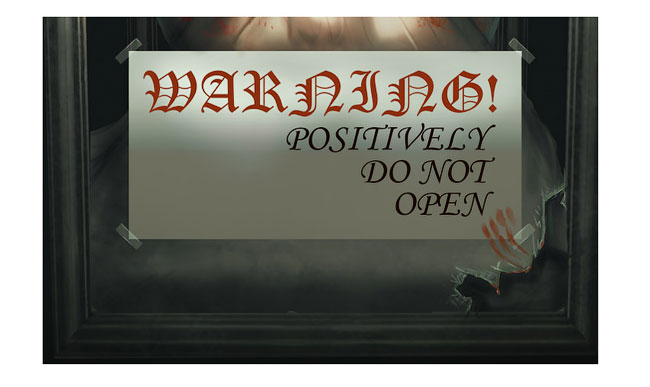
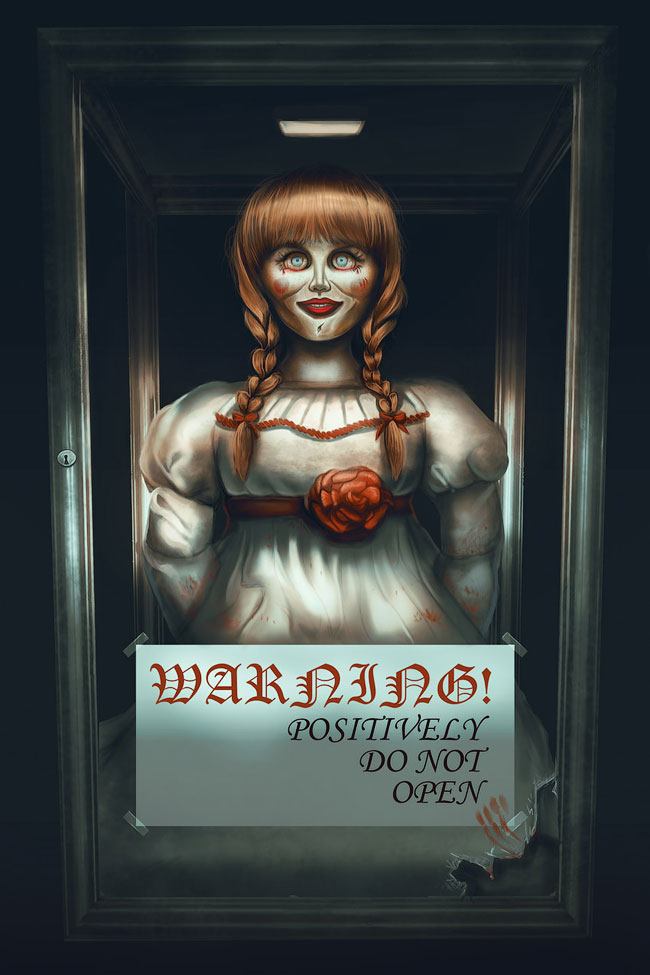
Let's briefly digress from the doll and complete the warning inscription. We select the appropriate font and write the inscription. In my case, I used a combination of Old English Text MT and Monotype Corsiva for upper and lower labels, respectively. Do not forget to add uniqueness to the work in the form of pieces of adhesive tape, glare on the broken glass in the corner and smeared blood.
Step 18
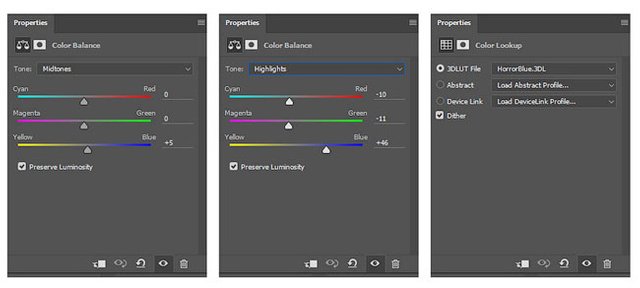
Using the adjustment layers Color Balance and Color Lookup, we edit the color gamut:
Step 19
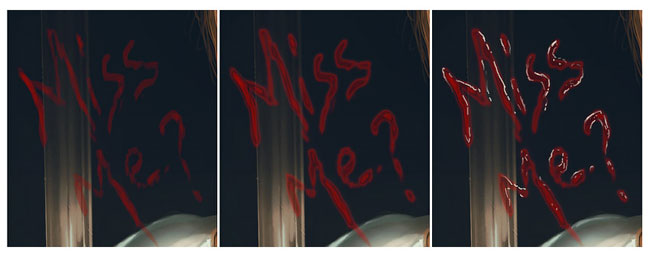
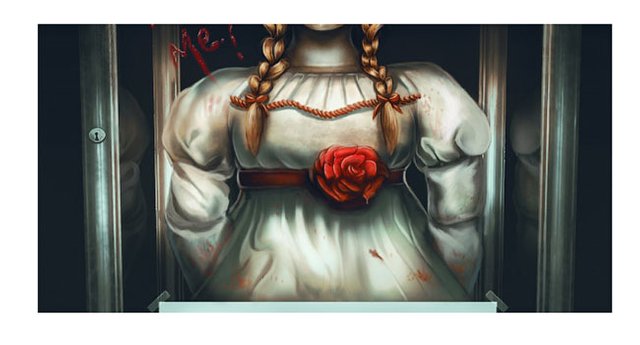
In the film, Annabelle left the terrible bloody inscriptions "Miss Me?" ("Did you miss?"). Let's also strengthen the eerie atmosphere of drawing with the help of such a message. Activate the Brush Tool  (B) and manually write the text. Click on the layer with the right mouse button and select Blending Options. Add the Outer Glow layer style. Then add white highlights.
Step 20
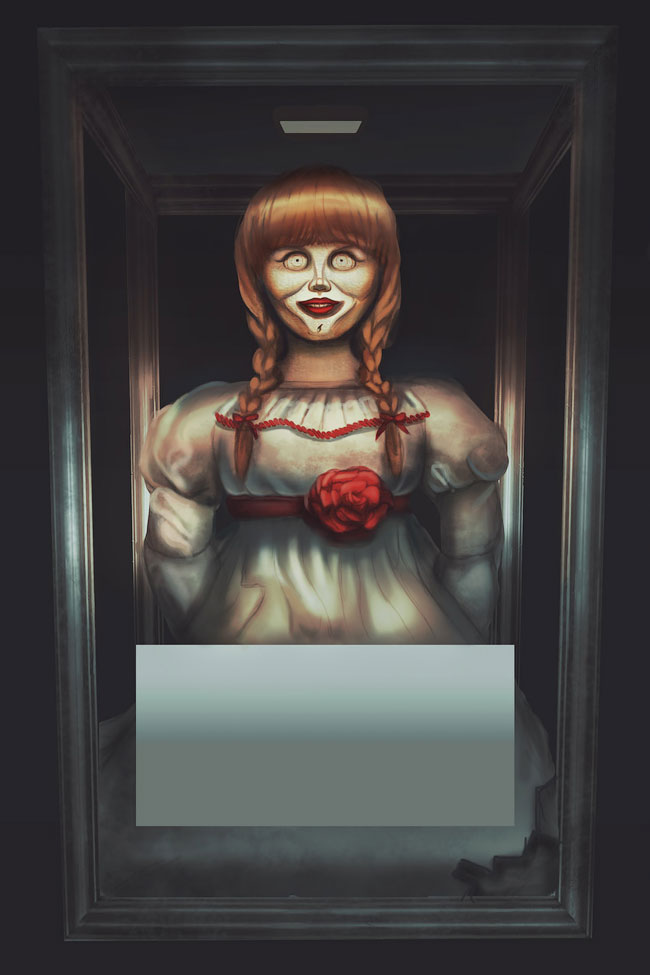
We continue to refine the drawing. Try to strike a balance between an innocent doll and a merciless demon who tries to break out. Duplicate the doll to create reflections on the side walls of the box. Also draw a glare and a small lock on the door.
Using a hard round brush (B), we add a thin light stroke along the outline of the doll and continue to detail the picture. Below you can see the final version.
Ending
Most likely, I can not fall asleep after such work. Fan art is a great way to practice and sharpen your artistic skills, as the concept of the character is ready, and you just have to portray your favorite hero in your own style. Corrective layers, such as Color Lookup (Color Search), help you improve the overall atmosphere of the drawing.