Step by Step Tutorial In Adobe Photoshop - Creating simple mirror text effect

- Backgrounds and text layers creation
Step 1
For a good result, it is very important to choose the correct picture. There should be two contrasting regions on it, which we will mirrorly reflect and obtain the desired effect, and one of the contrasting regions should be sufficiently monotonous with a small amount of details.
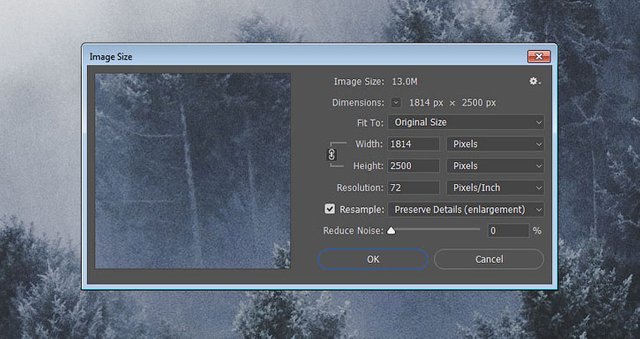
Open a foggy landscape or any other picture in Photoshop. The image is large enough, so we will adjust its resolution using the Image - Image Size command. Enter the required sizes and press OK.
Step 2
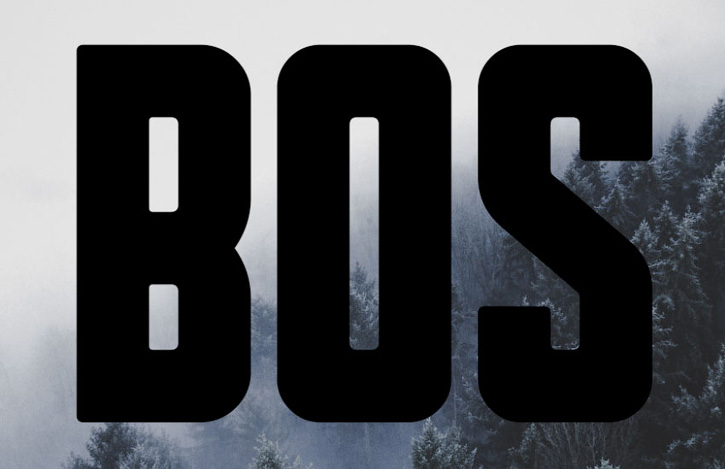
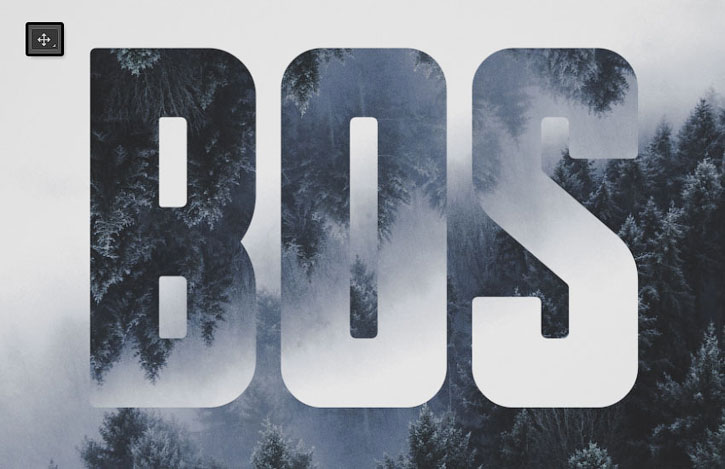
Write any text using the Sumac Typeface font, then press Ctrl + T to activate the free transformation mode, and adjust the size of the text to the size of the document.
When done, press Enter to accept the changes.
- Apply texture to the text
Step 1
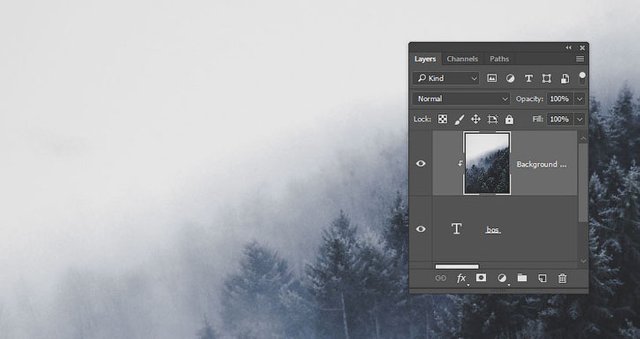
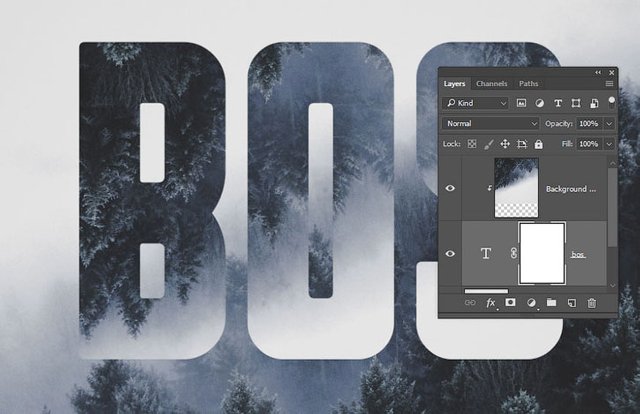
Duplicate the Background layer, place a copy over the text, click on it with the right mouse button and choose Create Clipping Mask.
Step 2
Go to Edit - Transform - Flip Vertical, and Edit - Transform - Flip Horizontal (Editing - Transform - Flip Horizontally).

Step 3
We take the Move Tool (V) (Move)  and use the arrow keys on the keyboard to shift the texture until we find the best location.
- Creating gradient mask
Step 1
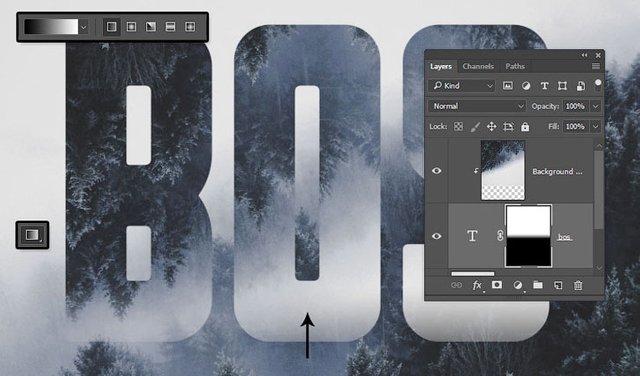
Select the text layer and click on the Add layer mask button at the bottom of the layer pane.
Step 2
Take the Gradient Tool (G) (gradient)  , in the upper panel we select the black and white gradient and the Linear style.
Click on the mask of the text layer and fill the gradient with the lower part of the text, starting from the point beyond the bottom of the text and ending at approximately half way to the next border.
So, we got a smooth transition between the bottom of the text and the background.
- Add the final touches
Step 1
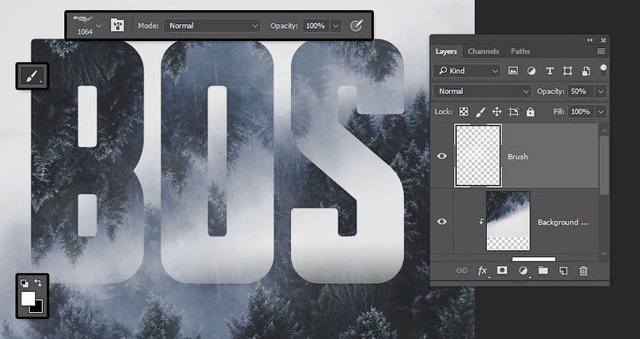
Above all previous layers add a new one and call it "Brush", then take Brush Tool (B) (Brush)  .
.
We set the color of the foreground to white and add a set of brushes "Smoke" in Photoshop. With their help, we draw smoke around the text to better mix the inscription with a foggy background.
It is very important at work to adjust the opacity of the brush and separate the Brush layer to get a more interesting result than when using one level of opacity.
In this case, I reduced the opacity of the layer to 50%, while the brush changed the opacity of the top panel during the workflow.
Step 2
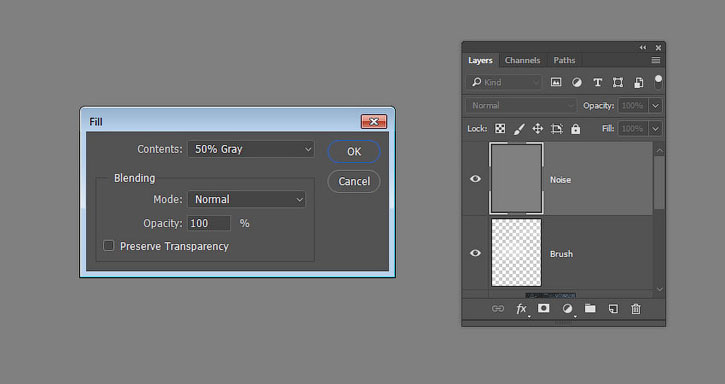
Above the previous layers add a new one and call it "Noise", then go to Edit-Fill (Editing - Fill). In the window that appears, we set Content to 50% Gray (50% Gray) and click OK.
Step 3
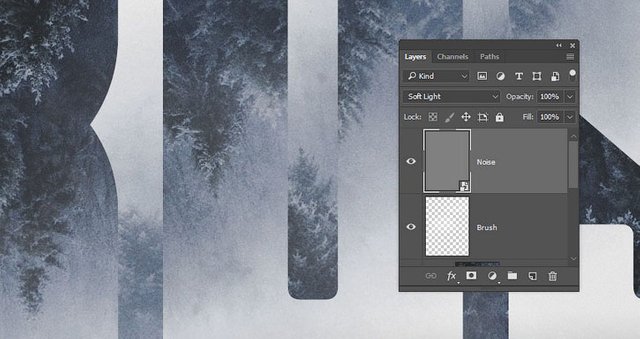
Click the right button on the "Noise" layer and select Convert to Smart Object. We change the mode of blending Smart Layer on Soft Light.
Step 4
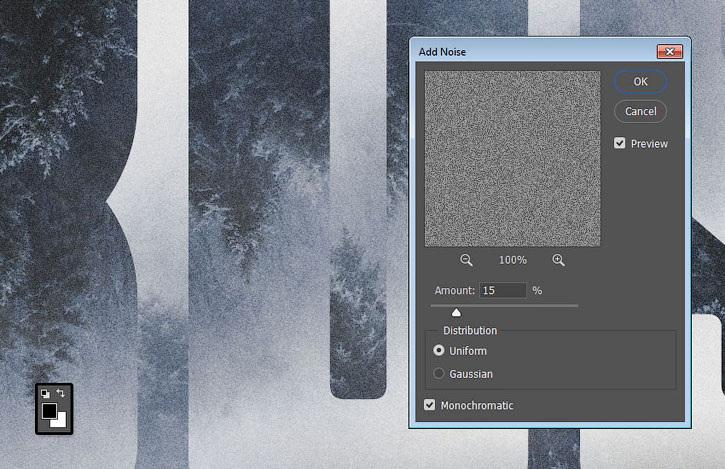
Set the front and back colors to black and white, respectively (key D) and go to Filter - Noise - Add Noise (Filter - Noise - Add Noise).
We set Amount to 15, Distribution - to Uniform and set the checkmark to Monochromatic. Note that the Amount value depends on the size of the image you selected at the beginning of the lesson.
Congratulations, we are finished!
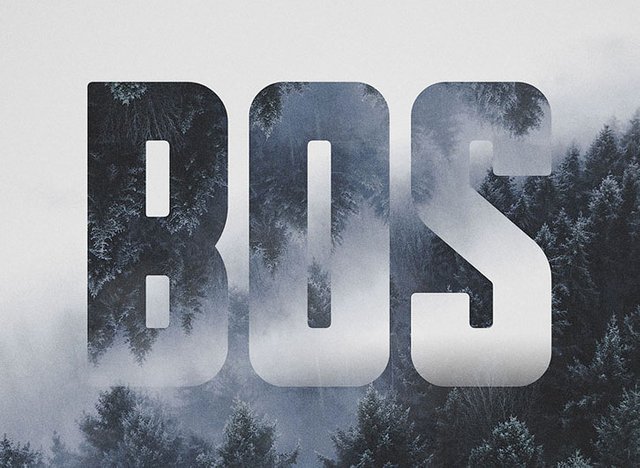
In this lesson, with the help of pictures, clipping layers, masks, as well as brushes and filters, we created a creative text effect with a mirrored landscape.
Feel free to leave comments, suggestions and share the results.