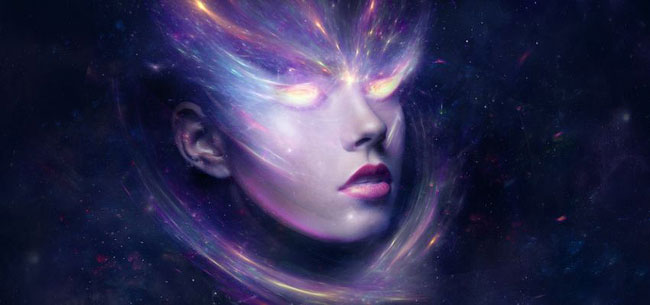
Step by Step Tutorial In Adobe Photoshop - Creating Sci-Fi Portrait Part 2
Part 1 is here: - https://steemit.com/art/@easy-art/step-by-step-tutorial-in-adobe-photoshop-creating-sci-fi-portrait-part-1
Let's continue and finish our lesson.
Step 21
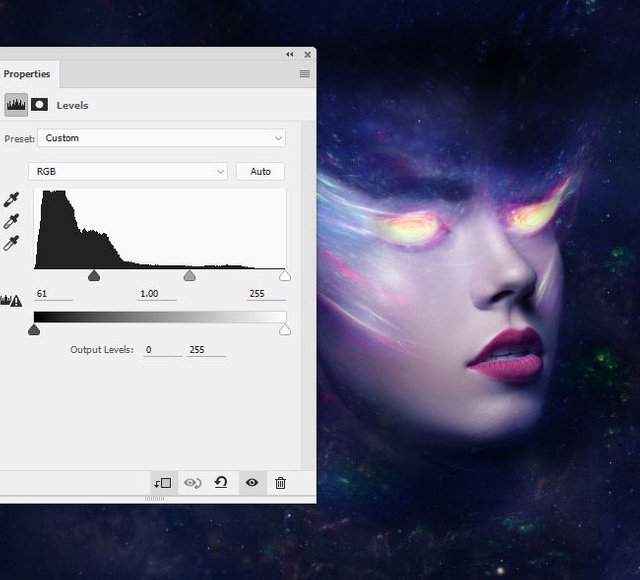
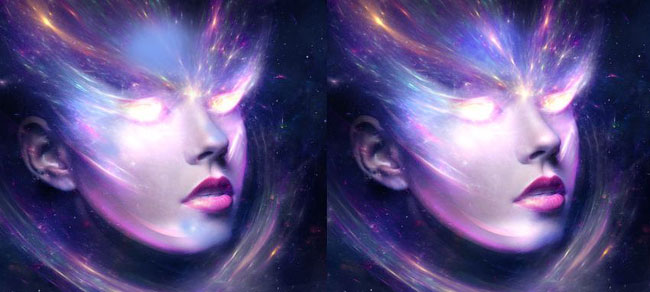
Create a levels correction layer to hide the image border and mitigate the effect.
Step 22
Add a ColorBalance correction layer and adjust the Midtones (Medium tone):

- Add fantastic lighting
Step 23
Insert a Fantastic Light image on the workflow. Place it on the head and set the blending mode to Screen (Lightening) with an opacity of 100%.
Use the Liquify (Plastic) tool (ForwardWarpTool (Deformation) tool) to deform the image and get the result as shown below:
Step 24
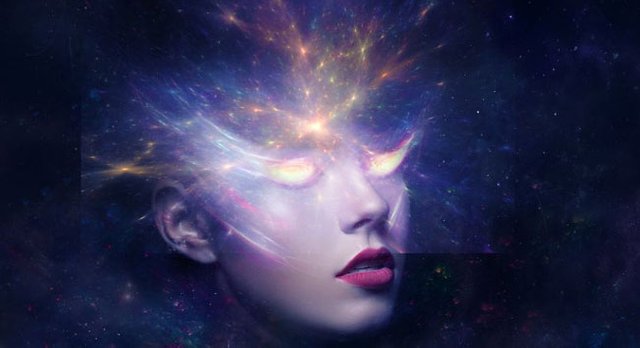
Double-duplicate (Ctrl + J) this layer and distribute copies over the entire head and on the right side of the model. We use a mask to remove all the extra parts.
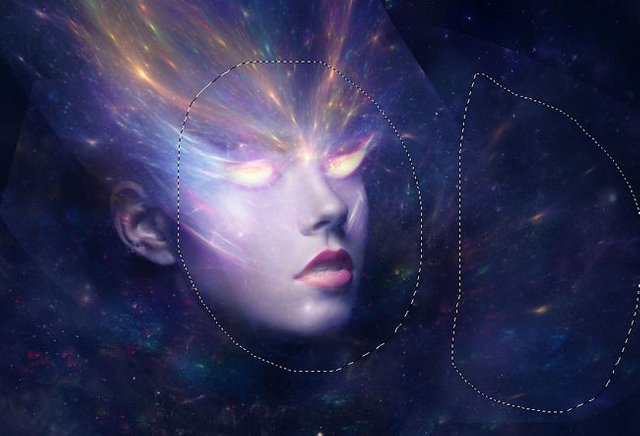
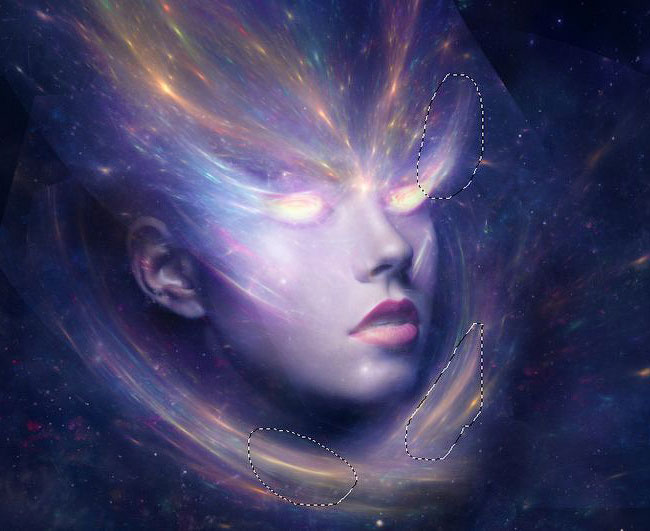
Step 25
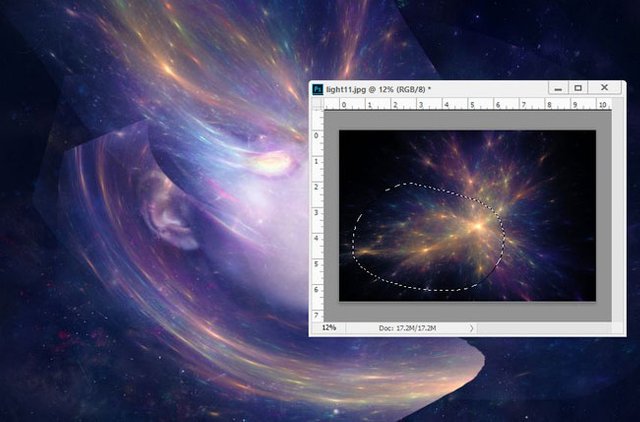
Open picture with a fantastic light separately, we take LassoTool (L)  (Lasso) and select a part. Copy (Ctrl + C) and insert (Ctrl + V) then selected fragment in the lower left part of the head. Using the ForwardWarpTool (Deformation) tool, we give to fragment an arched shape.
Using the mask to hide hard edges on the fragment.
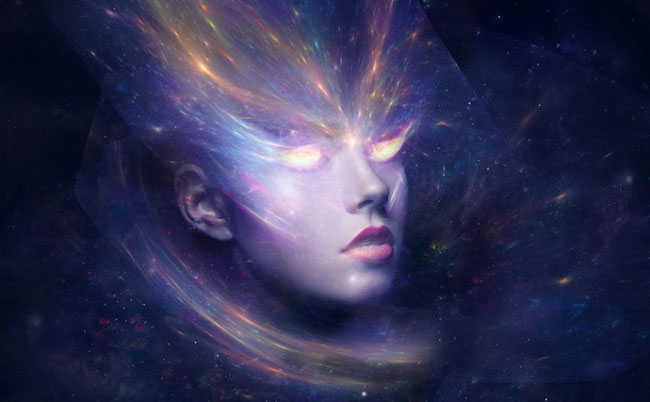
Step 26
Select another fragment and, using the same technique, insert it on the right side of the head.
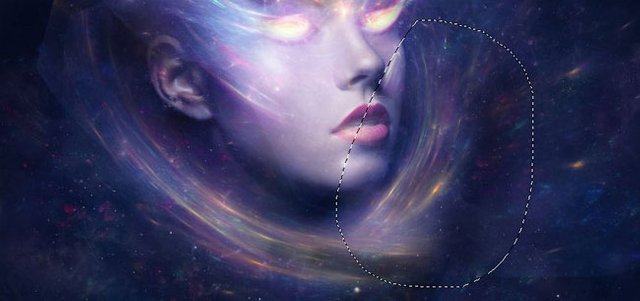
Step 27
Using the same method, we add more small details.
Step 28
Group all the layers with fantastic light and add the ColorBalance correction layer to the inside of the group. Configure Midtones (Medium tones):

Step 29
Add the Hue / Saturation correction layer and reduce the Saturation Blues to -81:

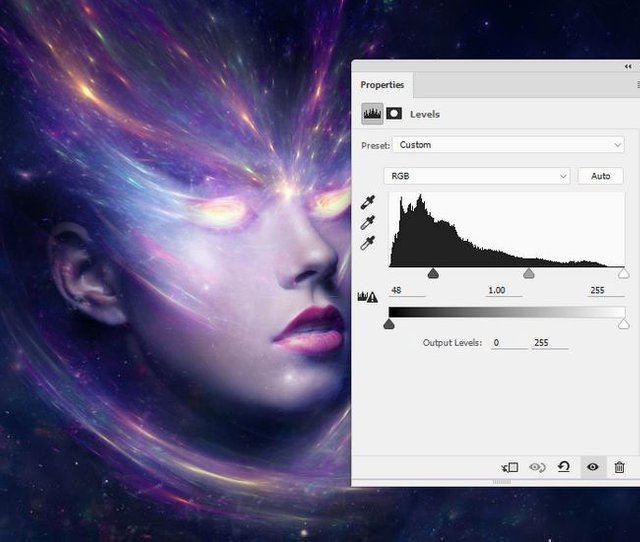
Step 30
Add a Levels correction layer to completely hide remaining visible borders:
- Additional makeup
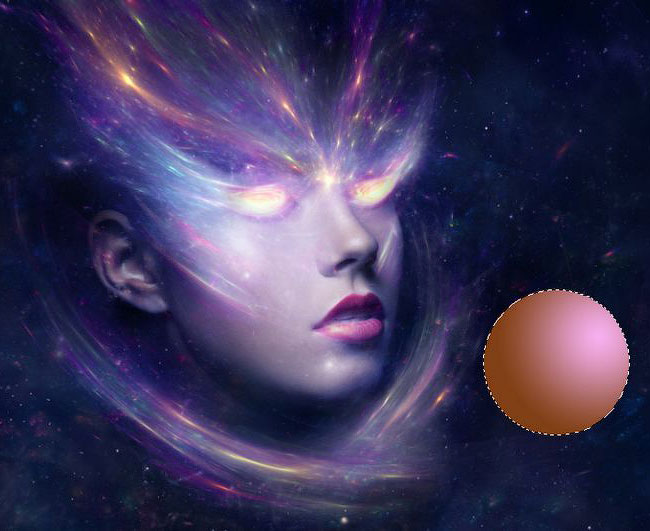
Step 31
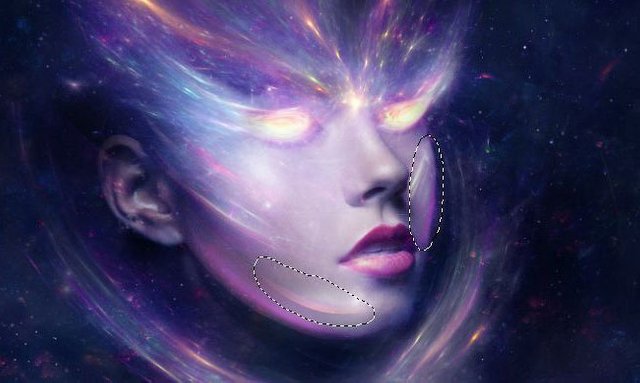
Create a new layer. Take EllipticalMarqueeTool (U)  (Oval) and draw a small circle. Activate GradientTool (G)
 (Gradient) and fill the circle with a radial gradient, colors - # f8b2f2 and # 834115.
With the help of ForwardWarpTool (Deformation) we pull the circle in length and place it along the contour of the jaw of the model.
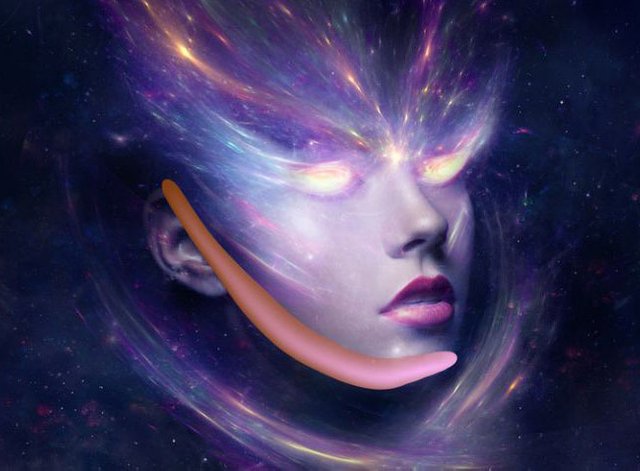
Step 32
We change the mode of mixing this layer to ColorDodge with the opacity of 100%. Add a mask and edit the effect so that it looks gently.
Step 33
Double-duplicate layer. We place one copy near the nose on the cheek, and the second is reflected horizontally, Edit - Transform - FlipHorizontal (Editing - Transformation - Flip horizontally) and place on the second cheek.
- Draw lighting
Step 34
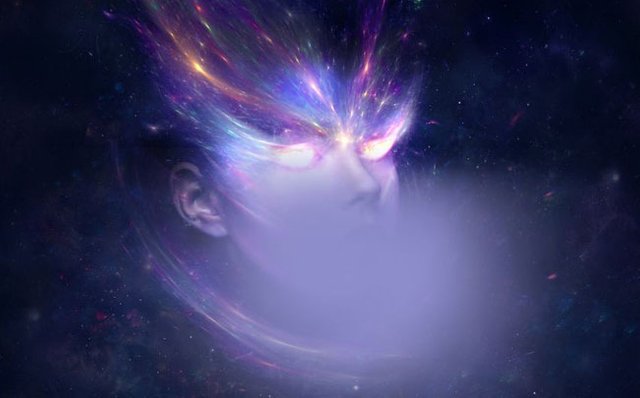
Above all layers create a new layer and draw a soft brush (color # 746482) around the model's face. Change the layer blending mode to ColorDodge (Lighting Basic) with an opacity of 100%.
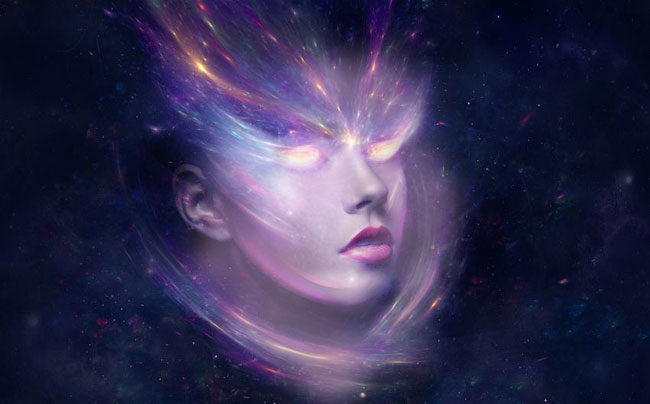
Step 35
A soft brush (color # 81a3ef) paints the area of the forehead, cheeks and chin. Change the layer blending mode to Overlay with a 100% opacity.
Step 36
On the new layer with a soft brush (color # 8c8dcb) paint the lower part of the work web in the head area. Change the layer blending mode to HardLight (Hard Light) with an opacity of 30%.
Step 37
Change the brush color to # a797c1 and paint the upper part of the head. We leave the HardLight blending mode with a 30% opacity.
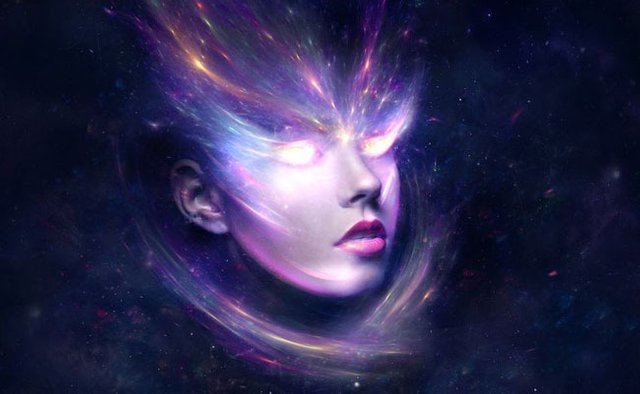
- Final steps
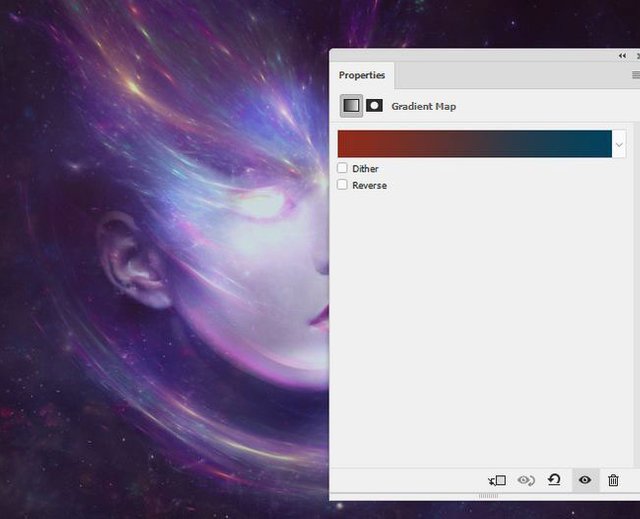
Step 38
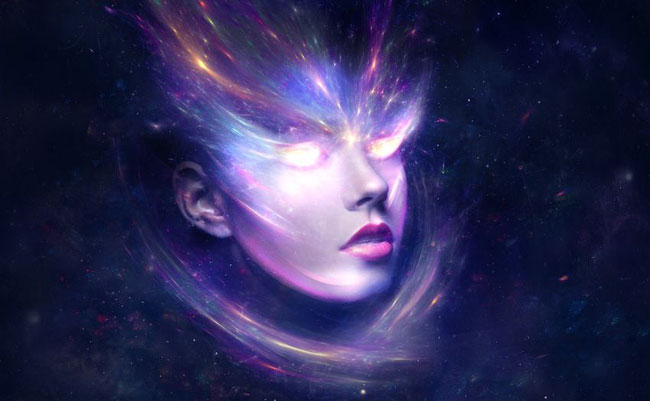
Above all previous layers, add the GradientMap correction layer (Gradient Map) using the colors # 912d1d and # 004460. Reduce opacity of the layer to 20%.
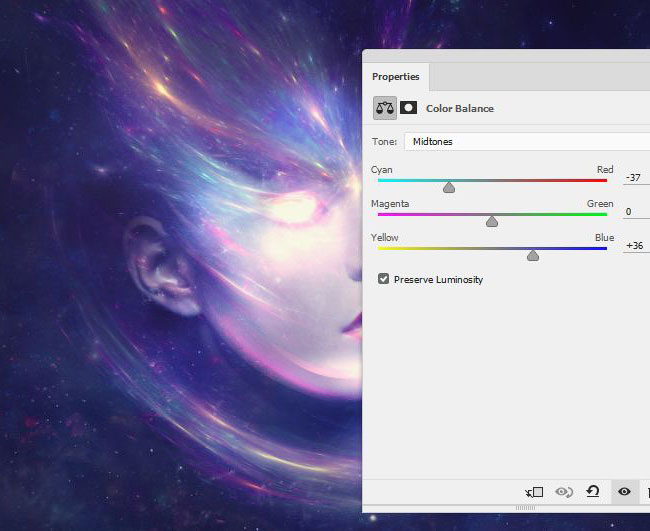
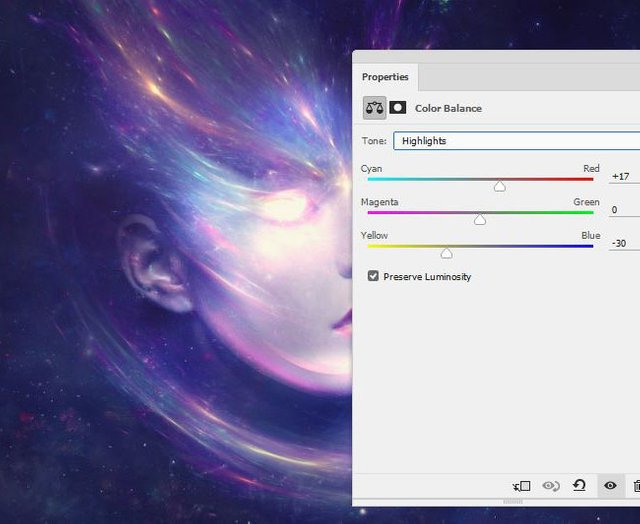
Step 39
Add ColorBalance correction layer and adjust the Midtones and Highlights:
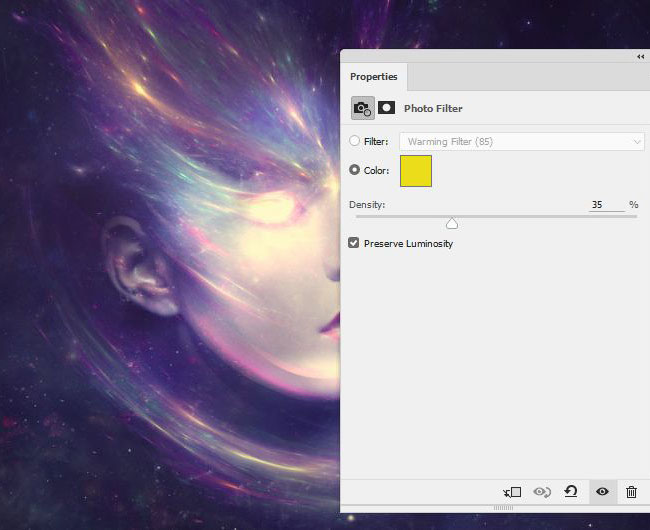
Step 40
Add a PhotoFiltre correction layer, select the color # ecde00.
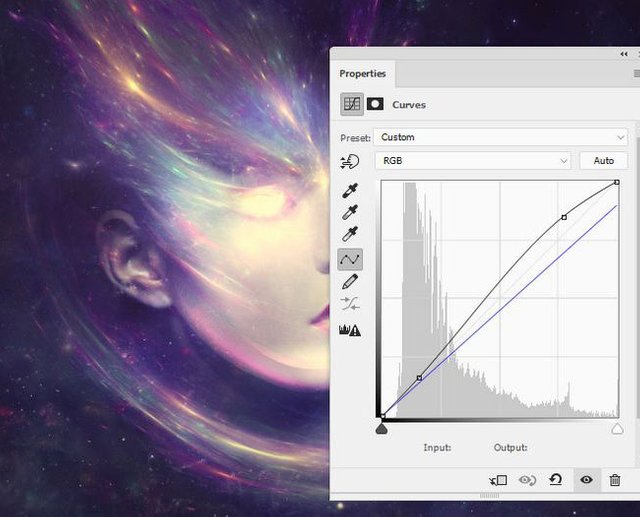
Step 41
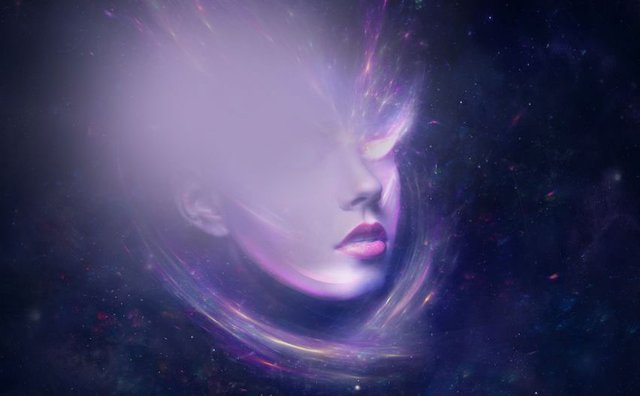
Create a Curves correction layer to add warm shades and increase the contrast of the image.
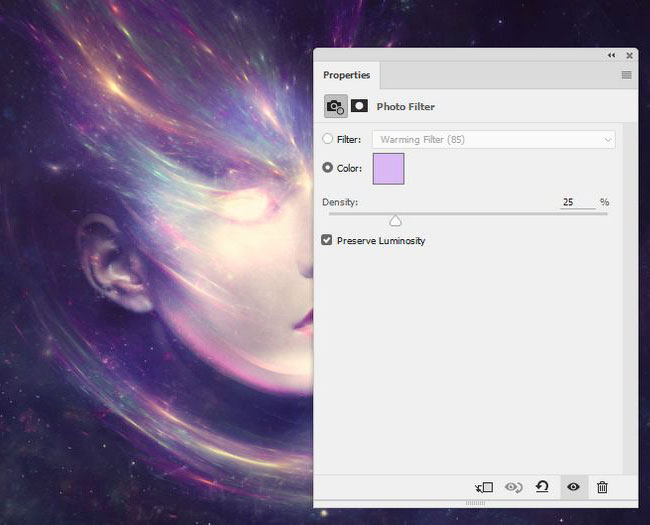
Step 42
We create another correction layer PhotoFiltre (Photo Filter), we change the color to # dab9f4.
Step 43
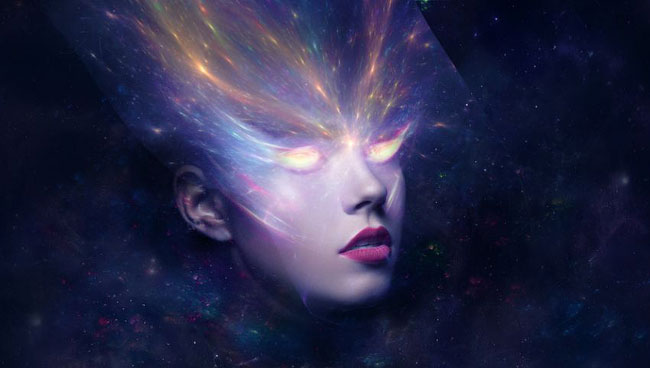
We complete the color correction with the Vibrance correction layer (Vibration).

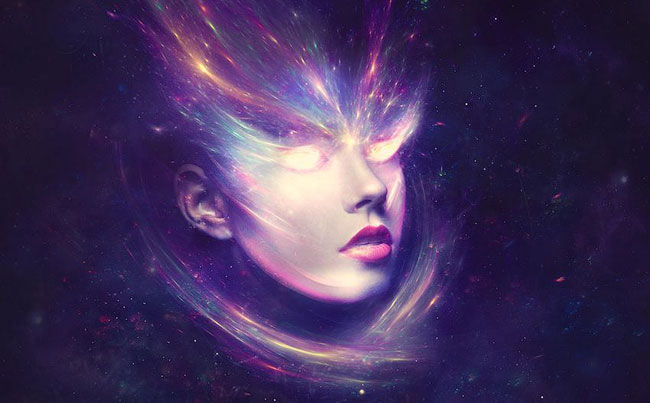
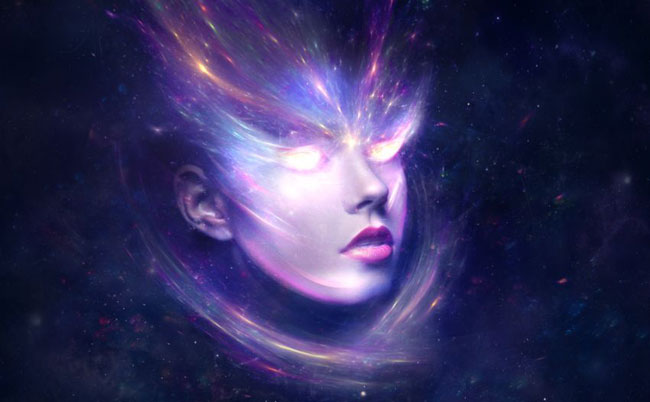
congratulations, we are finished!
Hope you liked my lesson and you learned something new. Feel free to leave comments, suggestions and share the results.
Congratulations @easy-art! You have completed some achievement on Steemit and have been rewarded with new badge(s) :
Click on any badge to view your own Board of Honor on SteemitBoard.
For more information about SteemitBoard, click here
If you no longer want to receive notifications, reply to this comment with the word
STOP