Step by Step Tutorial In Adobe Photoshop - Creating Cover For The Plate
For begin you need to download those pictures and textures:
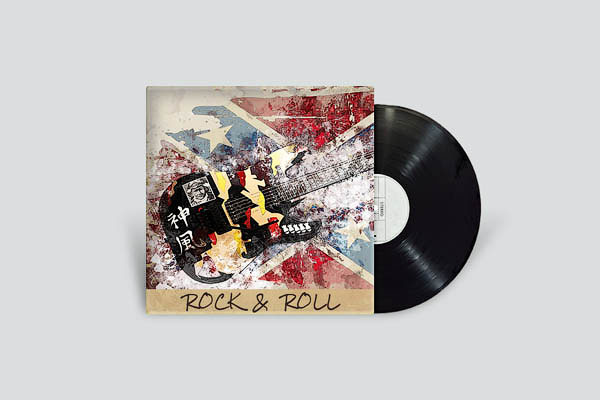
Cover:

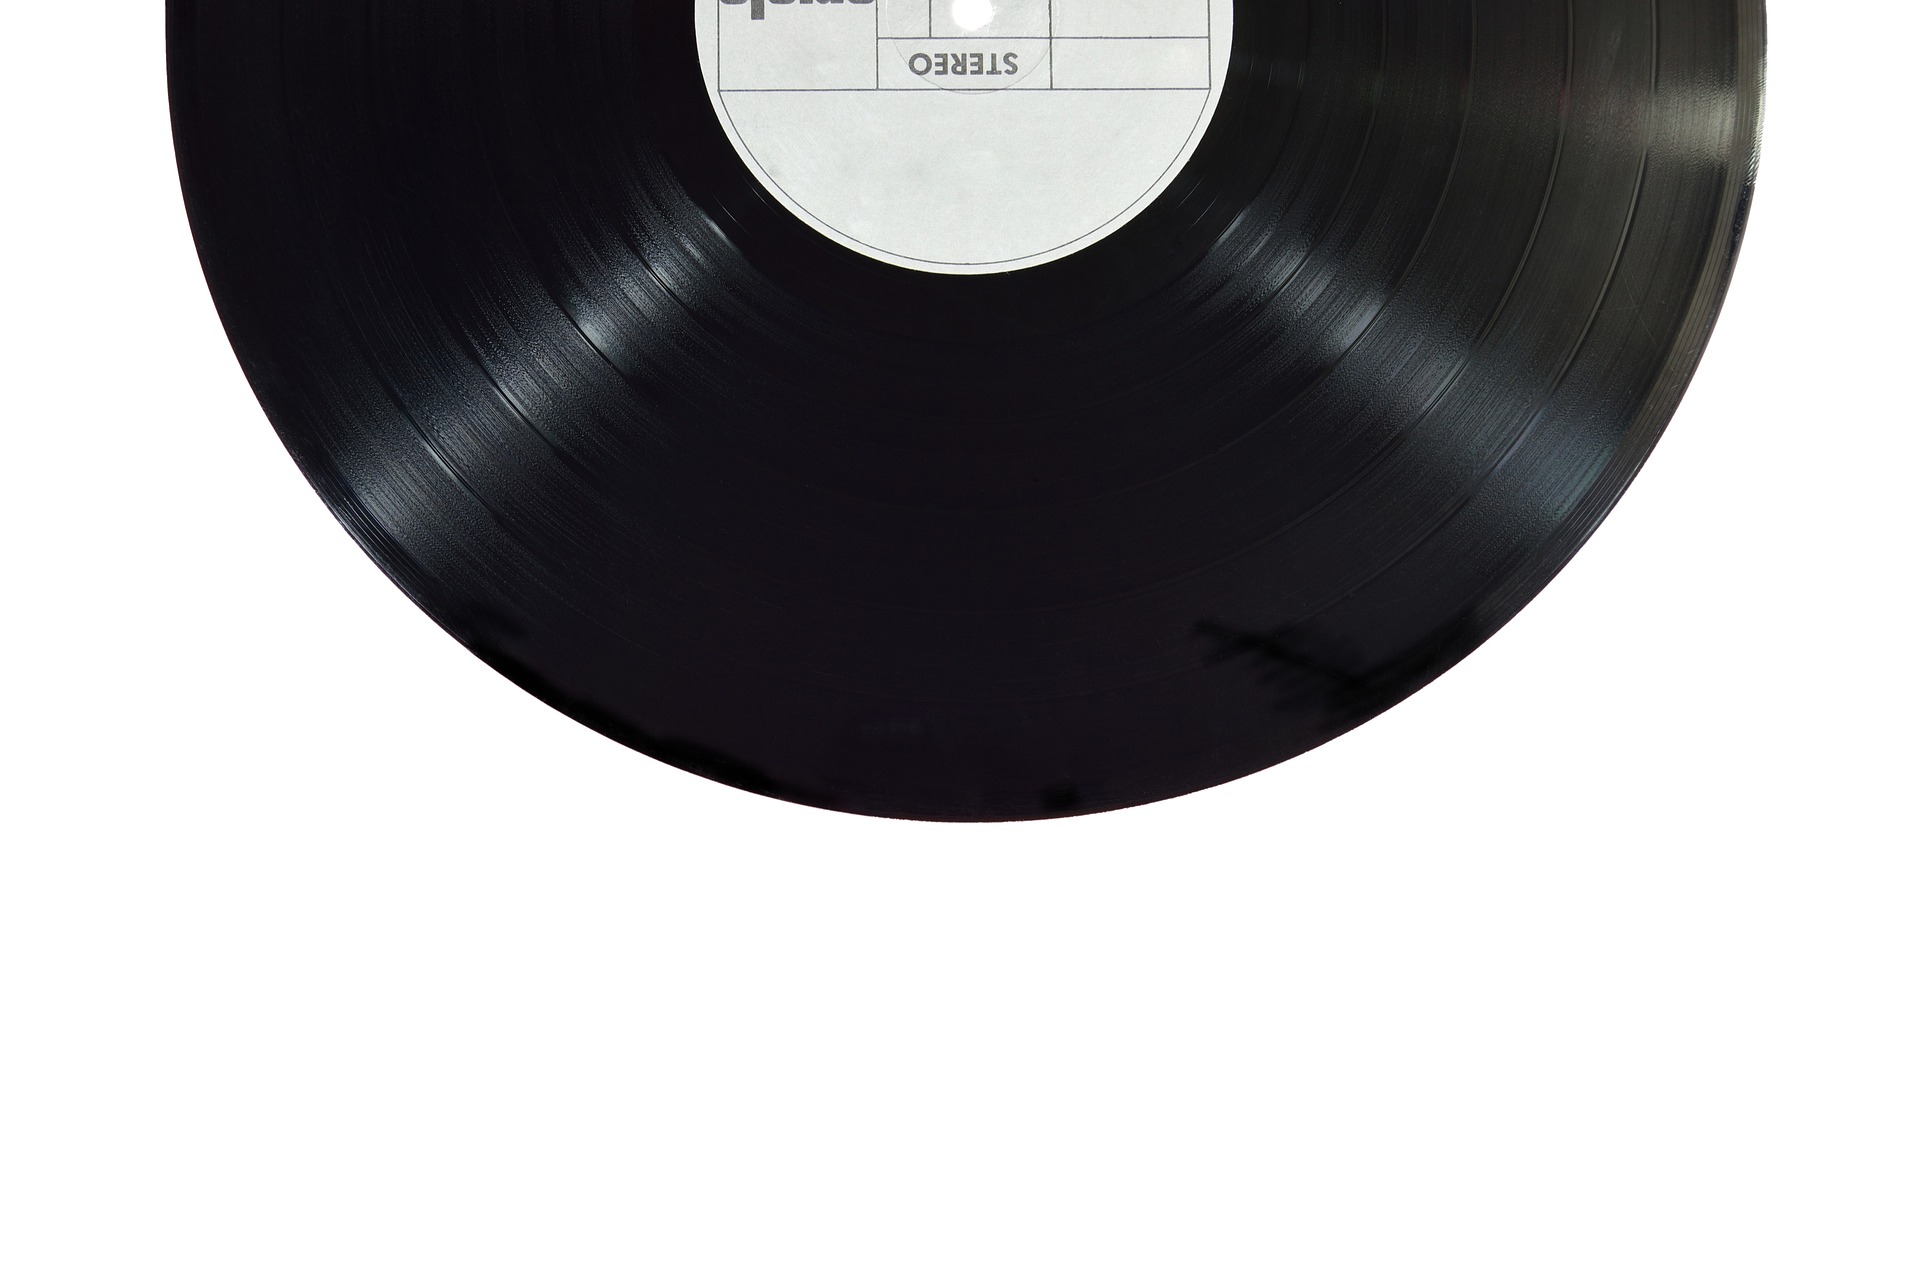
Plate:
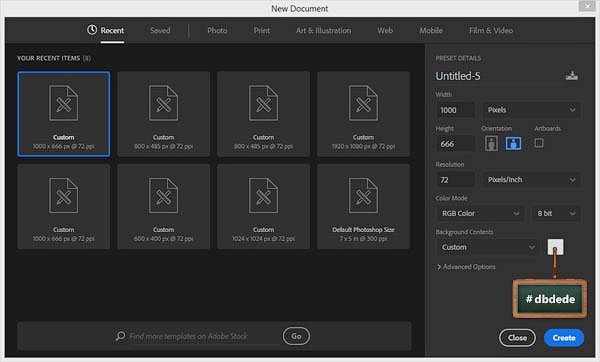
Step 1
Create a new document with the size of 1000 x 666 pixels. Background Contents is set to the color #dbdede.
Step 2
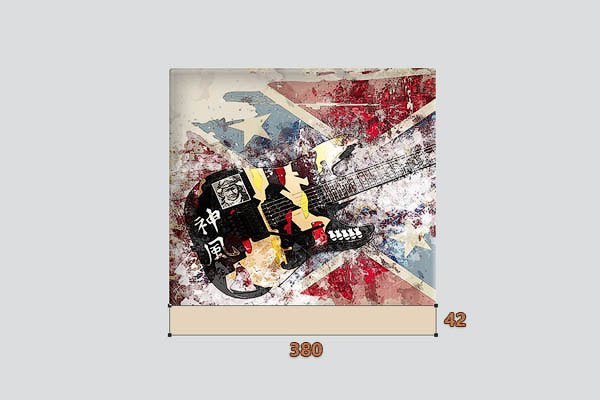
Activate the Rounded Rectangle Tool  (U), on the top panel, set the Radius (Radius) to 4 pixels. Create a square with a size of 380 x 380 pixels. To do this, click on the work sheet with the left button, enter the dimensions in the window that appears, and click OK.

Step 3
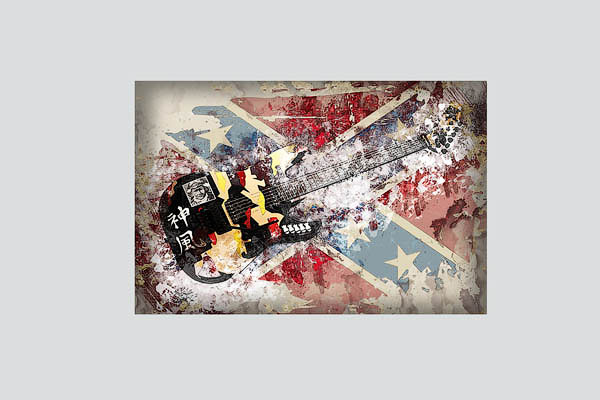
Download the picture with the guitar and paste it on the working document.
Correct the size of the picture (Ctrl + T) about the size of the square. Go to the layers panel and check that the layer with the guitar was above the square. Click on the layer with the guitar with the right mouse button and select Create Clipping Mask.

Step 4
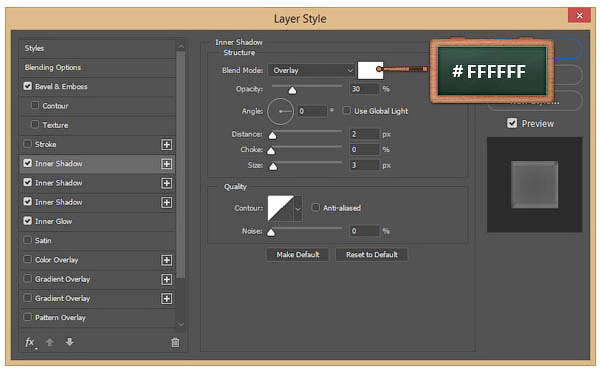
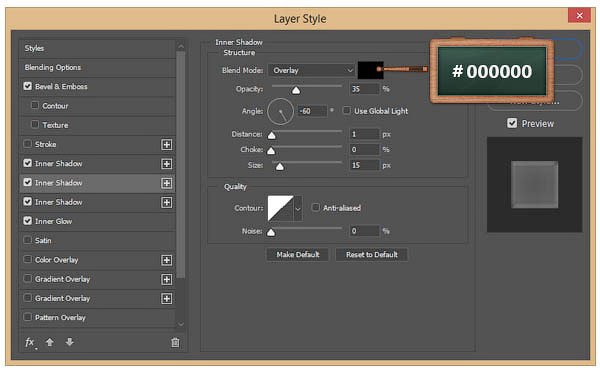
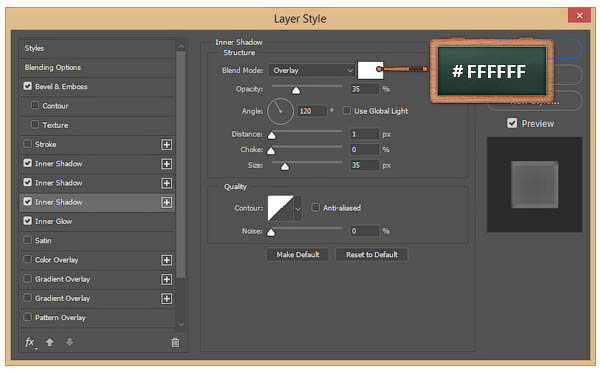
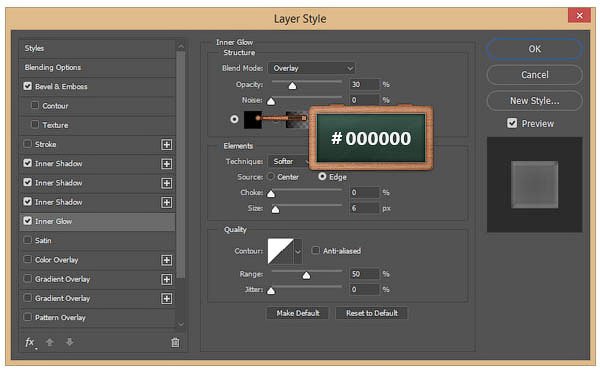
Double click on the square to open the Layer Style window. Apply several layer styles.


Step 5
On the toolbar, set the foreground color to # e5d4bb.
Activate the Rectangle Tool (U)  (Rectangle), create a rectangle with a size of 380 x 42 pixels and place it at the bottom of the cover, as shown below.
Step 6
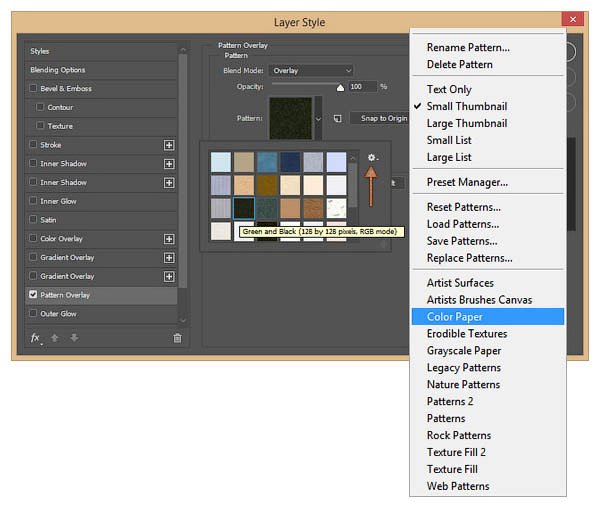
In the layers panel, reduce the opacity of the rectangle to 88%.
Double click on the layer with the rectangle to open the Layer Style and apply the Pattern Overlay with the following parameters.
Step 7
Open Window - Character panel and select the Rock Salt font.
Change the text color to # 3a2923, set the size to 24 pixels and then write the text itself.

Step 8
We paste the picture with the plate on the working document.
Correct its size by the size of the cover and place it on the right side under the cover, as shown below.

Step 9
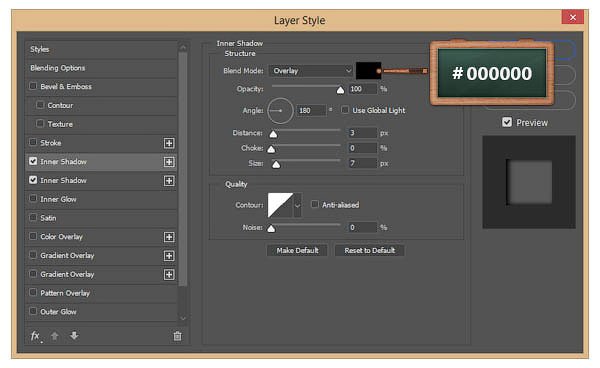
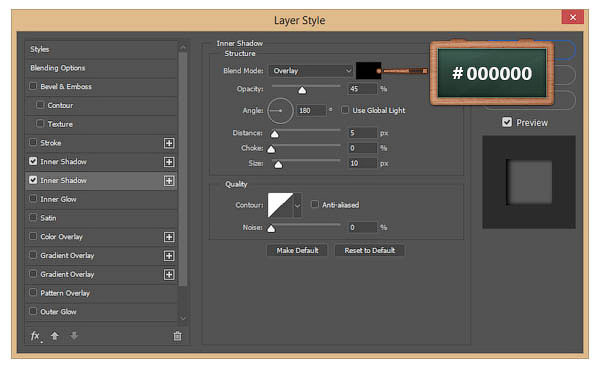
Now we will add a shadow from the cover on the plate. Open the layer styles of the plate and apply two copies of Inner Shadow (Inner Shadow).

Step 10
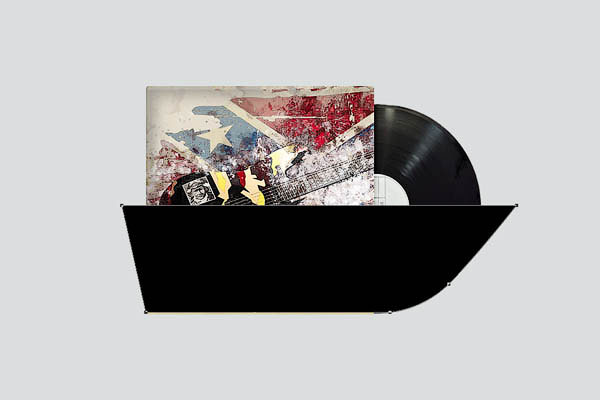
Take the Pen Tool (P)  (Pen) and at the bottom of the cover draw a black shape, as shown below. We do not need an ideal form, so do not try hard. In the next step we will blur this shape.
Step 11
Make sure that the layer with the shape from previous step is selected. Set the Opacity and Fill to 50%.
Place the vector shape under the cover and the plate, then go to Window - Properties. In the window that appears, click the Select the Vector Mask button and set Feather to 8 pixels. When finished, press Ctrl + D to deselect.


Step 12
Open the Layer Style window and apply it to the vector shape from the previous step Gradient Overlay with the following parameters.

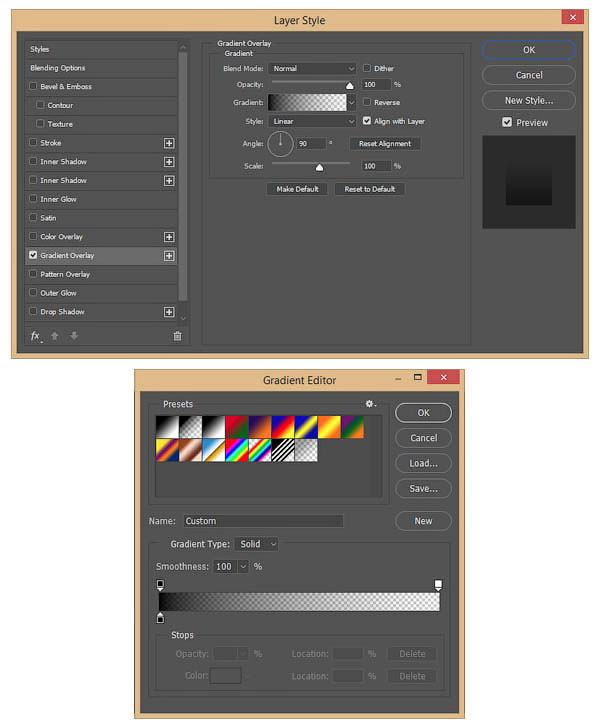
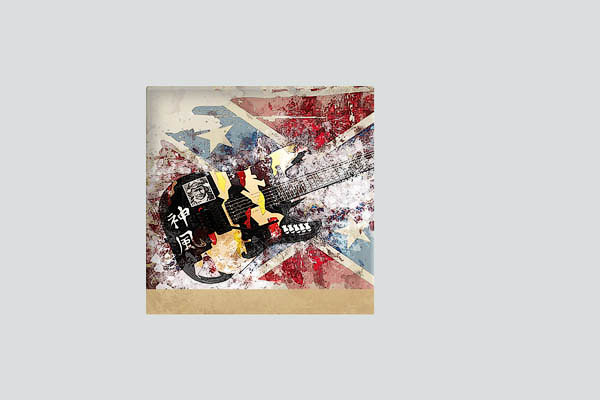
We're done!
This is the final result of the lesson.
