Designing and 3D printed Vases
Design and 3D print your own Vases
Tutorial by @bramvbilsen
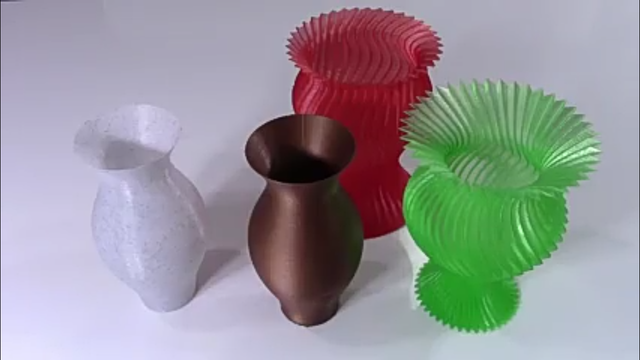
What's the best of option if you want to design something and print it as quickly as possible? What could you possibly design? The answer is vase.
There's a lot of options to go with but if you are using fusion 360 you can start pretty quickly.
Design
You come in here and click this little from button and it will drop you in sculpt mode.
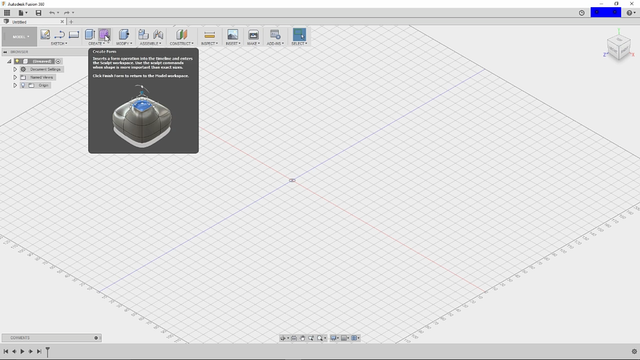
I like to go to the top. You can drop in a circle whatever size you are looking for. I am just gonna say 60 millimetres from here. If you just want to go with a nice round base you can just extrude that out.
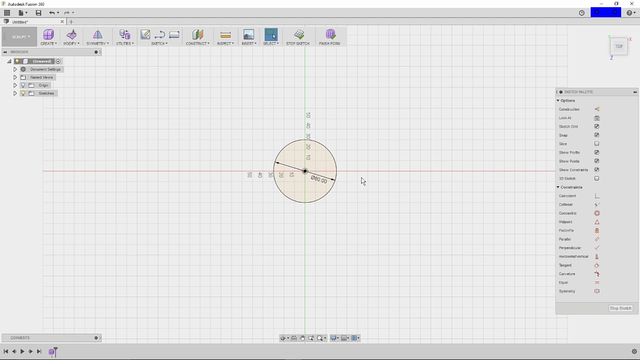
Once you have the circle you can just extrude that up a bit. so you go to create and extrudes select that circle. I am gonna rotate the angle. so I can see a little bit and in this case. I am gonna up 20 millimetres from there we go into the modify option. We will click on modify and you will want to change the selection filter to the edge and that should be the only thing you need to change.
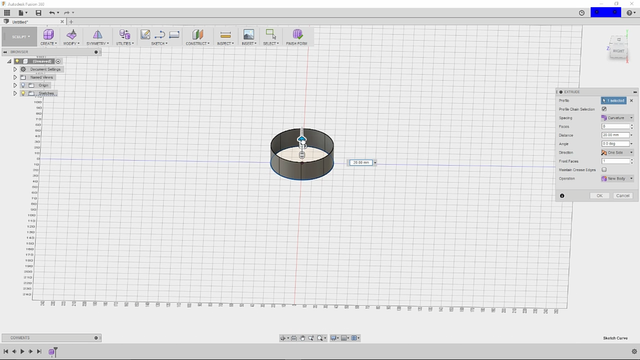
If you do first double click you will select the entire edge. If you hold on the Alt key while raising it. You will create a new section now. If you don't hold down the Alt Key you will just keep adjusting that section. So what I am going to do is hold down the Alt key several times to create a few different sections and we have created a tower now.
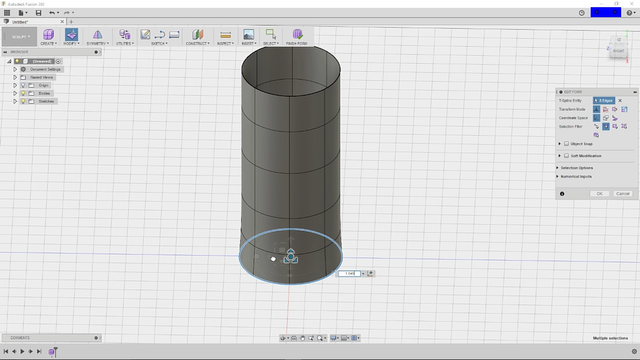
That doesn't look every interesting to start with. But let's start with it see what we get going. I have selected the bottom and each of this changes something slightly. The Centre part allows you to create a bulge or to shrink as you can see by moving the mouse actually looks like a wormhole like that. But let's just go ahead and send that down a little.
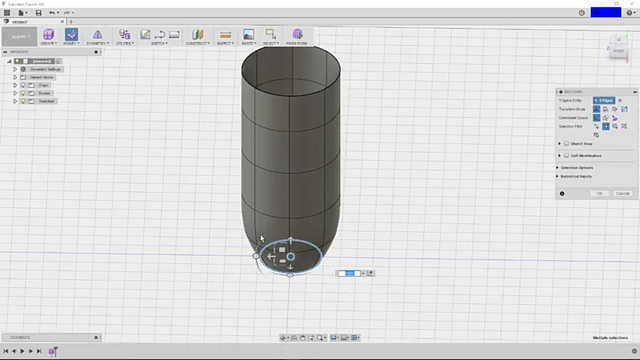
I am going to the next one or like that.

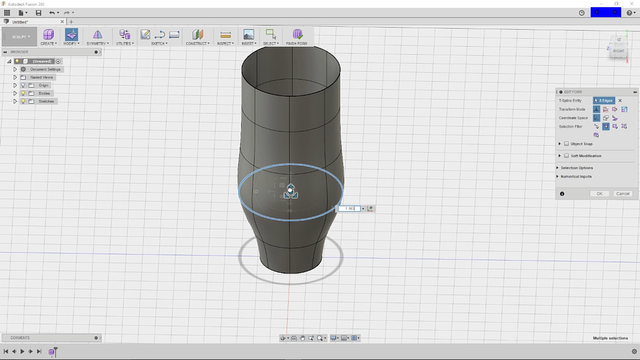
That'll click the next- go ahead and start a bulge right there. A bit more of the bulge there. Go to the next and start shrinking that down until it looks like the type of vase you are looking for. There are you get in a few seconds the vase has been created.
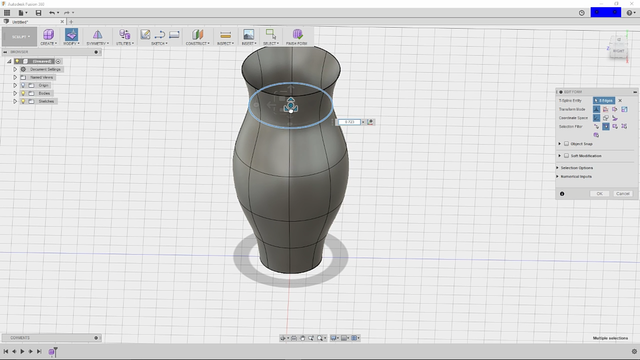
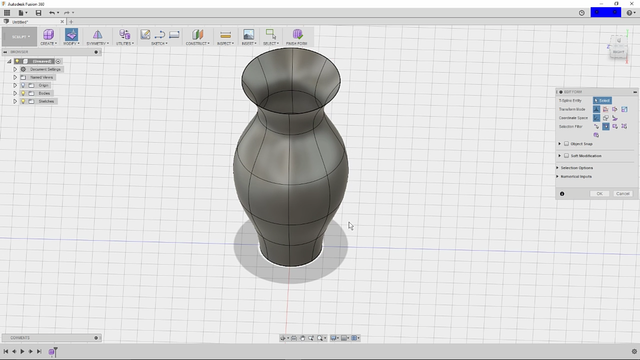
Now there's on minor issue it has no bottom. But we can take care of that pretty quickly. so when you have the vase looking like what you would like. Go ahead and flip it over. Come in and select fill hole, you will double click this vase part and you see it rounds over the edge. That does not work very well for a vase. Because there's no way for vase to actually sit. So if you click maintain crease edges it’ll flatten that out and you’ll have a vase that actually sits.
You can actually change this as well and it's a slightly different fill pattern. It will ultimately print to the same. The majority of the time once you filled it.
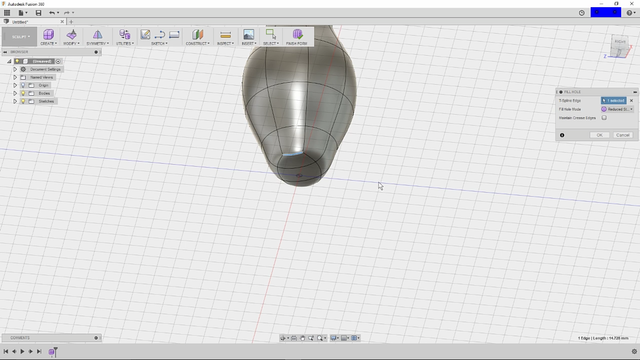
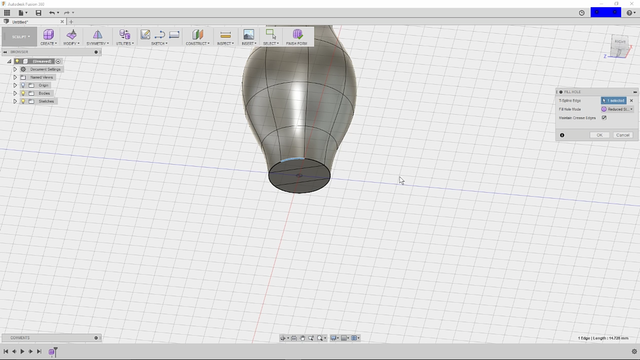
If you click OK you can't fill the hole form. What I found I could be wrong and if somebody knows how- please let me know.
Because there have been several where it would have been nice to be able to go back and fill that hole to make a change.
But as it is. Now we can go ahead and take this you’d go through your normal process of 3D prints highlighting everything and then you can save it now. You notice the errors that came up and it said an issue with T spline to be converted.
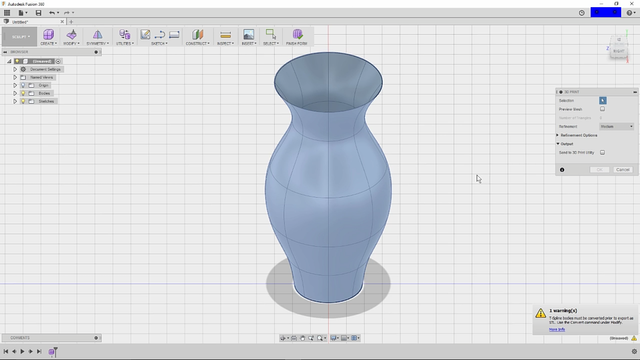
So what did I do wrong nothing really? you just need to go in and finish the form. It will turn this into a vase as you can see and now you can go in. Go through your normal process of selecting it. And then saving this out. So what do. You do if you want something a little different instead of just a smooth vase. Well let's see what we can do. You are looking for something slightly different that is not just a round vase. So let's go ahead and start again by creating a form. Again I will go from the top view I will use C to create circle just to give me a basis for at what just so that I know where rounds is.
When it comes to the design. I am going to open the spline on the sketch zoom in a bit and just make a few little points something like that or so. And we will close that spline up. So this needs to be rotate around and that's easy just go under your sketch.
Select the pattern you just created
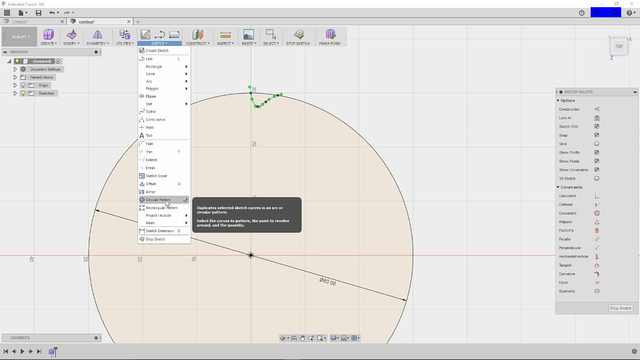
Select your points and then I am going to increase this about 30. Which is pretty close and then bump that up and tell the points touch and that looks like about right going to click.
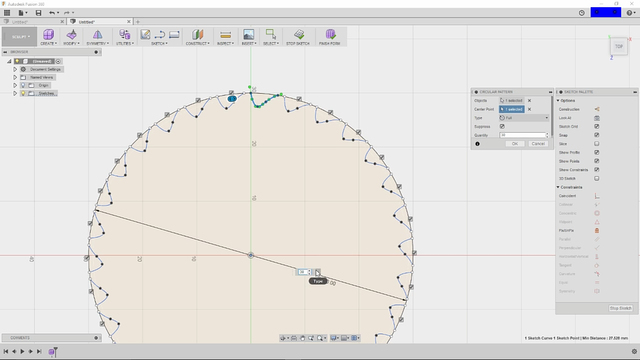
Okay! do me in and I have got a little bit of space in between those.
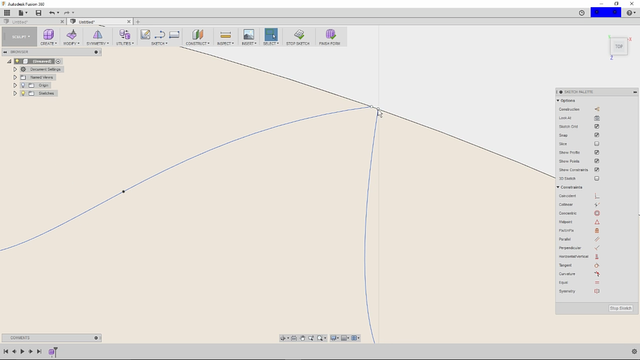
So I'm going to grab and let it connect and then take a look to make sure they all connect it

Okay! so once we have that design we will go ahead and select extrude again rotated that. so that I can see it a bit better and pull that up and then stop there.
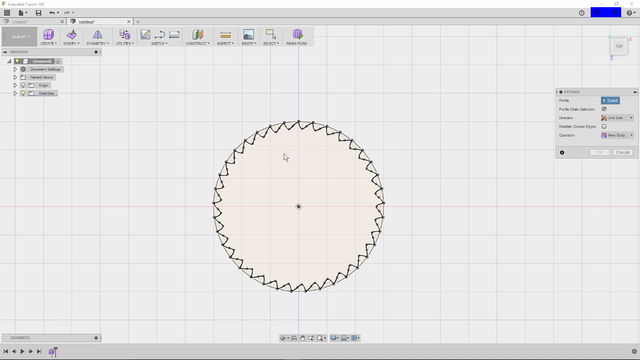
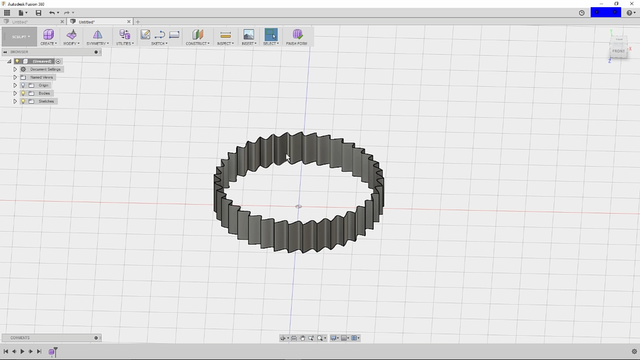
Since we want more than just a ring. We will going into modify again. Make sure you have that edge selected double click that.
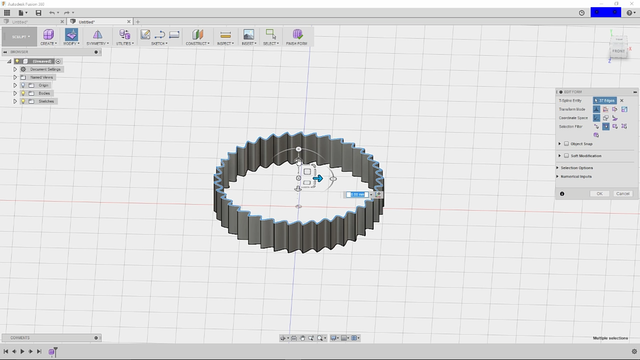
And you will start making some copies by holding the Alt Key when you click OK. So I did few of those I am going ahead and select this one and choose modify and shrink that by quite a bit.

Now let's go back a little in there we go to the next. One thing that down some more you are probably thinking what do these other option do you will this makes. It shake back and forth this pulls forward and back this raises and lowers and these you can dance around. You have the ability to fully move the design in any position you want.
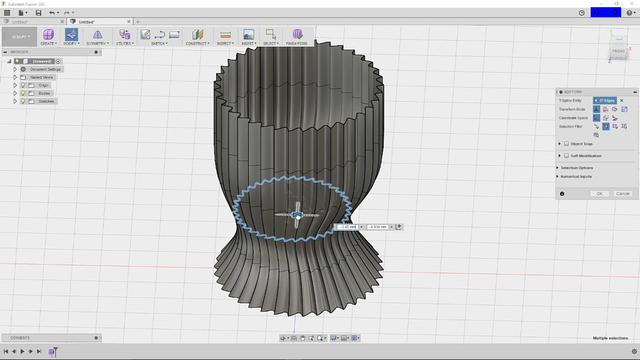
Being a little stubborn right now there we go.
There something different and actually.
Let me pull this one out.
I selected just the one make sure I select everything and layer. That a little actually let's pull it in so it's nice. About this is you can just change your mind and if you decide to add another hit the Alt Key pull it up.
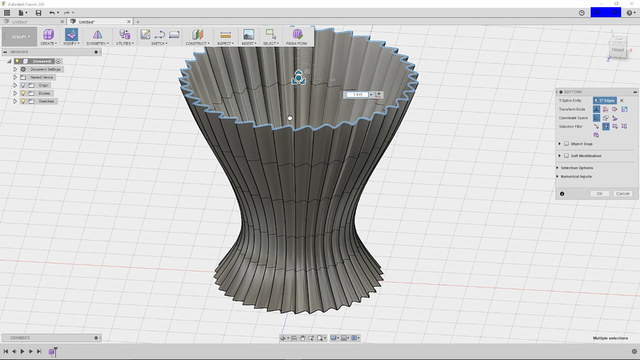
And you just created another there we go that's what I was looking. You have this design. Now if you want to do something completely different you can select this make sure you get all of them again and you have this little option. Here on the side that allows you to rotate. You can actually go in. And put a little spiral on your whole design or just a section of it. You can also come in and if you only want to modify you of these.
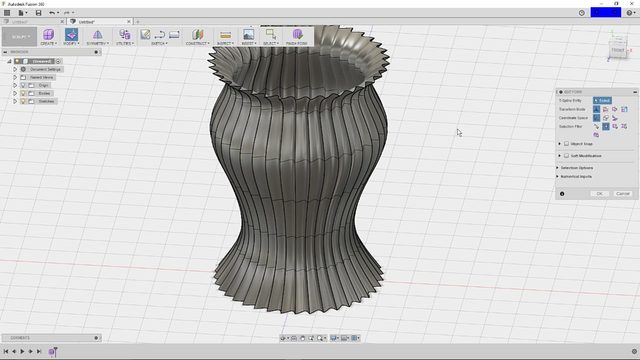
I do this and pull this out that would allow you to actually create and spout or a boring vase or whatever. You would like it give us a lot of options. Let's go ahead and back that on off there and say that. Then we will close it up like we did the last time.
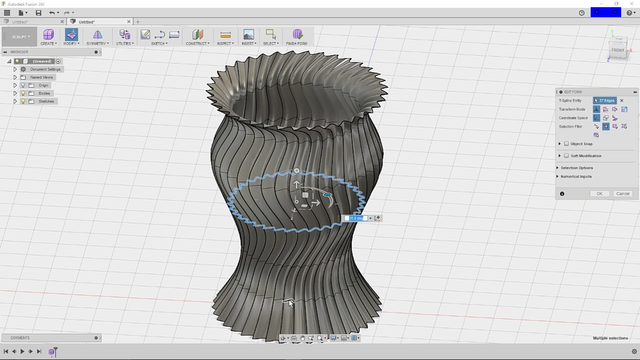
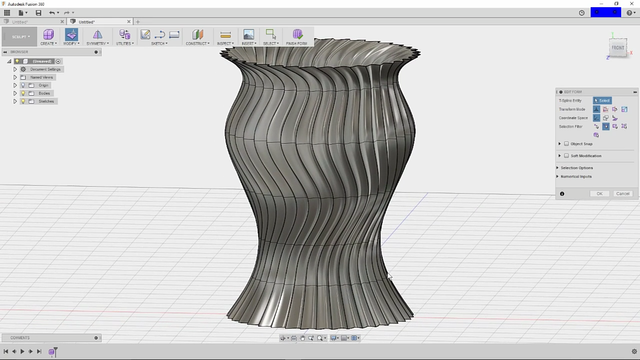
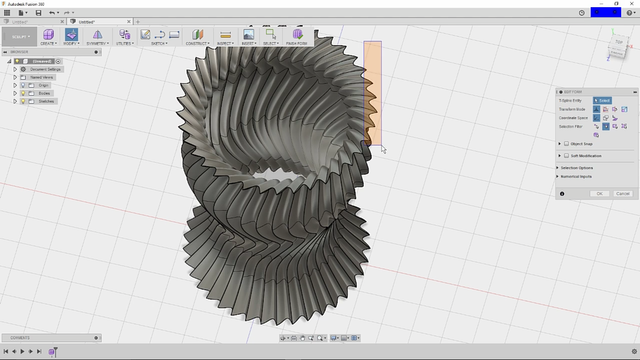
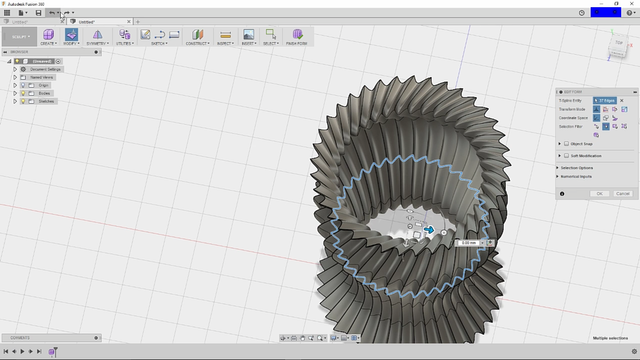
So I am going to flip it over bill whole like the bottom. And once you have selected your crease edge it generally stays there.
That's done and then this can be switched out of form view. You can save this to print it so.
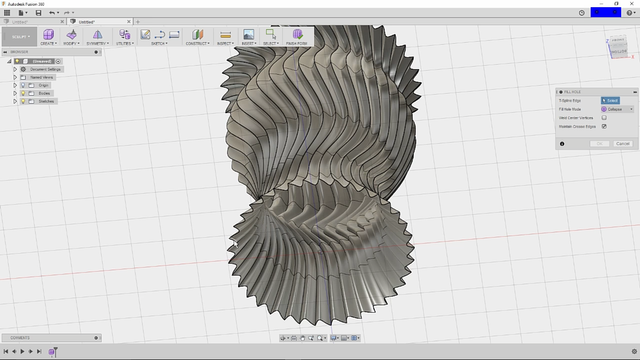
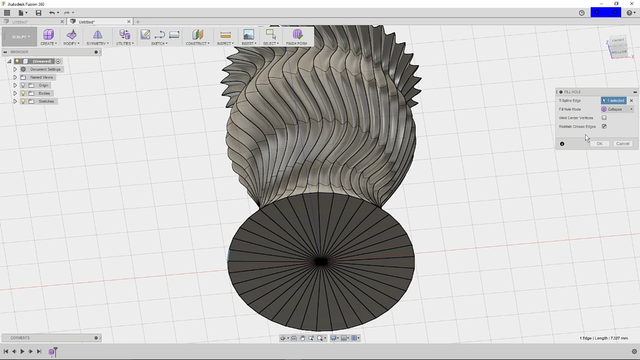
Slicer Setting
What slicer setting are you supposed to use. When you print a face well like most everything in 3D printing then has a lot to do with the printer you are using
In my case I am using wanhao i3 plus and the various clones that are pretty much identical to it including the maker select plus. I do like to use T glass for vases that our PETG and they can both hold water fairly well. If they are printed properly and it's all calibrated I use standard point two layer Heights do a wall thickness. None of the really matters except for the bottom layer.
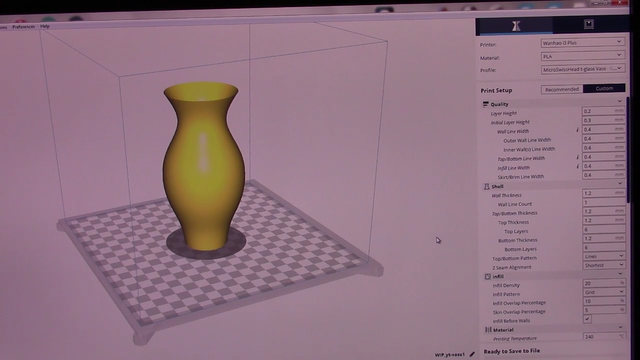
That will actually determine how many layers you have on the bottom after that. Since you have the spiral eyes outer contour or the vase mode options selected. It will only create a single continuous line spiralling up the entire vase.
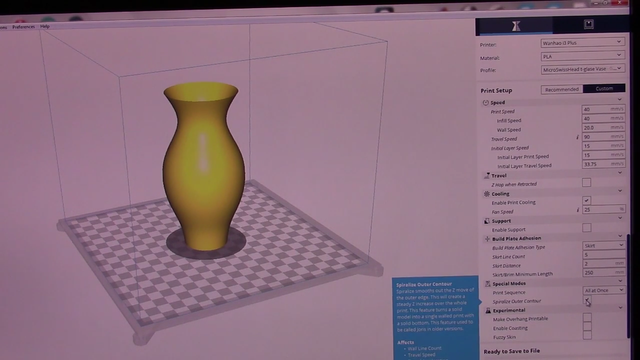
In my case with a micro switch all Metal upgrade for the extruder. I use a temperature of 240° T Glass build plate temp of 50°. I do a flow of a 150%.
Now that might seem like a lot of over extrusion. But it helps bond very well in vase mode and you come out with a very nice looking vase since this is micro swiss. The retraction is below 1 millimetre to keep it from clogging. I have slowed the prints down to about 40 millimetre a second for print speed and the initial layer of 15 millimetre a second my fan speed. I vary depending on the specific colour of T glass between 20 and 25% for the fan.
So for a vase like this that is 135 millimetres tall.
It will use about 19 grams of filament and take just under 2 hours to print in T glass.
Final 3D Printed Vase
So let's take a look at this final prints for The Fast and the second vase.
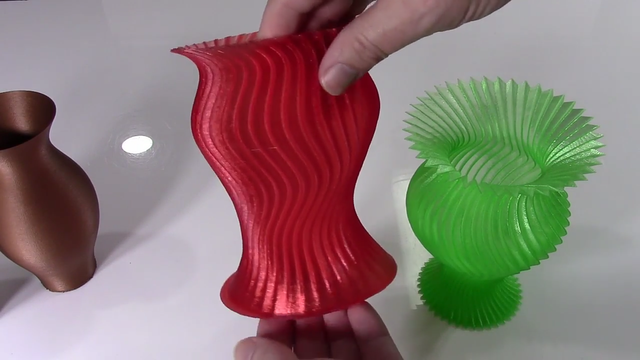
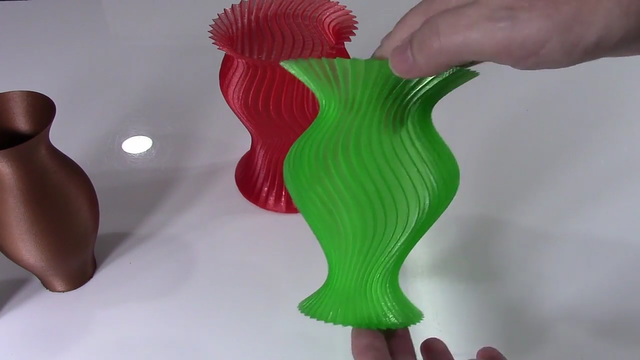
Here are the finished pieces after the printed.
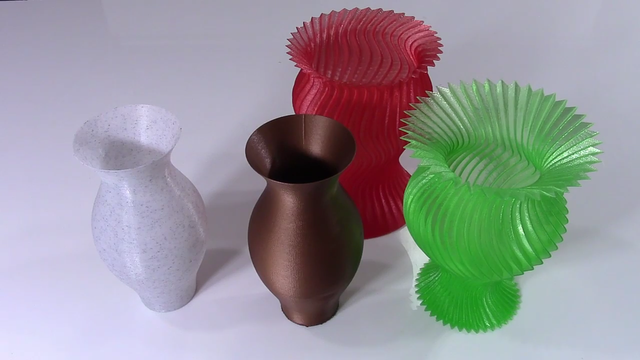
This is vase 1 and this was printed in zeros marble colour. which is a of white with some black and grey specks in it
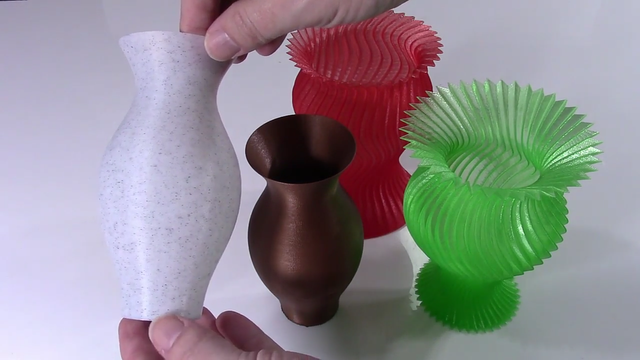
Here's vase 1 printed in saints parts and Cooper and there is an a considerable amount of over expulsion on the vase. In light of the 150% expulsion rate. In any case, for whatever is left of the vase it really looks very great and that could be contacted up with bit of documenting.
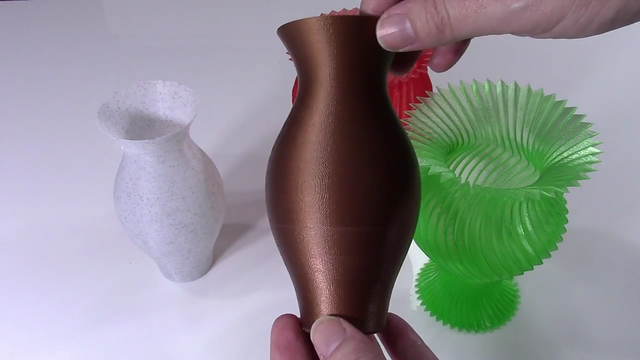
So vase 2 is this and this was printed in T glass a red translucent glass and these turned out looking truly great. Here's couple of strings left down in there. Be that as it may, those can be hauled out and afterward I likewise completed a third vase which is like this. In any case, I think the general style is significantly better and this is imprinted in zeros translucent in PLA green. I for the most part print the premise with T glass. In any case, in the wake of attempting it with the zero translucent PLA. I figure this may be my
Join our Discord Channel to connect with us and nominate your own or somebody else's posts in our review channel.
Help us to reward you for making it ! Join our voting trail or delegate steem power to the community account.
Your post is also presented on the community website www.steemmakers.com where you can find other selected content.
If you like our work, please consider upvoting this comment to support the growth of our community. Thank you.
Your support has been removed. Plagiarism of https://www.youtube.com/channel/UChdftwUR90NbYacO-kcvXyg
superb tutorial !
I've been using Vectary for my design work, as it was an easy way to go back in it's first version, but the new iteration is making me tentatively look for a new main tool for modelling.
I've got Fusion 360 installed on my Windows laptop, and this tutorial edges me towards using it more :)
You planning on gifting the vases or putting some flowers in them ?
This post was shared in the Curation Collective Discord community for curators, and upvoted and resteemed by the @c-squared community account after manual review.
Incredible tutorial, very complete! very good post!