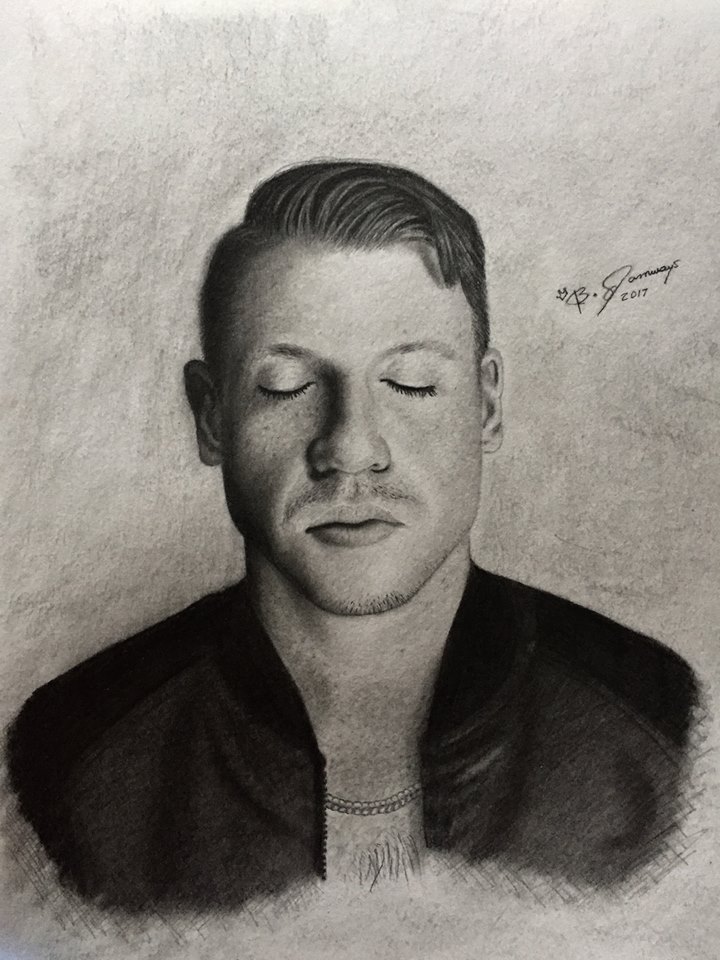
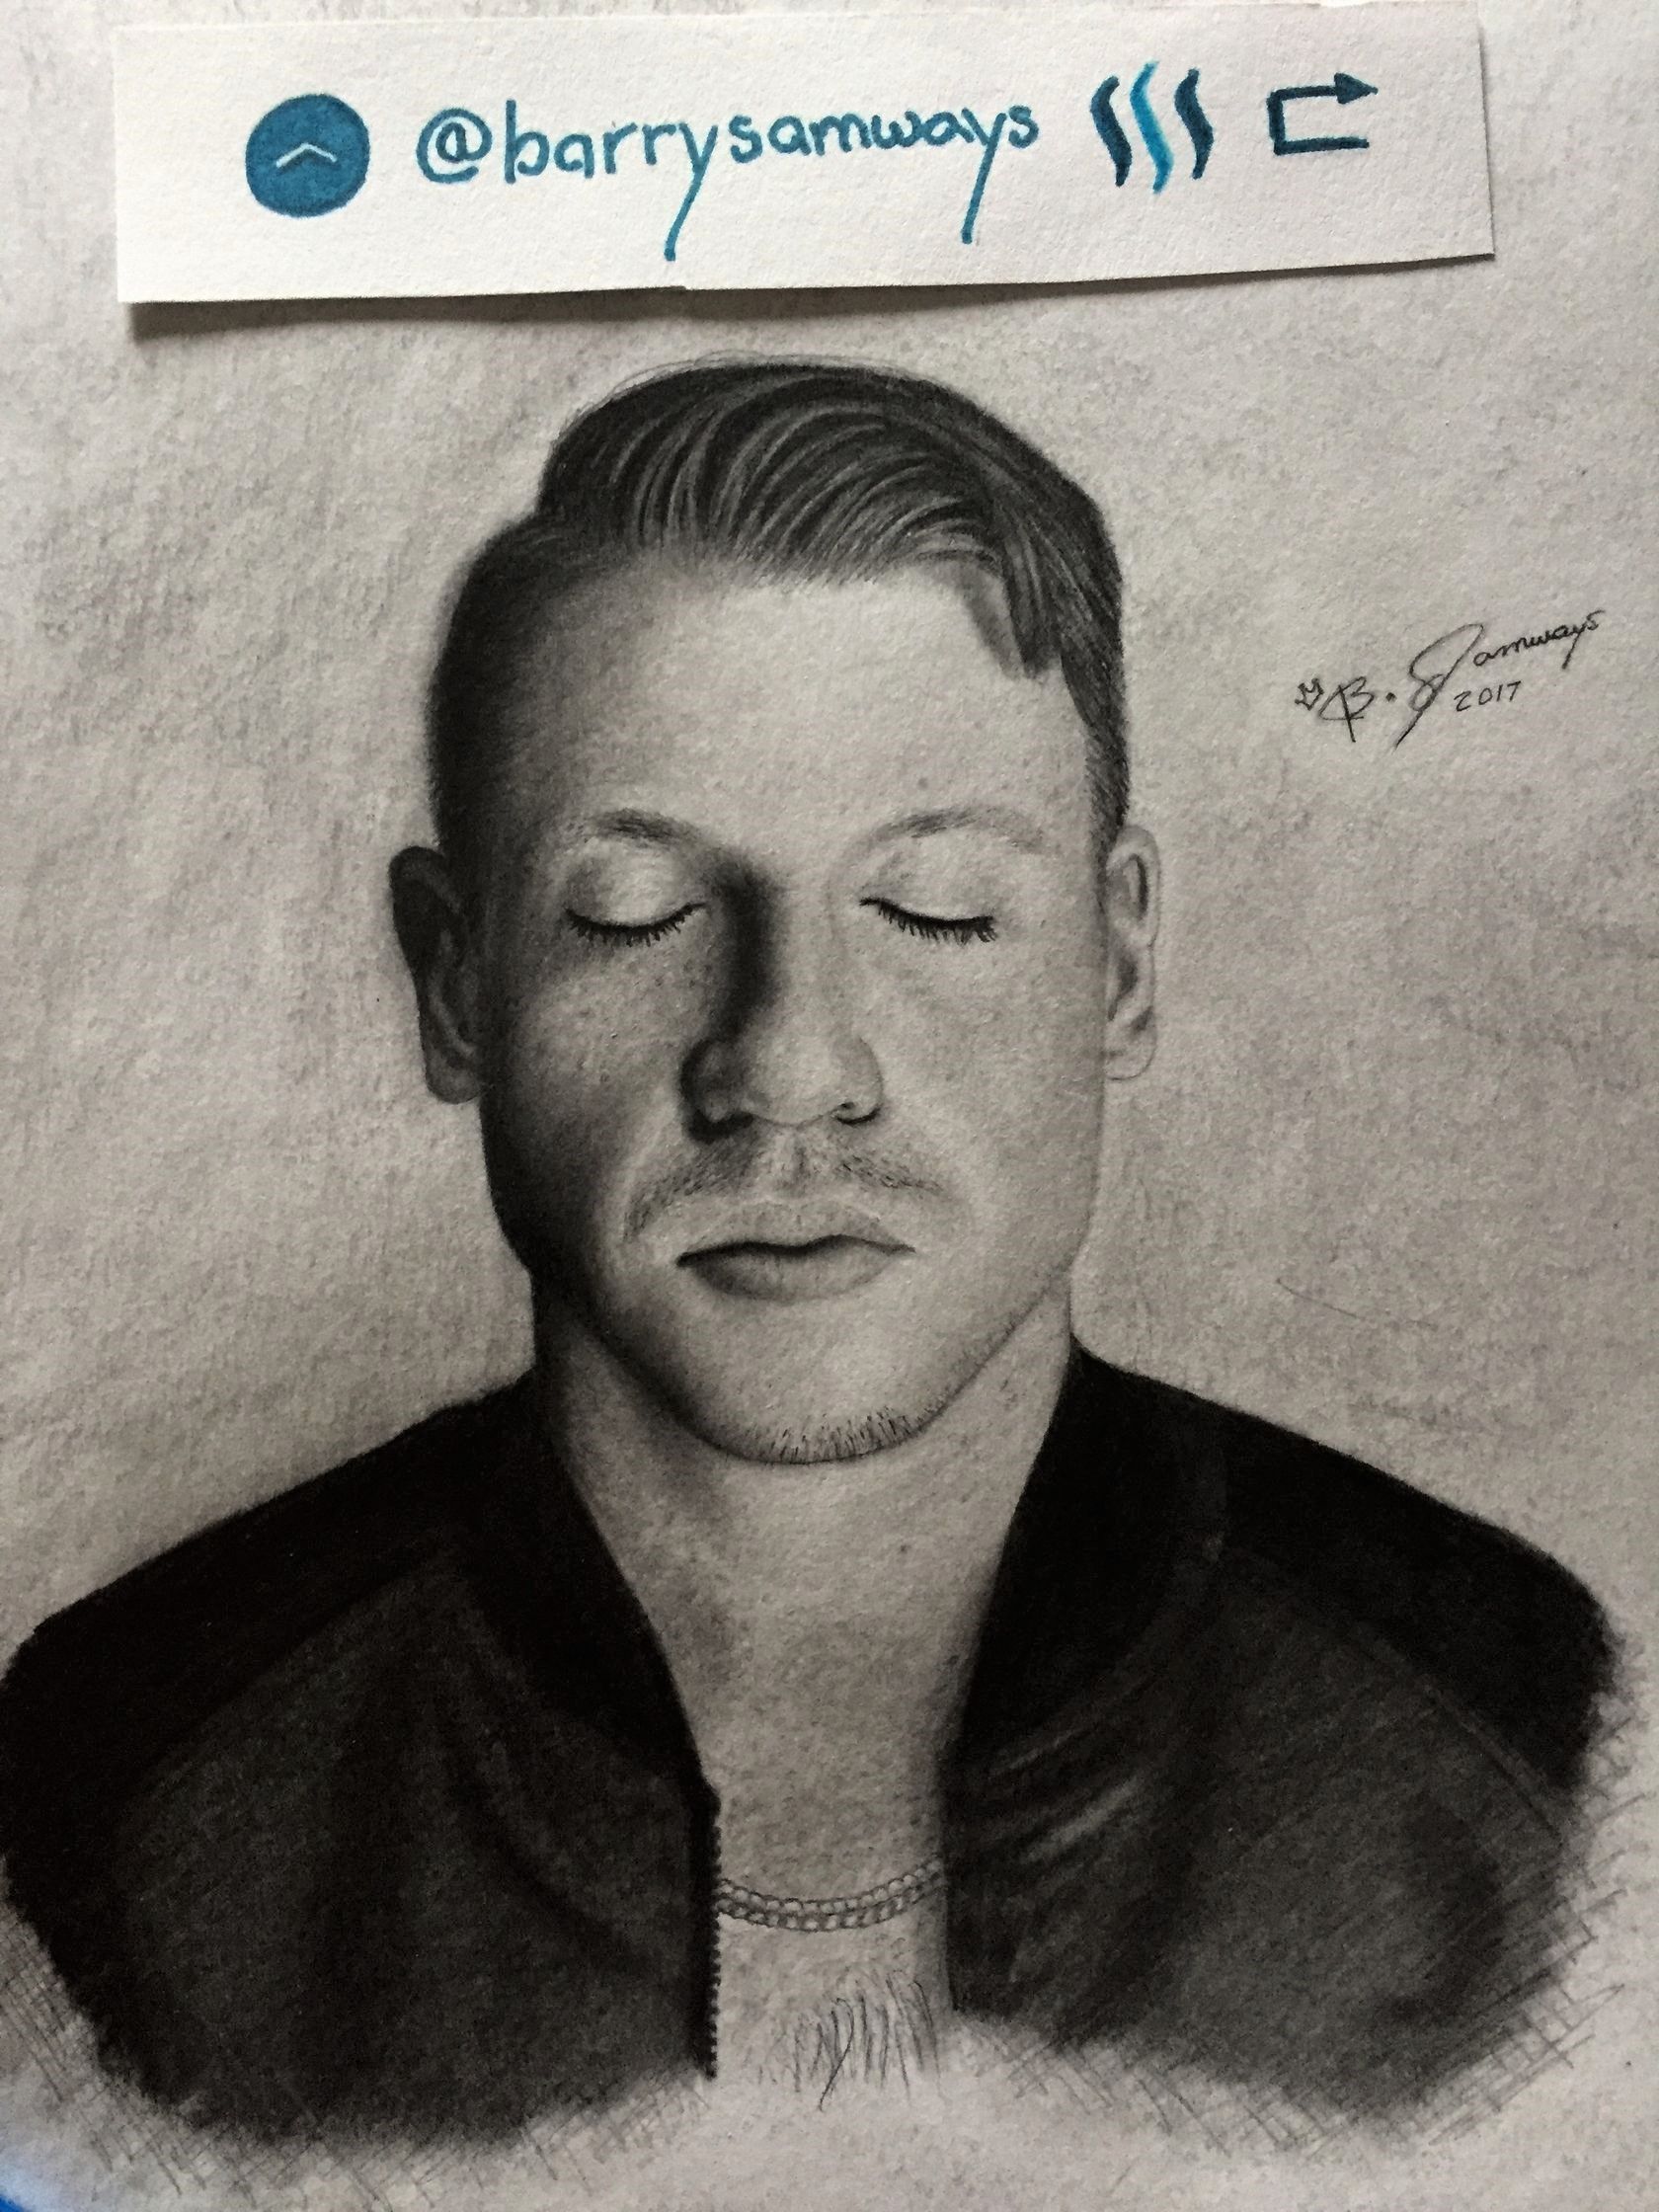
How To Draw Macklemore-Art Lesson
Hello Steemit Community!
Back again this week with even MORE tips MORE tricks and MORE awesome art work!
If your looking to hone your artistic ability, check out how a fellow artist works his pieces or even just appreciate looking at the process of art, you are in THE RIGHT PLACE!
Todays subject
Macklemore
"The greats weren't great because at birth they could paint,
The greats were great because they paint a lot"

Start your portrait by mapping out how big the face will be on the page. There is nothing worst then starting an art piece and spending a large amount of time working it just to find out that the whole picture cant fit on your page. Make a circle for the bulk mass of the head and then a center line. This helps keep your art piece symmetrical.
Planning is your friend.
Eye out the first eye length (no pun intended)
Measure the right eye then leave the same distance between the left one.
as for the nose at this point in the drawing you don't need to get your lines perfect first we just want to build the general angles and placements up to see where things will go.
Use the symmetry guide line in the middle to make sure the lips are even on both sides.
Once you get your portrait face outline angles correct draw in these shapes on the left side of the face. This will be the darkest part of the portrait.
Now that we built a good idea of where our facial feature will be, now we need to work on where the different tones will be. This is the actual reference image. I am going to show you my trick for getting a clearer idea of where the tones change more subtly.
Bring down the lighting and the tones get more clear. Note on the right side now you can see the subtle differences and now know where to map those shapes. obviously in finished art piece it will not be that dark but now you can make it so the light isn't flat white, and there is actually tonal differences where there should be, this makes for a huge difference in realism.
Every line you see here distinguishes one shade from another.
Now to finish the outline of the rest of the art piece by drawing in the jacket lines.
Finally we can start adding in our tones now our drawing has been mapped! I always start with the darkest first so that I can keep deepening them until all tone range is accomplished. make sure to do the same with the hair. don't need detail just yet just try and achieve the general flow.
here I just bring the tones deeper so that I can start the next shading level.
now we start to see a clearer picture of the tone range.
try to start blending the tones together making it a much smother gradient (I just use a Q-tip for this)
while further deepening the hair shadows.
now lets go over the best method for deep convincingly realistic looking tone.CROSSHATCHING
use a lighter pencil maybe a 2h to a HB, and shade completely in one direction.
now to the same thing going the opposite direction
Once this cross hatching gets smoothed out it creates a very even organic looking tone. further building shades on this surface will now create a deep rich looking color.
start to draw in the detailed darker areas of the jacket now on top of that nice shading.
Now use a very dark pencil ( I picked 3B ) and start to darken these areas out and smoothing with your shader
We will start getting into the fine details on the face now. to achieve the freckly look ( In the picture is a small example area) just make little dots where the freckles will be.
then smooth over the area
continue this method for the rest of the face. Adding little dots this time with the eraser and smoothing over that.
In this picture Macklemore has very thin facial hair so sparingly add in thin lines on the chin and mustache line add a few notches to the eyebrows as well.
All the details and placements have now been achieved.
The last step I take is always just to keep making the tones darker and darker until I am happy. The wider range of tone you see in a drawing the more natural it look so really take your time with this last step.. even walk way from your art piece for a while look at it from a distance ask yourself what needs to change too make it look better, this is where all the most important and best adjustments come from.
I also like to add in a dark background to help bring everything together and make my art pop. (this step is optional)

Does clicking buttons get you excited?
If so you will feel no bigger thrill in this world then smashing that Up Vote and follow Button!
Go ahead try it!
If you have requests for possible future drawings let me know in the comments, and maybe your suggestion will be next!
Much love for every single person in the Steemit community.
From the minnows to the whales this place wouldn't be what it is today with out you!
Steem on
Thanks for reading,
Barry F Samways

This is an amazing post.It can helps many users try such a nice drawings.
Barry nice work getting this approved by @curie! Amazing tutorial and I hope Macklemore sees it!
Nothing good comes easy, an I'm not tryna be corny but if you do what you love and work hard long enough its bound to one day get recognized :) I put my heart and soul into these posts truly. Your support means a lot to me. Respect
Wow! that was just crazy! amazing drawing skills and attention to detail. Btw I'm following you now. Keep it up buddy!
I am not an artist (well not this kind anyway), but this is a really excellent and generous post. Great work!
Loved reading this post got some great tips from it will take them on board as im just getting back to drawing after years. Theres so much i need to work on.

what a fantastic art piece did you do this digitally of on paper? its so clean
Unbelievable! Such an amazing drawing. I'm gonna send this article to @catherinegairard for inspiration, she is also an artist! Thank you for sharing :)
thanks for your comment and support! resteems always appreciated as well ;D I will be posting a new drawing tutorial like this one later today come back and check it out! cheers my friend
Vote, resteem and follow, for sure, see you around ;)
nice process.. Ive never tried to map the blending like you did.. outline fields.. maybe I should :)
@marty-arts Thanks for reading though! I try and add enough in these tutorials with out making them too long I'm sure a few more pictures could have been added but I think I managed to capture the important parts. The shading mapping makes for clear distinction and less confusion through my process. These areas and angles of shading are extremely important for capturing likeness in a portrait. I like to be able to look at the picture and understand it as soon as possible. Cheers!
Stay tuned for future posts if you enjoyed this one :) I usually manage to create one a week
I think not everyone read it all, so it is ok when its not too long, but I appreciate the work you gave it... Im following you :) you have nice posts and skills... I have also some tutorials, if you want you can look.. have a nice day :)
Wow! Beautiful work.
uuuu ~~~ got 20 dollar in my pocket~~~
this comment is "fucking awesome" ;D
The final product looks amazing and the step by step is very helpful thank you!