ART TUTORIAL: River banks pastel drawing (with video)
This tutorial was made on followers request of landscape with water and pastel technique. I was drawing this view from the 3rd floor of a summer cottage of my girlfriend. The drawing took 73 minutes to accomplish. It was an evening, that's why the sun was changing the lighting a little bit (you can see it in this photo and in the video).
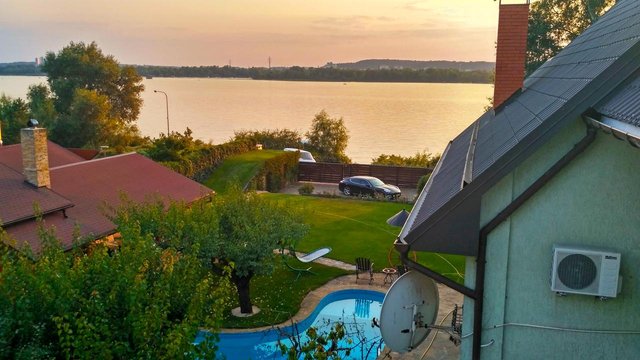
1) Marks and outlines

Try to start your drawing very gentle and soft to create some marks for future masses and relations. You can use even one neutral color (like gray or umber) for this step. At this point, you need to form the composition of your drawing.
2) Separation of the large masses

After marking all main parts of the composition, I started to cover large masses like skies and river with the flat side of a pastel chalk. Don't forget that river is similar to skies in its colors (because water reflects the world around) but the sky most often is noticeably lighter.
3) Foreground

We need some clear detailed objects on a foreground to make our drawing interesting and deep. Therefore, I made this house roof and wall with a chimney, drainage pipes, and conditioner with slightly more attention than other objects.
4) Middle plan

At this step, I added some grass in a yard of the cottage, started to draw the leftward roofs, bushes on a bank of a river, brown gates, and a car. I worked more with middle-size masses to cover all the empty spots of a drawing.
5) Clarification of silhouettes

You can see that I almost finished with covering page's emptiness and tried to clarify the edges and silhouettes of different objects and textures between each other.
6) Background and details

At this step, I added more details in the background by drawing some green tree masses and colorful spots of distant city buildings. The missing spots of grass and structures between large masses have been completed. Some texture of leaves on foreground trees also was accomplished then.
7) Finishing touches
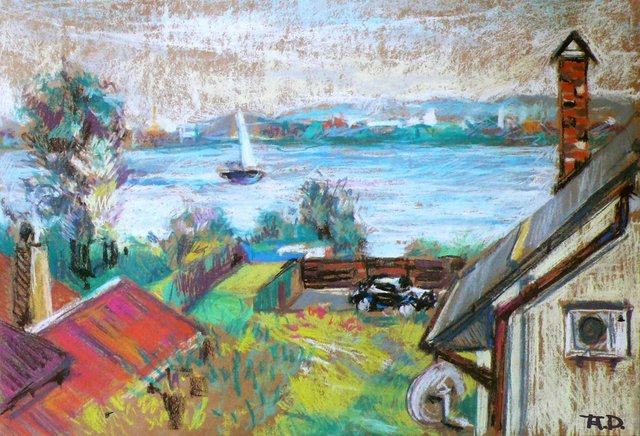
Final details and finishing touches to assemble a drawing together. It's a quite short non-stop session on a quite large format (30x42 cm or 12x16 inches), so the drawing has a sketchy and fresh look without unnecessary details.
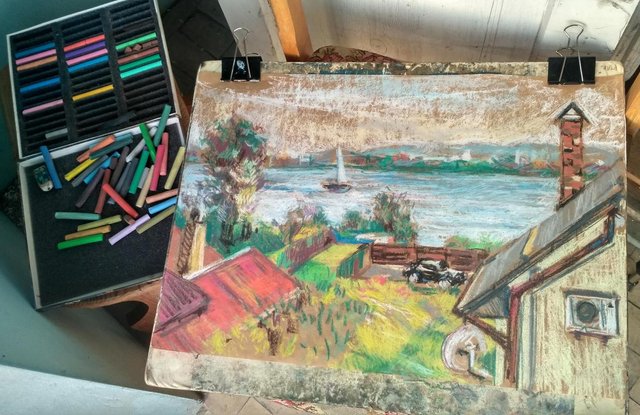
Here you can see all the materials that I used in this drawing. If you have your own suggestions for future tutorials, please, write them in the comments section!
Thanks for reading and watching!

This post and video was interesting, informative and awesome. I admit I was feeling a bit down today, but when I saw your painting, it cheered me up and gave me inspiration as an artist myself. Also, I have a pack of chalk pastels that's been untouched for three years. Now, I'm going to create a new piece after seeing yours. Thank you, and nice artwork.
I'm happy that my tutorial is useful and inspiring! Not a fan of pastel myself, it was the first drawing in this technique in years too. The same with my mood, lol, a lot of work and no return this month. Thanks for a kind word, good luck with your art! :)
Congratulations @art-study-pro! You have completed some achievement on Steemit and have been rewarded with new badge(s) :
Click on any badge to view your own Board of Honor on SteemitBoard.
For more information about SteemitBoard, click here
If you no longer want to receive notifications, reply to this comment with the word
STOP