Leather is my Art Medium: Making the Steempunk "Frankenhat" An Armadilloman Photo Blog
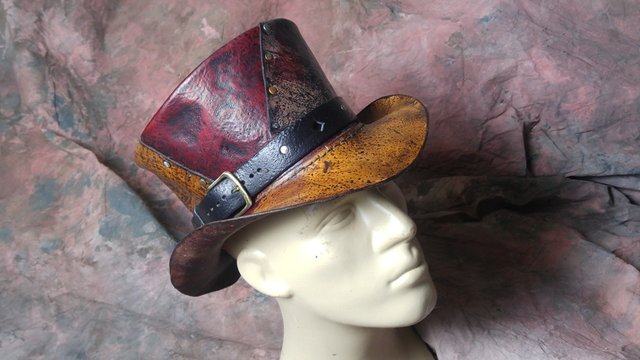
I have a fantasy that when I am dead and gone a hundred years or so, some of my leather creations such as this "post apocalyptic steempunk" hat will end up in a glass case in a great museum and people will circle around and marvel at this primitive art and primal work. A Grandma Moses of cowhide I think the museum guide will say. At least that is how the fantasy goes.
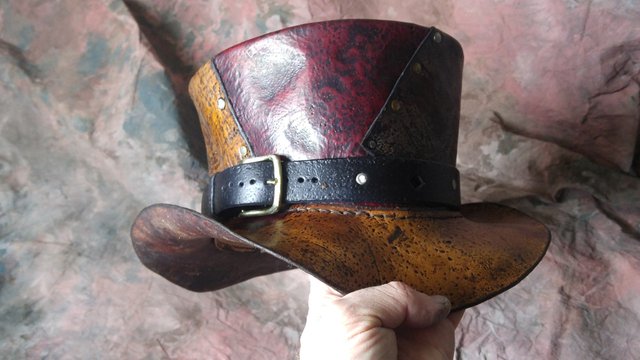
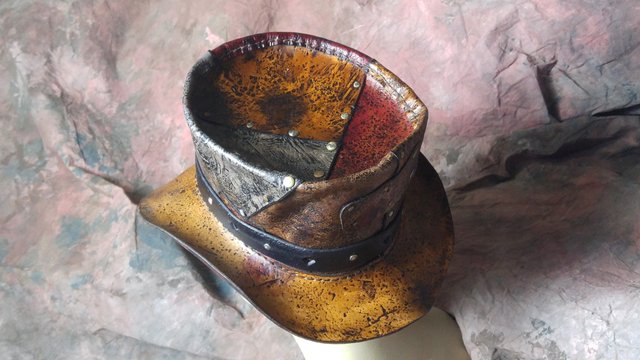
Until then I get a chance to make one of these hats about every quarter. And here is the latest, finished a week ago. And I took lots of pictures while I was making it, so its time once again for an Armadilloman "How I Did That" photo blog.
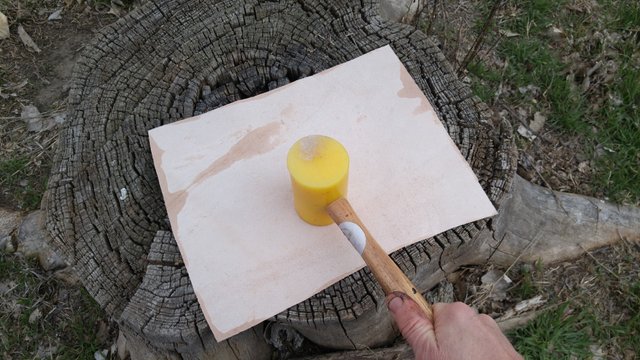
It all starts with plain old unfinished 3-4 ounce vegetable tanned cowhide that I get damp and then stomp on in the gravel driveway, jump up and down on on a rough sidewalk and, as in this picture below, beat with a mallet against things like a rotting stump. All in the pursuit of the look, the feel, the texture I want.
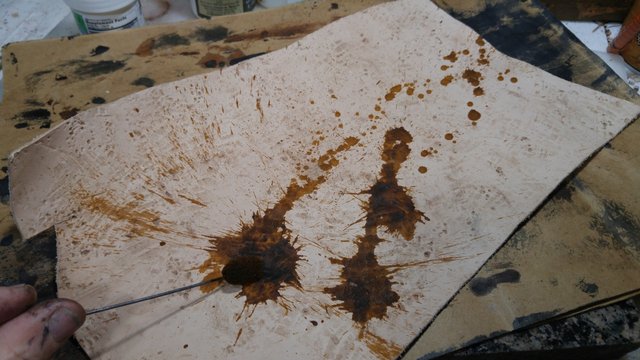
Then I channel my inner expressionist and dribble, dab, drool and smack brown and red dyes on the still raw leather.
Then it all gets a good coat of high lite stain rubbed all over and....
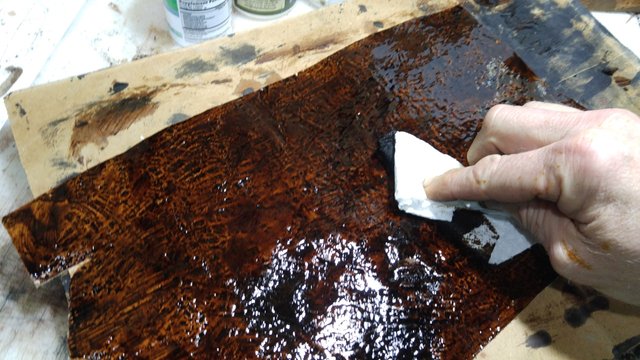
...when dry a wet paper towel is used to take the stain off of the tops of the bumps and ridges, leaving dark stain in the crevasses and divets. Note the really nice texture that old stump gave me.
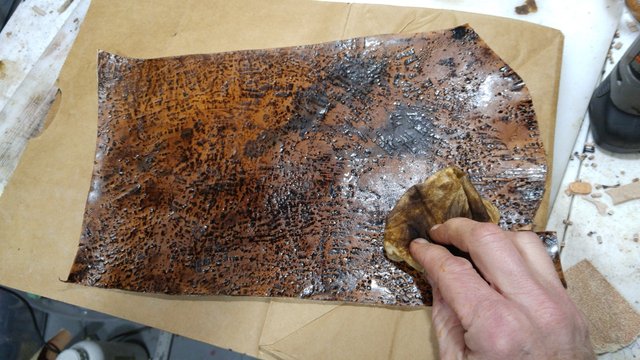
When I have have some big pieces of leather all textured and dyed, I lay out the pattern pieces, paying attention to what parts of the leather I have distressed looks best. Then cut out the parts and....
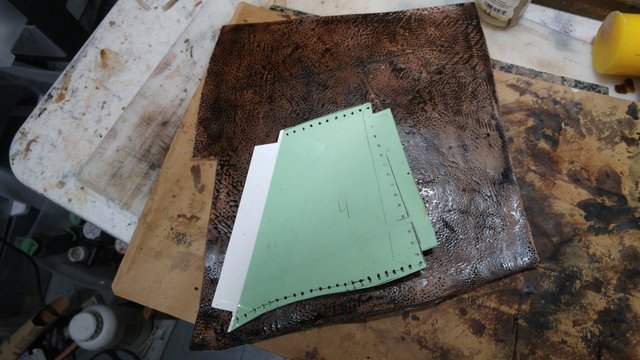
...clip the pattern to the part to punch the stitching holes in the piece. You have to make just the right number of holes and in the right place or you will find your life miserable when you go to stitch it up.
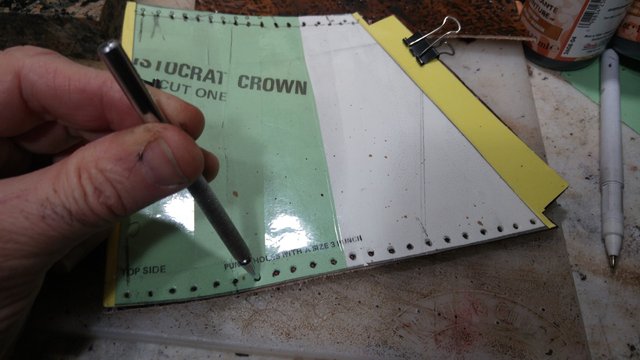
Here are all the parts for the crown laid out. I forgot to take the picture before I had riveted the top together. And speaking of these rivets...they are all hand distressed with sandpaper and many of them rusted and corroded a bit. I keep a glass of water with nasty rivet rusting pretty much all the time. Never know when you are going to need them.
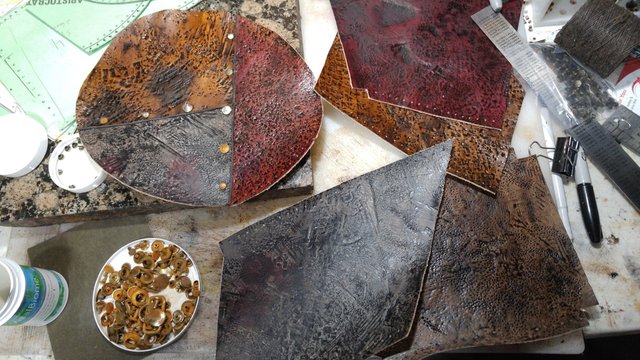
And the pieces are all riveted together....
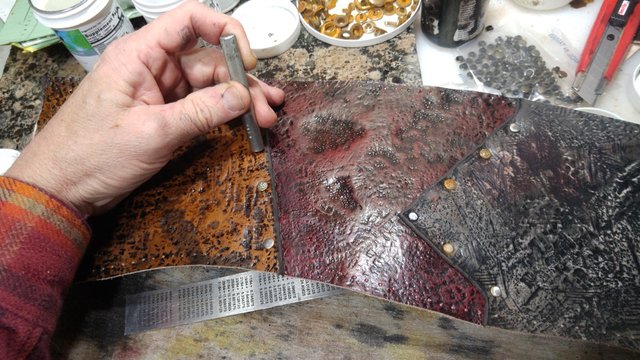
...to make up the crown of the hat.
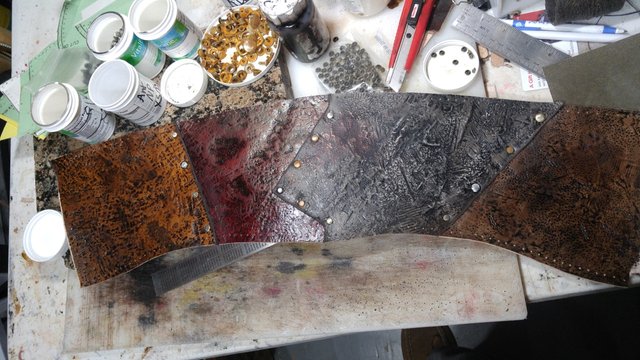
And stitch on the top, which is about my least favorite part of the whole hat build.
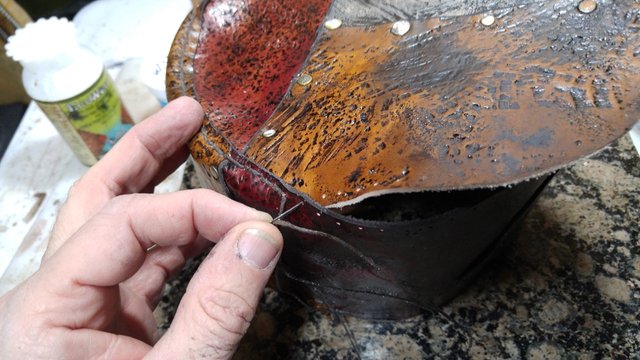
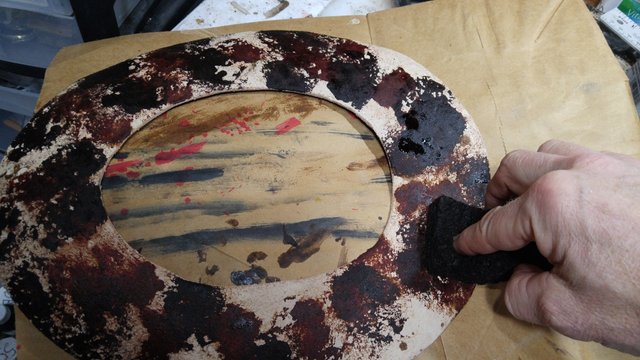
I "sponge paint" the underside of the brim with 3 different brown tones and a touch of black.
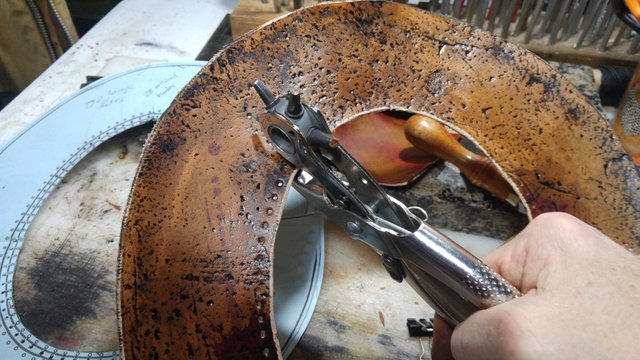
I have made a brim out of heavier leather, beating it up and coloring it in the same manner as the crown pieces. The stitching holes are made using a rotary punch.
The brim is stitched to the finished crown.
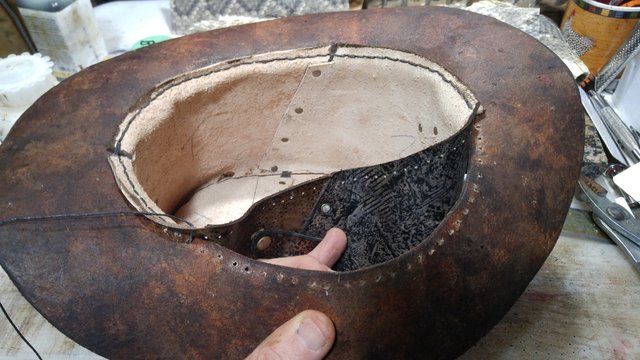
Once the hat is all stitched together, the inside where the crown attaches to the brim and the brim is dampened and stretched onto my medium sized ( since I am building a medium hat) mannequin head and the brim is formed and given a bit of a roll on the sides.
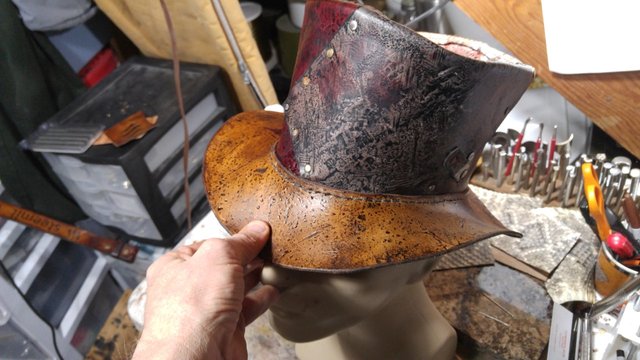
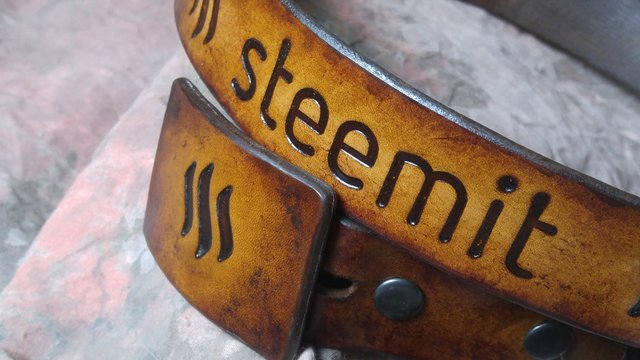
Then all that is left is some touch up color work and a bit of work with a piece of sandpaper to make some of the highlights pop and put a bit more distress to the look. Then coat with clear semi-gloss acrylic finish, add the hatband belt and its done.
Amazing! Were you aware there is a steempunk game? @steempunknet
You've received an upvote from a @slothicorn! Click here to learn more! (@justatouchfey) ((.)ω(.))
Thanks @slothicorn and @justatouchfey! Yes I have been on the steempunk discord, but don't have the time at the moment.
Lots of great textures! Im following you now!
Thanks @across-the-moon!
This post has been shared by @andrea97
Beautiful work, very compliment
I follow you
Un saluto, nicola
Thanks for the kudos, @knfitaly. And for the follow!
Great work!! :D
Thanks @mayasky. Coming from someone with your great skills, that is a real compliment!
very tidy work! i tried making a felt top hat from scratch years ago...it didnt go to great, and funnily enough the worst bit was also the join from top to the side. your finished piece is great though.
Yes that seems to be the place (the top to side connection) where it will go badly. Thanks!
congrats on those votes.well deserved whale boost for you!!
Well that does get you onto trending for a few hours which does make a big difference.
Your Post Has Been Featured on @Resteemable!
Feature any Steemit post using resteemit.com!
How It Works:
1. Take Any Steemit URL
2. Erase
https://3. Type
reGet Featured Instantly & Featured Posts are voted every 2.4hrs
Join the Curation Team Here | Vote Resteemable for Witness
That is absolutely amazing. I like how there are some chaotic elements in the process (ie stomping on it in the driveway, dropping the stain, etc) that ensure that the piece will be unique to any other one you might create.
I do have one question. How much time do you put into a piece like this? It seems like it would take a little while to complete.
Thanks @veckinon for the kudos! I always have some leather prepped, for other projects, when I have nothing else to do I texture some leather. Orchestrated chaos yes.
This hat takes an average 20 hours. But its a fascinating one to make so it feels faster then the 12 hour build hat.
Congratulations @armadilloman! You have completed some achievement on Steemit and have been rewarded with new badge(s) :
Click on any badge to view your own Board of Honor on SteemitBoard.
For more information about SteemitBoard, click here
If you no longer want to receive notifications, reply to this comment with the word
STOPGreat process post, I always enjoy learning more about your methods! Really nice hat!
Thanks @jamethiel! Its a fun hat and I am glad I sell enough to be able to keep making it.