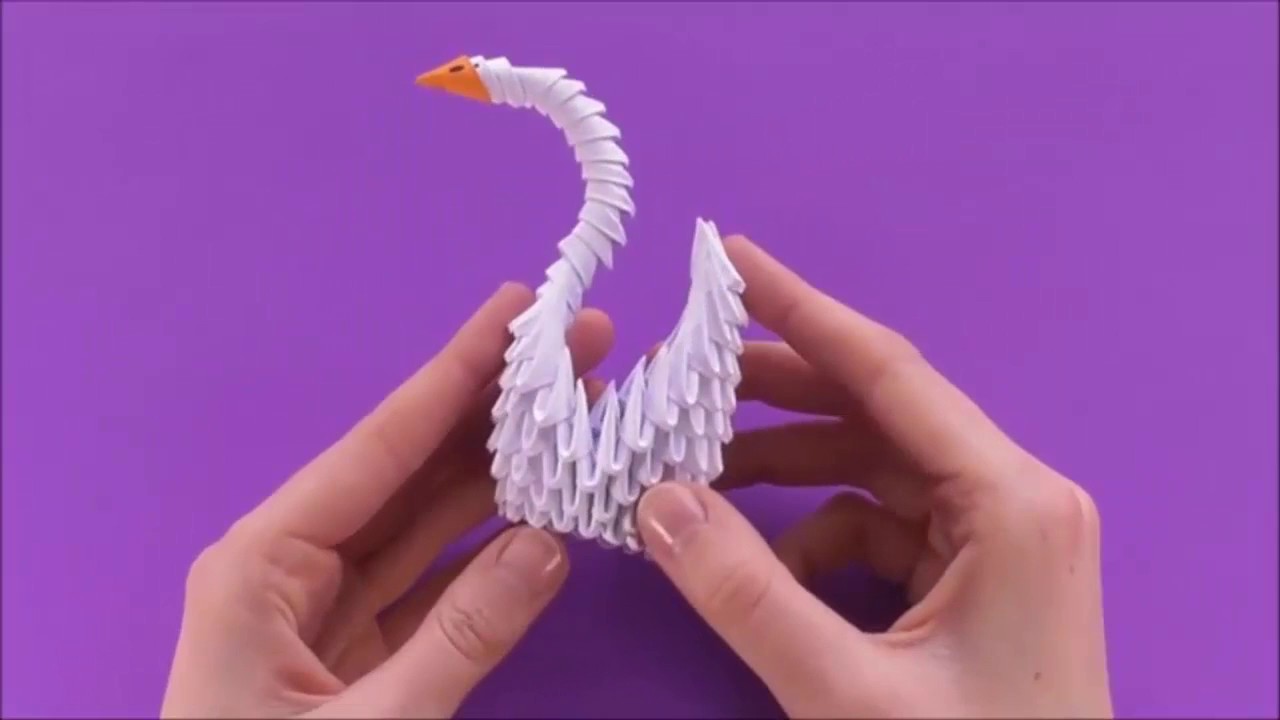
How to make a goose from Origami

Prepare a rectangular sheet, turning it so that the colored part is located underneath.

Fold the paper in half diagonally to form a triangle

Open the triangle so that the paper is rectangular again

Take both sides and fold them in the middle, parallel to the previously created crease line. Now the paper will form a kite

Turn the paper over
Take the side of the kite and fold it back into the middle. Now the kite becomes slimmer with a triangle pattern on each side

Without turning the paper, take the pointed end of the kite (smaller angle) and fold it into the upper corner of the kite, with the angular position parallel to the diameter
Take the edge of the pointed corner and fold slightly downwards. This section should form a triangle that is only 1 or 2 cm long. The triangle created in the previous step, will now form a long trapezoid

Remember the middle fold in the first step? Fold the origami along the line. The position of a small triangle must be on the outside

Hold the base of the triangle firmly, then drag the triangular pointed tip to the height you want. Can be perpendicular or form a pointed angle
Pull a small triangle at the outer end to form a goose's beak
Have it your way

Completed
Tips
• Make sure the folds are firm and neat. The more neat, the more elegant the goose will be.
• If the paper is difficult to be formed because it is too tangled the former folded, take a new paper. Otherwise, the goose will look shabby.
• In the first step, the white side of the paper you can place underneath. The result, most of the swan surface will appear white.
• Use decorative paper to create beautiful swans.
• Read and study the steps above slowly to understand them well.