Step By Step Guide To Draw A Female Potrait
STEP 1
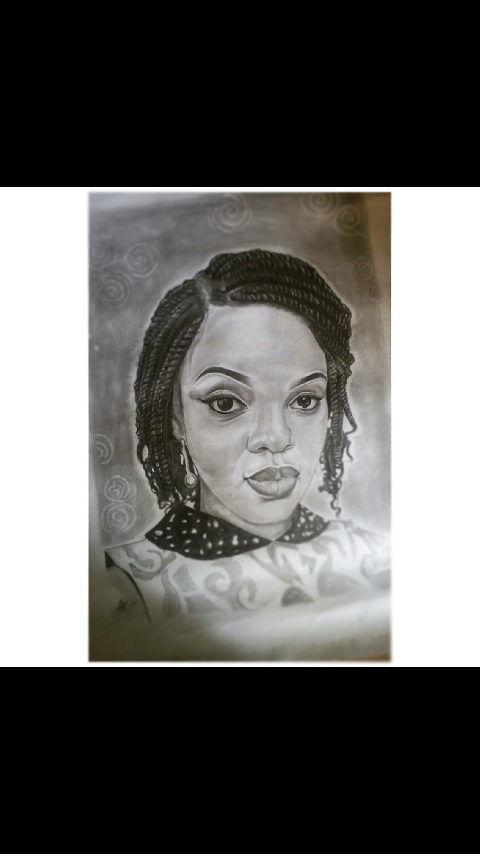
If you recently checked my previous post some of the techniques i used in the first step would be familiar and if you have not you can go back and review it. In this stage i do what i normally do once i want to sketch. That is, i make a faint grid lines with H so as to sketch the image am working on in which you could see.
Then i started to shade to bring it to life. I mentioned earlier in my previous post that I enjoy going from light to dark when shading and that's what you could see me doing.
In details how i achieve the eye part, i made use of (steadler grade 4B and B).i first apply 4B to draw an oval shape of both eye. Which is very thick in the out come. So i drew the pupil as well with the same 4B and left a white portion indicating the ray of light reflection. Remember you don't want to make your drawing look flat but rather more realistic and its important to always leave that white space in the eye. So i use cotton board to blend around all i have apply to balance the texture on the paper. I also used it to blend the white part of the eye at the edge to give it a more realistic figure. Whenever you make both edges a bit dark you would love the result.
The next thing i did was the eye brow.Over here,i made use of 2B to carve it out and then i blend over and over till its smooth and at the edged i also gave it a faded figure if you look closely to both ends of the eye brow.then when i was blending around the "eye brows" i left a little line that brought sharp the "eye brows ".you can see this on women eye shadow they apply "concilia"....you can call it my way of showing my "concilia" lol. Remember to pay attention to every single details. I might be posting tutorials on the "facial structure of a lady" to help you understand better.
STEP 2
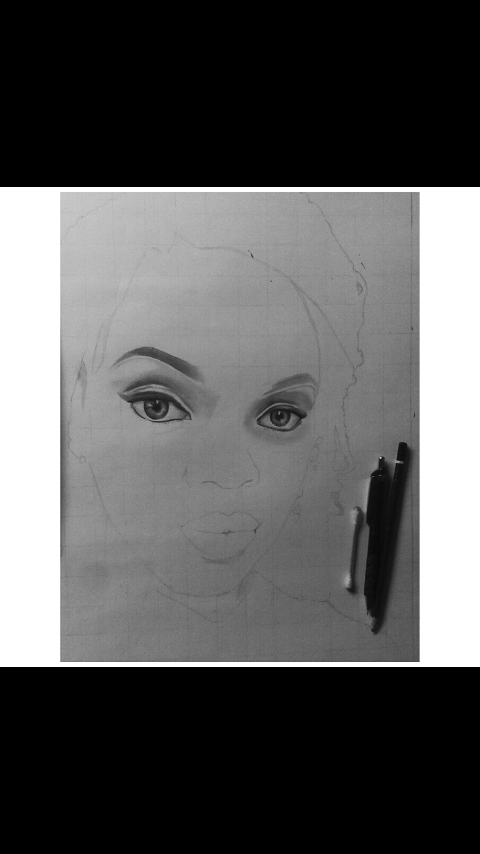
In this stage,am trying to make the top lip visible. So i apply H as my first layer and i blend it.drawing two straight lines that connects the bottom of the nose to the top lips and you blend both too. .the dark part of the shading was done with B
STEP 3
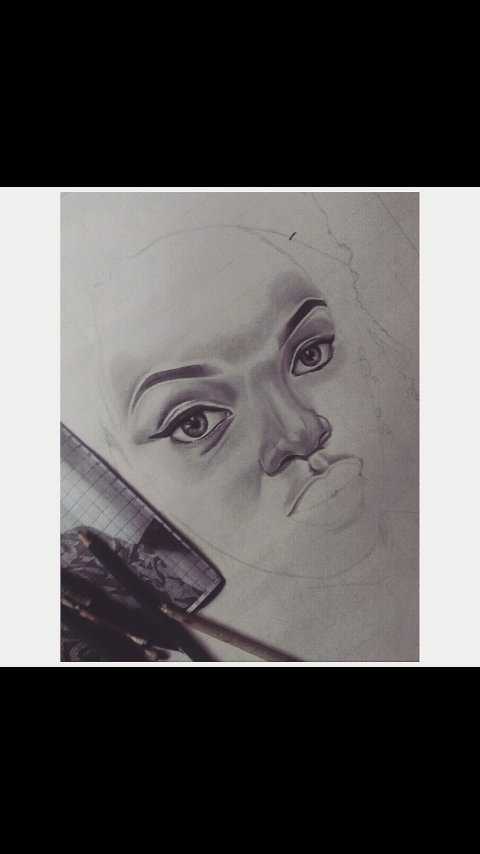
That takes us to the detailing of the lips.The lips is not so complicated as it looks. I will give you two techniques of achieving this and it will help you when you trying to put your pencils in use..
(1st technique) : If you realize,you will see that the top lips is darker than that of the lower lips. What you do is,pick the light grades of your pencils like 2H and apply to both the top and bottom simultaneously and blend it. Then after you move to the dark part of your grades gradually to lets say HB .Then finally you focus on making the top darker to differentiate both lips so you apply B and detail the shadow around it with 2B. While around the lower lips with you make use of a mechanical pencil .If you don't know what kind of pencil it is? You can google it for more info. It would do the work of creating the tiny details on the lips.
(2nd technique)
You can focus on the top lips and move down the lower lips
The top part you start with dark grades (B,2B, and 4B)and the same thing grades for the lower lips in technique 1. And also in the lower lips you can see it glowing that's because i use eraser to create some white portion on the lips to indicate where the ray of light is resting on.
STEP 4
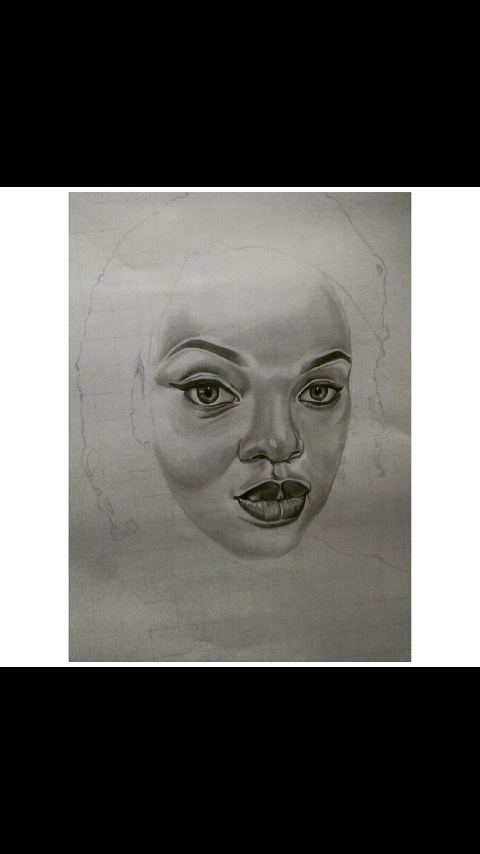
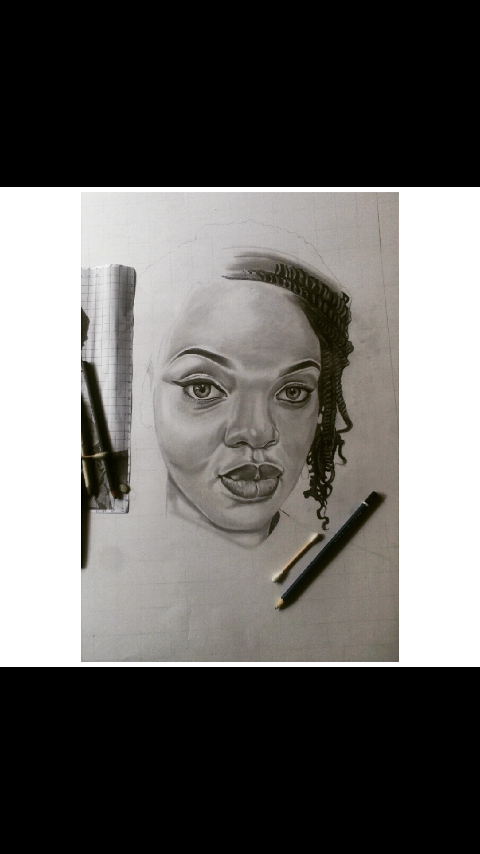
This is the part i am creating the braids on her hair. In details, I use the same technique in my previous post to create the same braids on this image.
When creating the hair of an image you would have to move far way from the light grades of the graphite rather you apply the dark part.At this point i made use of "B" ,"2B","4B", and "7B"
The first layer i applied "B" and ,"2B" then blend with new cotton board. After i made use of 4B for the dark portion and 7B at the adge is each end of the braid.
At the end of everything i use eraser to clean the center of of the layer to indicate where the ray of light is resting upon.The hair stage takes time but the result is worth it. Patience is the
STEP 5
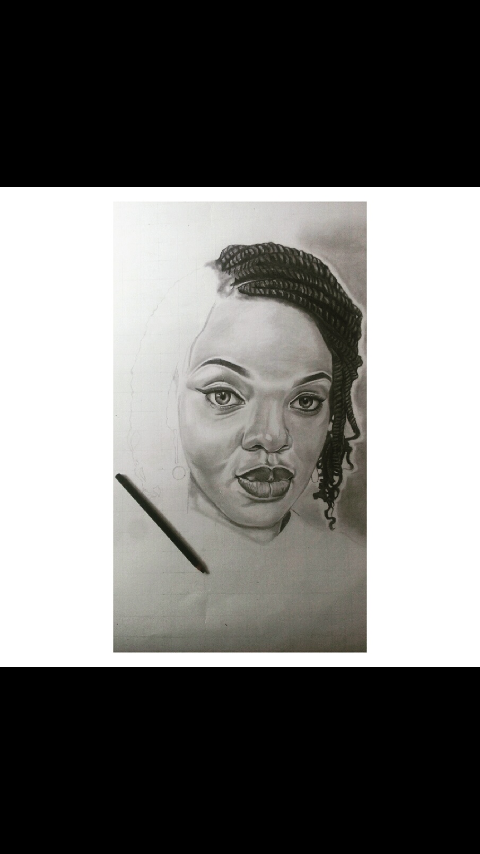
My focus was creating a background for this layer. What i did was, i took some pieces of charcoal and ground it to dust. Its okay to try this experiment at home. So i use cotton wool to touch it and i use it to create my background and continue the progress of the hair. Or you could purchase charcoal powder at the art store that could help too
STEP 6
And finally at the last stage is where i made the clothes and completed the background as well with the same approach in step 5 following the details of the Image am drawing. On the background i use eraser to create those curls.... You can do anything you feel like when creating yours. Creativity as no limits.
Thank you for reading
Have a nice time on steemit!
Stay tuned for my next post

Goodwork man, i love this
Thanks a lot fam.... You will be seeing more stay tuned 🙏
Hi. I am @greetbot - a bot that uses AI to look for newbies who write good content!
Your post was approved by me. As reward it will be resteemed by a resteeming service.
Resteemed by @resteembot! Good Luck!
The resteem was paid by @greetbot
Curious?
The @resteembot's introduction post
Get more from @resteembot with the #resteembotsentme initiative
Check out the great posts I already resteemed.
Wow! Nice pencil art bro, your sketch is really amazing and i like the content on it, I also work on art. nice work!
Thanks a lot fam.... God bless you
Nice one dear
Thanks hon... Bless up 🙏
You deserve more for this...great work...next time add "how-to" tag in your tags..
Welldone
Alright boss will take note.....thank you
Am greatful 🙏
This is just talent! I envy you @akinolaadedamola.
Lol am glad you love it....follow to stay tune for more 😊