Simple steps to draw a realistic mustache with Graphite pencil

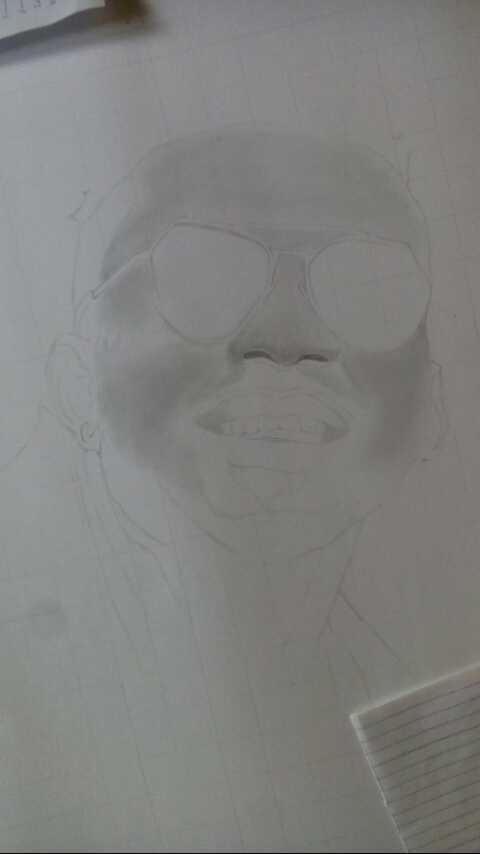
STEP 1
In this stage i do what I normally do in starting all my piece of art. i make a faint grid lines with H so as to sketch the image am working on in which you could see (16by20).
Then i started to shade to bring it to life. I mentioned earlier in my previous post that I enjoy going from light to dark when shading and that's what you could see me doing.
In details after i have made grid lines based on how big i want the outcome to appear then after i will sketch out the overall imagine with a lighter grade like 2H so correction would be more easier when been made. Then i used H and blend until it's smooth to create the first layer of the skin tone you can see the image coming little by little.i made the (sun glasses, nose, and mouth) visible.
Whenever am drawing the first layer i would have visualize how i want the end results would be in my mind before i finish. It a very good thing you do when you about making an artwork.

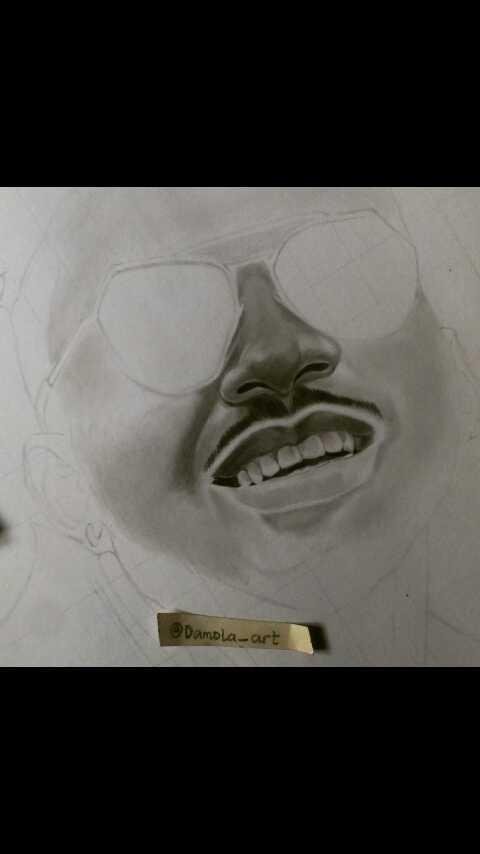
STEP 2
At this point it is clear what have been trying to achieve since stage one. The (sunglasses,nose and mouth) are in the right position. To achieve this am going to give you the easy tips and always remember at the back of your mind those professional artist that are your role model today were also at this present point you are.
In details how i achieve this result in this stage.i made use of (H,HB,2B, 7B, mechanical pencil, blending stump, cotton board and eraser)
At this point you will need to pay close attention to the imagine to understand my explanation.
First, you will realise that the step 2 shading is thicker than stage 1.i made use of HB to create a darker skin tone and blending more than once. After i started with the "nose" apply mechanical pencil to shade the edges and left some portion very bright to indicate the ray of light.i always say if you wanna achieve a realistic drawing,every details matter. Then nostril i apply 7B that's cause its very dark. I ignored the moustache, and deal with the mouth then back to moustache. That takes us to the detailing of the lips.The lips is not so complicated as it looks If you notice in this part,you will see that the top lips is darker than that of the lower lips. What you do is,pick the light grades of your pencils like 2H and apply to both the top and bottom simultaneously and blend it with blending stump. Then after you move to the dark part of your grades gradually to lets say HB .Then finally you focus on making the top darker to differentiate both lips so you apply B and detail the shadow around it with 2B. While around the lower lips with you make use of a **mechanical pencil **.If you don't know what kind of pencil it is? You can google it for more info. It would do the work of creating the tiny details on the lips. Am gonna explain better how to achieve the moustache in the next step.

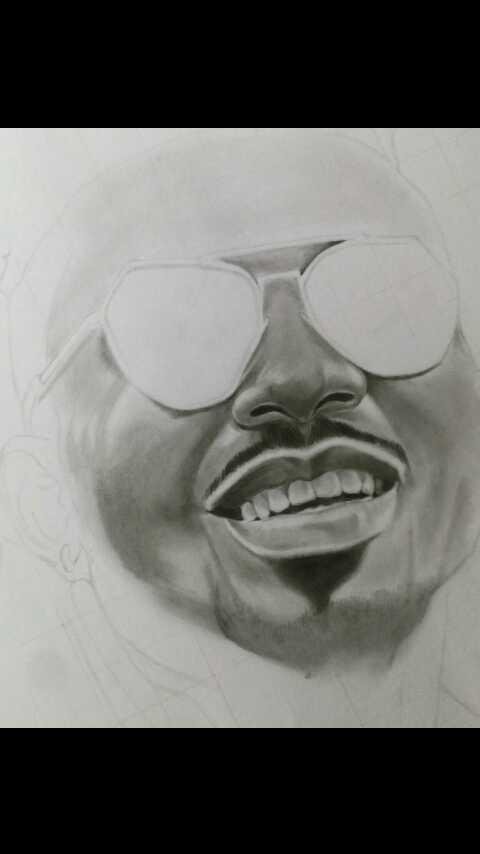
STEP 3
I wanna take my time to explain this part because its very important to me i am able to help you understand better how to achieve a realistic mustache.
I apply (mechanical pencil and 7B).
In details,i made vertical strokes with mechanical pencil increasing (ascending order) the length as it join at the center of the nose. I blend at first following the flow of the strokes with blending stump leaving it smooth. Then i applied again and left it, and applied 7B doing exactly the same process. At the bottom of the mouth (beards), i applied HB and blend it with **cotton board ** once and then applied 2B making faint hatching stokes.

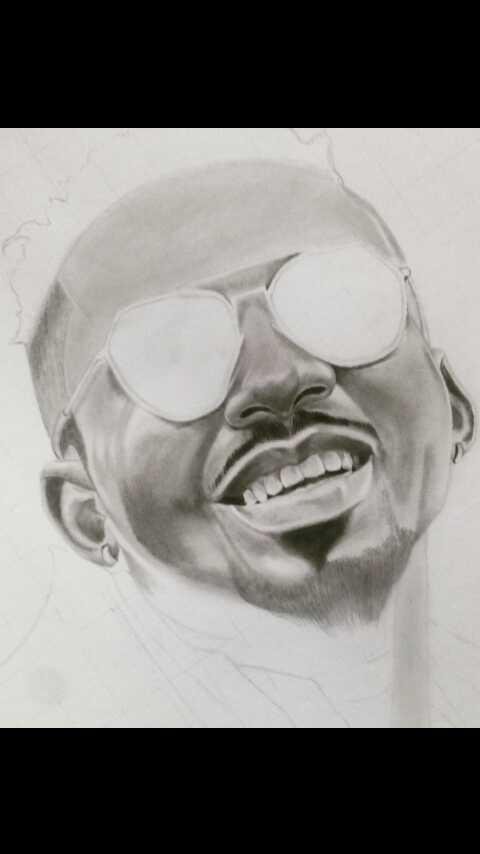
STEP 4
At this stage, i focused on creating the (ear and the fore head).in details i made use of 6B to achieve the darker portion of the ear, andB for the light portion before blending it all.
The (fore head) ,i apply H to make it very light than the remaining area of the face.
This is because,the fore have tend to have more density of light compare to the remaining part. Thats the reason i made my first layer H and am choosing to use gradually grades for the dark area of the fore head based on the image am working on.
Applying "H" and "HB" for the darker part.i shaded the "gum" with just "H" without blending,only using the hatching technique. And finally for the teeth is left untouched.

STEP 5
For the final stage,i only made the contrast more attractive. only made the light part and the dark part to compliment on another.
I finally applied 8B for the hair portion and the beards with 7B with the same technique i use to create the first layer. Took me 3days tops to complete this piece. Its not " How far" but "How well"
The key to become a better artist is "practice and patience"

Thank you for reading
Have a nice time on steemit!
Stay tuned for my next post
Hmm.. Nice art work
Thanks fam 🙏
Upvoted on behalf of @thehumanbot and it's allies for writing this great original content. Do not use bid bots for at least 1-2 days, as your post may get picked up by top curators.
Great Original Works are rewarded by top Curators, refer posts from my Step-Brother @humanbot for more details.If you like this initiative, you can follow me in SteemAuto and upvote the posts, that I upvote.
And remember to do some charity when you are rich by contributing to me. Check out my Introduction Post for more details. If you have any concerns or feedback with my way of operation, raise it with @sanmi , my operator who is freaking in Steemit chat or discord most of the time.
Wow, you are very good...
Nice one
Thank you d
Hmmm this is awesome 👏 wow one thing is to be talented and the other is to be blessed, you are both bro, keep it up sir
Thank you fam.....i hope i don't let you down🙏🙏🙏
Congratulations! This post has been upvoted from the communal account, @minnowsupport, by Ibot7 from the Minnow Support Project. It's a witness project run by aggroed, ausbitbank, teamsteem, theprophet0, someguy123, neoxian, followbtcnews, and netuoso. The goal is to help Steemit grow by supporting Minnows. Please find us at the Peace, Abundance, and Liberty Network (PALnet) Discord Channel. It's a completely public and open space to all members of the Steemit community who voluntarily choose to be there.
If you would like to delegate to the Minnow Support Project you can do so by clicking on the following links: 50SP, 100SP, 250SP, 500SP, 1000SP, 5000SP.
Be sure to leave at least 50SP undelegated on your account.
Cool process to share how it's done!
Thanks to @sanmi, this post was resteemed and highlighted in today's edition of The Daily Sneak.
Thank you for your efforts to create quality content!
Thanks so much @sanmi i so much appreciate 🙏 expect more by God's grace