Host your own ALEPHIUM Node on Decentralized Web 3.0 (FLUX!) - Tutorial
Hi all,
After a long time, I am back!
In the meantime, busy with a new house! And still some nodes.
Running a FLUX node at home (I shall write more about this one in another post).
This is not the first app I deployed on FLUX, also been running a PRESEARCH node on FLUX (that is another point I want to write about, I'll be busy :)).
But first things first! Running an ALEPHIUM on a Decentralized network that you can pay with crypto how cool sound that!
Things you already need in place for this tutorial:
- Zelcore wallet (recommended always!) opened
- Some FLUX to pay the node
- 5-10 minutes time
I am using the latest Zelcore wallet and a Windows 10 PC with the Edge browser.
So, grab a drink and we are going to do it!
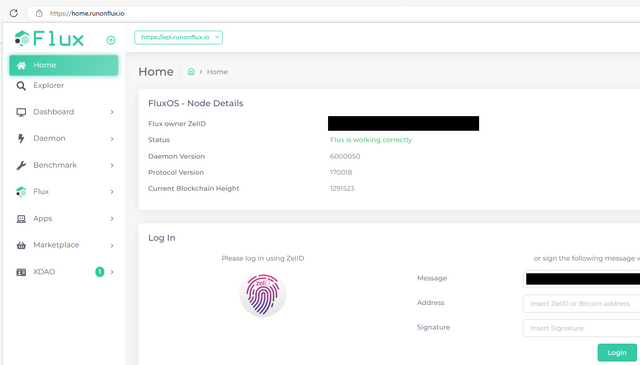
- Open a new tab in the browser and navigate to: https://home.runonflux.io/
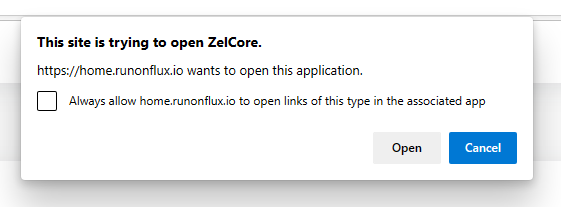
- Click on the ZelID fingerprint logo, the browser asks to open the Zelcore wallet: click on open
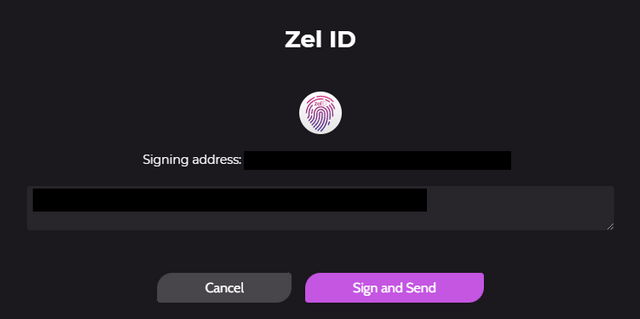
- Go to the Zelcore wallet (that is already open) and you see the sign in message, sign this message to sign in
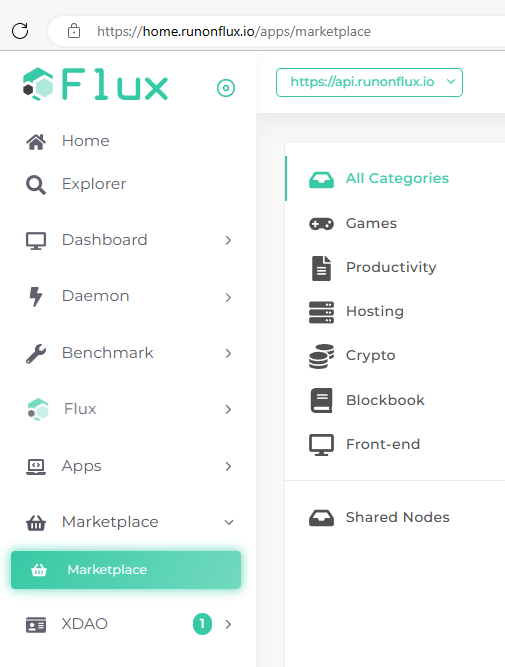
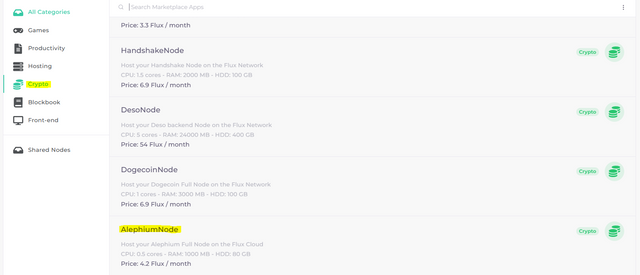
- Now that you are signed in you can use the marketplace! Go to marketplace -> Crypto -> Scroll till you see the AlephiumNode.
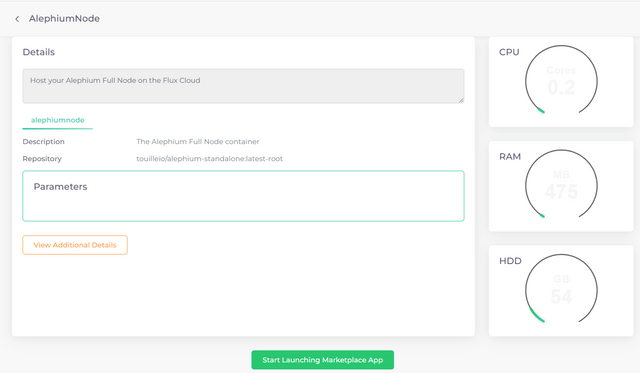
- Click on AlephiumNode and you get the following screen, where you can click on Start Launching Marketplace App.
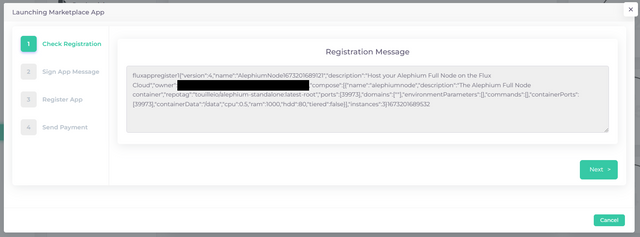
- The first registration window can you leave default and choose for next.
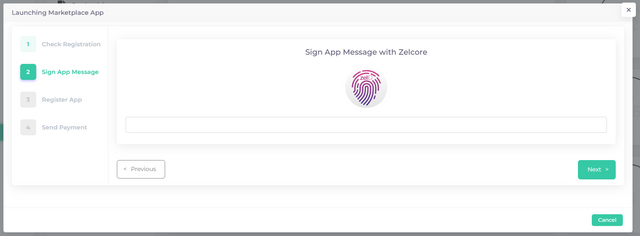
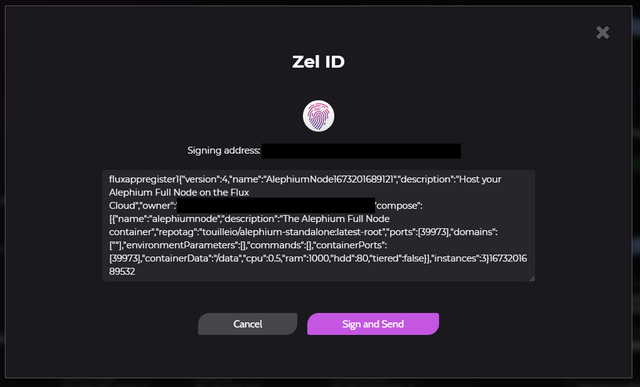
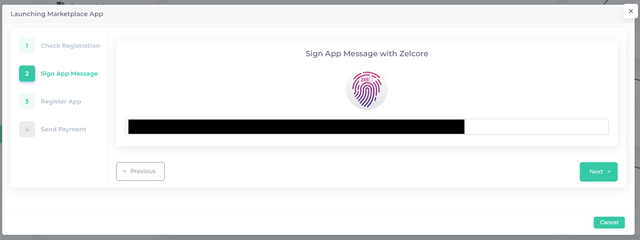
- Sign the app, click on the Zelcore fingerprint. The same pop-up as before can open that it wants to launch Zelcore. Click on open and after that go to your Zelcore Wallet.
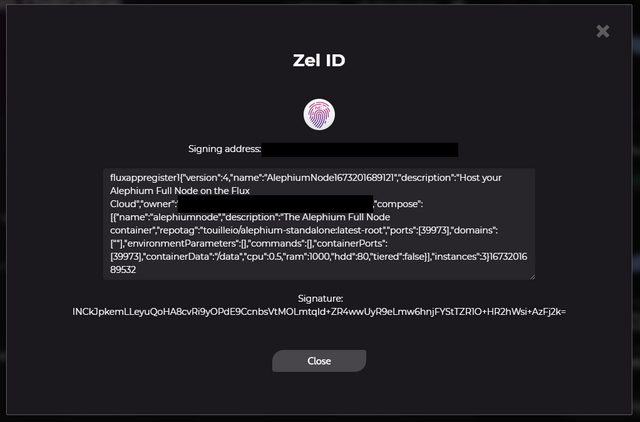
- Sign the message. Don't forget to copy the signature it gives you after sign-in. Click on the signature to copy it!
- Paste the copied signature in the Sign App spot.
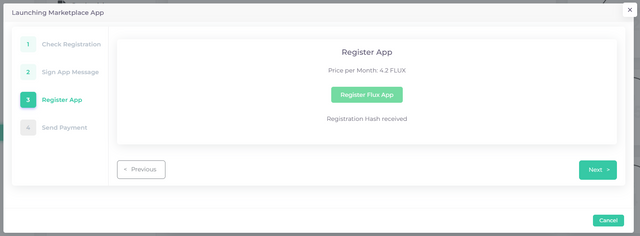
- Register the app. You can click on register the app.
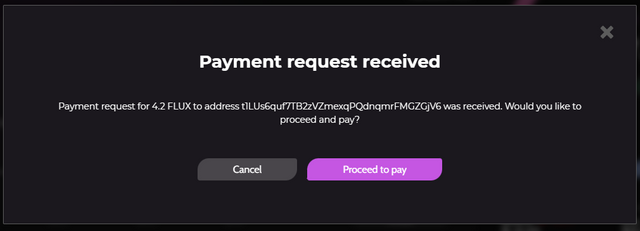
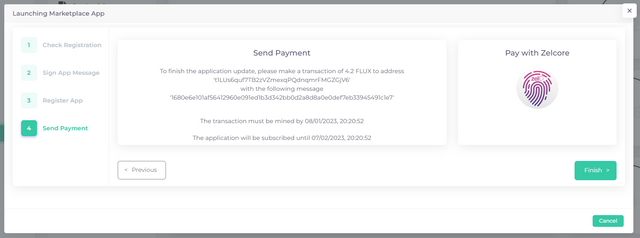
- Send Payment. The easiest way to pay is using ZelID again and after all the use before we know how this works :). Click on the fingerprint. The open Zelcore message is there and choose open and go to Zelcore.
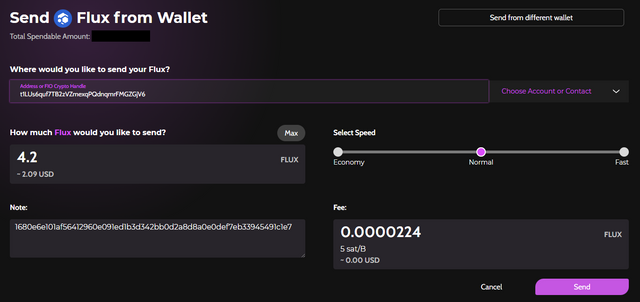
Here you see the payment for one-month Alephium Node on the FLUX network.
- Send the FLUX. This is the transaction to pay for the node, you only have to click on Send.
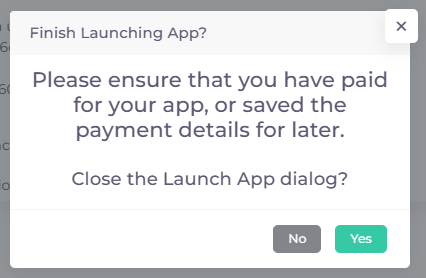
- When the payment is done the last Window doesn't disappear automatic. You can just close it.
- It gives you a warning if you have paid the node.
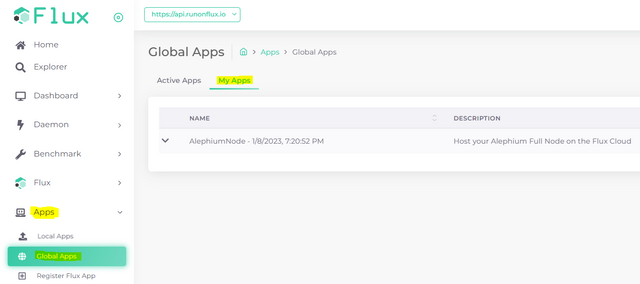
- Now we can look up the new fresh Alephium Node. Go on the https://home.runonflux.io/ webpage to Apps -> Global Apps -> My Apps.
It can take a few minutes but after that you the app with all the IP addresses from the nodes. Yes, I said addresses you get multiple nodes for the same price so that always a node is running for you.
Now you have node running to support the Alephium network on a decentralized Web 3.0 environment!
Let me know if you have questions about this tutorial or when you get stuck on some step.
