Adobe Premiere Pro Best Sequence Settings (Tutorial)
In the first post, I'm really confused about what or how to post quickly here, from the 8 days that signed up here, I'll show you the reusable thing for the best setting about Adobe Premiere Pro CC and the best Render quality that is with 1080p or 720p (1280 x 720) resolution.
But today I am sure the best day for me to do that. so let's do it.
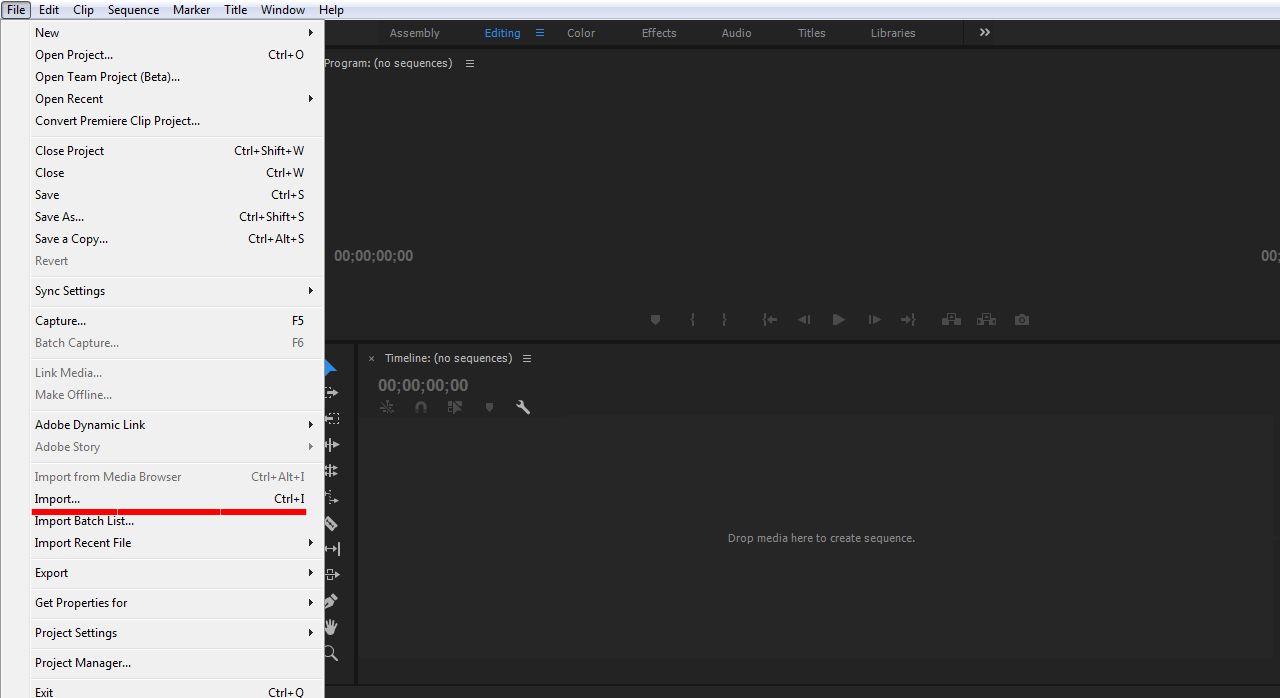
The First Step (1): open Adobe Premiere Pro (Above or high) and then creat a New Project. Let's insert a video into the project, Select Menu File - select and click Insert (Ctrl+I), select the video you want to import.

Image: Importing files.
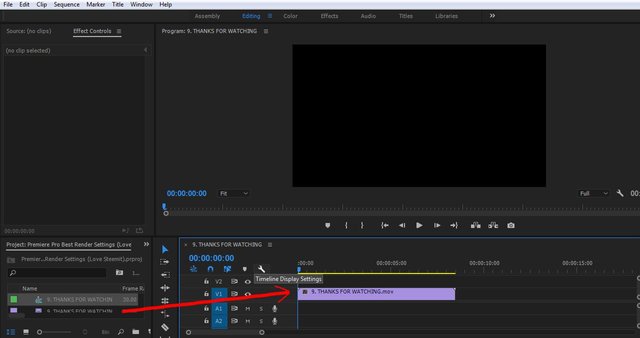
And now drad and drop the video file into the sequence.
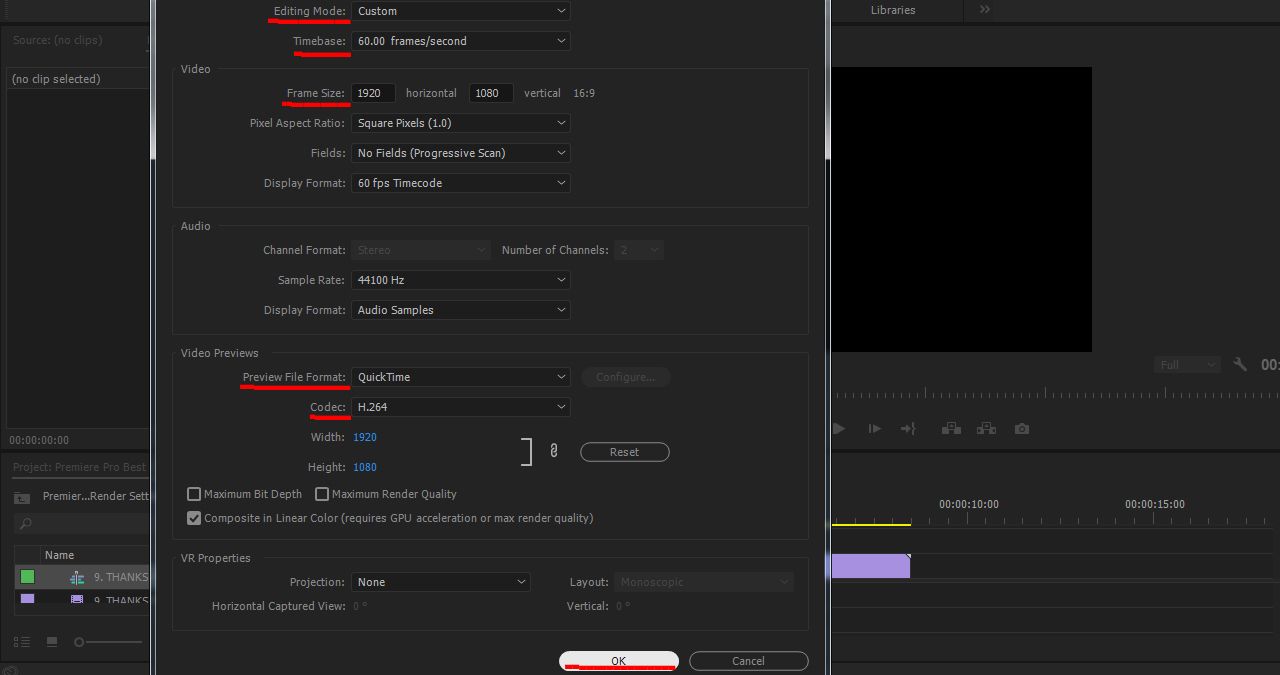
Second steps (2): Click the Sequence menu on (fourth tab above), select and click "Sequence Settings..." and change the settings.
Editing Mode: Custome
Timebase: 60.00 frames/second
Frame Size: 1920 x 1080 or 1280 x 720
Preview File Format: QuickTime (here you must install it as a plugin that is needed when rendering a video, you can download it from Apple Website "QuickTime" for free.)
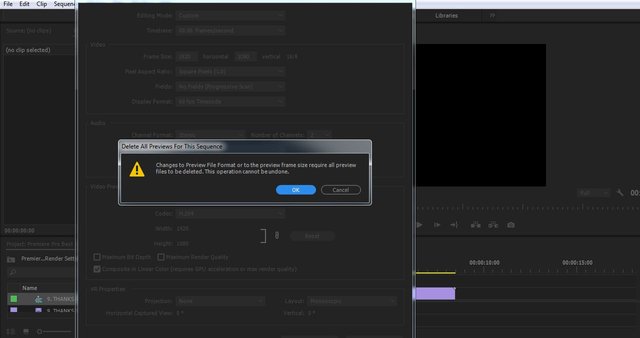
Codec: H.264 or Photo-JPEG and Click OK.


Thanks for reading my first tutorial, see you later. Have a good day.
Sangat menyenangkan, thanks buat infonya