GIFT TO OPEN
Overall the idea is to surprise everyone who opens this post. Here's a gift image first:
Now, you have opened the gift here is title of post:
How I Edited This Video - Full Guide

| Now the people don't want to take interest in video editing, can leave the post. Otherwise they can even read the post, and check out what mistakes I did, or how beautifully I edited the tutorial guide post, for the first time ever. |
|---|
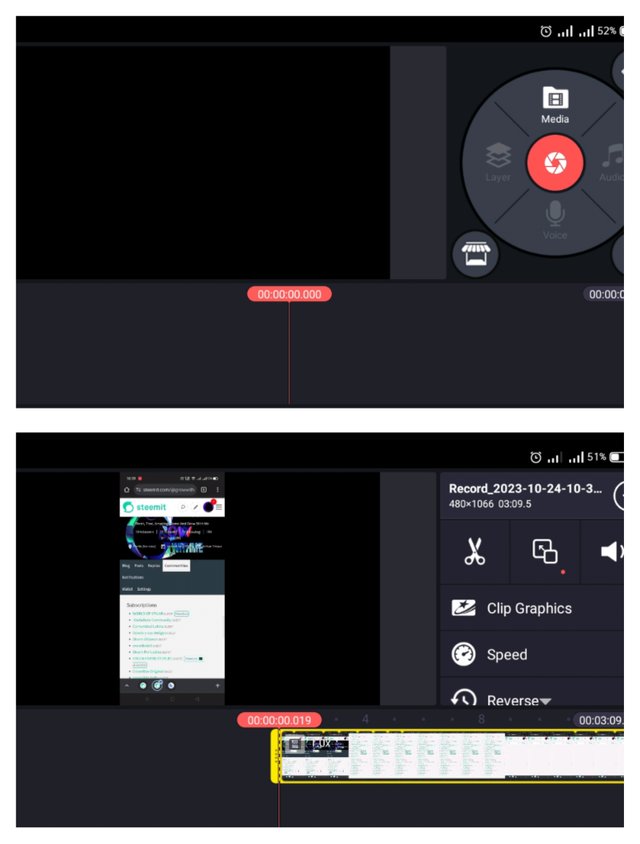
First of All It's About to get canvas of your favorite size.
Start importing the media files first. As you can see I added media file of my screen recording.
Set up your media file, with keeping a close eye on it.
Cut and edit your mistakes in media files. Crop and others. As I did both of these activities.
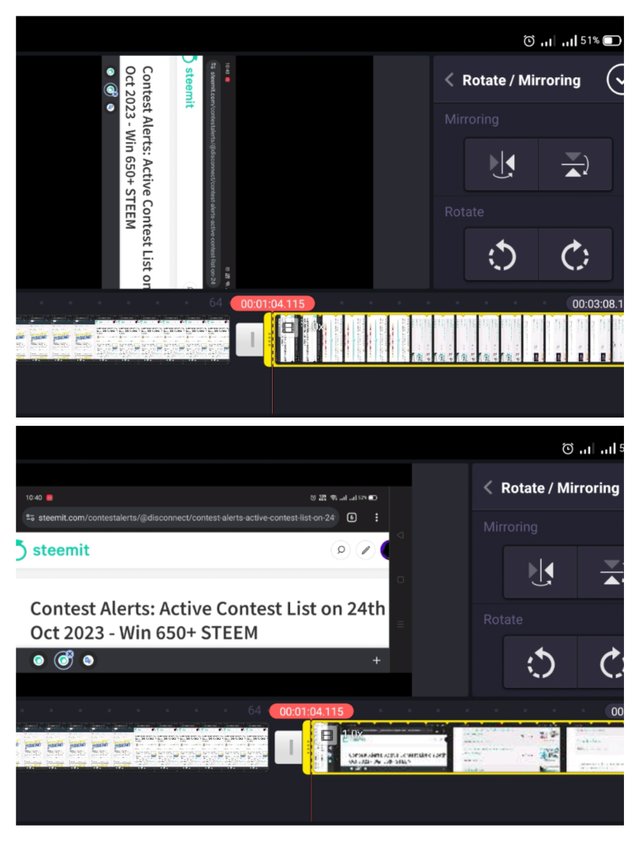
Then I also rotated a part of video which was recorded as 16:9 aspect ratio.
When you are done with your media file editing. And you have a proper media set on your editing menu. Get your audio.
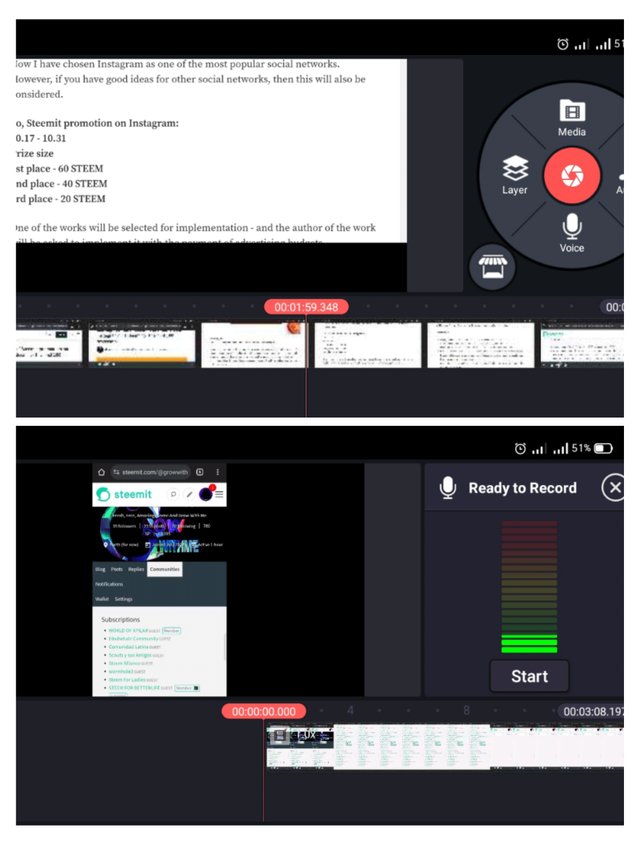
I had to record my voice directly through software. Because I was editing a tutorial video for steemit. I selected the recorder which is placed at just opposite of Media button.
Yeah that Mic button.
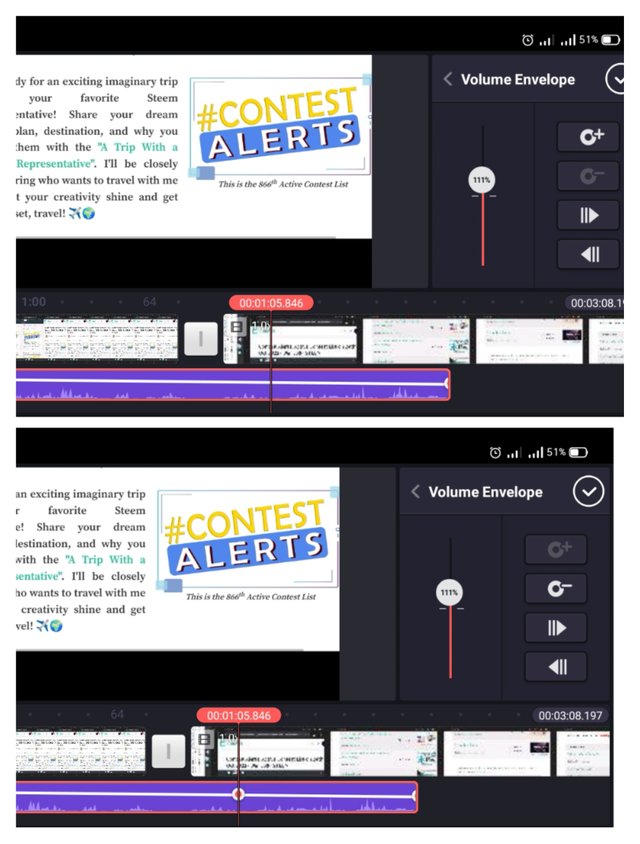
Now here is the key frames you can use in your audio. As you can see in both images, when I added a key frames in my Audio there was a point added into layer of Audio.
Which can be seen easily on the line of Audio.
Understand this point before going ahead;
When you make such point in your any layer your action of that point on layer (photo, audio, text) will be recorded and becomes animated.
As I used the key frames in Audio, so I can only do low the sound of such points or I can set high the volume. Overall I can adjust audio using key frames in it, adjustment can be in multiple form. I can remove extra noises, and I can volume up the voices of certain point in Audio.
Now I added an extra Audio nazam (Hamd) in background. To keep it in background and slow, definitely I used the key frames.
But
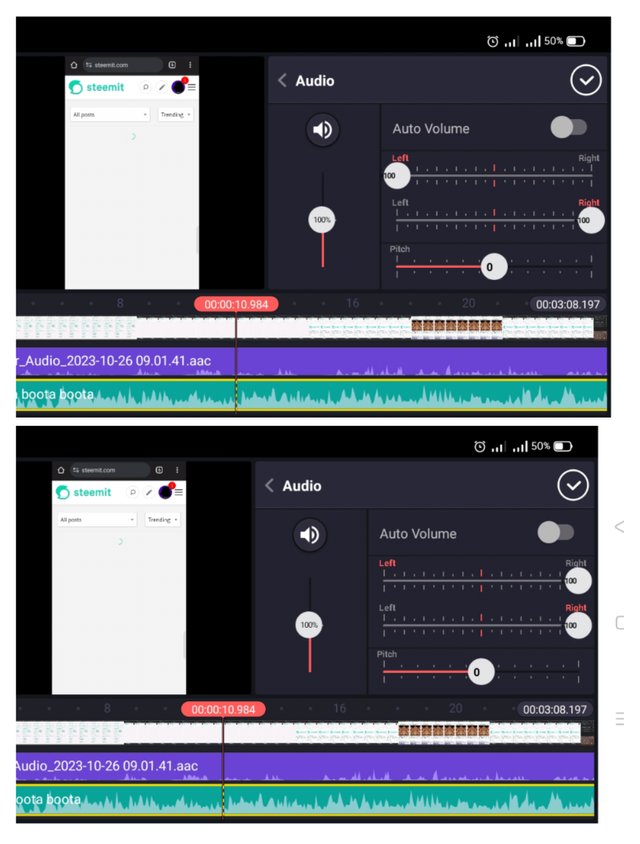
Here is important thing I am showing, that is the audio adjustment from one speaker to another. Often you have listened audios having sound in one specific speaker of Handsfree, and then converting to other speaker of Handsfree.
This is the trick, in the upper image you can see the both volume buttons are set on their own, settings. The left one is on left side, and the right one is on right side.
What happens if we do set the left button to right and leave right button to right.
You can experiment this, by watching my video using handsfree. You will notice the voice of nazam is coming in only right speaker of you handsfree.
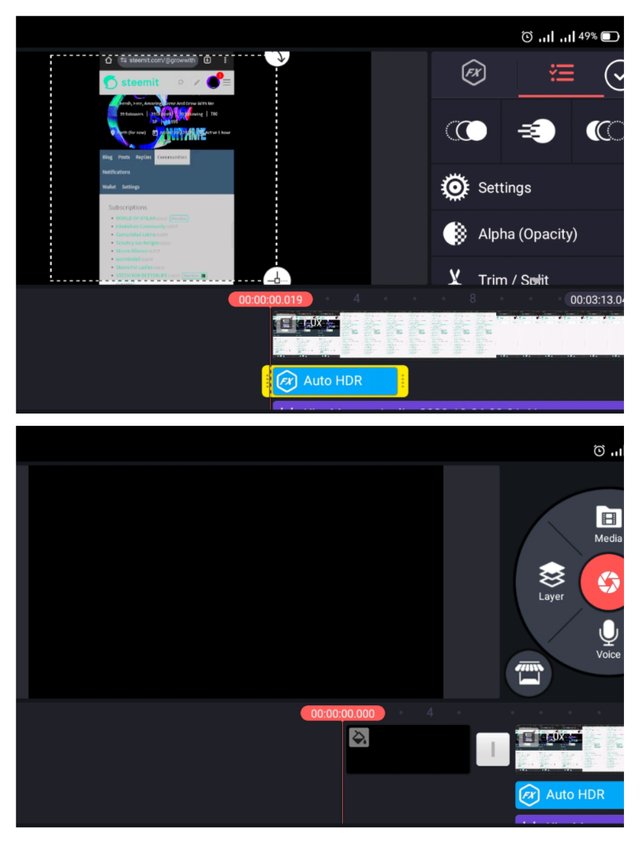
This is quite simple, I used the HDR color adjustment effect on my video in very start. This is for very short time.
Then I added a black background, because the video must have to be open up smoothly.
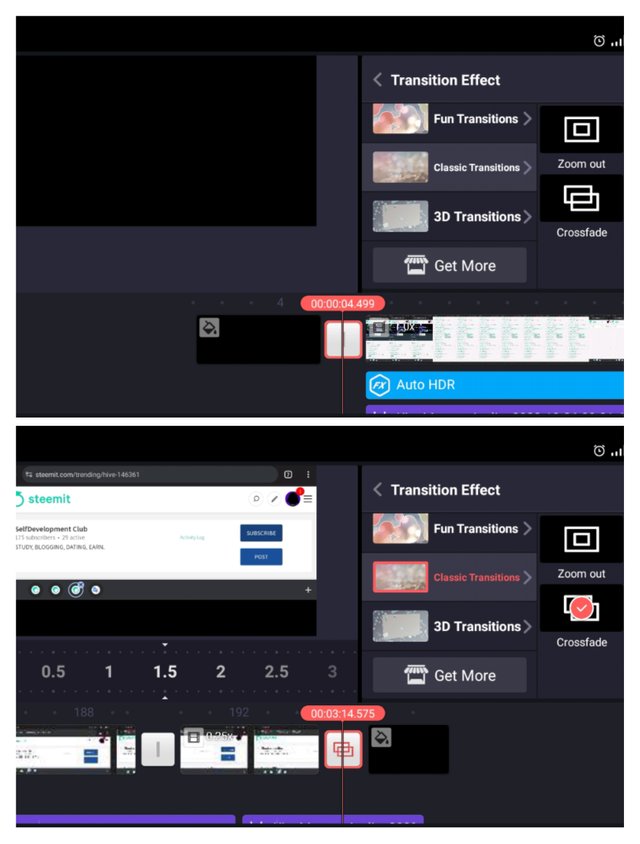
For this smoothness we want to applied on our video. We will simply add the classic transition effects by clicking on the point where both media files are getting joined. Where we can see the split.
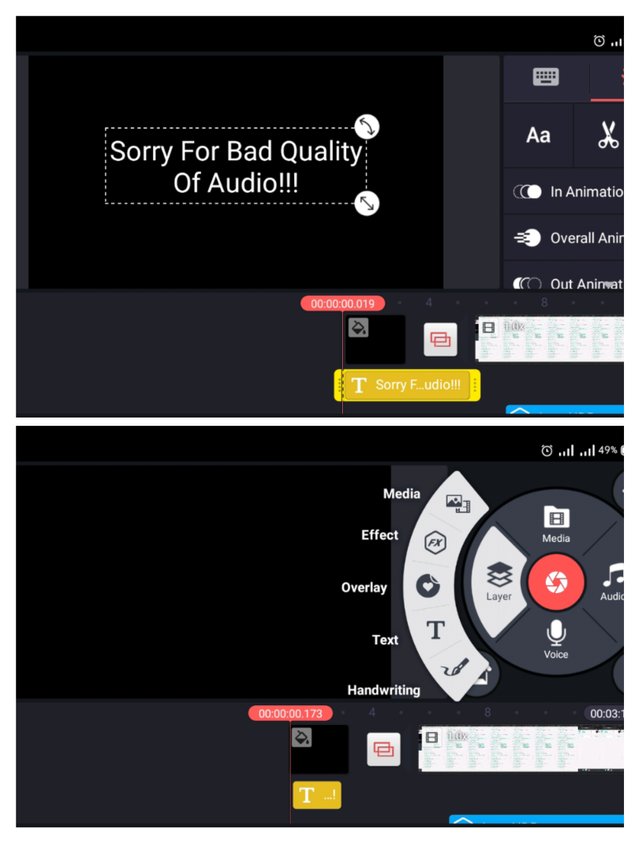
I wanted to add a disclaimer, so I added a text layer. And then again I selected the layer option and added a Yellow filled color.
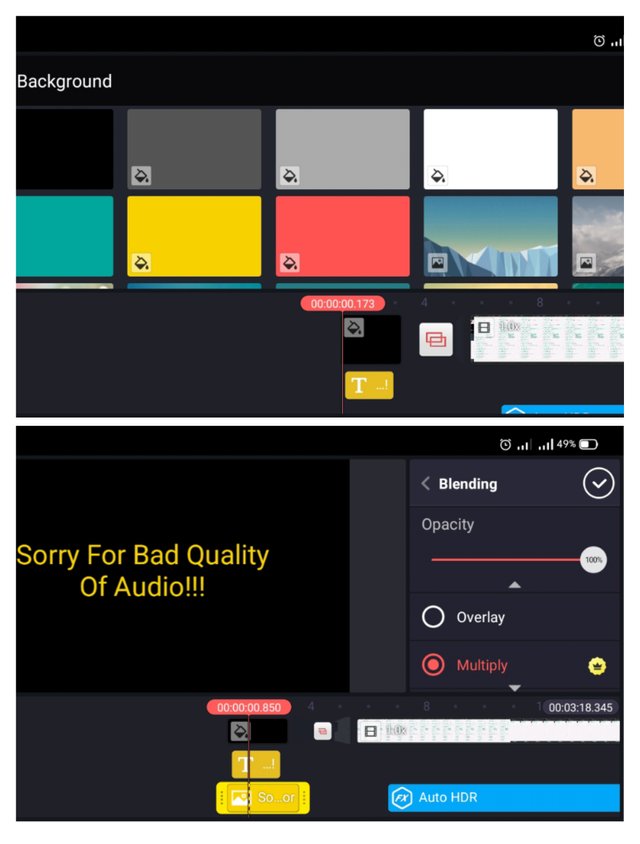
The yellow fill color's result can be seen here in first image. And how I got the yellow color onto my text, is also shown.
Simple, I used the blending option and I got Multiply feature is best for my condition. I used it.
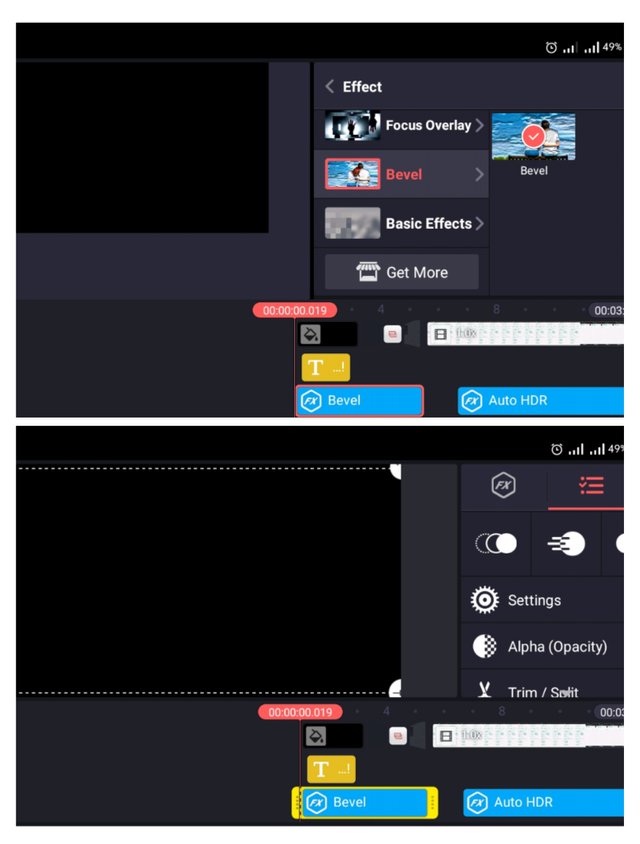
Then the last touch up for the text I added, I wanted this to be seen in golden type color with smoothness.
I added Bavel effect here and did adjust it as per my need.
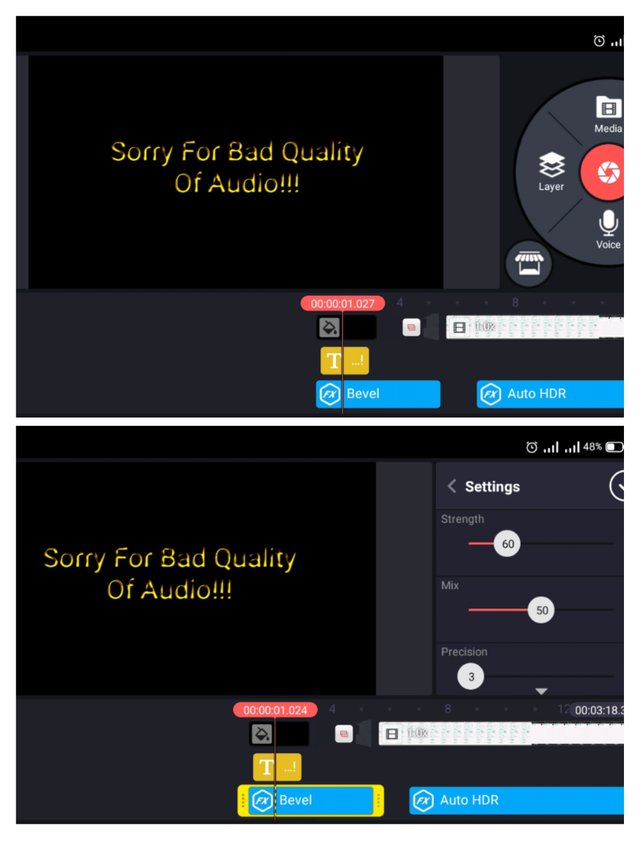
Then I did set some settings stuff for my needs. I know I am very bad at adjustments. But something looks better to my eyes I let it and keep it.
Maybe this is not very good looking in everyone's eyes.
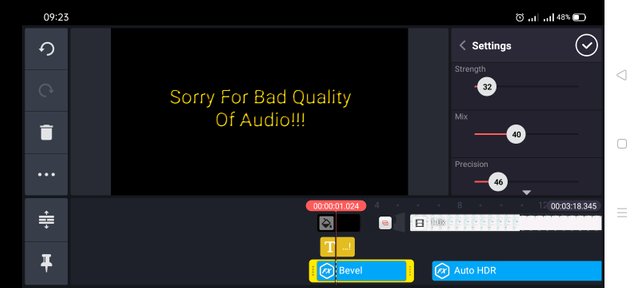
Here is the final effect I got on my text and this can be seen in video.
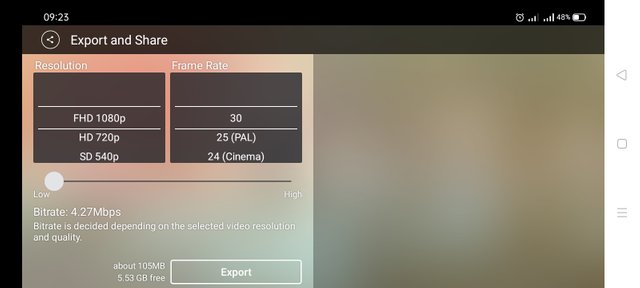
This is the last step to export my video. The qualities software provides. And the highest quality is 1080p only. So I kept that settings. Didn't touch the bitrate.
The export is done, video is done. Upload is done, share on steemit is done. Tutorial is done.
It's @growwithme©
Special & Original Work!