SLC-Home Repair Club |S23W1| Tutorial: 220 Volt AC Table Fan Repair: Solution to Voltage Regulator Problem.
Assalamualaikum Everyone. I am @imranhassan
From #Bangladesh
.png)
A person who is a friend of mine and works in a textile mill suddenly stopped working on his table fan. Even after giving 220 volt AC input, the fan blade was not spinning. Then I brought it home and disassembled it step by step and tested each part separately to diagnose the problem.
After the test, it was found that the regulator was damaged. Then I removed the regulator option and ran the fan directly through the bypass line, and it started working normally. My friend always wants to run the fan at full speed due to the heat, so I set up a bypass line without a regulator. Now the fan is running directly at maximum speed.
| Main components and working principle of a fan an electric fan is made up of multiple electronic and electrical components, which ensure air circulation. Below are the main components of the fan and their working principle. |
|---|
| Motor. |
|---|
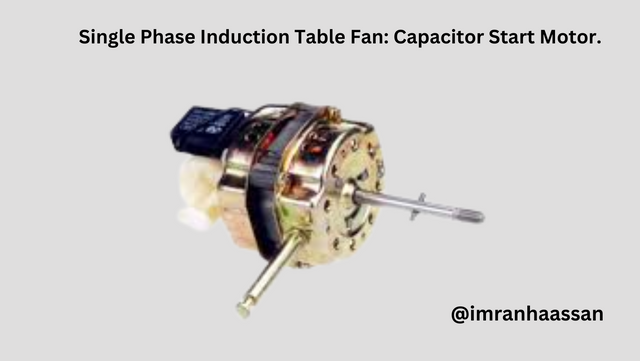
Type: Single Phase Induction Table Fan (Capacitor Start Motor)
Voltage: 220-240V AC
| Capacitor. |
|---|
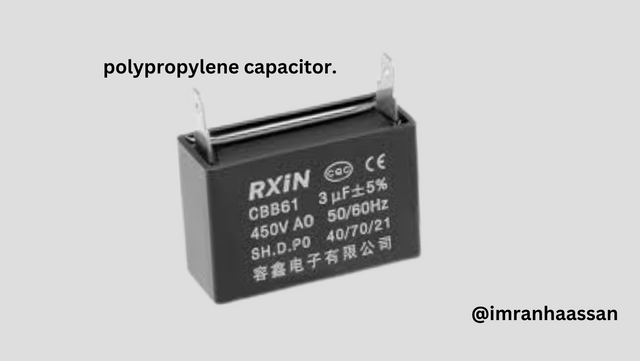
Type: Polypropylene Capacitor
Function: Enhances the starting torque of the motor and ensures smooth operation.
Purpose: Maintains stability, reduces power loss, and improves overall motor efficiency.
Rated Value: 2-4 µF / 400V AC
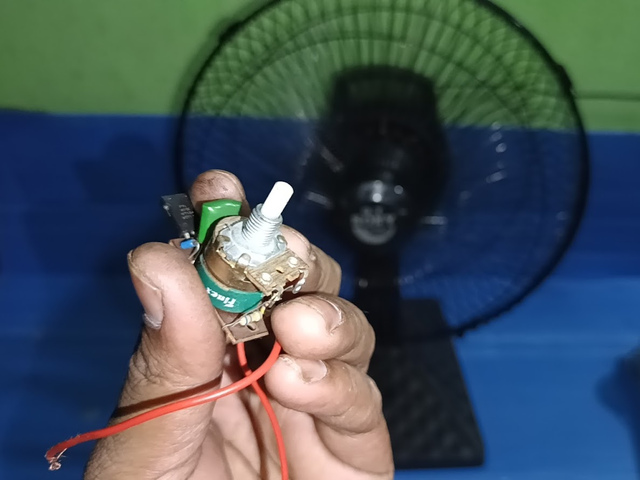
| Speed Regulator. |
|---|
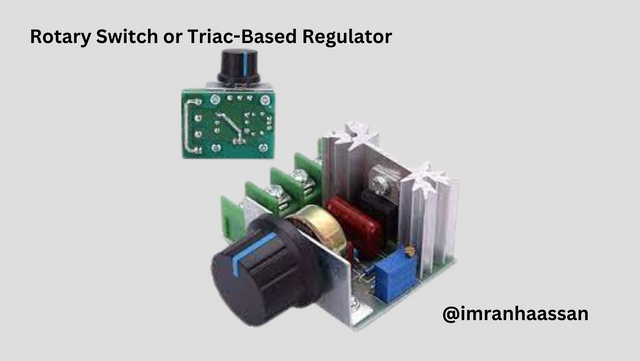
Type: Rotary Switch or Triac-Based Regulator.
Function: Controls the speed of the motor and provides power supply in a controlled manner.
| Wire coil or winding. |
|---|
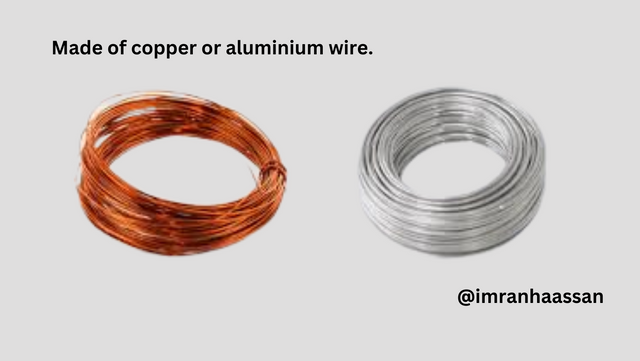
Material: Made of copper or aluminium wire.
Function: Accelerates the rotation process by creating a magnetic field inside the motor.
| Ball Bearing or Bushing. |
|---|
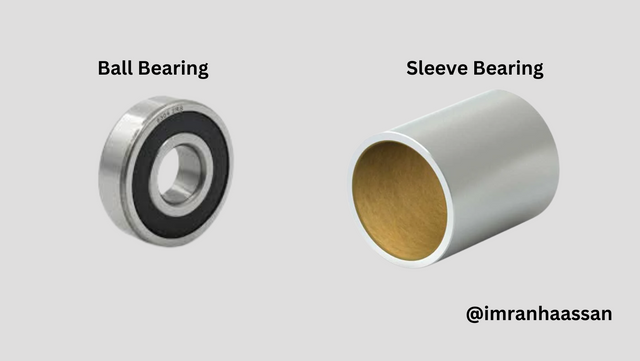
Type: Ball Bearing—High quality and long-lasting.
Sleeve Bearing—Used in low-cost motors.
Function: Helps the rotor rotate smoothly and reduces friction.
| Synchronous motors. |
|---|
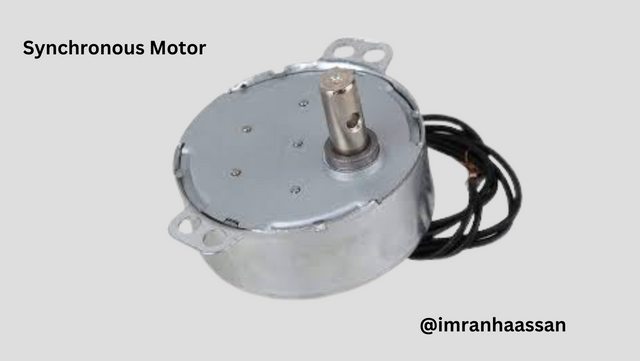
Function: AC 220 volts 50 Hz Synchronous motors are used to control the oscillation right-left movement of small fans.
Speed: Has a speed of 2.5 RPM or 5 RPM.
| Power Cord & Wiring. |
|---|
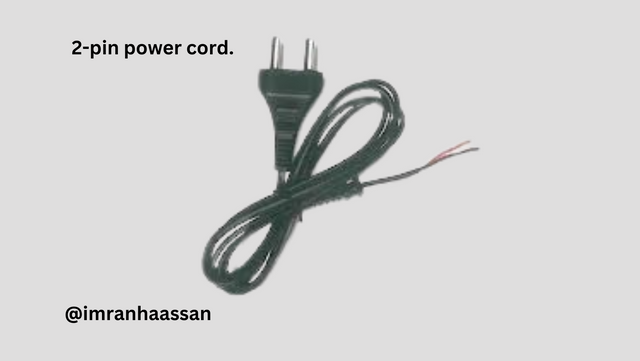
Type: 2-pin power cord.
Function: Ensures power supply and maintains the connection of the motor.
| Now I am starting my tutorial work. |
|---|
| Step -01 |
|---|
 |  |
|---|
 |  |
|---|
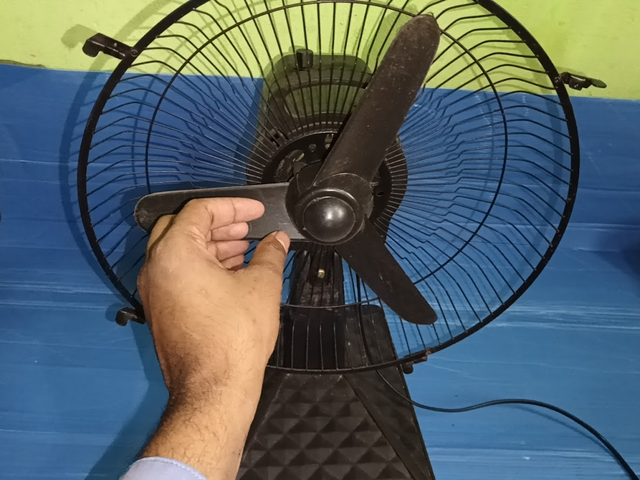
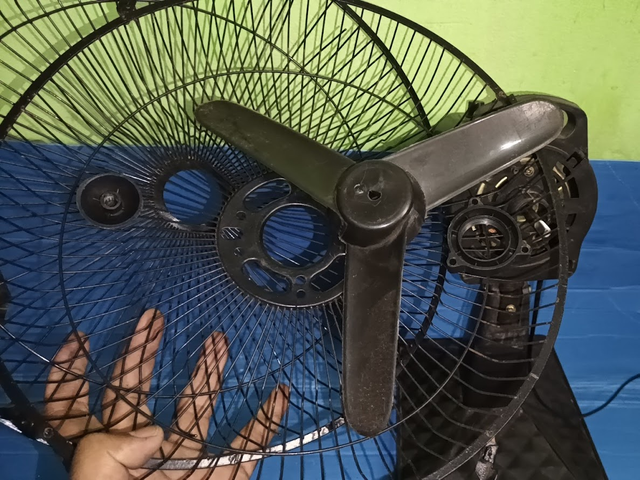
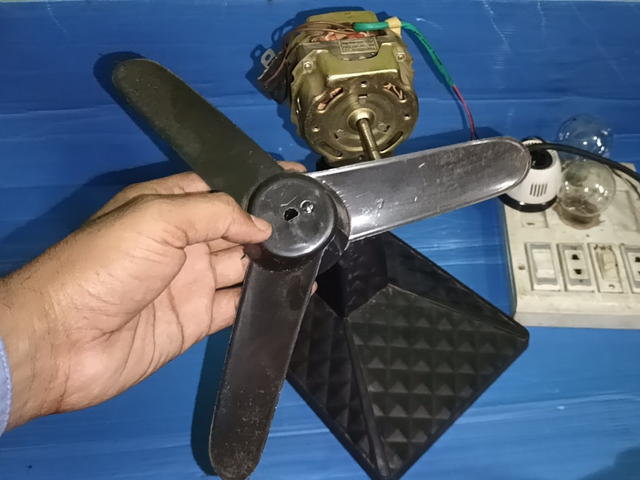
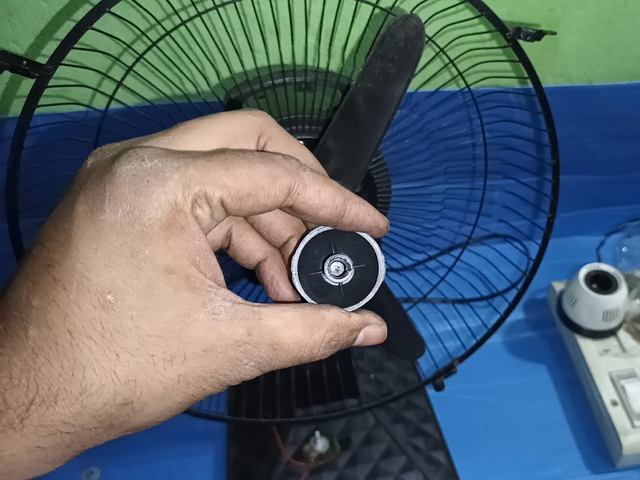
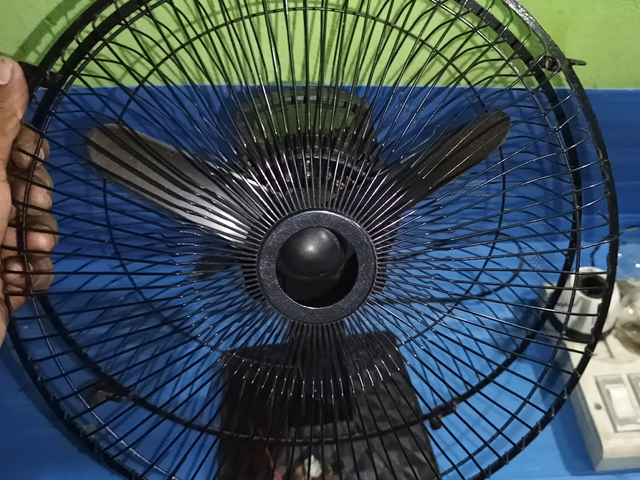
First I brought the table fan to me to check. Then I carefully applied 220 volt input voltage using the series board, but the fan was not running. Then I prepared to open the fan. First I opened the top net cover, and then there was a lock on the inner blade, which I opened by turning it anticlockwise. Then I opened the blade and took it in my hand.
| Step -02 |
|---|
 |  |
|---|
 |  |
|---|
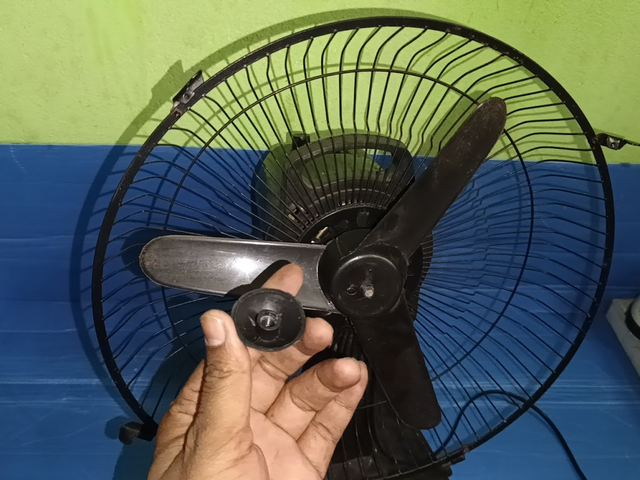
After opening the blade, there is another net cover at the back, which needs to be opened. But before opening it, there is another lock there that needs to be opened by turning it to the right. Then I opened the back net cover, put all the parts together, and put it aside. Then I had to open the body cover to take out the motor from inside. It had two screws, which I removed.
| Step -03 |
|---|
 |  |
|---|
 |  |
|---|
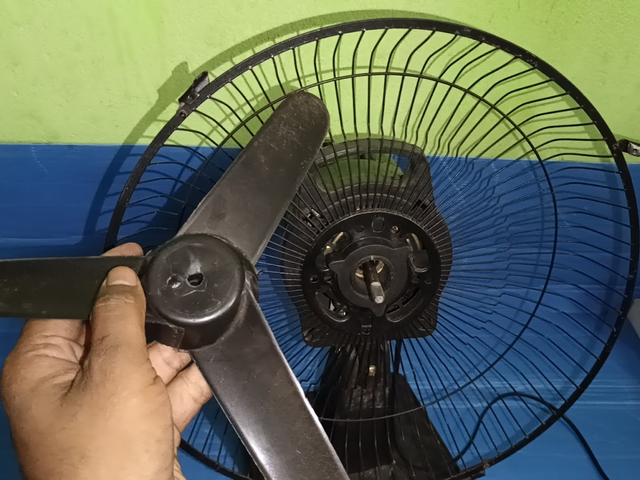
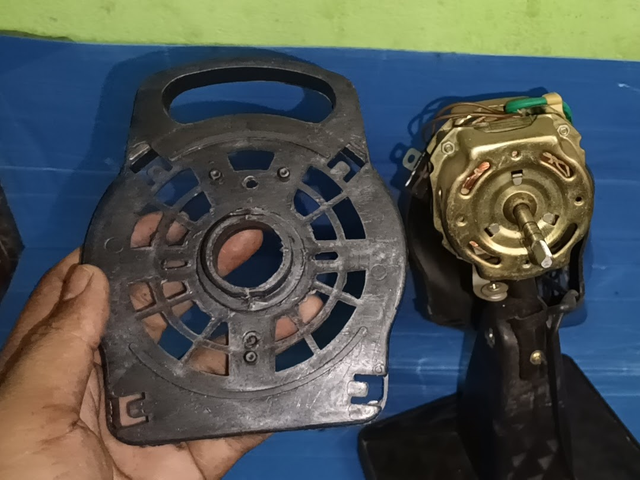
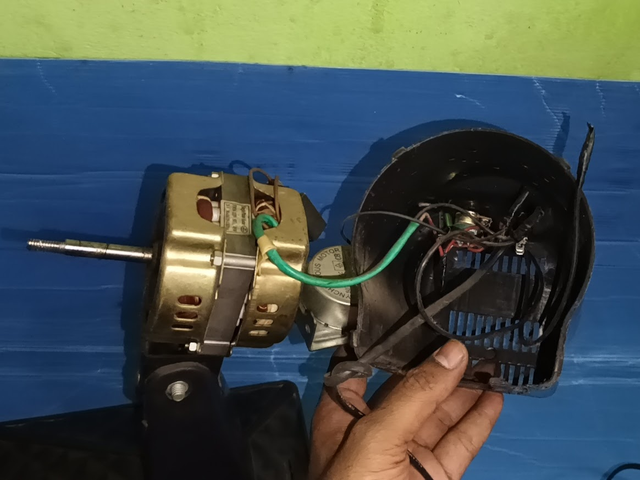
After removing the two screws, there was first a lid, which was fixed by four locks. I opened those locks and pulled out the cover, due to which the entire motor came out. Then I separated the oscillating motor that was with the motor and put it aside. Then I started looking for the root cause of the problem inside the fan.
| Step -04 |
|---|
 |  |
|---|
 |  |
|---|
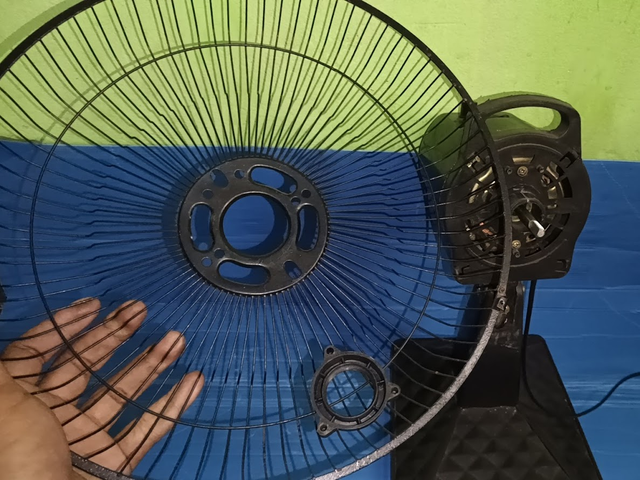
Then I disconnected the regulator and the fan switch to check the motor manually and collected only the two input voltage wires of the motor. I will test it with a series line so that I can make sure that the motor is fine. Then I connected the two wires of the motor to the two-pin line and reconnected the fan blade so that it is easy to understand whether the motor is rotating properly. Then I connected the two-pin plug to the series board line and turned on the switch, and I saw that the motor started running.
| Step -05 |
|---|
 |  |
|---|
 | 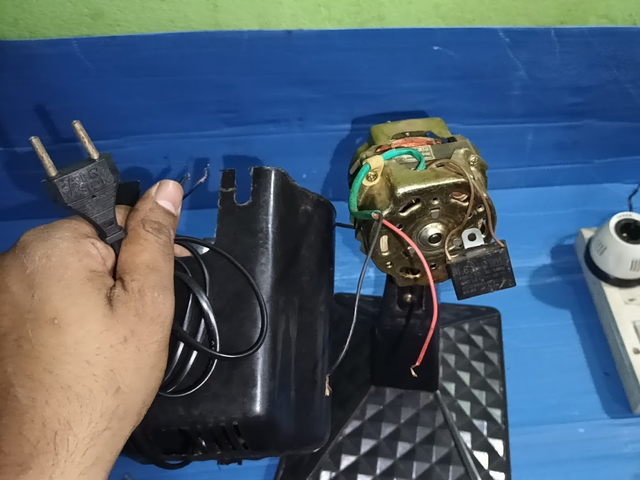 |
|---|
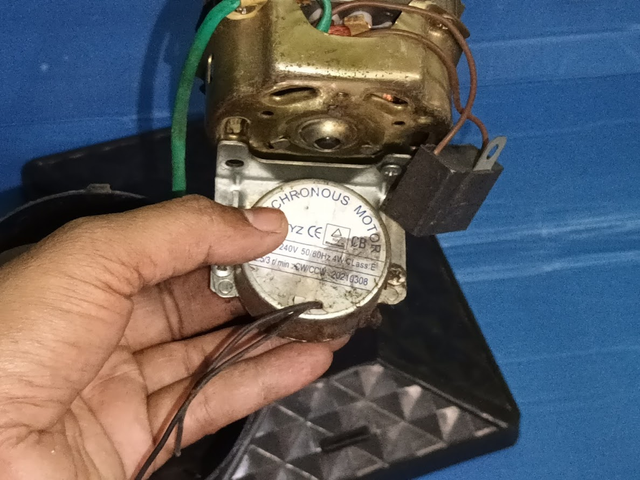
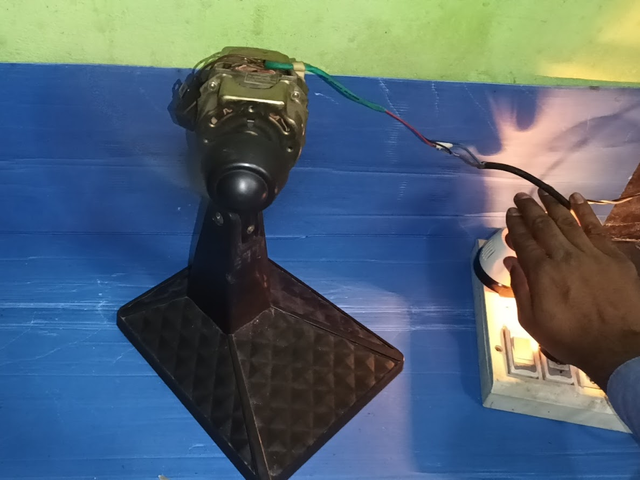
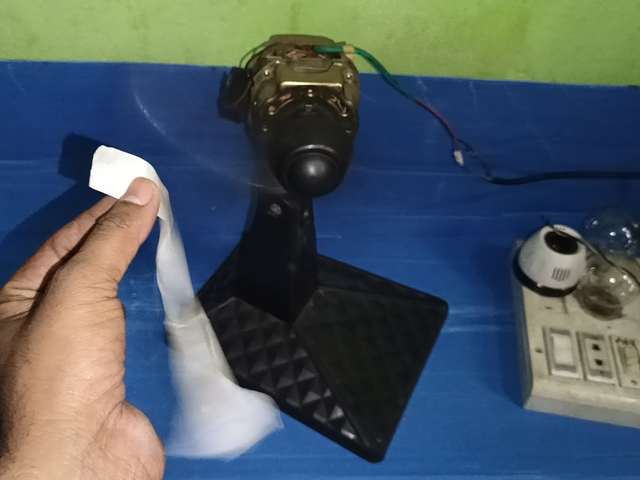
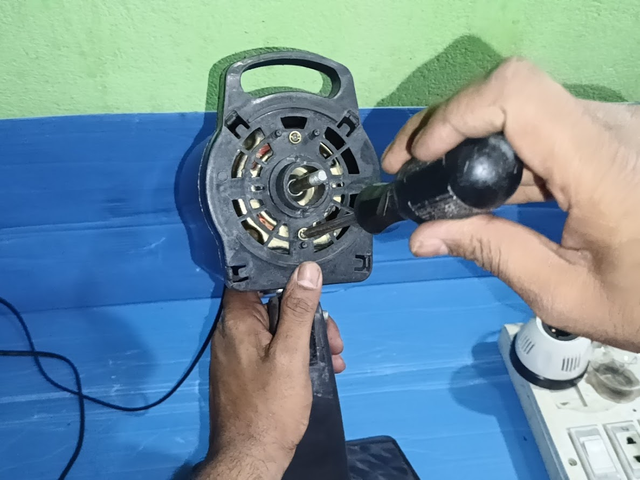
Then, to check the motor again, I disconnected the line from the series board and connected it directly to the 220-volt direct line. To test the wind speed, I took a piece of paper and held it in front of me and saw that the piece of paper started flying in the strong wind. This made me realise that the problem with my fan was not in the motor but in the regulator.
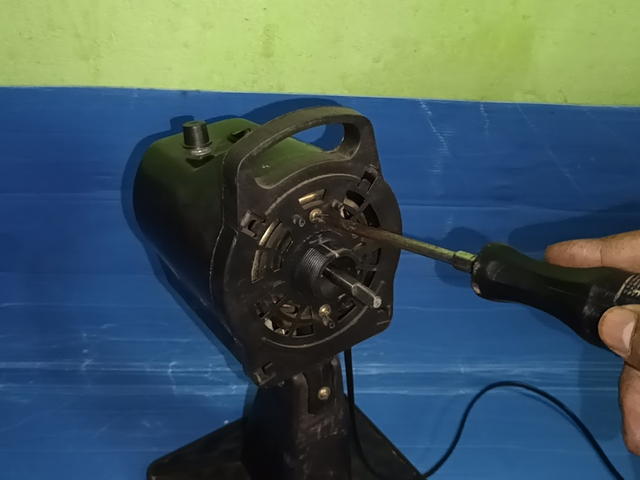
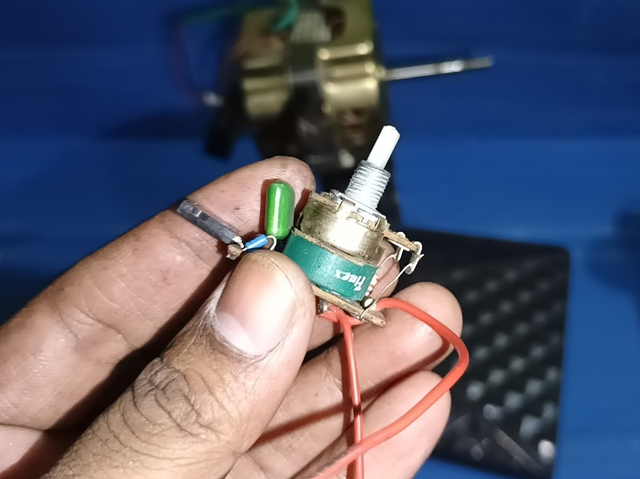
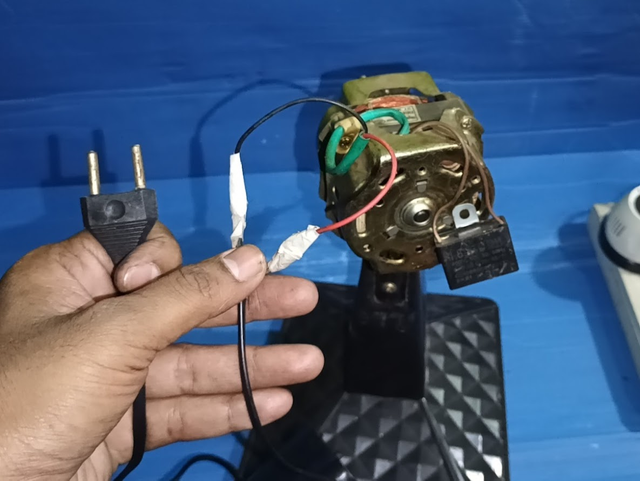
Then I unscrewed the regulator nut with the help of pliers and took it out of the cover and brought it in my hand. Then I decided to refit the fan by directly connecting the two-pin wire of the fan to the bypass line and directly connecting the fan's main two-pin wire.
| Step -06 |
|---|
 |  |
|---|
 |  |
|---|
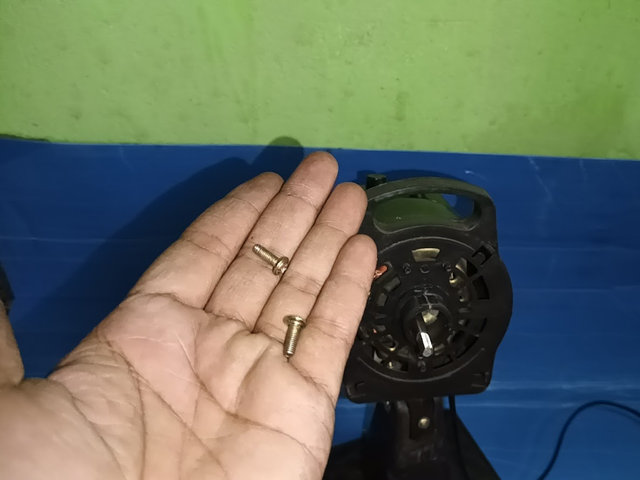
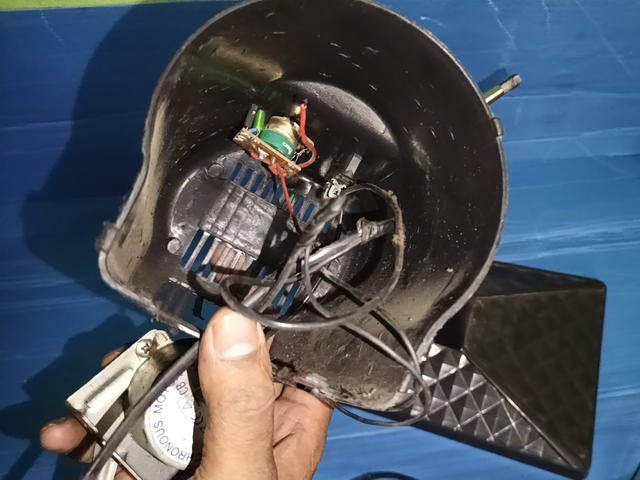
Then I connected the two wires of the motor to the two-pin wire of the fan's power cord and insulated them well. Then I put the lid on to refit the fan. Then I put the two screws that I had removed earlier back in place so that the fan structure is strong.
| Step -07 |
|---|
 |  |
|---|
 |  |
|---|
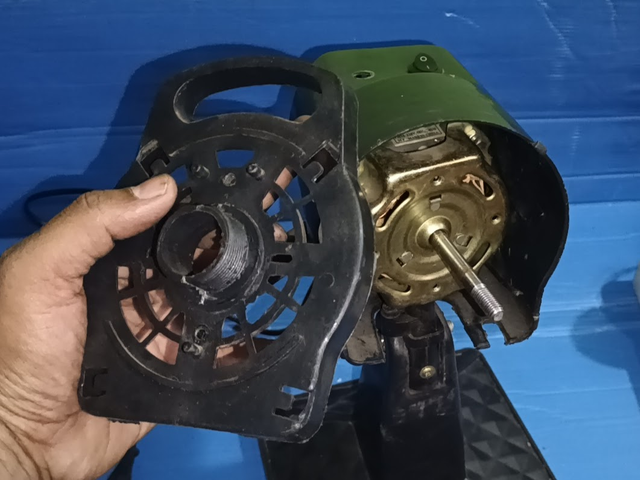
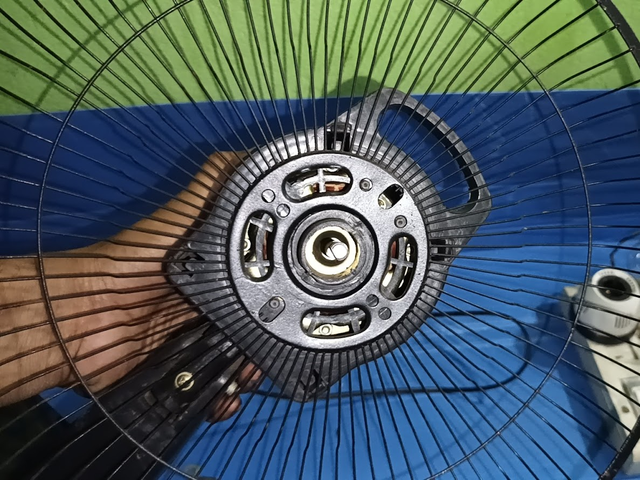
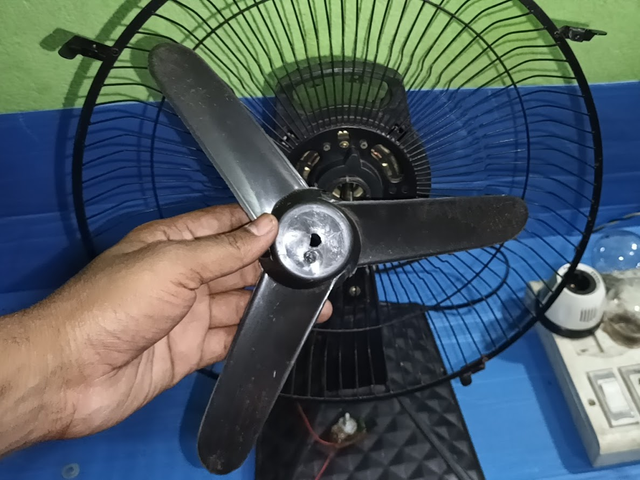
Then I put the net cover on the back of the fan on the plastic cover. Then I turned the lock there to the right and put it on well. Then I set the fan's airflow blade. After setting the blade, I turned the front lock anticlockwise and locked it tightly so that it is properly fixed.
| Step -08 |
|---|
 |  |
|---|
 |  |
|---|
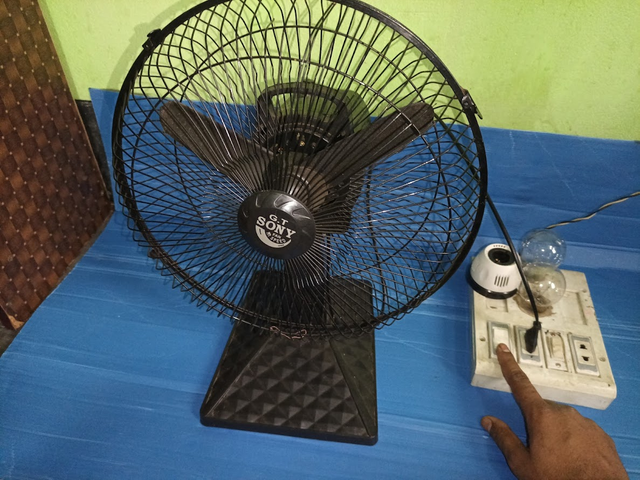
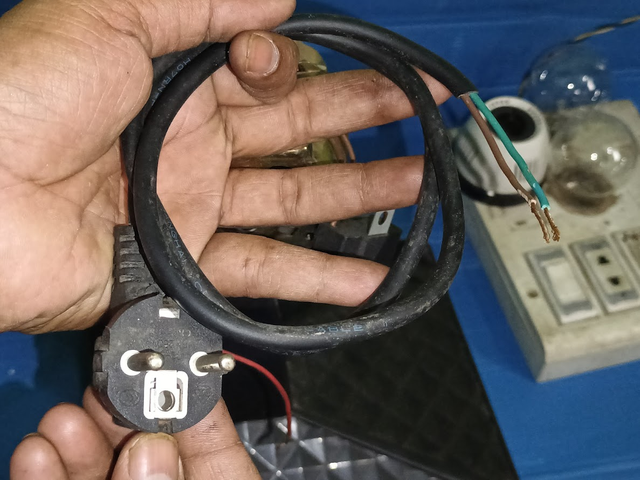
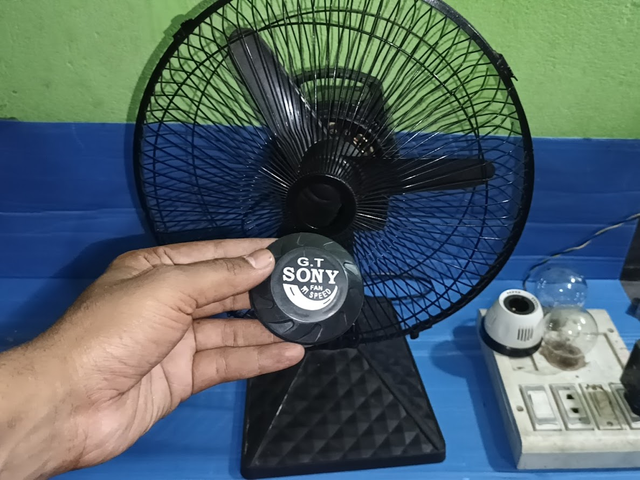
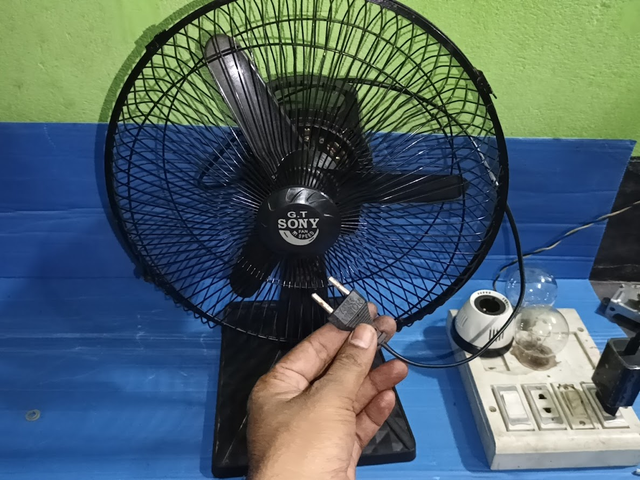
Then I put the net cover on the top of the fan neatly and connected the four locks around it properly. Then I placed the company logo monogram in the middle. Then I connected the fan's original two-pin power cord to the series board line and tested it.
The fan started successfully through the series line. When testing any electrical device, it is better to use the series line before connecting it directly to 220V. Because, if there is a short circuit or fault, it directly signals through a light without causing major damage.
| Step -09 |
|---|
 |  |
|---|
 |  |
|---|
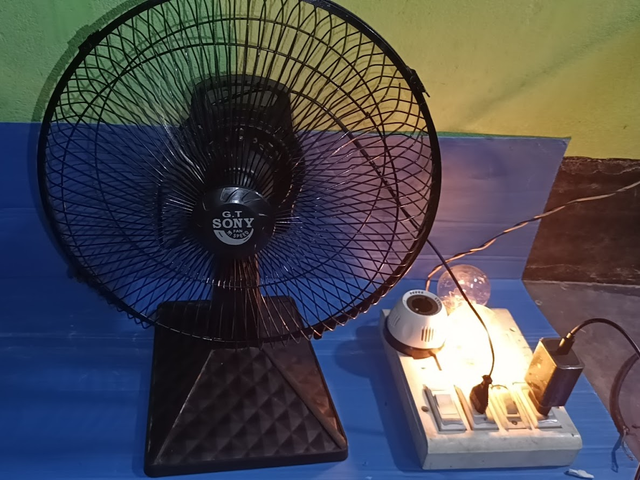
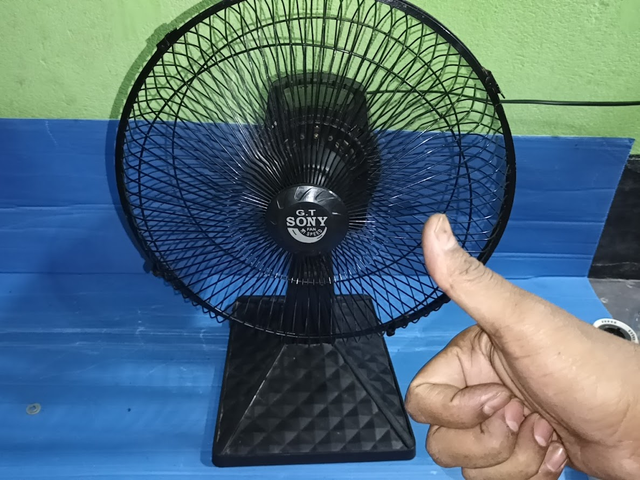
Then I saved the damaged regulator as an option. If the owner of the fan wants to reconnect it in the future, I can reinstall it. Then I gave the fan a direct 220-volt input voltage and saw that it was blowing air completely normally and smoothly.
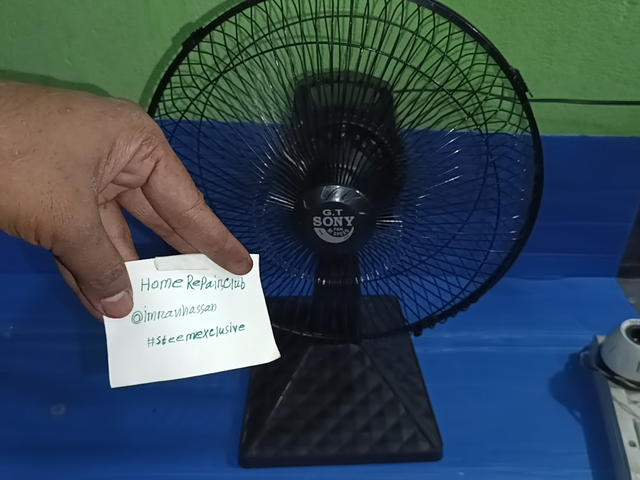
To verify the authenticity of my post, I took a picture with my club name and username. I also completed the post by taking another picture with me.
| Appliance | Fan |
|---|---|
| Brand & Model: | G.T SONY, Model XYZ |
| Power (Watts): | 45W, 220V AC, Single Phase |
| Motor Type: | Capacitor Start Motor |
| Speed Level: | Regulator |
| Parts Used: | Capacitor, Coil, Motor, Switch, Regulator |
| Capacitor Value: | Polypropylene Film Capacitor 2.5µF / 450V AC |
| Fan Problem: | The fan regulator was not working, so the fan could not be operated. |
| Fan Solution: | The problem was identified by opening the fan and the regulator was bypassed and the fan was connected directly. Now it is operating at full speed. |
| Caution: |
|---|
If you want to bypass the fan regulator at home or in the office if it is damaged, then it is important to keep some things in mind. The motor may overheat if it is operated at full speed for a long time. The life of the motor may be reduced. It is better to install a regulator for proper temperature control. So it is better to change the regulator for the house. However, in hot environments like industrial factories, a bypass line can be used for emergency purposes. If you also face such a problem, then you can use it as a temporary solution. However, later, if you buy a new regulator for just 100 taka, the fan can be used more safely and for a long time.
| I have created a video for this tutorial post of mine. You can watch the video if you want for your benefit. |
|---|
| This week's participation begins and ends: (Start date: 17 February 2025 End date: 23 February 2025, 11:59 PM (UTC) |
|---|
I invite you to join the Home Repair Club. @kalidsyfulla @seharsharif @rony-hafiz
Here are our selection criteria for the Home Repair Club; if you want, you can read the post and understand it: Clubes de Aprendizaje de Steemit Temporada 23 | Introducción y Bienvenida al Home Repair Club
Photography Details: 📱DeviceWalton Xanon x90
| Best regards |
|---|
My friend @rmm31

I promoted my post X here.
Me ha agradado mucho tu tutorial Mentor @imranhassan sobre todo porque te dedicaste a explicar el funcionamiento de las piezas que componen en ventilador aportando conocimiento sobre el área a trabajar.
También me pareció bastante interesante este tipo de ventiladores que poseen un embobinado sin derivación, es decir; trabajan con una sola bobina y la derivación se la proporciona el regulador, el cuál está compuesto por un circuito de Triac, Diac, resistencias, capacitor de poliéster y un potenciómetro.
Supongo que lo que se dañó en ese regulador fue el Triac, ya que es el elemento encargado de recibir el paso de la corriente alterna.
Un Triac es bastante económico de reemplazar. Sin embargo has hecho un buen trabajo al momento de dar solución y siempre dejando claro que este tipo de solución puede ser momentánea ya que el ventilador está trabajando en forma directa.
Otro accesorio que me pareció interesante y muy práctico en el ventilador, ha sido el motor sincrónico de 5 rpm para reemplazar el típico engranaje y brazo utilizado en los ventiladores convencionales.
Este tipo de motores es más duradero que el sistema de brazo. También se puede ubicar debajo del plato giratorio de microondas.
Nos ilustras tu reparación con un buen video. Buen trabajo compañero!! Sigue aportando conocimiento para todos, de esta forma podemos insentovar a más Steemians a unirse al Home Repair Club.
Thank you very much, consultant.
I am very grateful for your valuable comments and detailed analysis on the functioning of the fan and its regulator. It is true that the triac is often the most vulnerable part in these systems, but since we have to do the work at home, we do not always have all the parts at hand. In that case, for those who will do the home repair work at home, I think it is better to buy some new parts and install them, which are available at a very low price. And I am glad that you brought this up.
I find the use of a 5 RPM synchronous motor instead of a traditional gear system very interesting, as it provides more durability and efficiency. I am happy to share this knowledge and contribute to the learning of more Steemit members of the Home Repair Club.
I will continue to create useful content so that we can all learn together. Thanks again for your support and inspiration.