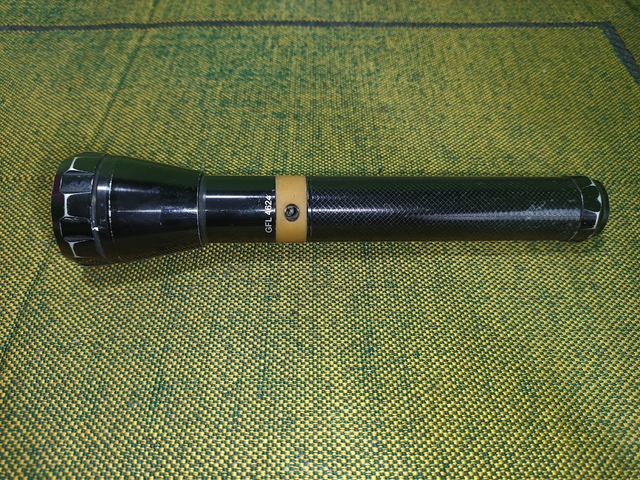
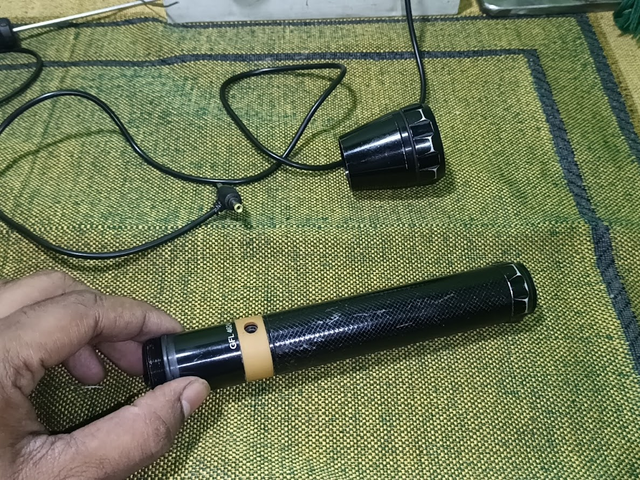
Today I will share with you my real experience of repairing a flashlight with a charger. This was a flashlight of a friend where the charger and battery were fine, but the charger was not inserting properly into the socket of the flashlight.
Problem Description:
The person who gave me the light said that both the charger and the battery were fine. But when I tried to insert the charger into the charging socket, it was getting stuck. I brought the light home and opened it and found that the negative and positive pins of the charging socket in the charging circuit inside the flashlight were stuck together. That is why the charger was not inserting.
I am going to start my tutorial post step by step. How I started repairing the flashlight
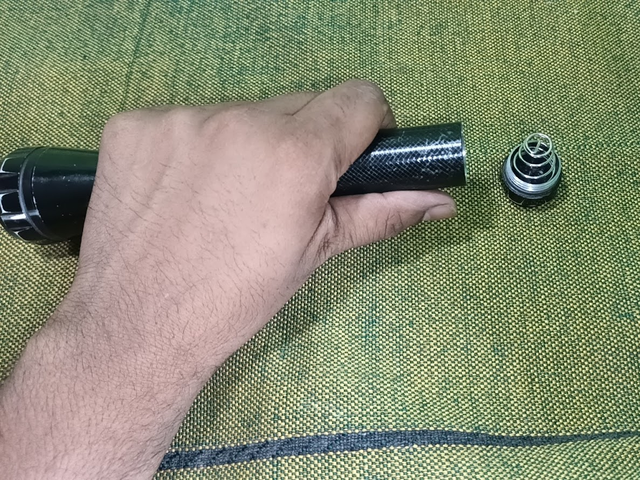
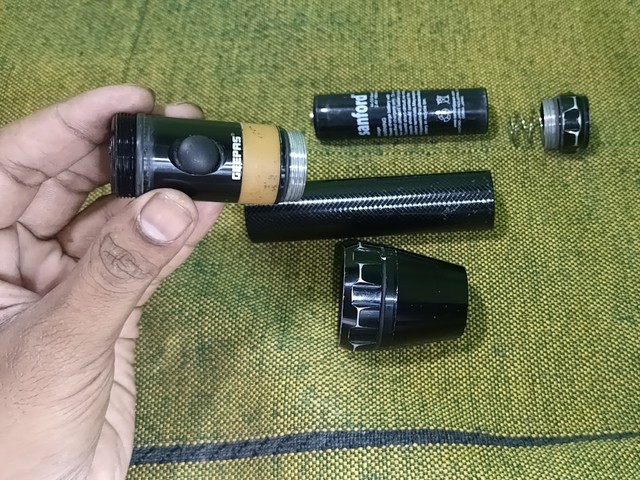
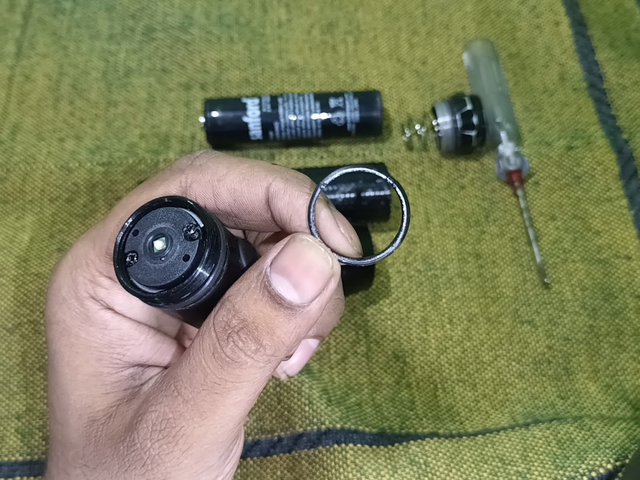
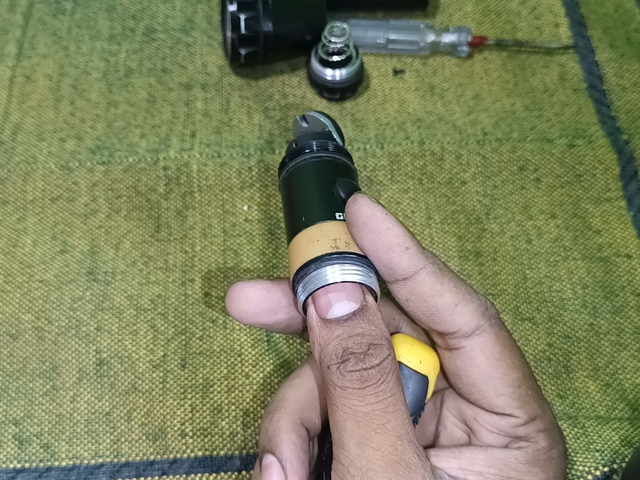
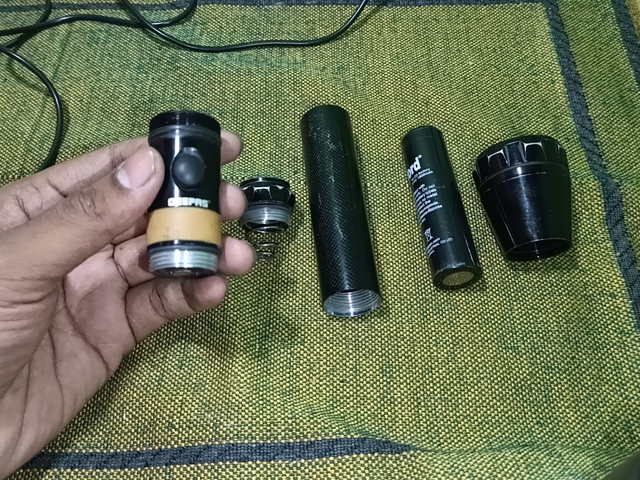
I started working with the flashlight in my hand. There is a part at the back of the light where the batteries are placed. I unscrew it and take out the batteries inside. Then I take off the top part — this part helps to spread the light far. When I remove it, only the main part of the circuit is in my hand. Now the circuit part is clearly visible, and I start the repair work.
The process of removing the circuit
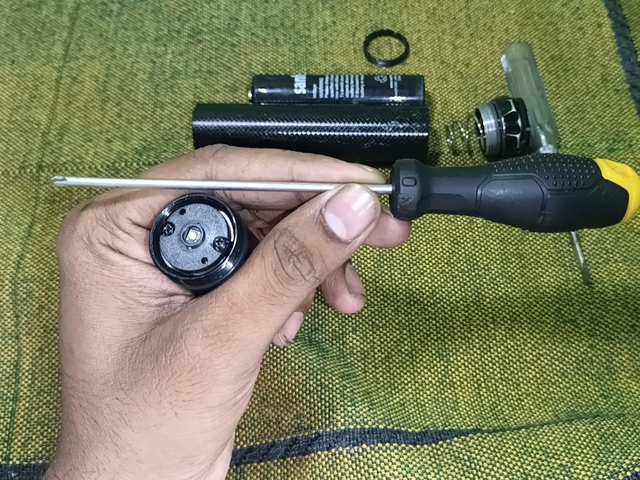
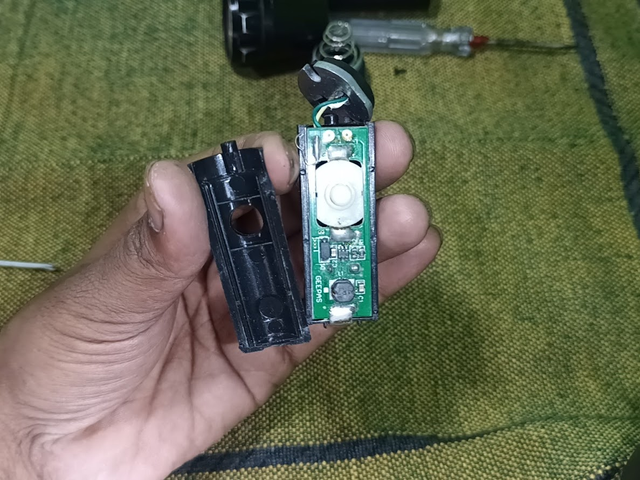
To remove the circuit from inside the handle of the flashlight, first you have to open a ring-like lock on the top of the light. This ring has to be turned anticlockwise to open. Then I take a star screwdriver and remove the two small screws on the top of the light — you can see it in the picture. After removing the screws, I gently push the body attached to the circuit with my hand; as a result, the circuit cover comes out easily from inside.
Battery and Charging Problem Monitoring
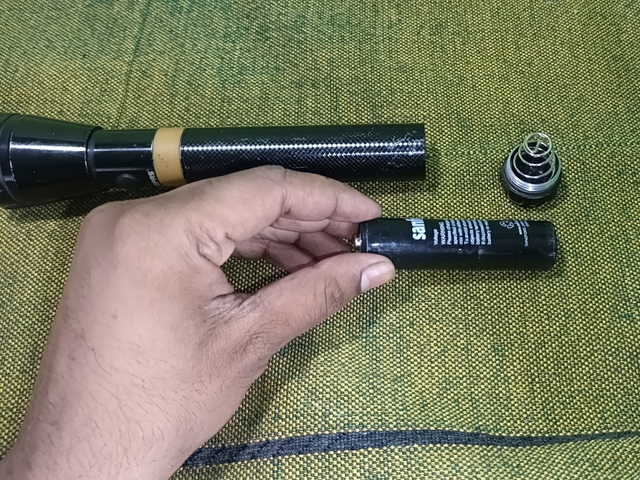
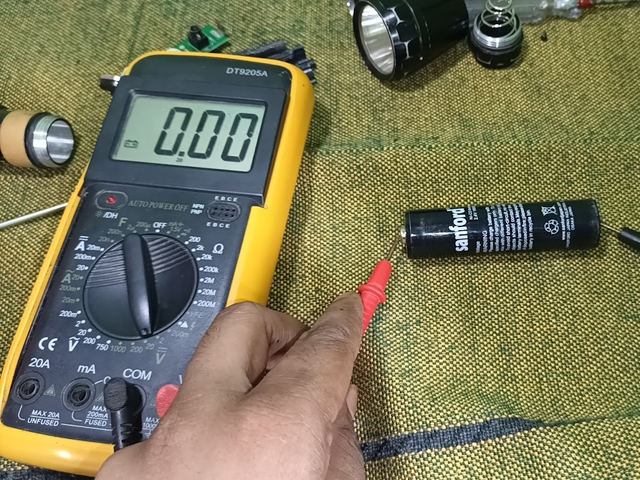
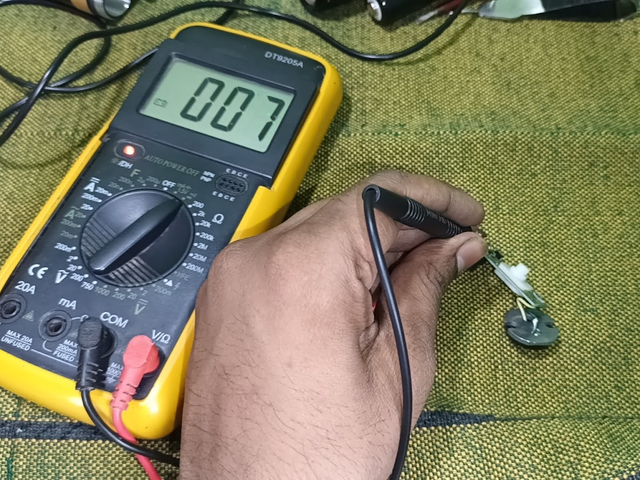
Then first I checked the 2.4-volt battery of the torchlight with a digital multimeter, and you can see "00" on the meter because the battery has been discharged again. Whatever charge was there was finished by turning on the light.
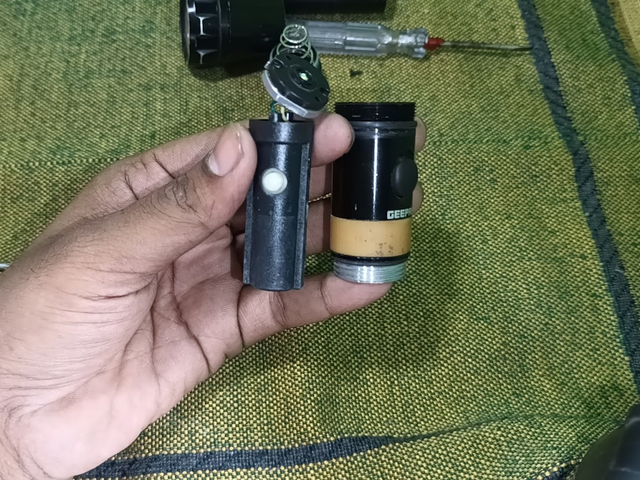
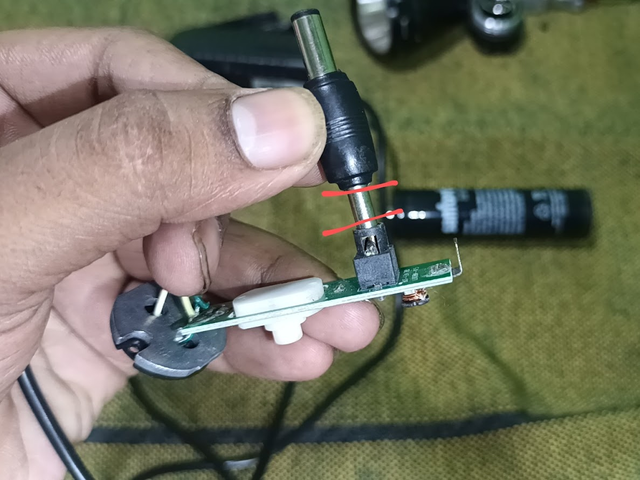
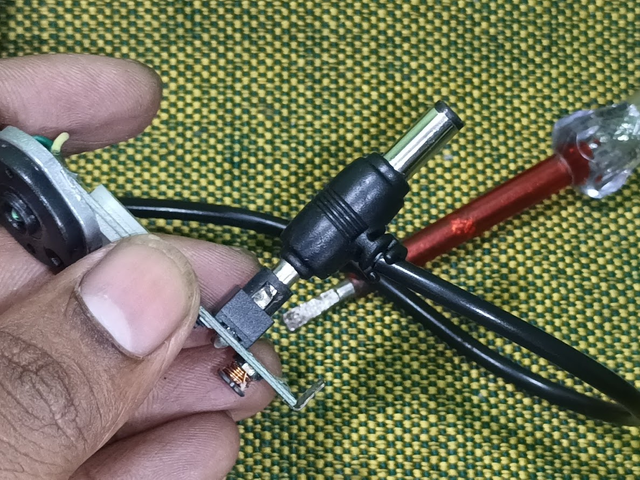
Then I removed another plastic cover from the circuit. Now I show you — where it is highlighted with a red mark, this is the main problem. Here the pin of the positive section is fine, but the pin of the negative section has gone inside, due to which the charging pin was not going inside. This is the main problem of not charging.
Next step of repairing the circuit
Then I replaced the negative socket pin that was going inside from the inside with a thin spoke. I created a gap; you can see that a nice round gap has come in the middle. Then I inserted the charger pin inside that socket, and you can see in the second picture, my pin has gone in very nicely.
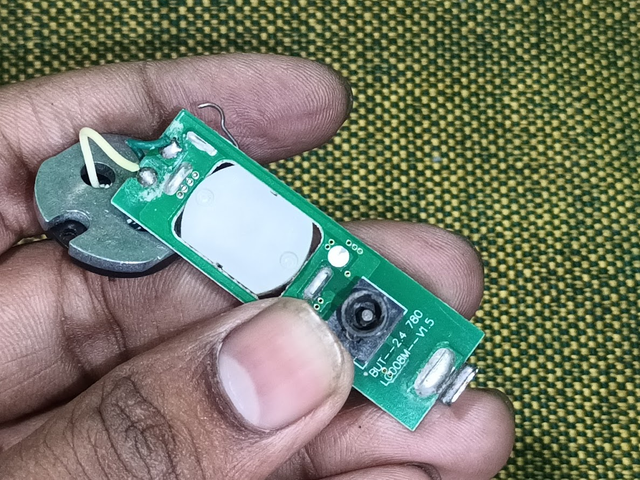
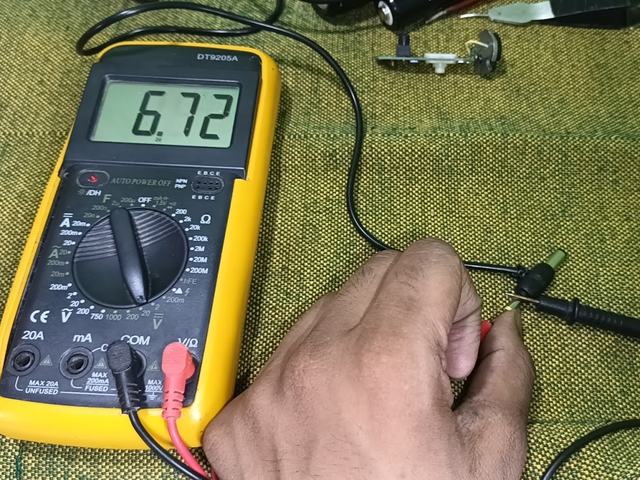
Then, with the digital multimeter in continuity mode, I held the circuit and the top of the socket. I saw that my line was fine. Then I tested the charging output line to further dispel my doubts. The output rating was 6.72 volts, which confirmed that my charger was fine, and now the charging socket was fine.
Refitting and testing the light
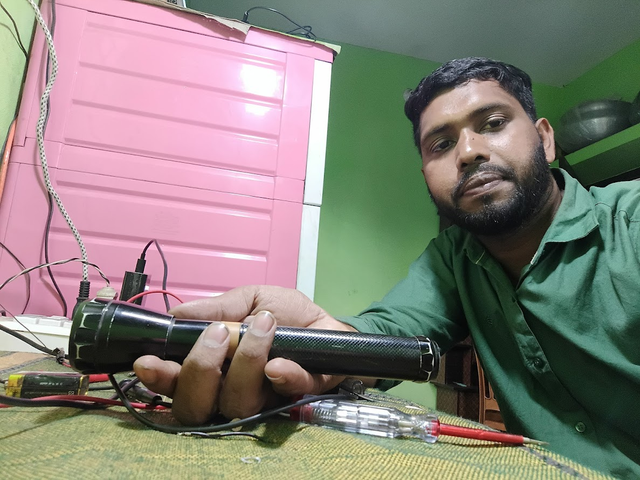
Then I tested the light by connecting it to the charging line without the battery before refitting it. As you can see, only my light is running through the circuit without the battery, and I am 100% sure that my charging socket is fine. After that, I refitted each of the previously removed parts neatly and tested the light again. As you can see, it lights up very nicely.
Verification of the authenticity of the work
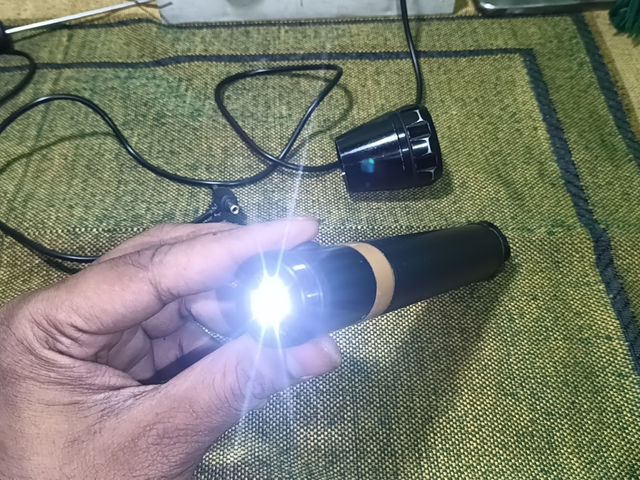
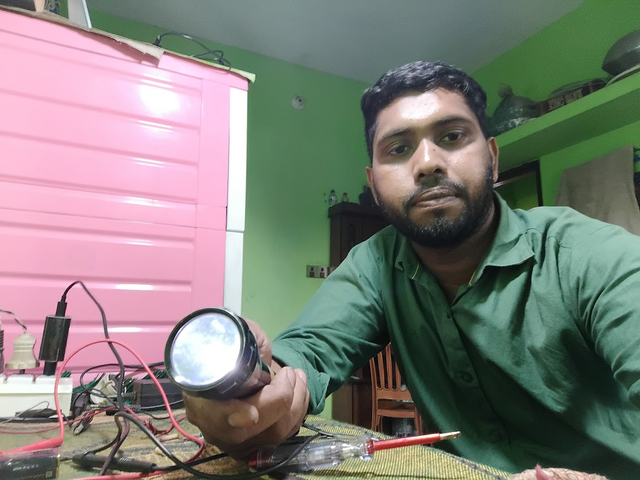
Finally, after my tutorial work is complete, I charged the light for a while, and you can see the light in my hand. To verify the authenticity of the work, I took two selfies with the light. One selfie with the light in my hand and another selfie with the light moving, which you can see on the screen.
Video Tutorial: To better understand the practical part of this tutorial, you can watch the video below.
Flashlight Repair Summary
Topic Name
Detailed Information
Company/Brand
Geepas GFL3869
Battery Problem
The battery was completely discharged (showing 0.00 volts)
Charging Pin Problem
The negative pin had gone inside, so the charger could not enter the socket
Circuit Problem
The negative and positive pins of the charging socket were mixed up inside the circuit
Problem Solution
- Open the circuit and isolate the problematic pin - Place the pin correctly and create a round gap - Test the continuity and voltage with a multimeter to make sure everything is fine
Final Test
Charge the light without the battery and see if it works successfully
Proof
Two selfies after work: one with a light in hand, the other with the light on.
🟩 Thank you for reading my post and giving your valuable time. Stay well and stay healthy. God bless you.
🟩
.png)


.gif)
https://x.com/ImranHosen98536/status/1914353143829372949