SLC S23W3 - Created memo bill voucher with microsoft word.
I'am @mdpolasmia
From #bangladesh🇧🇩
Hello Steemian Friends,
How are you all I hope everyone is doing well. I'm fine too. Today I'm going to do another post on week three of the Steemit Learning Club. I will try to teach you this through Steemit Learning Challenge. Today I will try to teach you how to create a beautiful memo bill voucher using ms word. There are many who cannot create memo bill vouchers with professional photo editing software. They can easily create memo bill vouchers using ms word. Before I start Club Mentor Mentors @mohammadfaisal, @kafio, @alejos7ven thank you Sir for inviting us to Technology & Development Club. So let us begin.
SLC S23W3 Link
 |
|---|
My Thumbnail Photo & Designed By Canva Pro

Dear friends if you follow the steps shown by me well then you can definitely make it beautifully. You will not get into any trouble. You will not skip any step. Follow each step carefully.
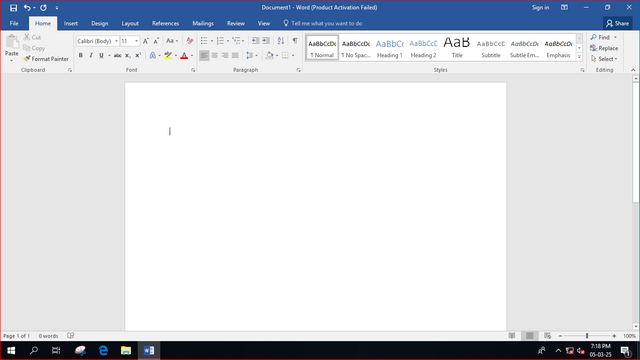
First I opened the ms word 2006 file on my computer. Then I started working.
 |
|---|

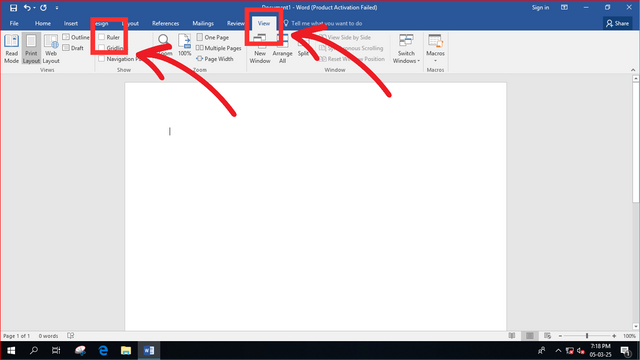
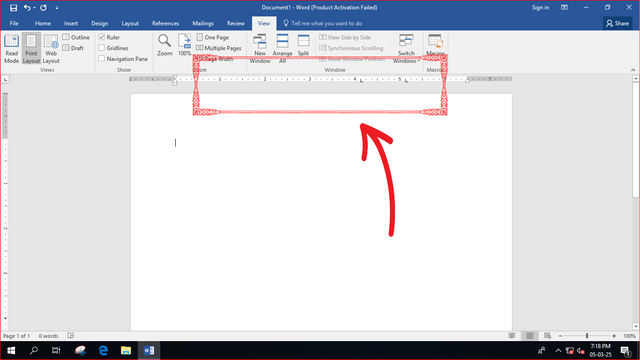
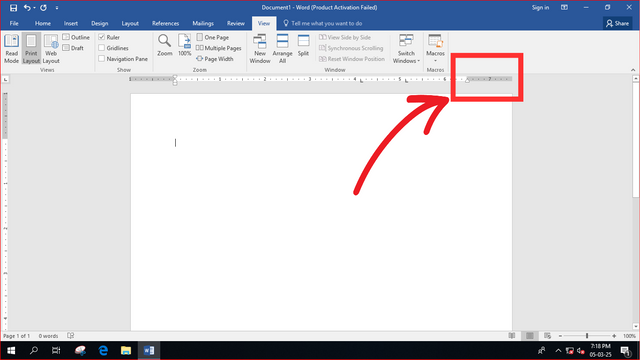
Then I went to ms word toolbar and clicked on View option. Then I clicked on Ruler option. After clicking on the Ruler option, this scale option will appear. You can understand by looking at the following pictures.
 |
|---|
Editing By Canva Pro
 |
|---|
Editing By Canva Pro
In this step I placed the mouse on the right side of the scale and double clicked the left mouse button.
 |
|---|
Editing By Canva Pro
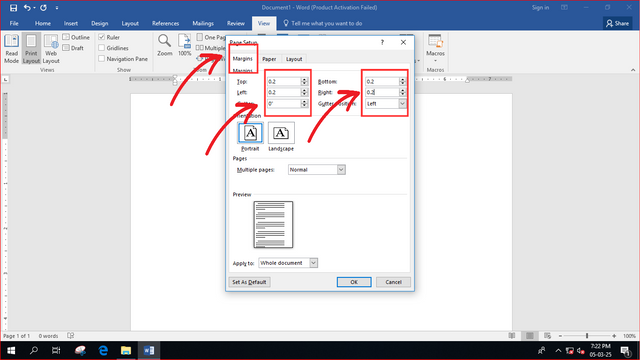
After double clicking there, page setup option will come. Check the sizes in the Margins option by looking at the pictures I have shown.
 |
|---|
Editing By Canva Pro
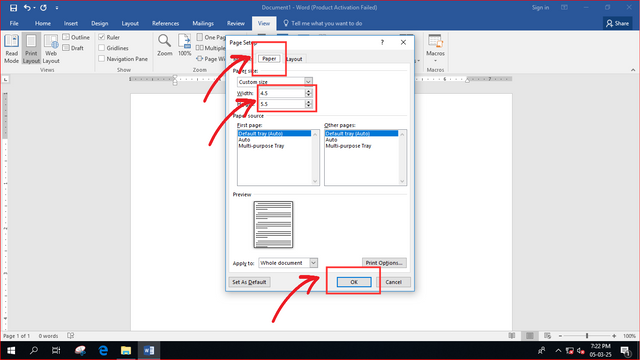
Then you will go to paper option. Go there and make the paper width size 4.5. Then make the size of Height 5.5. Then click on OK button.
 |
|---|
Editing By Canva Pro
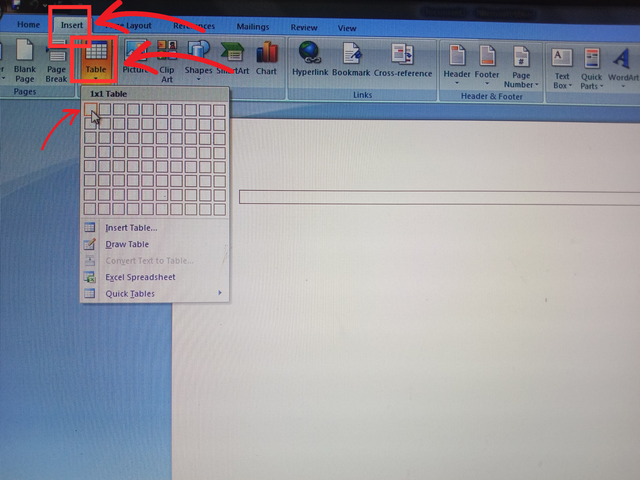
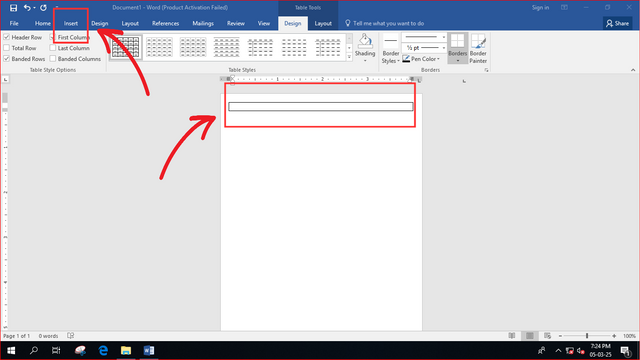
Then I went to the toolbar and clicked on the Insert option. After clicking there I clicked on table option. From table I selected 1×1 table.
 |
|---|
Editing By Canva Pro
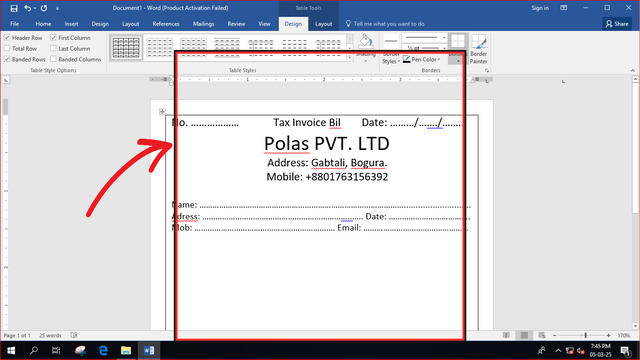
Once the table is created I place the mouse point inside the table and click. Then I started writing. When the first line is written, click the enter button from the keyboard and it will come down. Then you can write as you wish. Which you can see in the picture.
 |
|---|
Editing By Canva Pro
 |
|---|
Editing By Canva Pro
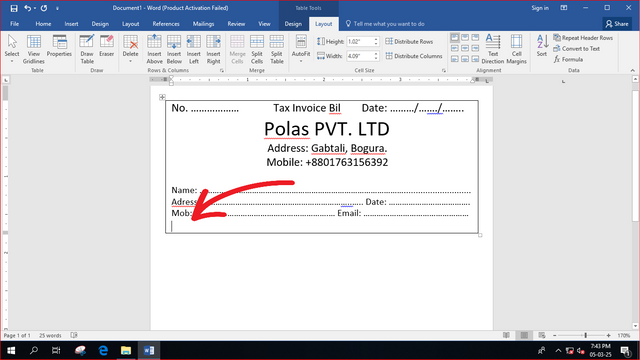
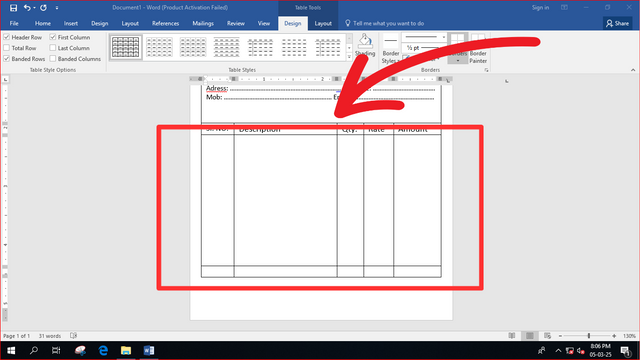
In this step, I put the mouse on the arrow mark and press the enter button to move down a little bit. Look at the picture carefully.
 |
|---|
Editing By Canva Pro
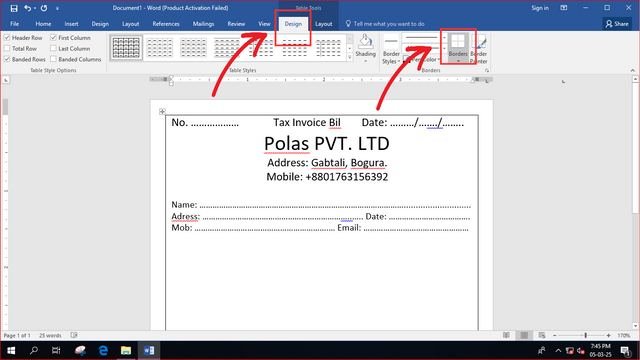
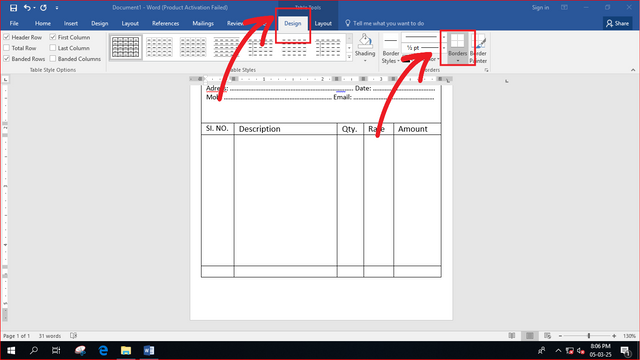
Then I clicked on Design from the toolbar. Then I clicked on Borders. After clicking on Borders, click on Draw Table and hold down the mouse point and drag from the left side to the right side to draw two boxes. Then in the same way I pulled five boxes from top to bottom. In a box I SI NO. I wrote Description in a box Qty in a box. Rate in a box I wrote Amount in a box. Then I selected those texts and centered them. Which you can understand by looking at the picture.
 |
|---|
Editing By Canva Pro
 |
|---|
Editing By Canva Pro
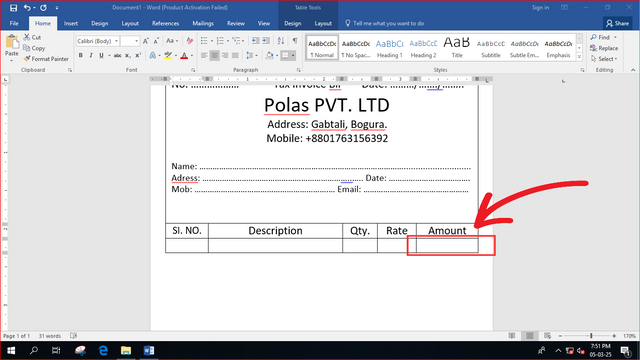
Then I clicked the mouse on the Amount text box and pressed enter from the keyboard to bring it down.
 |
|---|
Editing By Canva Pro
 |
|---|
Editing By Canva Pro
You will understand by looking at the picture. Then I moved on to the next step.
In this step I again clicked on Design and clicked on Borders and clicked on Draw Table.
 |
|---|
Editing By Canva Pro
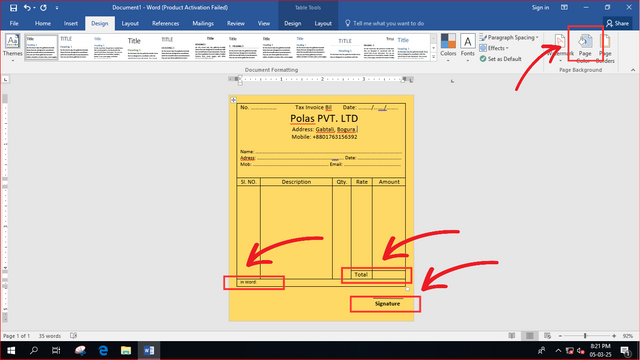
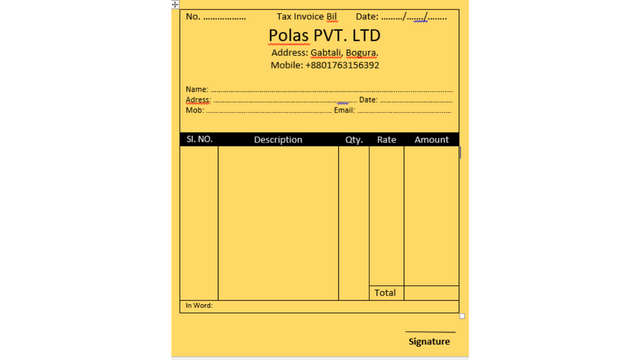
Then I made a box below the memo to write the total. And I wrote the total in the box. Then I made another table below. I wrote there In Word. Then I clicked on the Insert option from the toolbar and clicked on the Eraser Table and deleted the table marks in some places in the In Word box. Then I wrote Signature at the bottom right. Then click on Insert and click on Shape and write a line with Shape. After that I was completely done. Then I colored the page from the page color option on the right side. You can give the color as you like.
 |
|---|
Editing By Canva Pro
 |
|---|
Editing By Canva Pro
| SL NO. | My Invited Steemian Friend |
|---|---|
| 1. | @sheikhtuhin |
| 2. | @azit1980 |
| 3. | @ashkhan |
| 4. | @kalidsyfulla |
Best Regards:- @mdpolasmia


saludos,
Muy interesante creación, la verdad es que no soy un experto utilizando los programas de Microsoft siempre me causaron dificultades. Lo hiciste bien se nota que sabes utilizar este programa en profundidad.
No soy un experto en facturas pero creo que ese color de fondo haría que las empresas gasten mucho más en impresión a color si no tienen la hoja correcta, por lo que creo que el ideal siempre es mantener un diseño a blanco y negro.
Adicionalmente me gustaría haber visto algunos ejemplos de esta plantilla ya rellena.
Gracias por participar en el club de tecnología, muchos éxitos
You created a beautiful memo as part of the competition. And invited me to this competition.Thank you so much for the beautiful description and for inviting me.
This is My Twitter share link:-
https://x.com/mdpolas550189/status/1897860426475749784?t=w4VL1EKAR2dYm9whtANFag&s=19