SLC-Home Repair Club S23W1||Today I repaired the rechargeable mini LED handlight.
Steemian Friends,
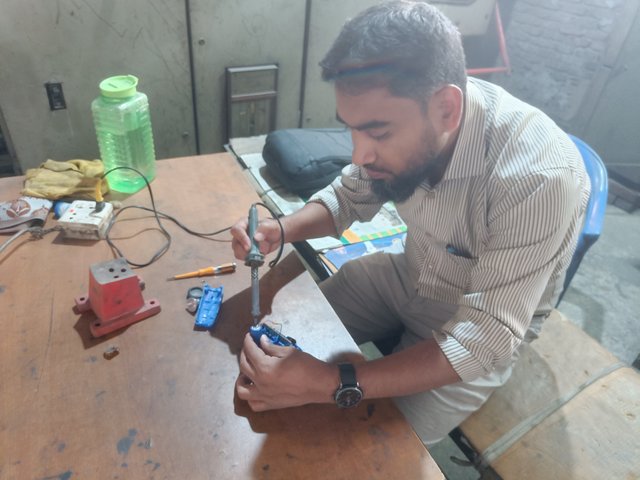
Today, I will show you how to repair a rechargeable mini handlight in the Home Repair Club in week 01 of the Steemit Learning Club. My office colleague brought the handlight from home to me for repair. I have two favorite mentors, @rmm31 and @imranhassan sir, as club mentors. Hopefully, the mentors will give me some new advice after seeing my rechargeable mini headlight repair.

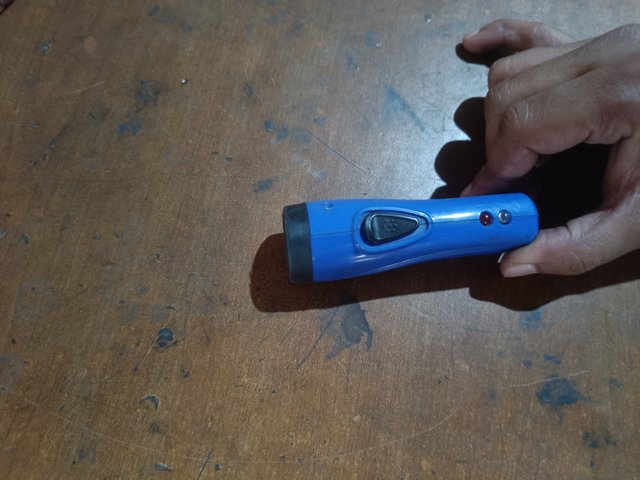
Today, I will show you how to repair a rechargeable hand mini light. My office colleague uses the light at home for emergency work at night. Suddenly the hand light did not turn on so I brought it to my office. My office colleagues bring essential home appliances to my office when there is a problem. Then start repairing the hand light.
Required Materials:
- Soldering Iron
- Electric Tester
- Soldering Wire
- Soldering Resin
The nameplate on the rechargeable handlight has worn off due to prolonged use. I see these lights on the market in various capacities. The battery is not rated as it is from the local market. I have given the specifications of the rechargeable hand light below from my experience.
| Device Name | Rechargeable LED Mini handlight |
|---|---|
| Power Capacity | 3W-5W |
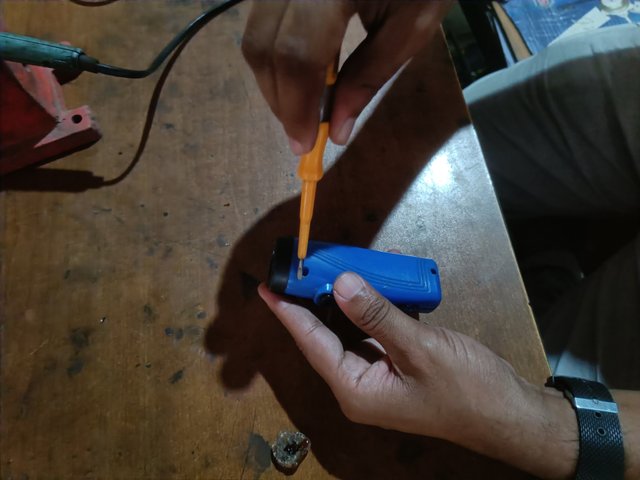
I first unscrew the three screws on the light with my tester. Below is my submitted video showing how to open the handlight. As the screws are small, I placed them carefully in a certain place so as not to get lost. Then I open the glass in front of the handlight.
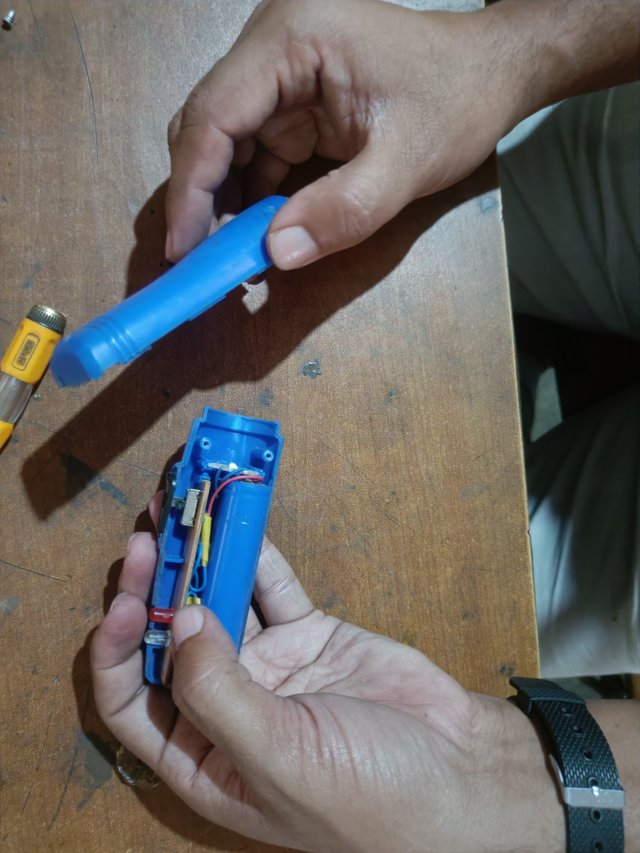
Then, I separated the two parts of the hand light so as not to cut the cable from the internal circuit. Then, I ran into a problem after opening the rechargeable battery inside the hand light. The hand light did not light due to an open end of the rechargeable battery.
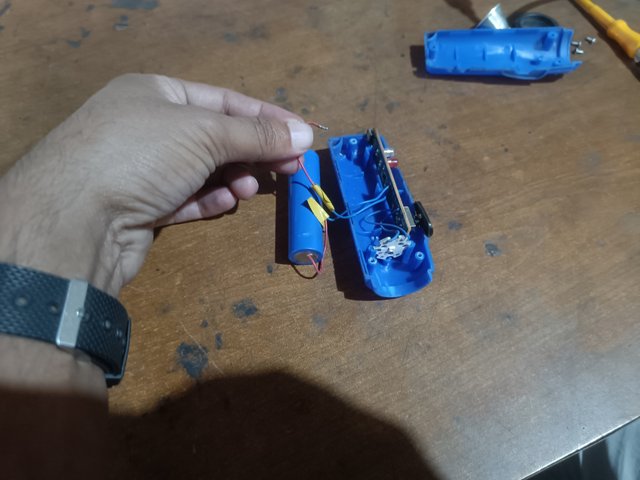
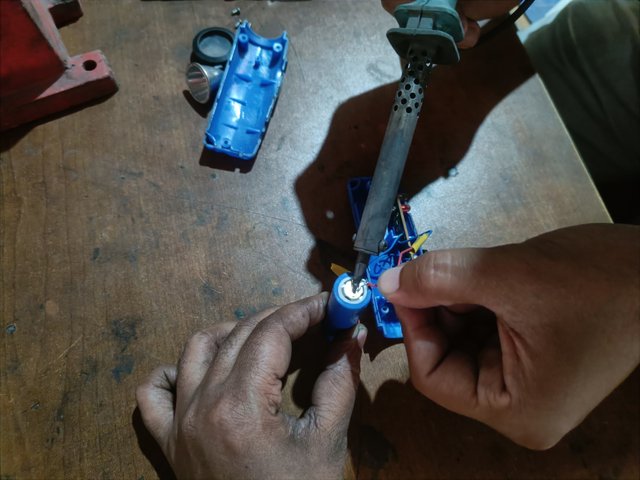
I found the problem easily, so I didn't need to recheck the circuit. I connected the cable to the battery using a soldering iron.
I took care while making the cable connection so that the cable at the other end did not open. I waited some time after making the cable connection with the soldering iron because the soldered end would have a stronger connection. Then, I checked with the headlight switch.
My YouTube Link
Now I put the screws of the hand light and complete the setup. Then, I checked with the hand light switch, and I was able to turn on the rechargeable hand light successfully.


You have done a great job @mahadisalim Brother, repairing the cheap mini LED light available in the market, However, it could have been better if some important tests were done. For example, it was necessary to check the battery voltage and the battery charging output with the charging connection using a multimeter, so that it can be confirmed whether the battery is charging properly.
Also, it is important to keep some things in mind to make the 3.7 volt battery connection last longer. Sometimes the solder can run if it is not soldered professionally. Before connecting to the battery terminal, the area must be cleaned and rubbed with a little bit of a rag, so that the solder holds well. If the temperature of the soldering iron is not sufficient, the soldering may be weak and the connection may run later. If you follow these points, the repair will be more effective in the future. Good luck.
CC: @rmm31
Thank you very much for the advice. I know from my colleague that the backup is good so no need to change the battery. After opening the set up I cleaned the battery point connection point with the circuit.
Thanks for your explanation. An important point for new learners is that while repairing any battery-powered item at home, one should first check the voltage and charging output with a multimeter. Doing this will make it easier to understand the actual condition of the battery and avoid unnecessary changes. New learners will be able to clear up the matter.
This is my Twitter share link :
https://twitter.com/mahadih83660186/status/1893606729717588441?t=810B8m5CNL8LGsB3IF60Vw&s=19
The tag #slc-clubrepirs23w1 you used is misspelled, the correct spelling would be #slc-clubrepairs23w1. Please edit it to fix it, so that your post appears correctly in search.
CC: @rmm31
Thanks I edited it.