SLC S23 Week3 || Geometry with GeoGebra: Circle, and Its Elements
Hello everyone! I hope you will be good. Today I am here to participate in the contest of @sergeyk about Circle its elements and others. It is really an interesting and knowledgeable contest. There is a lot to explore. If you want to join then:
Construct a circle and show its main elements.
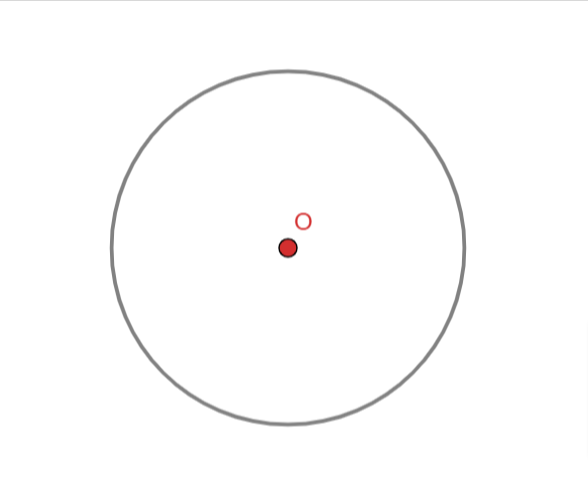
I have drawn circle with the help of GeoGebra tools. This circle has its center at O. We know that the central point is at the equal distance from the circumference of the circle. I have marked the center with the red colour to make it look unique than other shape. The circumference of the circle is represented by the black colour which is making the boundary of the circle.
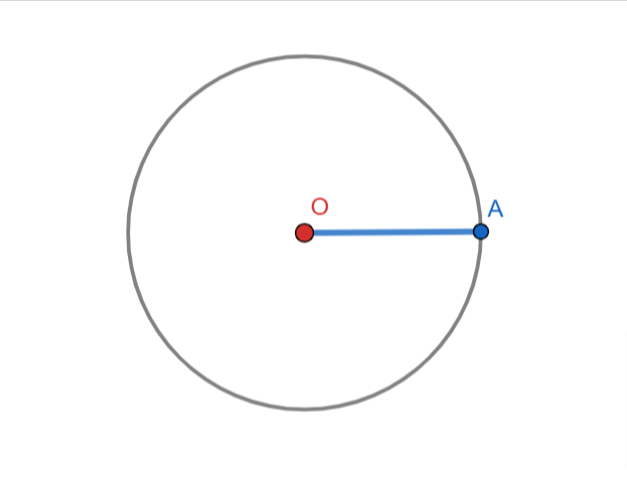
This is the radius of the circle. The radius of the circle is the distance from the center of the circle to its circumference. This distance is equal for each point at the circumference of the circle. The radius is represented with the blue colour with the name OA or AO.
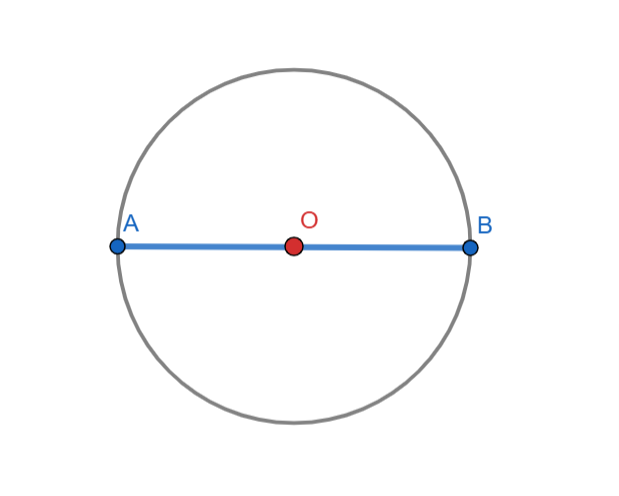
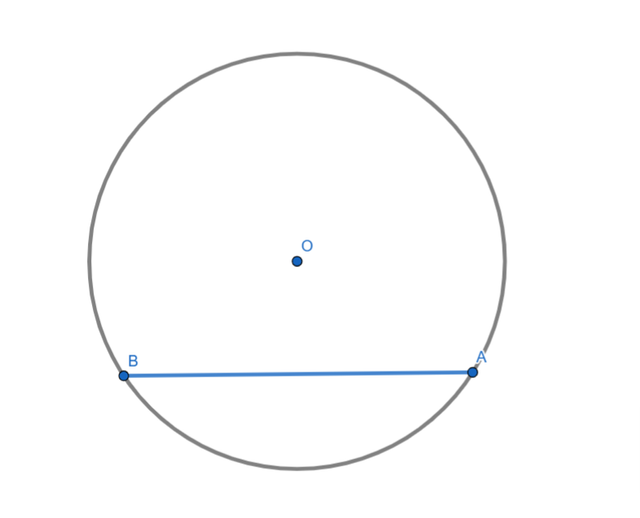
The blue line which is connecting the point A and B is making the diameter of the circle. As the line connecting the points is passing through the center of the circle O so that is the reason this line is called as the diameter of the circle.

The red part of the circumference between the points A and B is representing the Arc of the circle. We can divide arc into two types major arc and minor arc. The red represented arc is the minor arc and the other remaining distance of the circumference is known as the major arc.
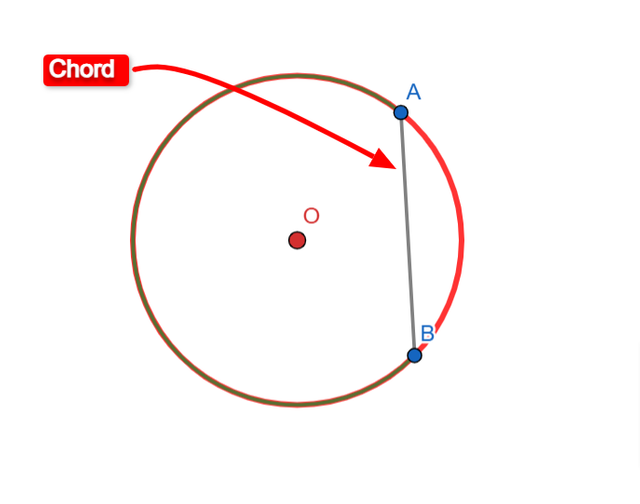
The chord of the circle is the straight line segment which connects two points on the circumference of the circle.
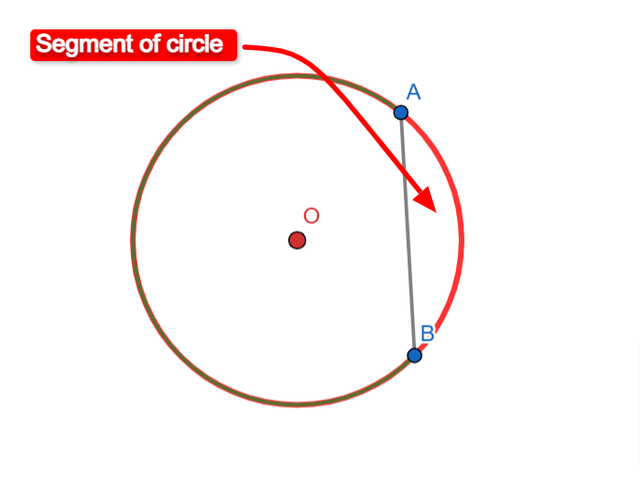
The segment of the circle is the space between the chord and the arc of the circle as shown in the above picture.
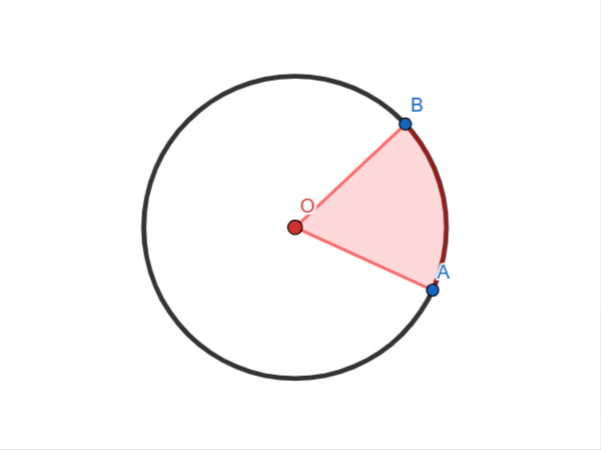
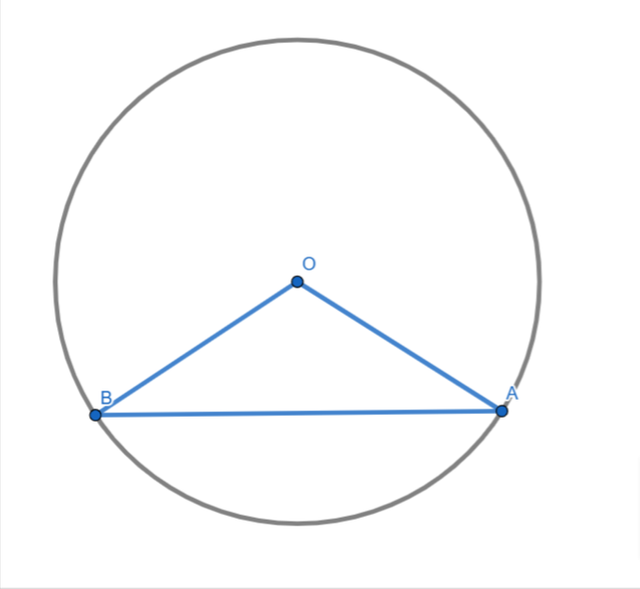
Here is sector of the circle is shown. This is form with the help of the two radii and one arc of the circle. The sector is represented with the help of the red background colour.
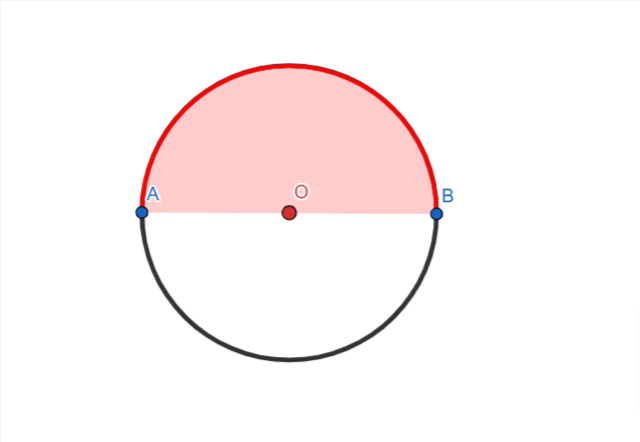
The red area is representing the semicircle of the circle which is the half of the circle or the half of its circumference. Similarly the other white space is also representing the semicircle of the circle.
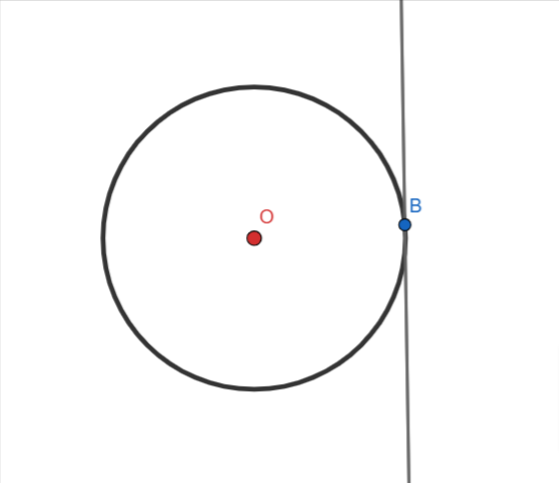
The point B on the circumference of the circle is the tangent to the circle. The tangent of the circle touches the circle at one point of its circumference.
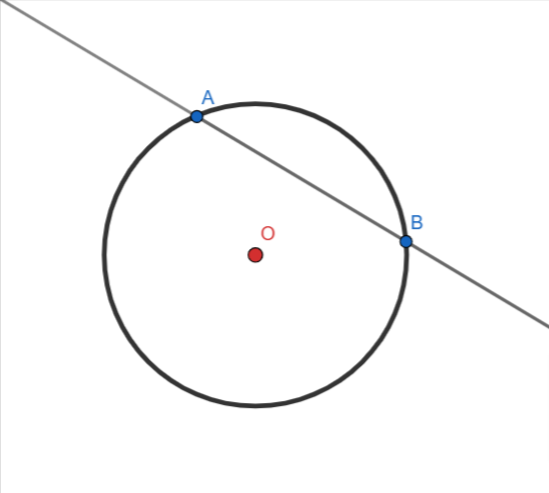
This is the secant of the circle which passes through the two points on the circle. Here the line is passing through two points A and B through the circle.
Here I have tried to represent all the main elements of the circle and I represented 11 elements of the circle.
Construct circle O and chord AB on it. On this chord, construct the central angle. Place point D on the circle, and construct the inscribed angle ∠ADB on the same chord AB. Show the degree measures of these two angles (∠AOB and ∠ACB). Move point D. What conclusion can be drawn?
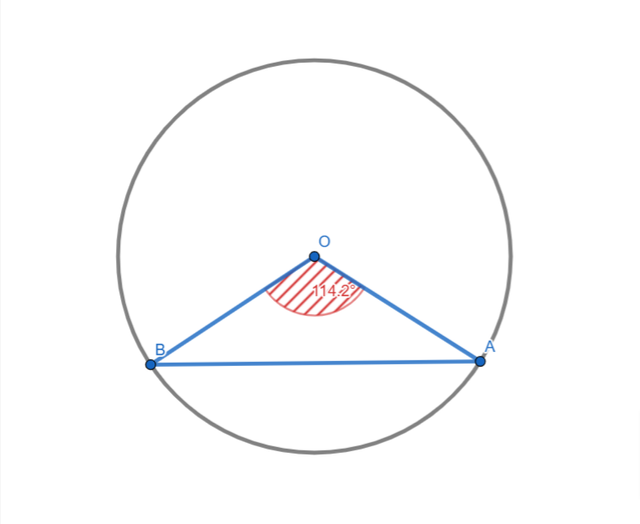
Here I have drawn a circle with center at O. And then I have drawn the chord of the circle represented by the segment A and B. I placed two points with the point tool on the circle and then I joint the points with segment and in this way it became a chord AB of the circle with center at O.
 |  |
|---|
No in order to develop the central angle first of all I have drawn segments OA and OB as shown in the first image. After that to show the degree measures of the angle I have moved to the measure section. I chose Angle and then I clicked on A, O, B. As soon as I clicked the last point it displayed the measurement of ∠AOB. I have shaded the angle.
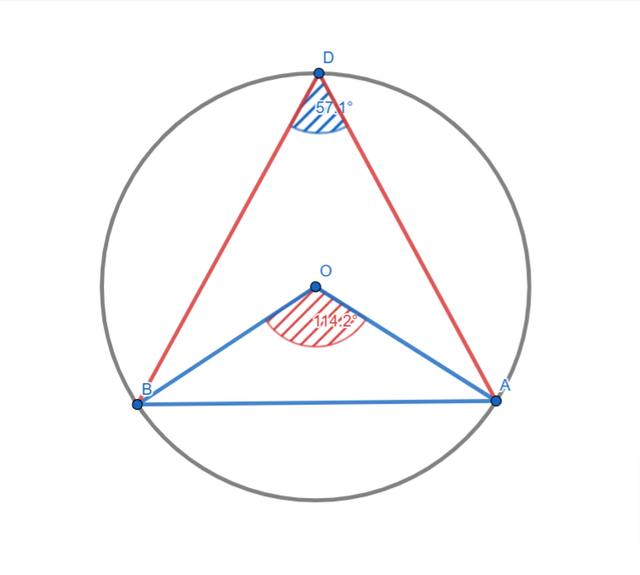
Now in order to make the inscribed angle I have taken a point D at the circle. Then I have used segment tool to connect the point D to A and B. It formed the segments BD and AD. Then in order to display the measure of the angle I have revised my previous work by selecting the angle tool from the measure section. I have given red colour to make the apart from the segments of the central angle.

Here is the complete preview of the completion of the task 2 where there is a central angle and an inscribed angle. Here we can see that when I am moving the point D then ∠ADB remains the same and half of the ∠AOB. It means the inscribed angle ∠ADB is always half of the central angle ∠AOB that subtends the same chord.
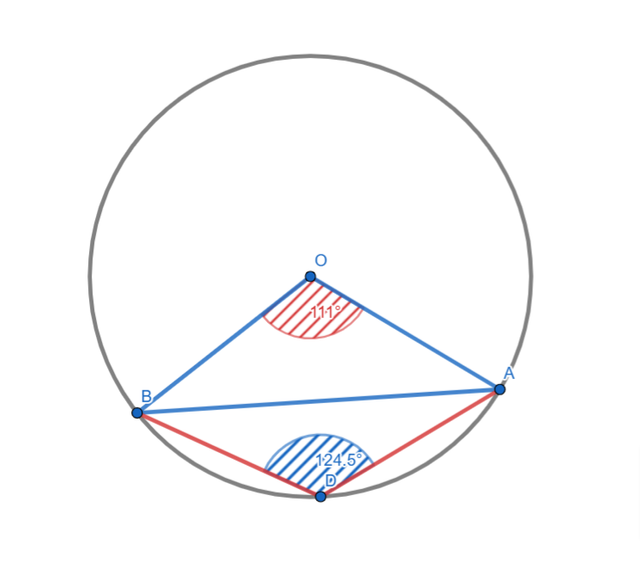
On the other hand we can observe that when I move the point D on the opposite side of the chord AB then instead of staying the same value of the angle it changes to a new value. Actually the angle flips to 180 - inscribed angle.
According to the above picture if I minus the the inscribed angle from 180 then I am getting the same value as it is showing in the picture.
∠ADB2 = 180 - ∠ADB1 => 180 - 55.5 = 124.5
Here I have represented the first angle formed by the point D with ∠ADB1 and the new angle formed by moving the point D to the opposite side of the chord AB is represented by ∠ADB2.
So the inscribed angle always remains half of the central angle only when it stays on the same side of the chord but changes when the point D is moved opposite of the chord then the angle flips.
Construct segment CD. On this segment CD, as the diameter, construct a semicircle. Take point F on the semicircle and form the angle ∠CFD. Move point F. What conclusion can be drawn?
This is another interesting task. So I am going to complete it step by step.
 |  |
|---|---|
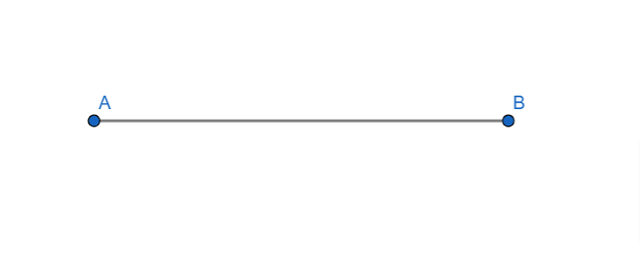
| Here I have taken a segment by default it is AB. The line is also thin as by default. | I have changed the name of the segment to CD and made its appearance look more solid. |
The segment CD will work as a diameter for the semicircle. I have marked the central point O of the diameter.
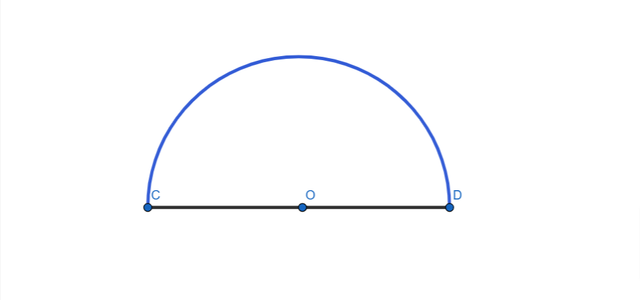
According to the requirements to build a semicircle I have used the semicircle tool to build it on the segment CD which is acting as a diameter of the semicircle with the central point at O.
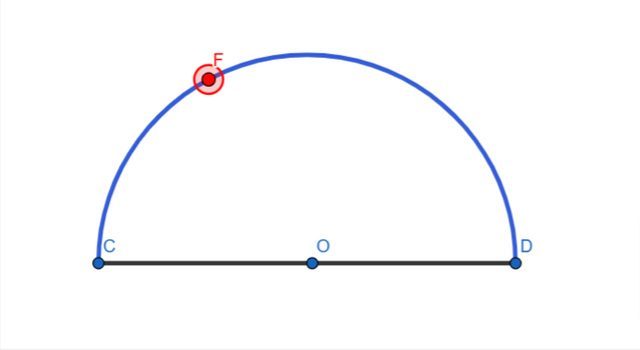
Here by using the point tool I have taken a point and I renamed it to F.
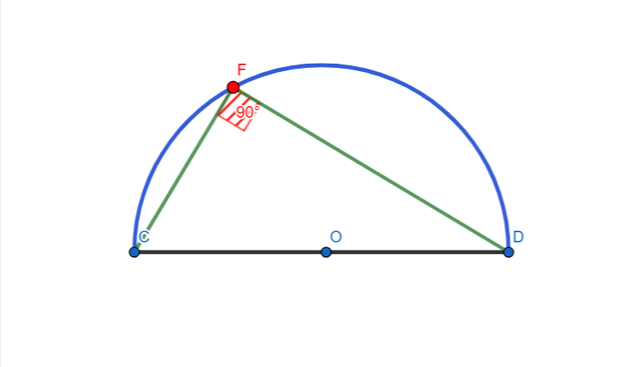
To make the angle CFD I used segment tool to join the point F to the point C and D. It made a triangle in the semicircle. The by using the Angle tool from the measure section I made ∠CFD. The segments of the angle is represented by the green colour and the angle with the red colour.
Here you can see the movement of the point F at the semicircle. The angle ∠CFD always remains of 90 degree regardless of the movement of the point F on the semicircle boundary. This follows the Thales Theorem. According to this theorem an angle inscribed in a semicircle is always a right angle. And the triangle CFD is always a right angle triangle and it has CD as its hypotenuse.
Construct triangle ABC. Construct two circles – the inscribed and circumscribed circles. (Do not use the "circle through three points" tool for the circumscribed circle.)
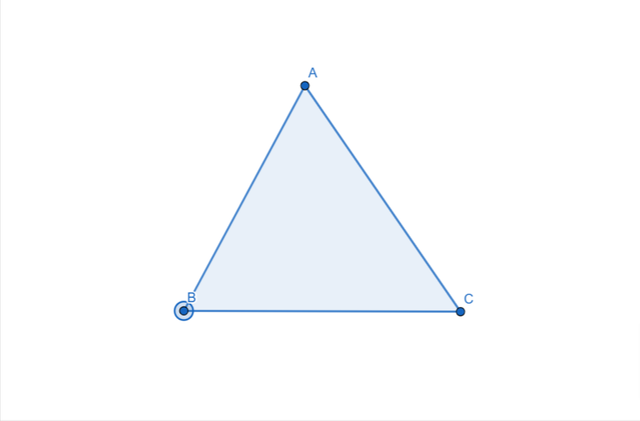
In order to construct the triangle ABC I am going to use polygon tool which I explored in the previous lesson but due to shortage of time I was unable to join the complete lesson.
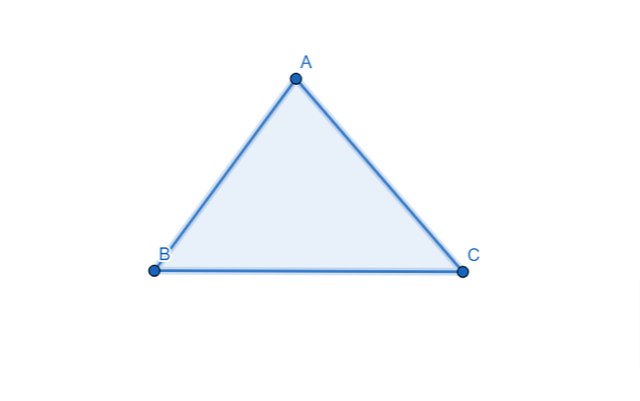
So by using the polygon tool I have built the triangle ABC as shown in the above picture.
First of all I will build the circumscribed circle in this task. The circumscribed circle is the circle which passes through the three vertices of a triangle. This is also known as circumcircle.
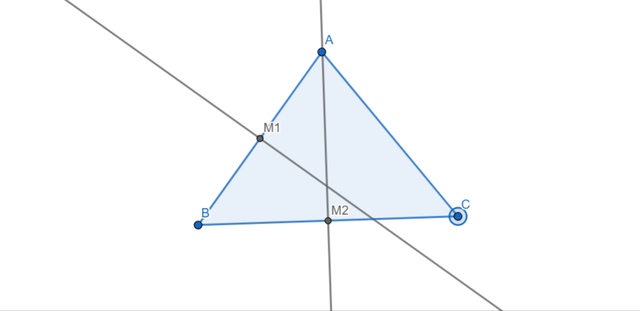
Here I have found the perpendicular bisectors of the two sides AB and BC. To find these I have determined the midpoints of these two sides and then I drew the perpendicular bisectors which passes through the midpoint by making a right angle at the midpoint.
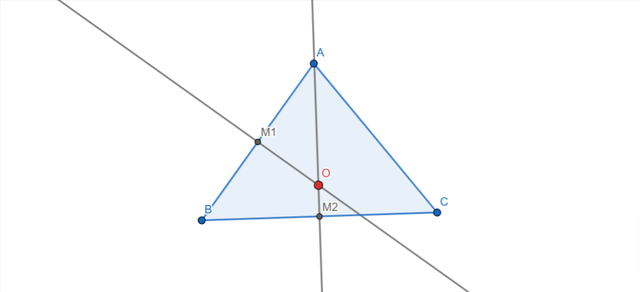
Here I have found the circumcenter. The circumcenter is the point where the two perpendicular bisectors intersect each other. This circumcenter is represented by the intersection point O with red colour. This circumcenter is at equal distance from all the vertices of the triangle.
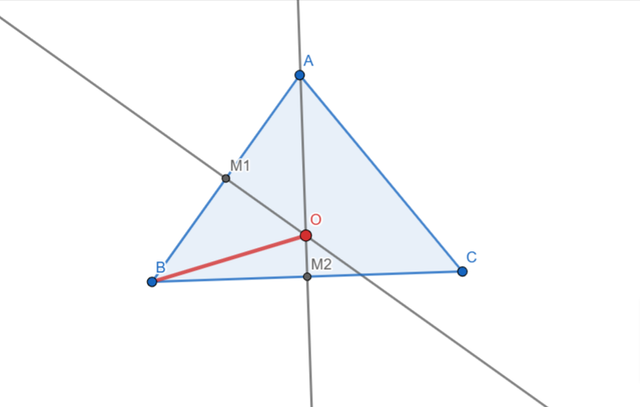
Here I have defined the radius of the circumcirle by joining the circumcenter the vertex B. The red line is the radius of the circle which will be formed.
Here I have drawn the circumscribed circle starting from the central point O and extending it to the radius OB. The circle formed is passing through the vertices of the triangle all the time whether we extend the size of the vertices or reduce. It only increase or decrease the size of the circle. We can observe that the circumcenter can be inside, on or outside the triangle.
Now I am going to draw the inscribed circle. It is also known as the incircle and it is the largest circle that can be fit into the triangle.
I have drawn a triangle ABC by using the polygon tool. Now in order to construct the inscribed circle I will find the angle bisectors of two angles.

Here you can see that I have found the angle bisectors of angle B and angle C. I have annotated the main angle and the sub angles formed by the angle bisectors. We can see the angle bisectors has divided the main angle into two equal parts. Here the intersection of these two angle bisectors is a point O which is known as the incenter. This is at the equal distance from all the sides of the triangle.
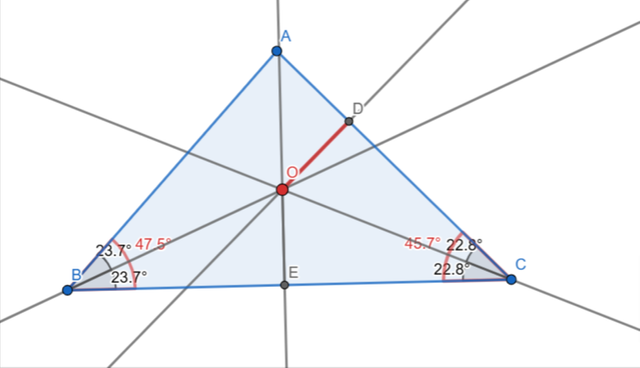
Here in order to find the radius of the incircle I have drawn a perpendicular to the side AC. The perpendicular is intersecting the side AC at the point D. This distance from incirlce towards the point D is known as the radius of the incircle (OD).
Here you can see that I have formed the incircle or inscribed circle which is touching all the sides of the triangle internally with the help of the radius OD.

Here you can see the neat and clean inscribed circle of the triangle. I have hidden all the extra lines which helped me to develop it but not needed now. I have shown two radii one is OD and the other is OE.
The incenter remains always in the triangle and the incircle or inscribed circle is a tangent to all three sides of the triangle.
Here I have drawn inscribed circle and circumscribed circle in the single triangle. In the inscribed circle the red point I is incircle. I drew a perpendicular from incenter I to the side BC and from this I found the radius of the incircle. The distance from I to D is the radius represented by red colour. By using this radius I drew the incircle.
In the next to build circumscribed circle I constructed the perpendicular bisectors of the three sides of the triangle. These intersect at the point O which is the circumcenter. The distance from this circumcenter O to any vertex is the radius of the circumscribed circle. This radius is represented by the green colour. Then by using this radius I drew the circumscribed circle.
The blue lines are the perpendicular bisectors and the black lines are the angle bisectors. The inscribed circle is inside the triangle touching the three sides of the triangle. On the other hand the circumscribed circle passes through the vertices of the triangle. And the incenter is formed by the angle bisectors and the circumcenter is formed by the perpendicular bisectors.
Use your imagination – construct something similar to this. Do you know what it is called?As an alternative, it is possible to depict the arrangement of two (three) circles. They intersect/do not intersect or touch. Show the touch as internal and external.
According to my research I have come to know that this first Gif looks like Arbelos. The arbelos is the shape which has the following properties:
- A large circle with a semicircle on its diameter.
- Two circles are tangent to each other at a common point and also tangent to the large circle.
So it looks like the Arebelos shape because in this shape there is alarge circle with two smaller circler. These two smaller circles are tangent to each other at a common point and they are also internally tangent to the large circle.
I did a lot of research regarding this shape as well and it looks similar to the steiner chain but the problem is that it has a triangle which exclude it to be a steiner chain. According to Wikipedia:
In geometry, a Steiner chain is a set of n circles, all of which are tangent to two given non-intersecting circles (blue and red in Figure 1), where n is finite and each circle in the chain is tangent to the previous and next circles in the chain.
According to this definition if we remove the triangle then the purple and orange circles will act as the two circles which do not intersect to each other and the other small blue circles are tangent to both the circles the external circle and to the internal circle.
Maybe the professor @sergeyk can name this new invention by his name 😉. I have an idea you should publish it as an international paper if it is a unique thing which does not exist and define your own theorem or laws regarding this.
Here I am going to depict the arrangement of the three circles in different ways.
CASE 1 - Externally Tangent Circles
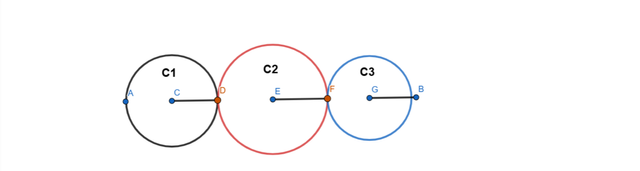
Here I have drawn three circles on a line segment but I hid the line segment from the view. These three circles have the following properties according to the above diagram:
- C1 is externally touching the C2 at the point D with radius CD.
- C2 is externally touching C3 at the point F with radius EF.
- C2 is being touch by both the other circles.
- All the circles are tangent circles which are touching each other externally.
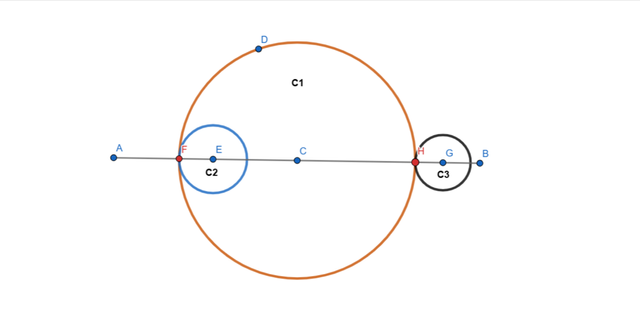
CASE 2 - Internally Tangent Circles
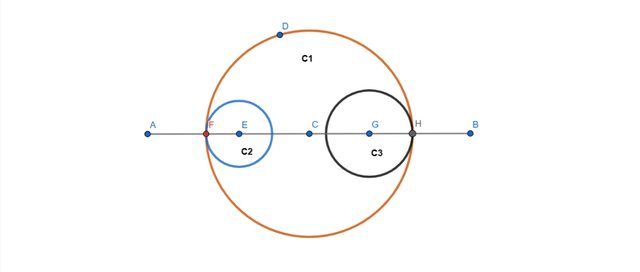
In this case the three circles arrangement has the following properties:
- C1 is behaving as the parent circle and C2 and C3 are the children of C1 at the moment.
- C2 is internally touching C1 at the point F.
- C3 is internally touching C1 at the point H.
- Ultimately C1 is being touch internally by C2 and C3.
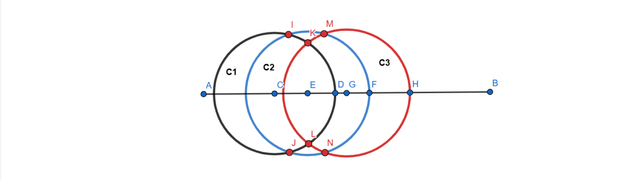
CASE 3 - Internally Tangent Circles and Intersection
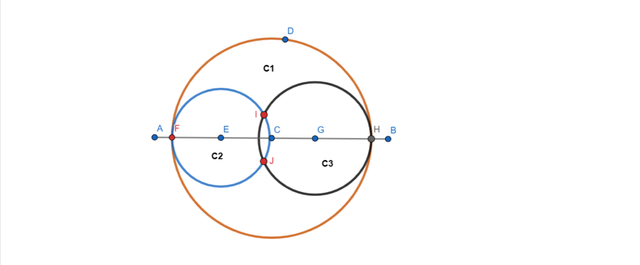
- C1 is behaving as the parent circle and C2 and C3 are the children of C1 at the moment.
- C2 is internally touching C1 at the point F.
- C3 is internally touching C1 at the point H.
- Ultimately C1 is being touch internally by C2 and C3.
- C2 and C3 are intersecting each other at two points I and J.
CASE 4 - Internally and Externally Tangent
- C2 is internally touching C1 at the point F which is a tangent to the circle internally.
- C3 is externally touching C1 at the point H which is a tangent to the circle externally.
- C1 is being touch externally and internally.
CASE 5 - Overlapping
In this arrangement all the circles are overlapping each other.
CASE 6 - Overlapping and Intersection at same point
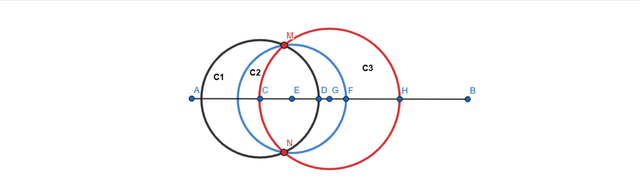
In this overlapping the circles are overlapping each other and intersecting at the same point M and N.
CASE 7 - Common Center
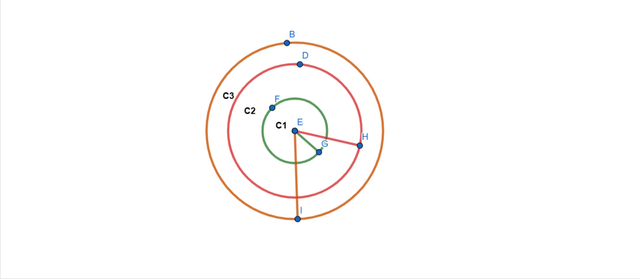
Here is another arrangement of the circles where the center of all three circles is at the same place.
- C3 is the parent circle of C2 and C2 is the parent of the C1.
- The center of C1, C2 , and C3 is at the common point E.
- The circles are not overlapping at any point and intersecting.
There can be the number of other arrangements as we continue to change the position of the circles.
https://x.com/stylishtiger3/status/1898653601427513350