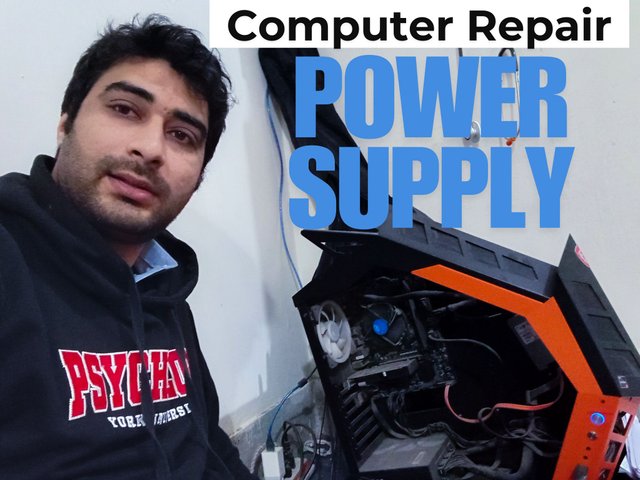
SLC S23 Week1 || Computer Repair - Power Supply
| Hello everyone I hope you all are doing well and enjoying your life. |
|---|
I am so excited to share my assignment post for this SLC because I am tech lover and I enjoy every hardware and software related task. at my childhood was alway busy with these stap and I also have a powerful mining PC. i will so share the picture of my pc below. The power supply in my PC is extremely strong. when I was mining I used four graphics cards running on a single power supply which show just how powerful it is.
.jpg)
For my today assignment I will be learning about power supplies how they work and how to trouble shoot them if any issue arise. I will cover all these topic in this SLC.
|
|---|
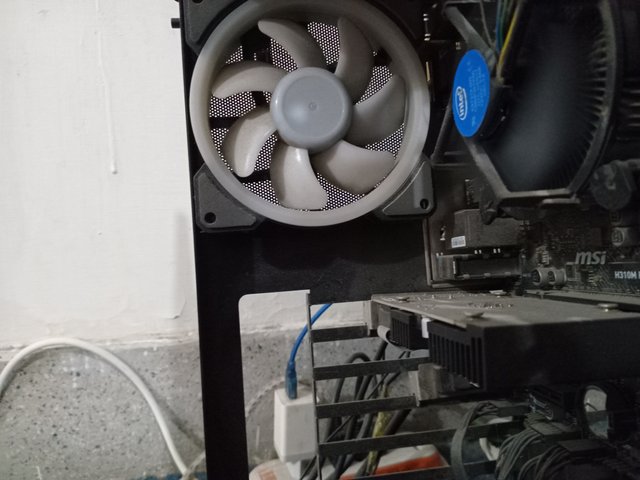
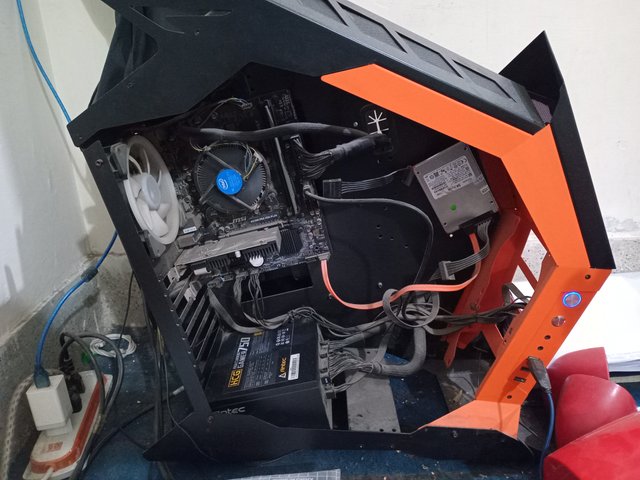
For this task I have to remove the glass panel from my custom built PC. Since my setup looks really cool I wanted to be extra careful while handling it.
.gif)
Removing the Glass Panel
First I unscrewed the panel with my fingers. Once removed when i was removing it its needd some force it is because it didnt open my pc from last 8 months so thats why it take time. and i rotate the screw with two finger clockwise and it finnally rotate when remove the glass.
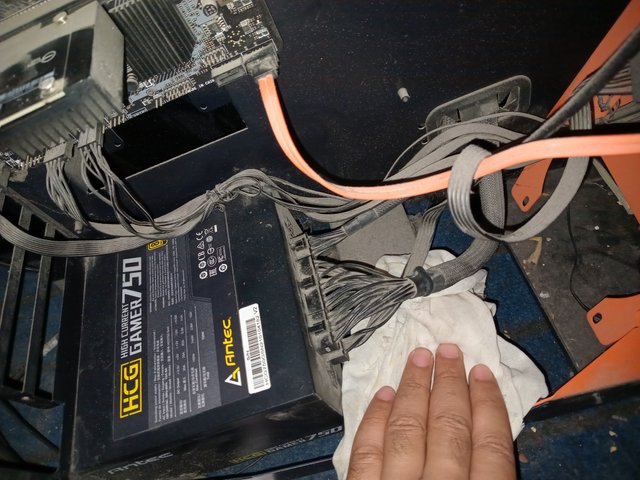
I noticed some dust particles inside my PC on the motherboard and the power supply unit. I cleaned it carefully with a cloth because sometimes while cleaning we might accidentally damage some wires which can put us in trouble. But I didn’t want to be in trouble because I needed to complete this assignment task.
As you can see in the picture when I removed the glass cover this is how my power supply looked.
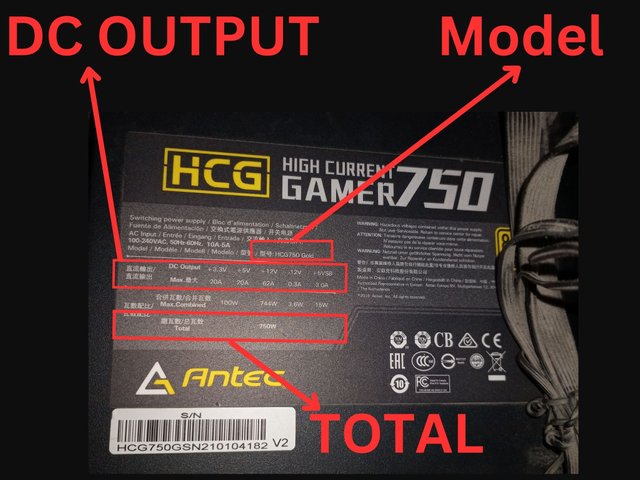
Power Supply Unit Details
My PC has an Antec High Current Gamer 750W (HCG750 Gold) power supply which is very powerful. While mining I used four graphics cards on a single power supply which shows how much power it can handle.
Power Supply Input & Output Specifications
| Specification | Details |
|---|---|
| Brand & Model | Antec High Current Gamer 750W (HCG750 Gold) |
| Power Capacity | 750W |
| AC Input (Power Supply Input) | 100-240V 50Hz-60Hz 10A-5A |
| DC Output (Power Supply Output) | |
| +3.3V | 20A |
| +5V | 20A |
| +12V | 62A |
| -12V | 0.3A |
| +5VSB | 3A |
| Total Power | 750W |
| Certification | 80 PLUS Gold (High Efficiency) |
I think now i completed this task so let me move to the next task.
|
|---|
| Pin No. | Name | Color | Pin No. | Name | Color |
|---|---|---|---|---|---|
| 1 | +3.3V | Orange 🔸 | 13 | +3.3V | Orange 🔸 |
| 2 | +3.3V | Orange 🔸 | 14 | -12V | Blue 🔵 |
| 3 | GND | Black ⚫ | 15 | GND | Black ⚫ |
| 4 | +5V | Red ♦️ | 16 | PS-ON | Green 🟢 |
| 5 | GND | Black ⚫ | 17 | GND | Black ⚫ |
| 6 | +5V | Red ♦️ | 18 | GND | Black ⚫ |
| 7 | GND | Black ⚫ | 19 | GND | Black ⚫ |
| 8 | PW-OK | Gray ⚫ | 20 | -5V | White ⚪ |
| 9 | +5VSB | Purple 🟪 | 21 | +5V | Red ♦️ |
| 10 | +12V | Yellow🟡 | 22 | +5V | Red ♦️ |
| 11 | +12V | Yellow 🟡 | 23 | +5V | Red ♦️ |
| 12 | +3.3V | Orange 🔸 | 24 | GND | Black ⚫ |
What is Each Pin Does?
Power wires:
- +3.3V (Orange): Use for CPU RAM & some mother board part .
- +5V (Red): Used for USB ports & older component.
- +12V (Yellow): Useing for the CPU grphics card (GPU) and coolings fan.
- -12V (Blue): Used for very old Computer part not need in most modrn PCs.
- -5V (White): Not used in modrn computer only for very old motherboards.
- +5VSB (Purple): Stand by power Keeps USB port works when the PC is off.
Ground Wires (Black - GND):
- These wires help complete the electrical circuit and keeps the system stable.
- Without ground wire power can not flow properly.
Control Wires:
- PS-ON (Green - Power On): This wire turns the power suply ON when the computer starts.
- PW-OK (Gray - Power Good): This wire tells the mother board if power is stable. If there a problem the PC wo not start.
|
|---|
| Number | Connectors Type | Picture | Purpose |
|---|---|---|---|
| 1 | 6 or 8 pin graphics card connector | 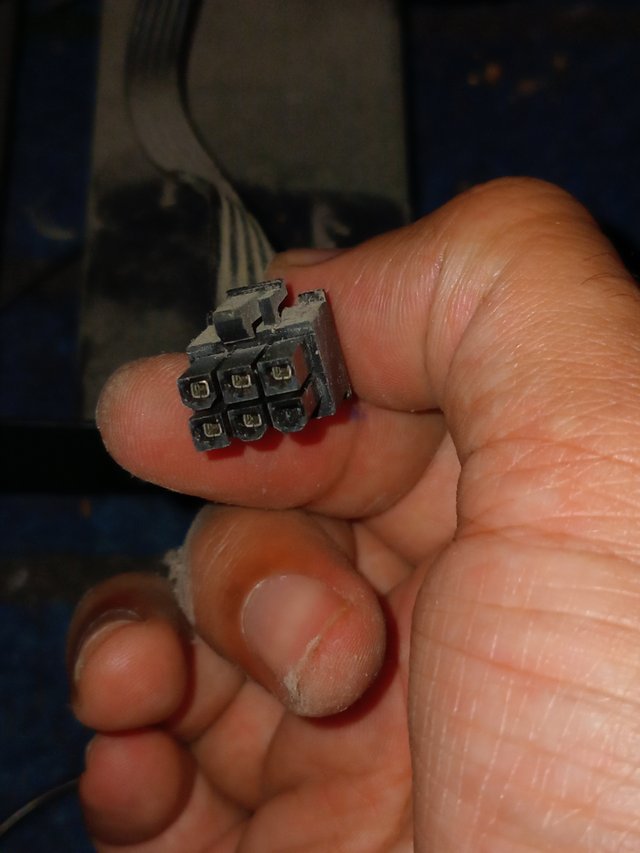 | the Power the graphics cards (GPU) providing Extra power for high performance graphics Procesing. |
| 2 | 6 pin graphic card conectors |  | Also used for graphics card but supplie Less powers then the 8-pin version. |
| 3 | Floppy disk drived connector | 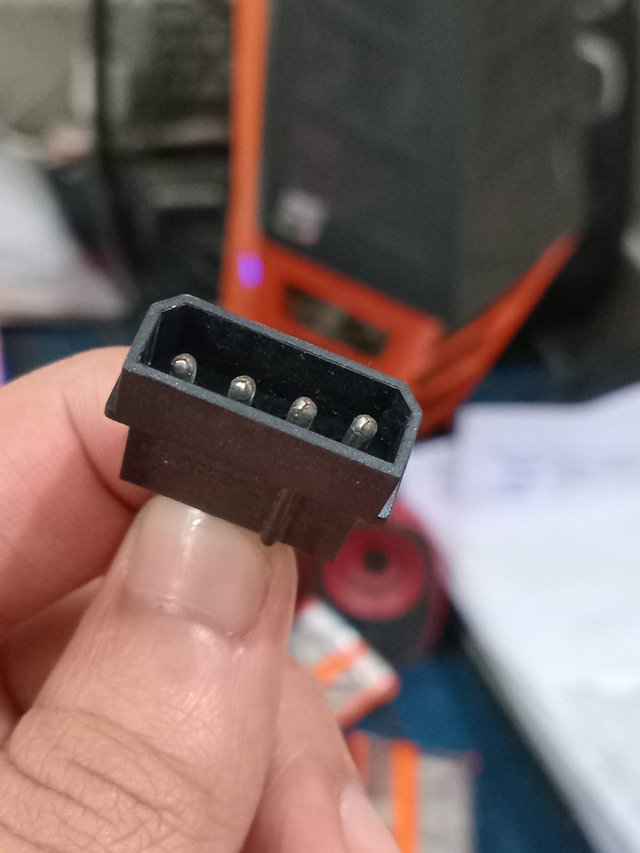 | Powers floppy disk drives which are now mostly outdated. |
| 4 | Molex connector | 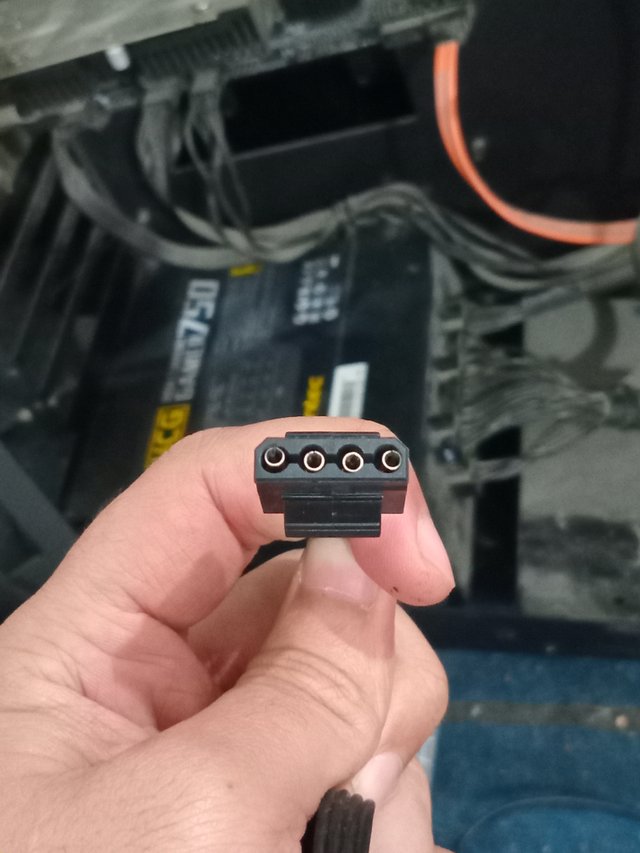 | Used for older HDDs optical disk drives (CD/DVD) and case fans. |
| 5 | SATA power connector |  | Powers modern HDDs SSDs and optical drives. It replaces Molex connectors for most storage devices. |
| 6 | 6 or 8-pin graphics card connector | 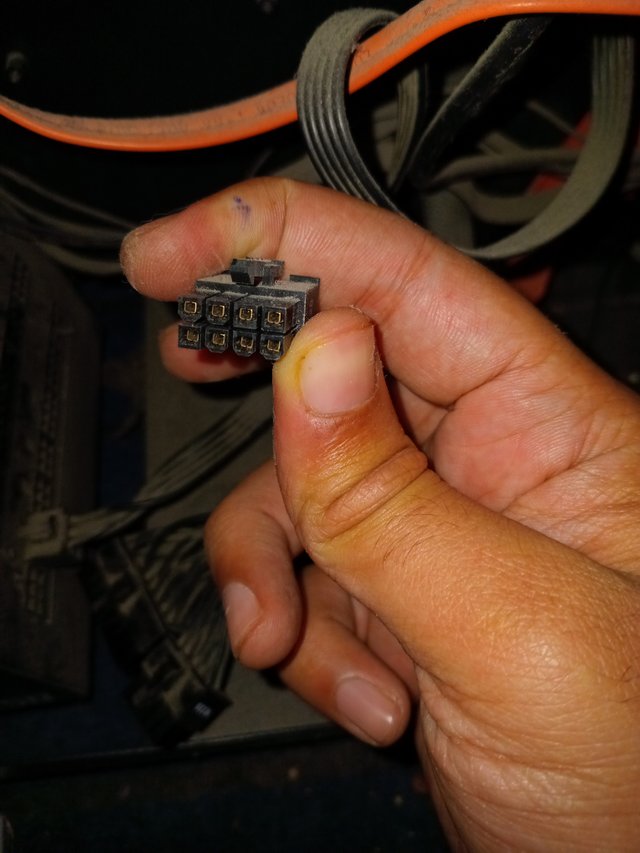 | Another GPU power connector depending on the power needs of the card. |
| 7 | 8-pin motherboard connector | 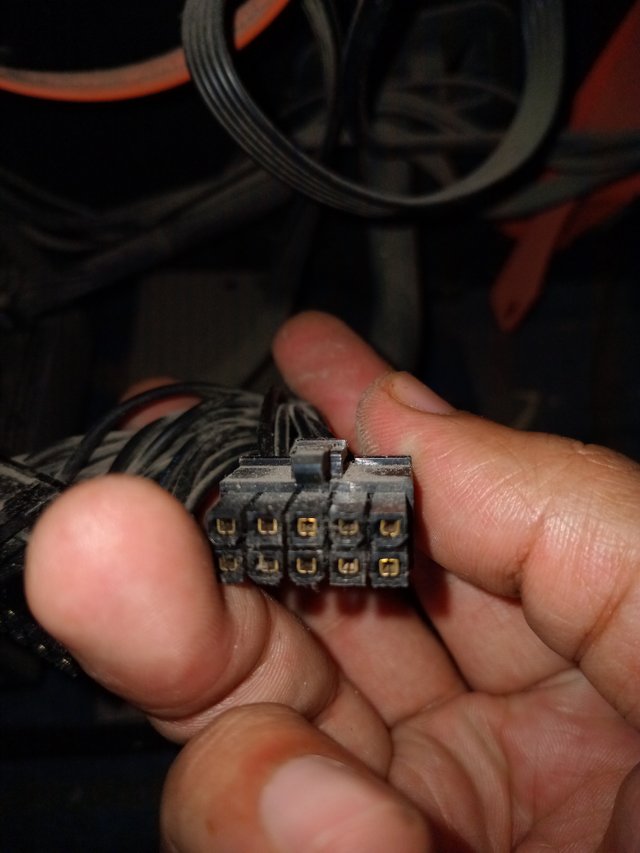 | Supplies power to the CPU through the motherboard. |
| 8 | ATX-24 or 20-pin motherboard connector | 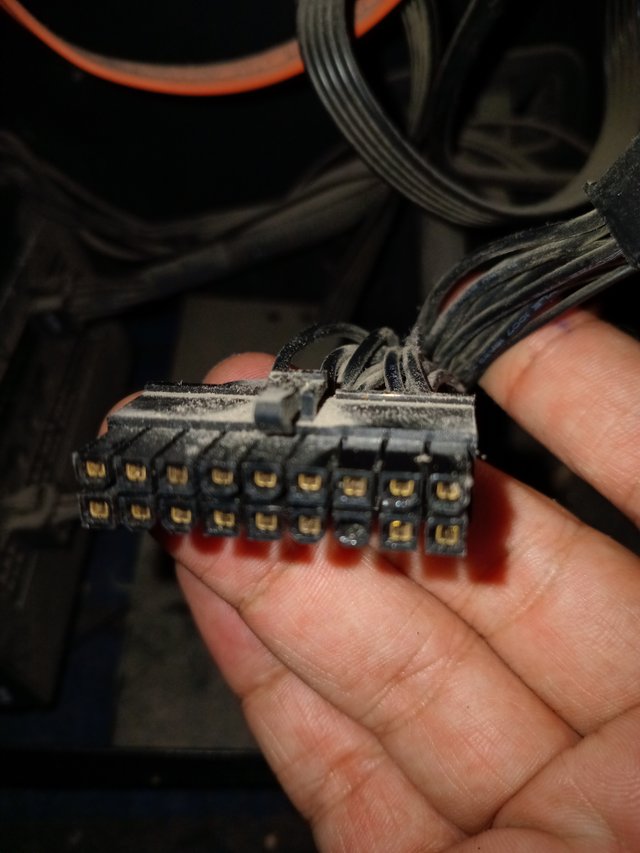 | The main power connector for the motherboard supplying power to all components. |
Roles of Each Connector in the Computer
Graphics Card Connectors (6 or 8-pin) – Powering the GPU
- Modern graphics cards need extra power beyond what the motherboard provides.
- A 6-pin connector supplies up to 75W and an 8-pin can provide 150W.
- High-end GPUs may require multiple connectors.
Floppy Disk Drive Connector – Legacy Use
- This small connector was used for old floppy drives but it is rarely needed today.
Molex Connector – Powering Older Components
- Originally used for HDDs optical drives and case fans.
- Some RGB lighting systems and fan controller still used Molex.
SATA Power Connector – Modern Storage Devices
- Used to power hard drives (HDDs) solid state drives (SSDs) and DVD drive.
- Designed to replace Molex conector with better eficiency.
Motherboard Power Connectors (8- pin and 24- pin) – Powering the System
- The 24 - PIN ATX connector powers the entire motherboard.
- The 8-pin CPU power connector suplies extra power to the procesor (CPU) for stable performance.
|
|---|
I knew that the power supply is one of the most important part of my computer. It give power to everything inside like the mother board procesor graphics card and Hard drives. If my PSU start to fail my whole computer can have problem. so I alway pay attention to the sign of a failing power suply and follow some step to check it before replaced it.
Signs That Tell Me My Power Supply Might Be Failing
Here are the things I notice when my power suply is not Working properly
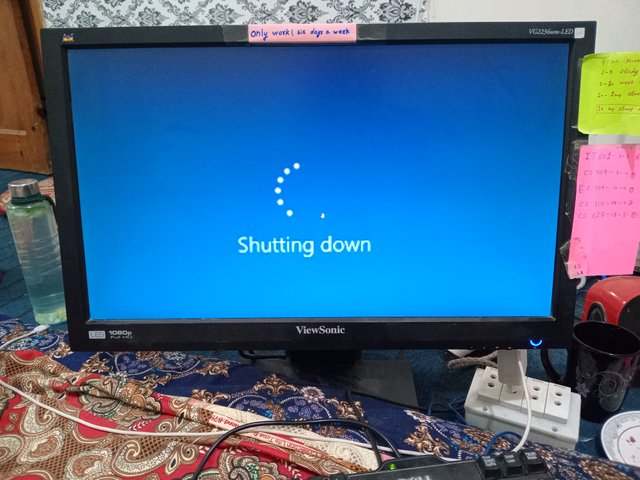
1. My Computer Randomly Shuts Down or Restarts
- Sometimes my computer turn off sudenly without any warning.
- Other times it restart by itself
- This usualy happen when I am doing something that requires more power like playing game or using heavy software.
2. My Computer Does not Turn On
- I press the power button but nothing happens.
- Sometimes the computer turns on for second and then turns off again.
- This make me suspect that my PSU is not delivering power Properly.
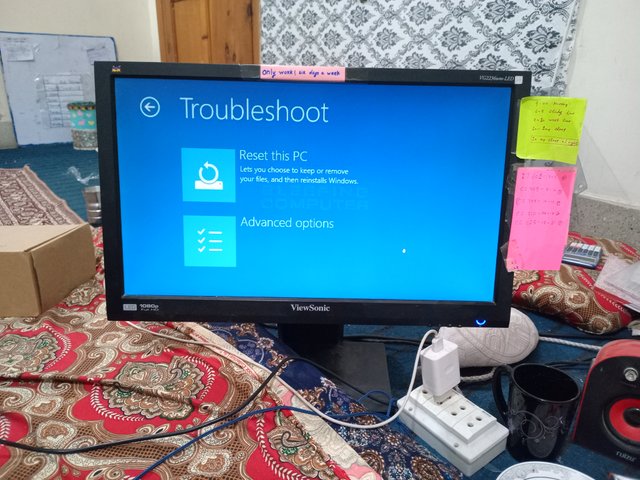
3. I See Blue Screens (BSODs) Frequently
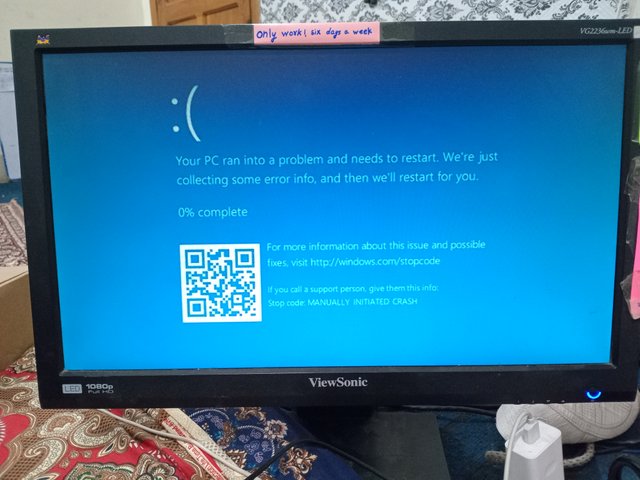
- If my computer crashes often with blue screen and the error message is different each time it could be a power issue.
4. I Hear Strange Noises from the Power Supply
- A healthy PSU should be quiet.
- If I hear buzzing clicking or high-pitched whining sound it could mean my PSU has failing components.
5. I Smell Something Burning
- A burning smell is a very serious problem.
- It could mean that something inside my PSU is overheating or burning.
- If I ever notice this I immediately turn off my computer and un plug it.
6. My Computer’s Fans or Lights Don’t Work Properly
- The PSU provides power to the cooling fans and LED lights inside my PC.
- If they flicker stop working or run at an unusual speed my PSU might not be delivering enough power.
7. My USB Devices and Hard Drives Disconnect Randomly
- If my external hard drive or USB device disconnects and reconnect Without reason the PSU could be struggling to Supply steady power.
8. My Monitor Flicker or My Graphics Card Does not Work Properly
- If I see weird colors screen flickering are sudden blackouts it might be because my graphic card are not getting Enough power from the PSU.
How I Check My Power Supply Before Deciding to Replace It
Before buying a new PSU I make sure that the problem is realy with the power supply.
1. I Check the Power Connections
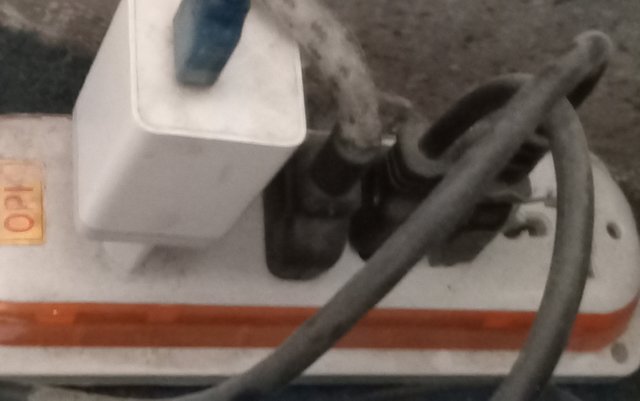
- First I make sure the power cable is plugged in properly to the PSU and the wall socket.
- If I am using power strip or UPS I tried pluging my computer directly into the wall to see if the problems is with the power source.
2. I Do the Paperclip Test *
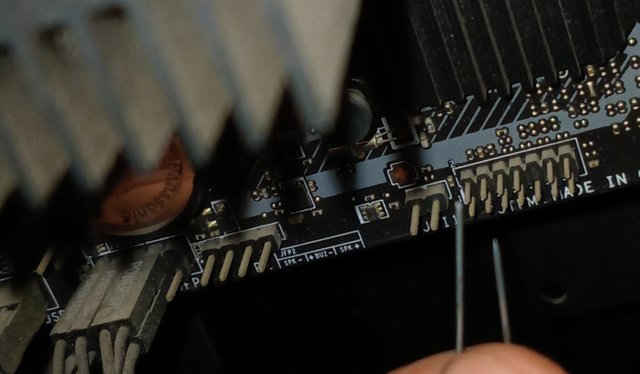
- I turn off my PSU & unplug it from my computer.
- I take a paperclip and bend it into U shape.
- I find the green wire (PS_ON) a black wire (GND) on the 24 pin mother board conector.
- I insert the Paperclip into these two pin and then turn on the PSU.
- If the PSU fan spin the PSU is still Working but it might still have problem
- If the fan does not spin my PSU is likely dead and need replacements.
3. I Use Multimeter to Test the Voltage
- If I have a multimeter I check the voltage outputs of my PSU.
- I measure the +12V +5V and +3.3V rails.
- If any of these voltages are too low or unstable my PSU is faulty.
4. I Try Using Another PSU (If Available)
- If I have access to another working PSU I connected it to my computer and see if the problem goes away.
- If my computer runs fine with a different PSU I know my original PSU was faulty.
5. I Disconnect Non-Essential Components
- I remove extra devices like external hard drives DVD drives and even my graphic card.
- If my PC work fine with fewer components it means my PSU is not supplying Enough power.
6. I Check for Overheating
- I touch the PSU to see if it is geting too hot.
- If the PSU is very hot it might be over heating due to faulty fan internal issue.
7. I Inspect the PSU for Physical Damage
- I open my PC case and look at the PSU for burn marks bulging capacitor or loose wires.
- If I see any damage I know I needed to replace the PSU.
What I Do If My PSU is Faulty
If my test show that my PSU is failing I replaced it. berfore buying i keep in mind the following things
- I Choose a Reputable Brand – I buy a PSU from a trusted brand like Corsair EVGA seasonic or Thermaltake.
- I Get the Right Wattage – I calculate how much power my system need and buy PSU with at least 100-150W more than my requirement for safety.
- I Look for an 80 PLUS Rating – An 80 PLUS Bronze Silver Gold or platinum PSU is more Efficient and lasts longer.
- I Make Sure It Has the Right Connector – My PSU should have enough SATA PCIe and mother board connector for all my component.
- I Avoid cheap No Name PSU – Cheap PSU can fail quickly and damage my computer
|
|---|
Looking at my curent CPU setup I can see that my PC case is open expose the internal component including the motherboard power supply unit cooling fan and hard drive. My PSU is locate at the bottom of the case and appear to have collecte some dust over time. Given this setup I need to follow some best practice for cleaning & maintaining my PSU effectively
.gif)
Precautions Before Cleaning My PSU
Since my CPU is open and positioned at angle I need to be extra careful when handling and cleaning my power supply.
1. I Turn Off My PC and Unplug Everything
- I completely shut down my pc and un plug the power cable from the socket.
- I also dis connect any other connected peripheral (USB devices LAN cable etc.).
2. I Discharge Any Remaining Power
- I press and hold the power button for 5 10 seconds after un plugging to drain any residual electricity.

3. I Use Proper Tools for Cleaning
Since my setup is exposed to dust and posibly lint I use the following tools
- Compressed air can – To blow out dust from the PSU and other components.
- Soft brush – To gently removed stubborn dust build up.
- Microfiber cloth – To Wipe off external surface.
Step by Step Cleaning Proces for My PSU
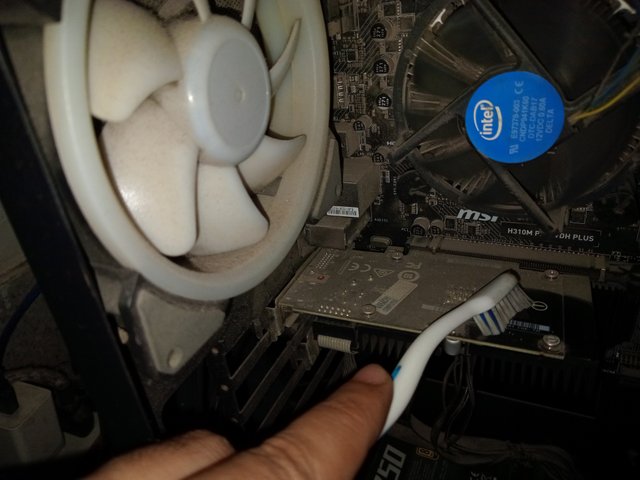
1. Cleaning the PSU Without Removing It
Since my PC case is open I can easily clean the PSU Without taking it out:
- I use compressed air to remove dust from the PSU fan & vent.
- I make sure to hold the fan blades in place While spraying air to prevent damaged.
- I wipe the external surface of the PSU with microfiber cloth to remove any dirt build up.
2. Removing the PSU for Deep Cleaning
If I notice a lot of dust inside the PSU I will remove it from my PC case:
- I disconnect all PSU cables from the mother board GPU and other components.
- I carefully unscrew and detach the PSU from the case.
- I place it on a clean non-static surface for detailed cleaning.
- I then use compressed air and a soft brush to cleaned all the vents and fan blades.
3. Letting It Rest Befored Re installation
After cleaning I let the PSU sit for few minute to ensure no moisture remain from the compresed air. Once its dry I reinstal it properly and reconnected all cable securely.
Best Practices to Maintain My PSU in This Setup
1. Keeping My PC in a Clean Environment
Since my case is open and exposed it is more prone to dust buildup. To Reduce dust:
- I place my PC on an elevated surface instead of the floor to avoid dust Accumulation.
- I clean my room regularly to minimize dust in the air.
2. Checking for Overheating Issues
- Since my PSU is locate at the botom I ensure thats the fan vents are not block by cable.
- I also make sure that all coling fans are working to prevents over heating.
3. Using Surge Protector or UPS
- To protect my PSU from power surge I plug my PC into a surge protector or UPS.
- This is especially important since my Setup includes multiple connecte devices.
4. Avoiding Cable Clutter
- I notice that my cables are loosely arranged which can affect airflow.
- I will organize and tie the cables properly to improved ventilation & prevent any obstruction.
5. Regularly Cleaning Every 3-6 Months
- Given my current setup I will clean my PSU at least every 3 months to prevent dust build up.
- If I notice any fan noise overheating or random shutdowns I will checked my PSU immediately.
Best of luck dear @hamzayousafzai. Wow.......Your computer seems to be a high-end computer. Please can you tell me about the version, generation, and specifications?
thank you so much for wishing me. its RYEEZ 5
You mean RYZEN 5.......