Tutorial of how to place the logos and numbers in the designs for the game NR2003

Created and edited by @franz54

The purpose of this article is to share with you my experiences and my tricks when creating my designs for the game Nr2003, creating my own designs to be able to have fun with this great game, even though it is very old is one of the best of this American motor sport.

The steps to perform to place the logos are:
1) First we must locate the logo for the hood of the car, after having our design base ready. To insert the logo, we copy and paste it into our template, adapting it to its correct size and rotation.
- To rotate the logo, we have to do the following:
We go to editing in the Photoshop program, Looking for the transform option and we give it to Rotate 90° to the right.

How to rotate a logo (Capture made by me)
Later we move the logo to the hood and we adjust its position and size. To set the size, check the option to move and then drag.

(Capture done by my person)
2) For the logos on the sides of the template, we do the same way as the hood, but to rotate it must be done:
- In Edition, we select transform and then rotate. In the inclined angle we place - 2,5 and we ready to enter.

How to rotate with an inclined angle (Capture done by my person)

(Capture done by my person)
- To insert the lateral logo on the top of the template, we do it in the same way as the previous one, but it must be rotated 180°, also with a tilted rotation of 2.5.

(Capture done by my person)
3) We then place the numbers in the template. We make it similar to the logos, since the lateral number of the top part must be rotated 180°, adjusting its position and size. In the meantime, the lower side and the roof are not rotated, but like the other side, the size and location must be adjusted.
- To adjust the size of the numbers we give in edition, transform and scale. The size is adjusted with the mouse pointer.

How to scale an Image (Capture done by me)
4) Finally, we have our results with their logos and numbers, with their respective sizes and positions.


Render creation process for the cover of the publication:
1. I searched and opened the scene in the 3ds Max 2017 program.

(Capture done by my person)
2. To the 3d model of the car of the scene, locate the design made.

(Capture done by my person)
3. I gave Render production and voila, we have our final result.

(Capture done by my person)
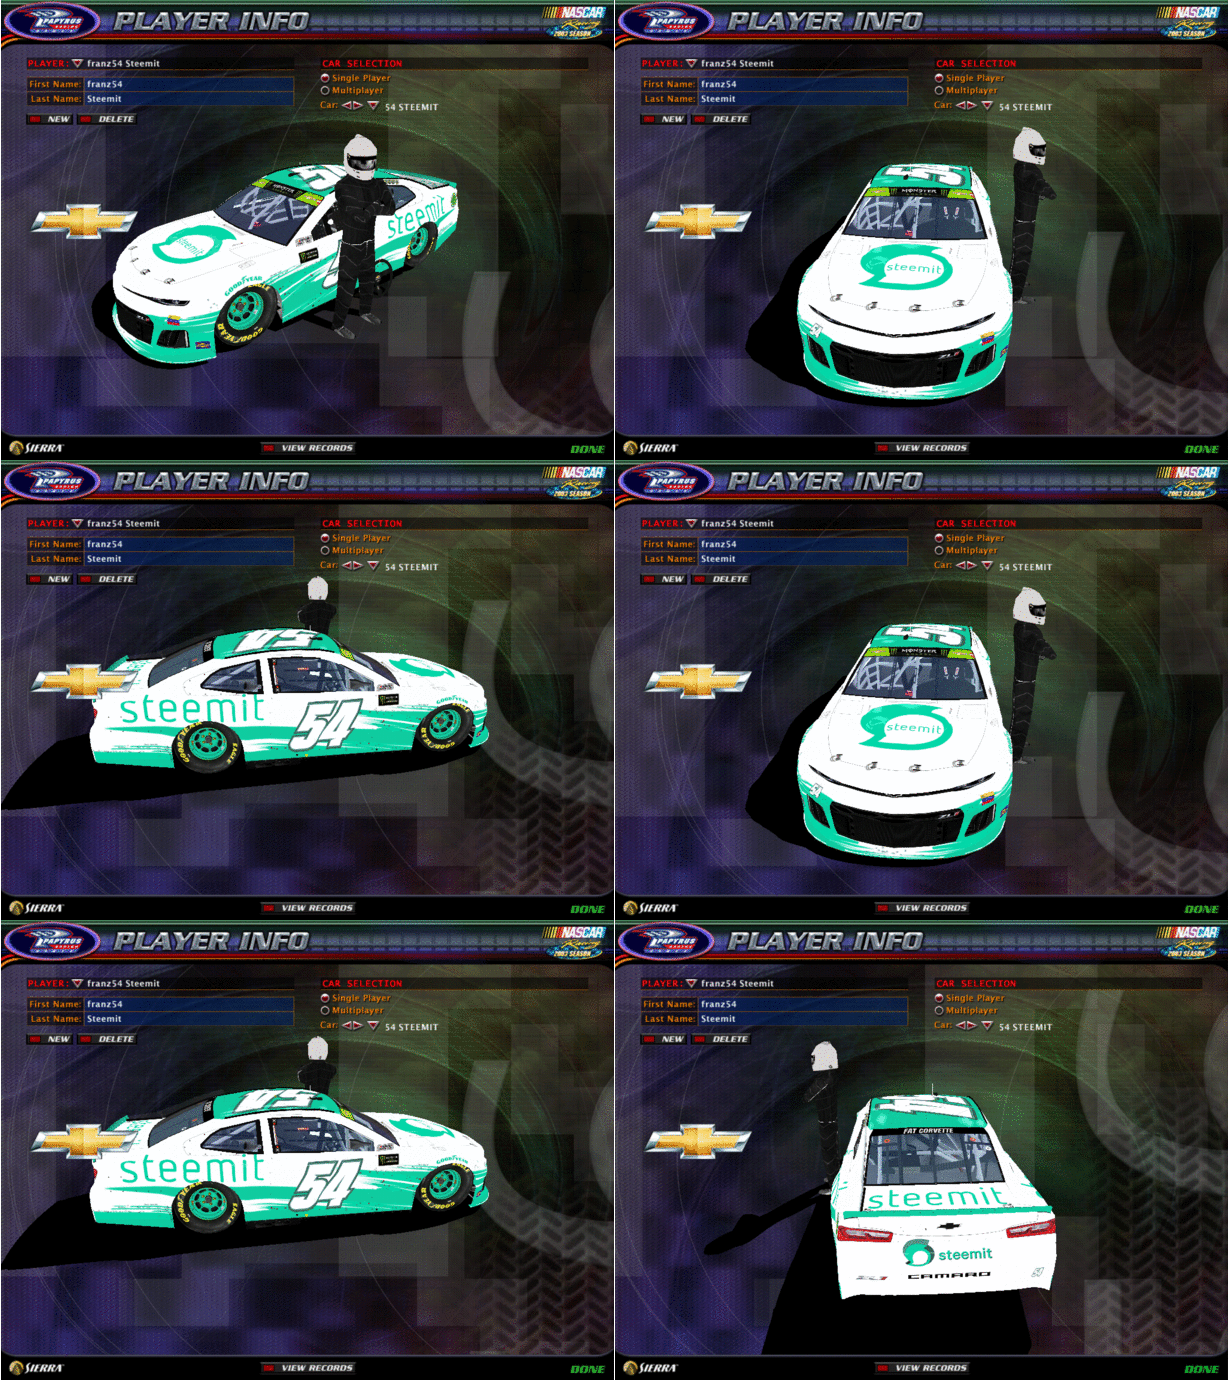
View of the design in the game:

I hope you liked it.
If you want to know more about this great game, in addition to knowing how to enter the created design, consult the following publications:

Sports Game "Nascar Racing Season 2003"
Design and Tutorial of how to enter the Nascar Racing 2003 Season Game

All the images of this Post that do not have their source, are Captures of the Game made by @franz54.
Text separator taken from the post: Exclusive Separators For Your Publications - Created in Photoshop [Part 1]
Programs Used forthe publication: Photoshop 2015 cc, Paint.net (Captures) and 3ds Max for the cover of the publication.
Until next time, Regards.


This post was shared in the Curation Collective Discord community for curators, and upvoted and resteemed by the @c-squared community account after manual review.
@c-squared runs a community witness. Please consider using one of your witness votes on us here
Congratulations! This post has been upvoted from the communal account, @minnowsupport, by franz54 from the Minnow Support Project. It's a witness project run by aggroed, ausbitbank, teamsteem, someguy123, neoxian, followbtcnews, and netuoso. The goal is to help Steemit grow by supporting Minnows. Please find us at the Peace, Abundance, and Liberty Network (PALnet) Discord Channel. It's a completely public and open space to all members of the Steemit community who voluntarily choose to be there.
If you would like to delegate to the Minnow Support Project you can do so by clicking on the following links: 50SP, 100SP, 250SP, 500SP, 1000SP, 5000SP.
Be sure to leave at least 50SP undelegated on your account.