Mini tutorial on pen tool : How I create my Car Illustration
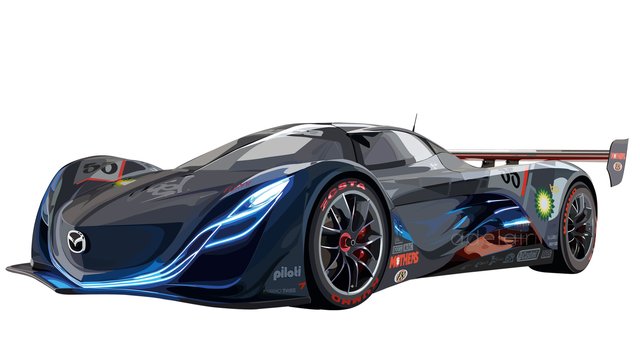
Today, I will share to you the process on how I created this artwork. I also included a mini tutorial on how to use the pen tool in Adobe Photoshop
This piece is from my homework for my DIE subject, yah heard it right D-I-E, which stands for Digital Image Editing ( and the subject speaks for its acronym hahaha )
We had to practice the "pen tool" in Adobe Photoshop by recreating a car photo. This will also be a basis for our grades as to how well we execute this tool.
If you are not familiar with it, this is how it looks:

Let me also share my settings:

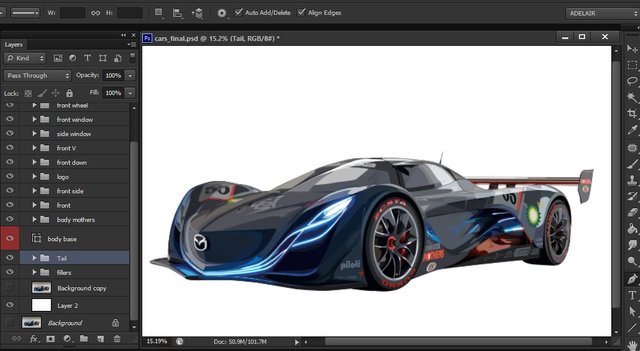
Just for everyone's information, this piece has approximately 814 layers
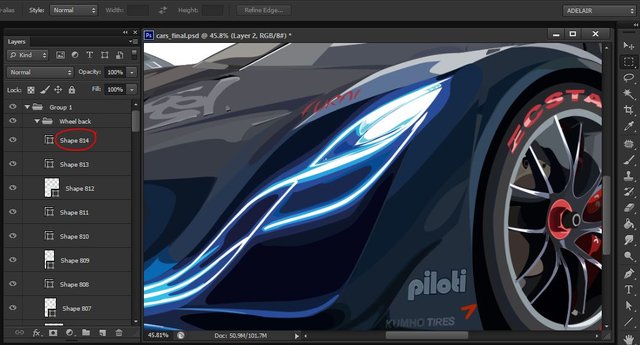
Okay, Let's Start!
- (1) Download a car photo that you wanted to recreate. I actually used a simple car photo before, it was my first time to use this tool so I was afraid at first, but i realized that it's actually fun so I decided to level up the complexity of the car I want to recreate. So I used this photo:
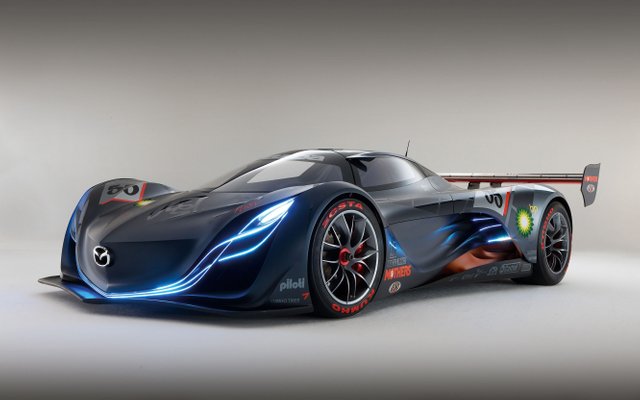
- (2) In order to achieve an orderly done illustration you need to trace first the body of the car as a whole. DO NOT immediately go tracing little details. Go big to small.
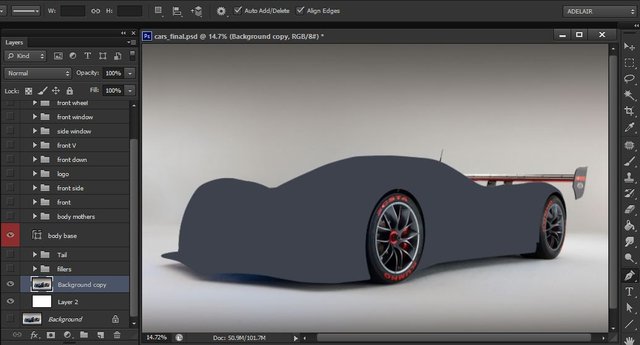
Question: But how are we gonna do that?
Just simply:
- Choose the pentool on your tool section
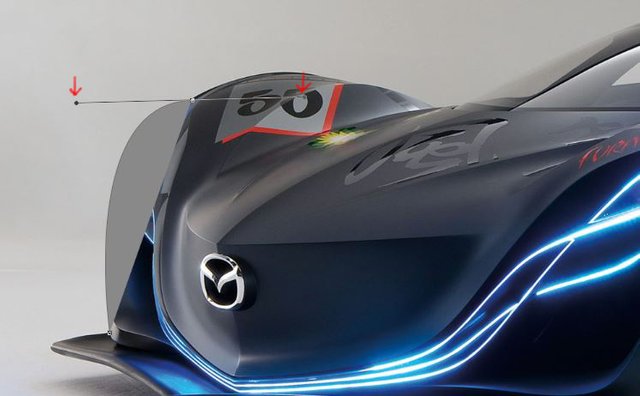
- Click where you want your first anchor point to be and then on second point (drag to create a curve path)
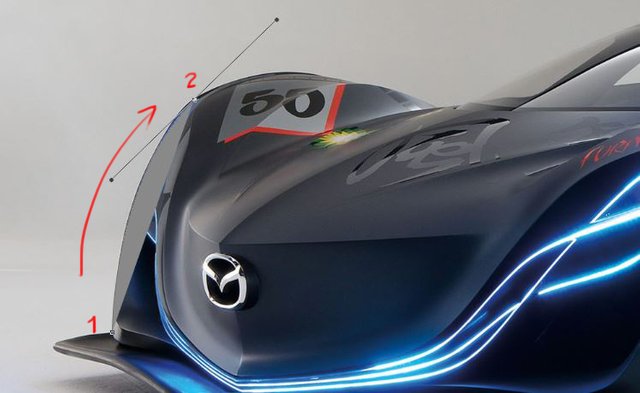
- To adjust the direction line just press :
(to influence both direction line) CTRL + drag this part
(for only one direction line) ALT until the points looks like this ( ^ ) and then drag to desired length

(for the anchor points) CTRL +click on anchor point.
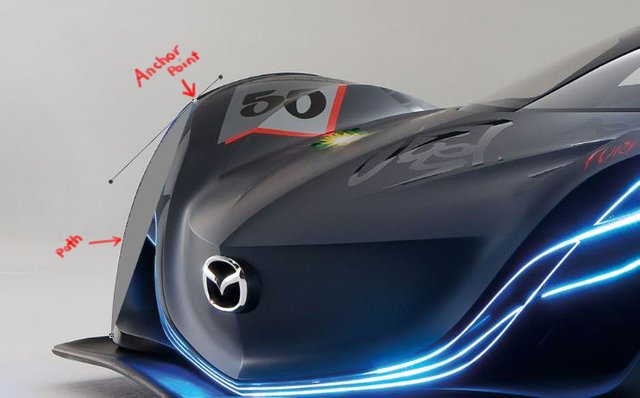
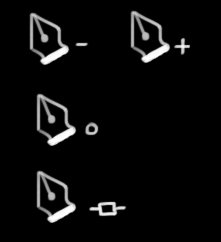
If you want to delete an anchor point just simply click on the anchor point, a (-)minus sign will appear. If you want to add an anchor point, just click anywhere on the path and a (+) plus sign will appear.
Do this until you've closed the path. It can be determined by the pentool symbol plus an (o) sign right beside it.
If you accidentally clicked on the canvass and the anchor points are hidden, just press CTRL+click on the path and it will show again and then click on the last anchor point you left.
- (3) Divide the car by section. and plan out the part you wanted to detail. Just like this:
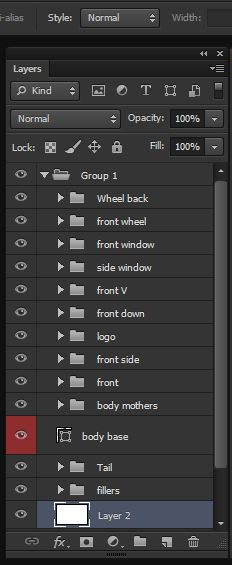
And execute the first part
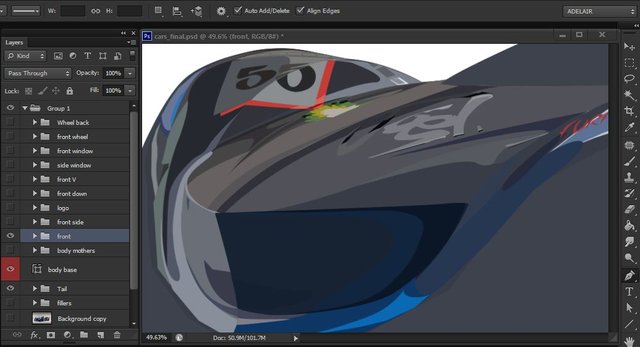
Which has approximately 296 layes
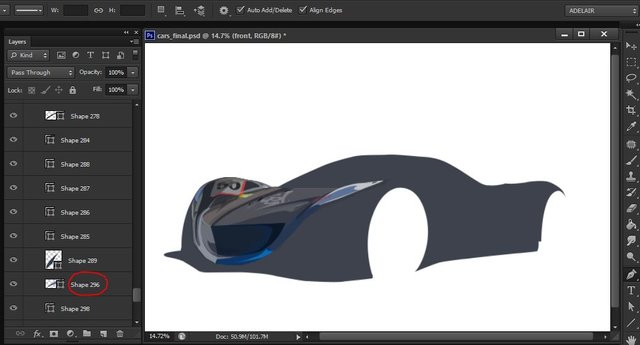
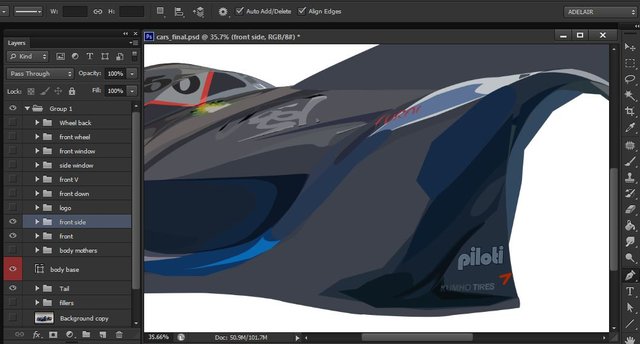
- (4) And the near side
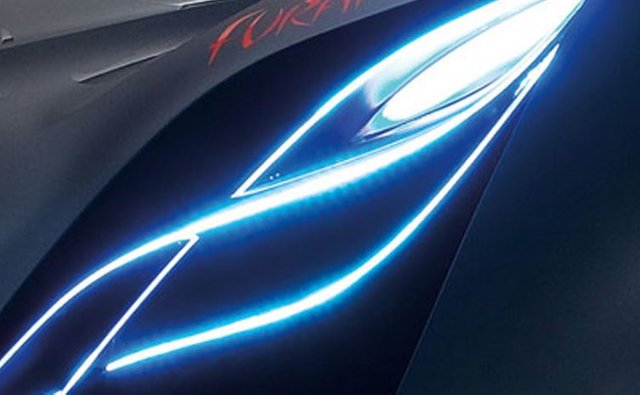
- (5) And then the challenging "lights" part
original photo:
my execution:
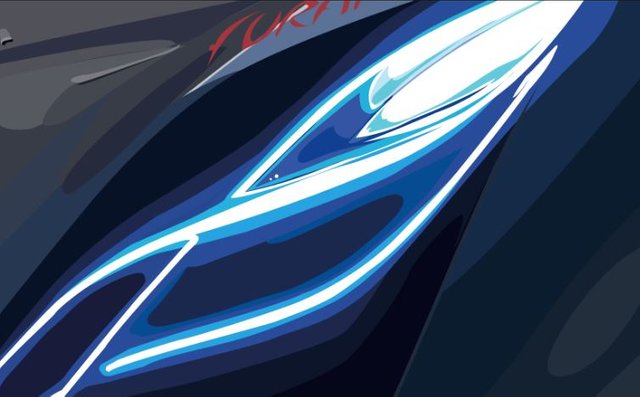
In order to stay true to the image, I chose 3-4 colors in order to blend it smoothly, giving the recreated illustration the look of having "lights" at front
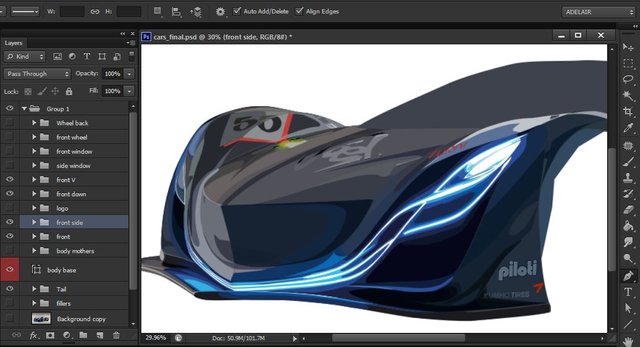
- (6) Tail
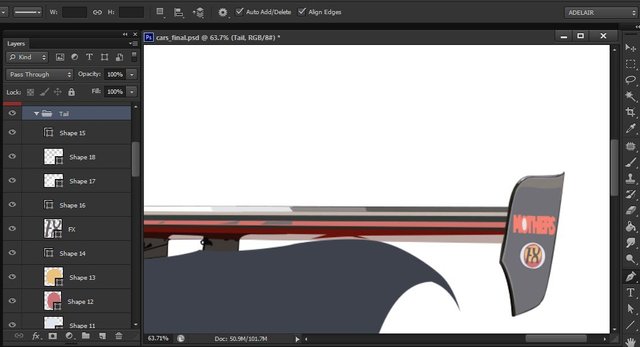
- (7) And then I went to work on the front window
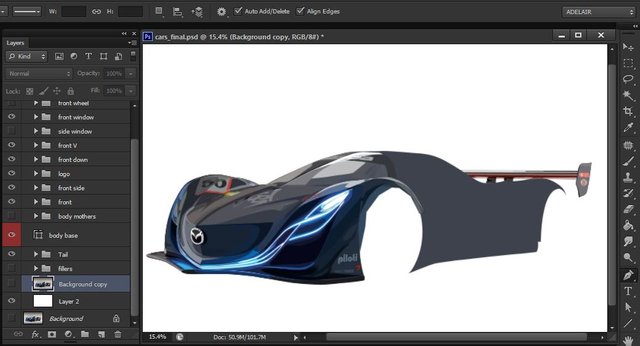
- (7) Then to the side windows
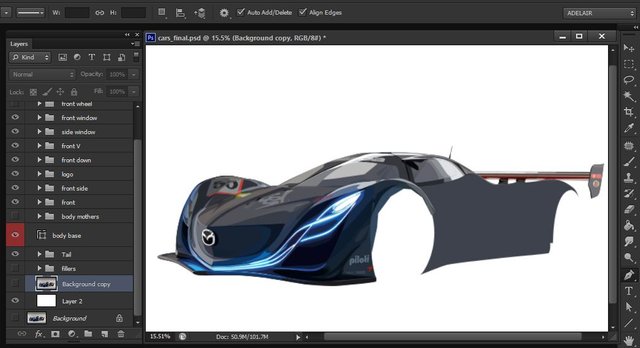
- (8) Down to the side body
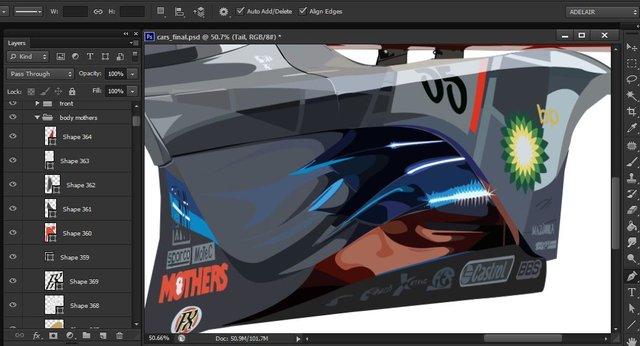
- (9) And Finally on both wheels
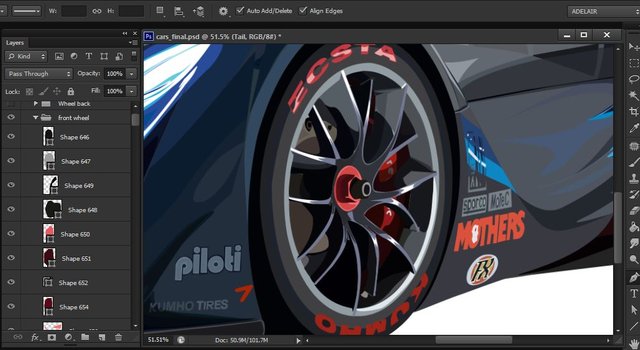
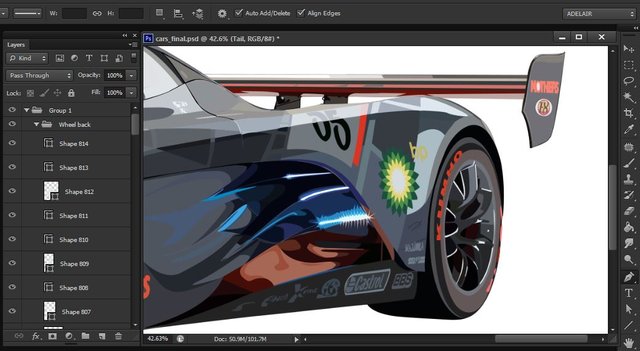
- (10) And now it's dooooone <3
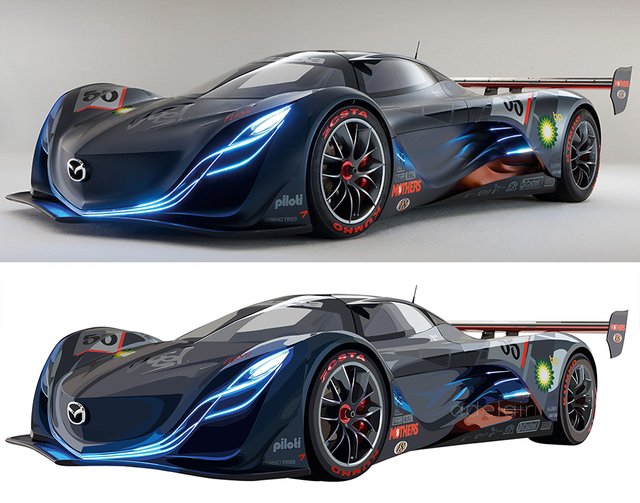
For Comparison:
I encourage you to try it as well :D
Have fun <3
See you again next time!
Adelair
nice post, @adelair :> very interesting process :D
Thank you very much @veryspider <3 hihih
Ohhh the pen tool, that's really a troublesome tool that I've never gotten used to it. But you are doing a great job with it, look at that vector car. Very nice :).
-upvoted-
Thank you so much @scrawly . It was fun XD
but for my opinion this car exercise is good only IF I just want it for practice, especially the tracing part (so you could be used to controlling the direction lines). Being highly dependent on this as a form of art might not do good in terms of improving art skills XD
At least I finished the first step lol :)
HAHAHAHHAHAHHA
Gorgeous, so clear and bright!
Thaaaank you @ykdesign <3
My pleasure!
this is why i am just enjoying art and never attempting it :P
Hahaha thanks for appreciating us <3
I think i went overboard on my example XD
without people like you all of our favorite manga and anime would be nothing!